GoldenfrankO wrote:I don't know how to make one.
well, i will post you a little guide then.
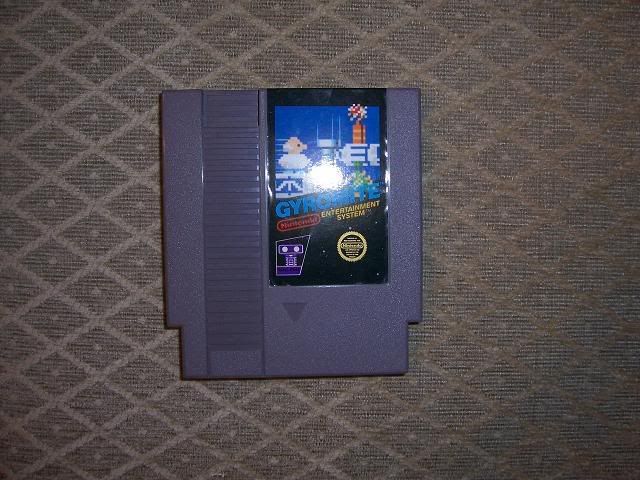
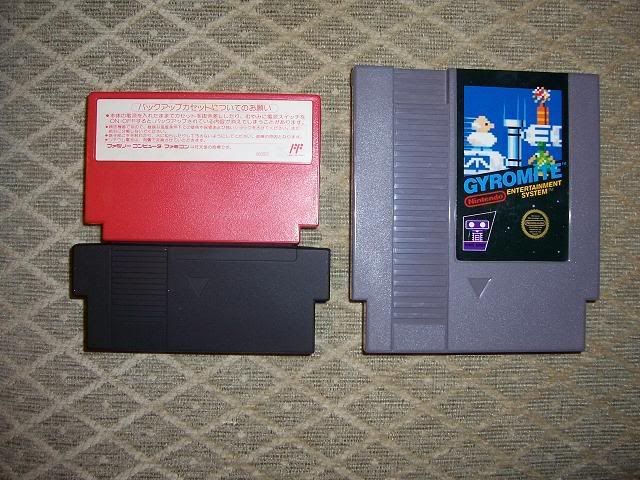
first, you need to find a cart that has the converter in it. these two guides will help you in finding one:
http://www.vintagecomputing.com/index.php/archives/23" onclick="window.open(this.href);return false;
http://retroroots.com/Famicom_Converter.htm" onclick="window.open(this.href);return false;
after you have found a cart with a converter and have opened it up, there are only a few simple steps to follow:
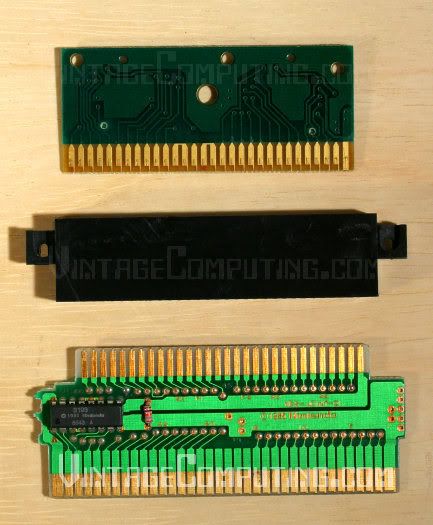
1: remove the game board (very top board)
2: take off the 60 pin double female slot (middle) and flip it vertically so that the black tabs are closer to the bottom board. push it back on the converter board (bottom). this is how you will need it to be.
3: take off the 60 pin double female slot again. this will need a little modification. you might need to trim off a tiny bit of the plastic on the left and right sides to allow a famicom cartridge to slide on. mine was just a hair to wide for the cartridge to fit on.
4: you will then need to cut part of those black tabs off. this part will require a lot of little cuts and then checking how it fits in the case. you want the tabs to fit under the gray tabs of the case so that it can handle the pressure of pulling a famicom cartridge off.
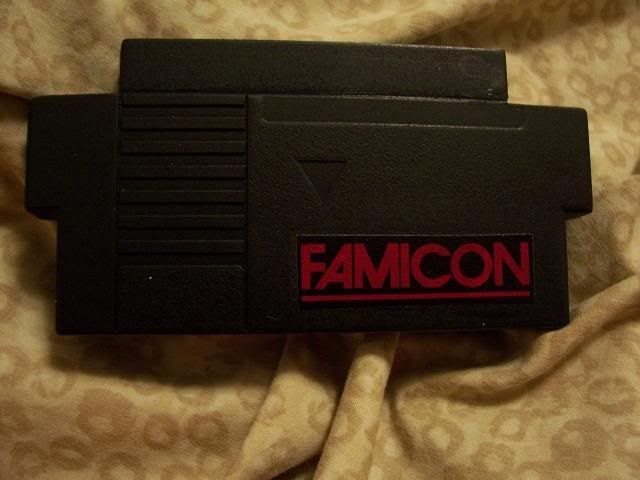
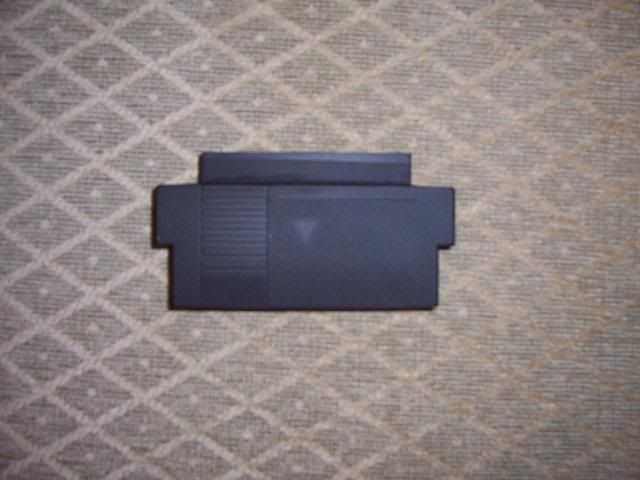
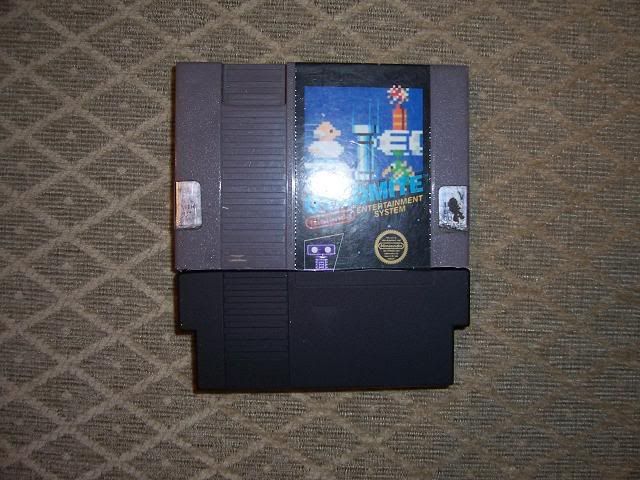
5: after you get that to fit properly, you then need to modify the actual case. you are going to want the case to be cut so that it will allow the 72 pin slot to be out far enough. see my pics above.
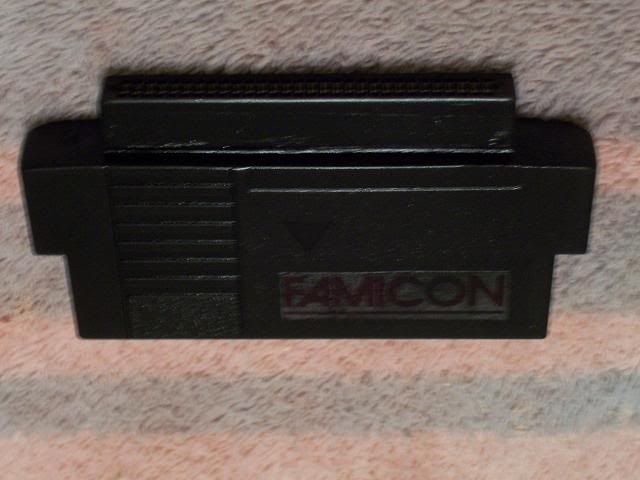
6: once you have the case cut, sand it so it's even. then all that's left is reassembling it. you can still put 2 screws back in, so do that. check to make sure that it is working properly. and don't forget to put the famicom game on backwards.
7: fill in the large gaps with some epoxy putty. don't use too much, you don't want it getting on the actual board.
8: after a few hours of drying time, sand down the epoxy so it's nice and level and smooth.
9: if you want to paint it, you can, just be careful. i used electrical tape to cover the top and bottom and then did super light coats.
and there you have it! now you can make yourself one!

 .
.