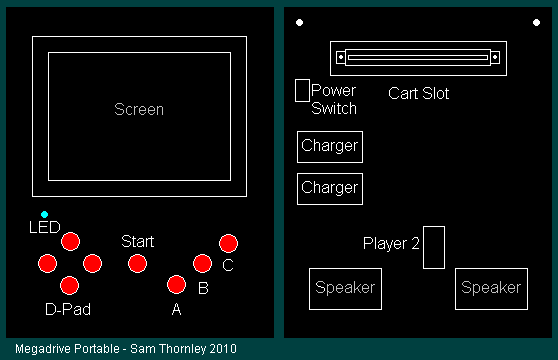
Proposed Specs:
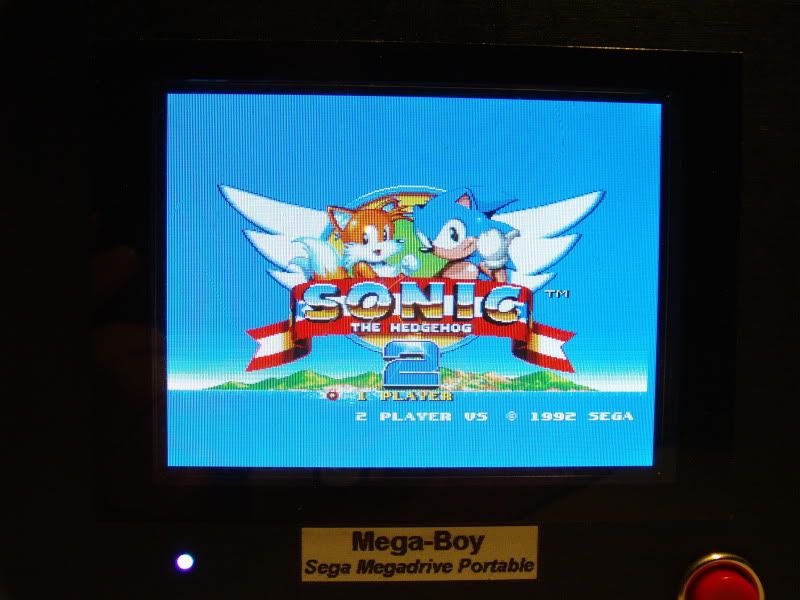
5" PSone Screen - Anti-glare removed
Sega Genesis 3 PCB
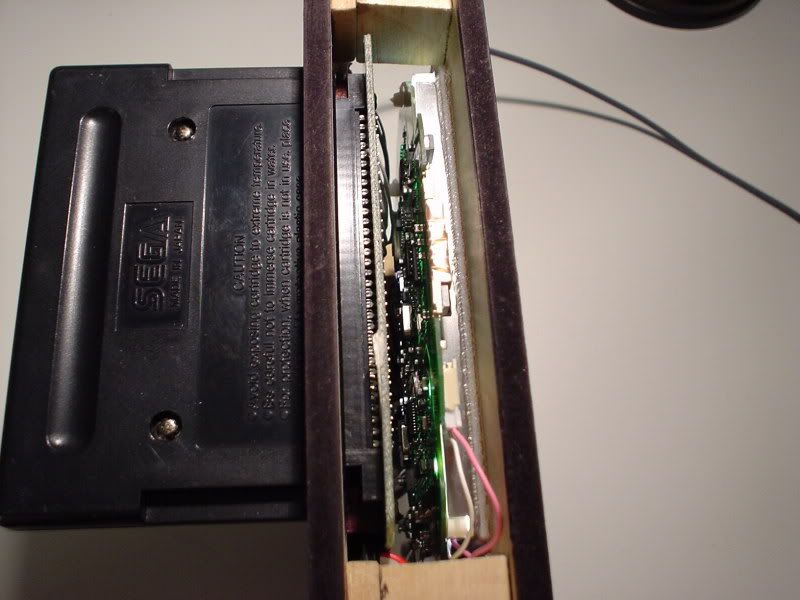
Cart Slot at rear of unit
6x 1.2v 2600mAh NiMh Batteries (7.2v)
Mspaint Mock-up:
I managed to pick up a Genesis 3 off ebay back in march. Had it shipped to me all the way from the US to the UK. Didnt cost that much
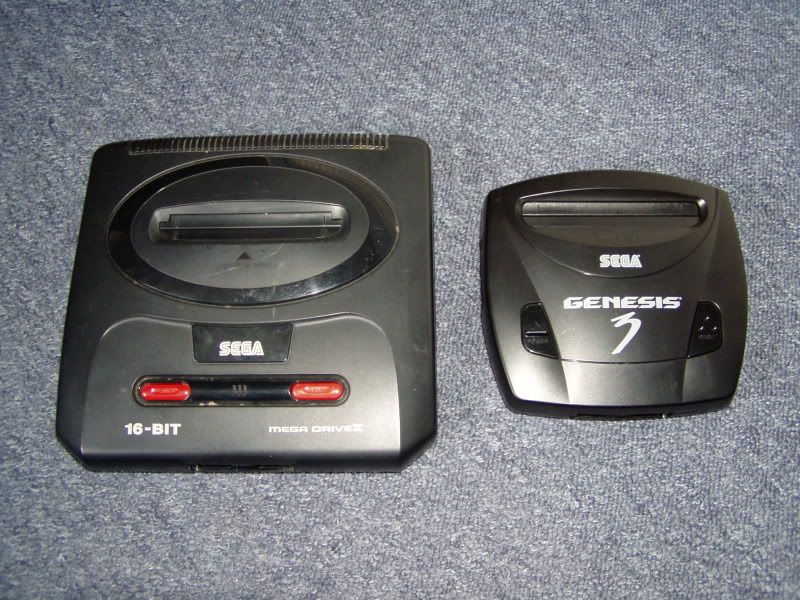
Megadrive 2 and a Genesis 3 size comparison:
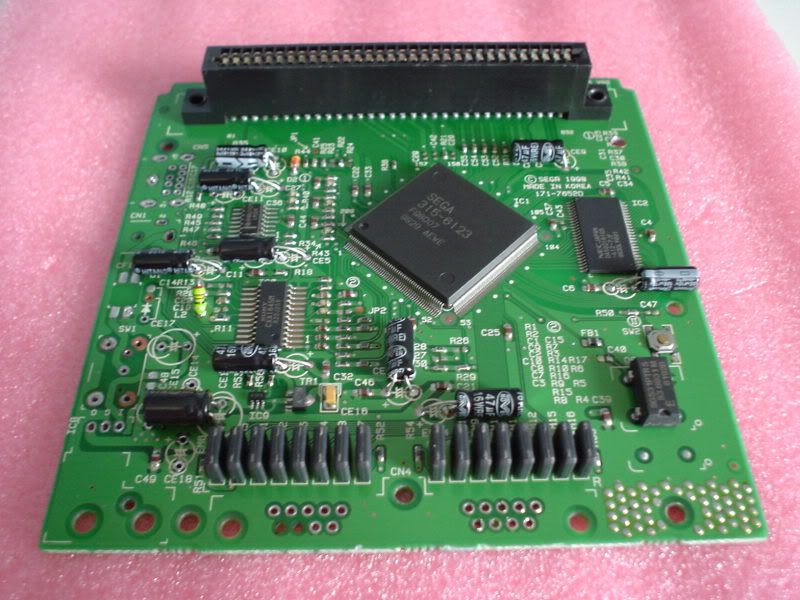
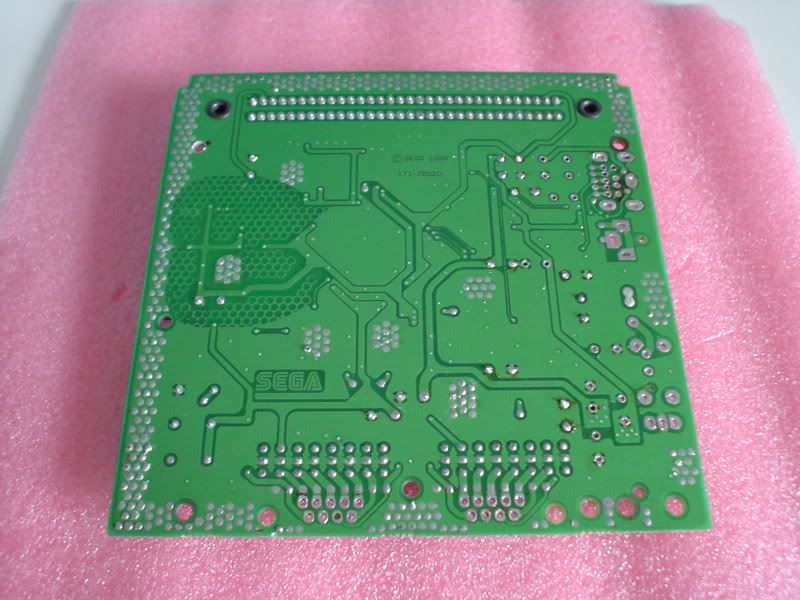
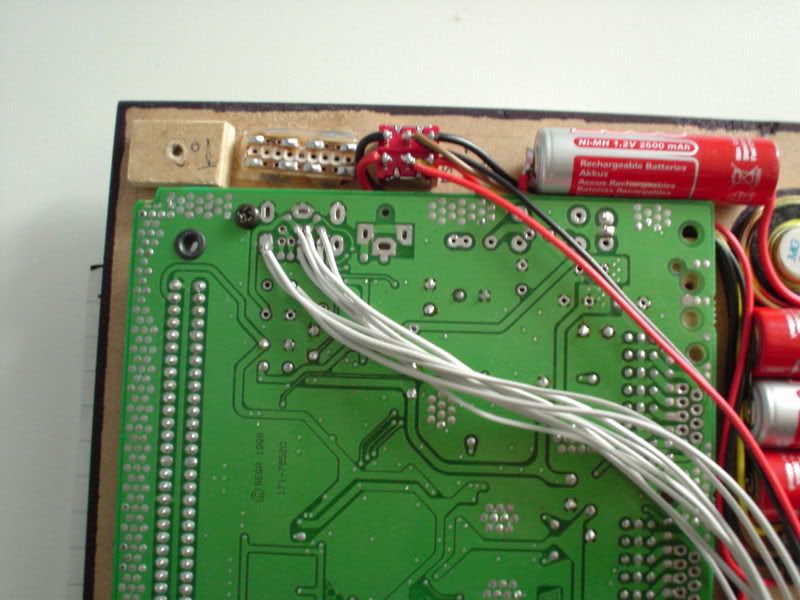
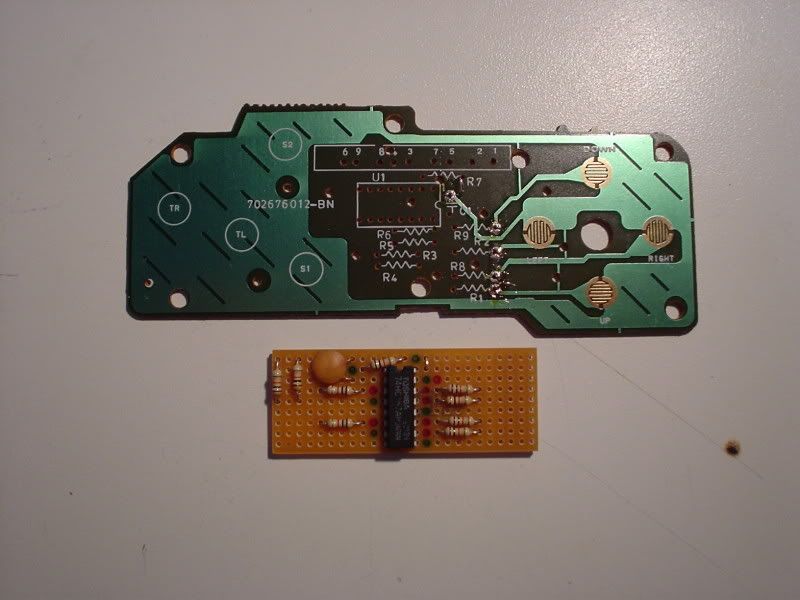
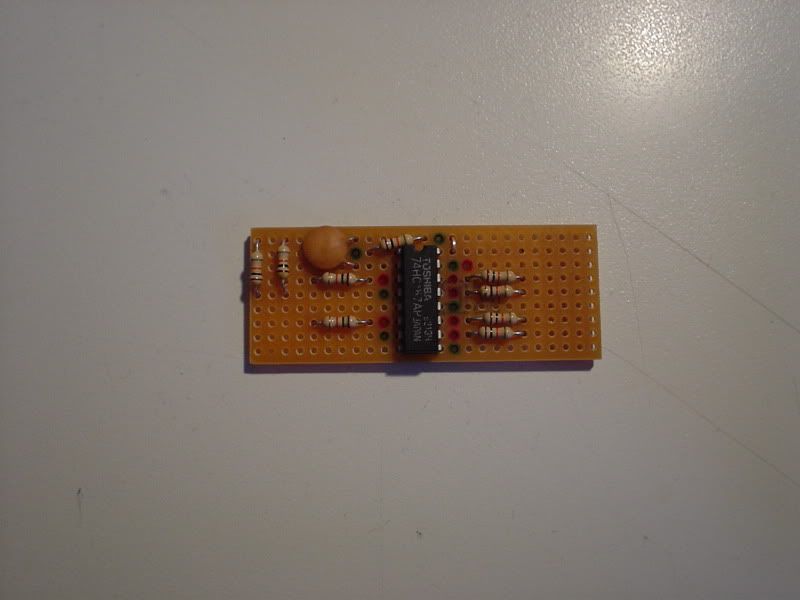
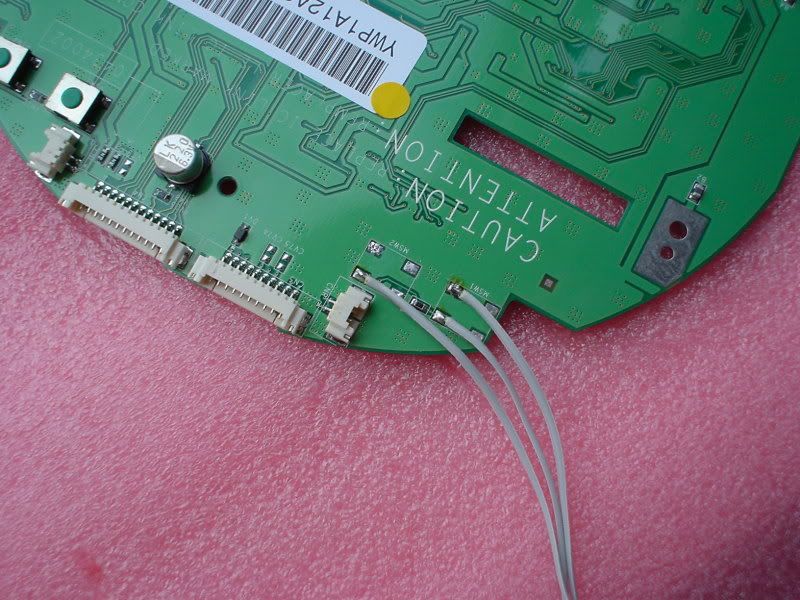
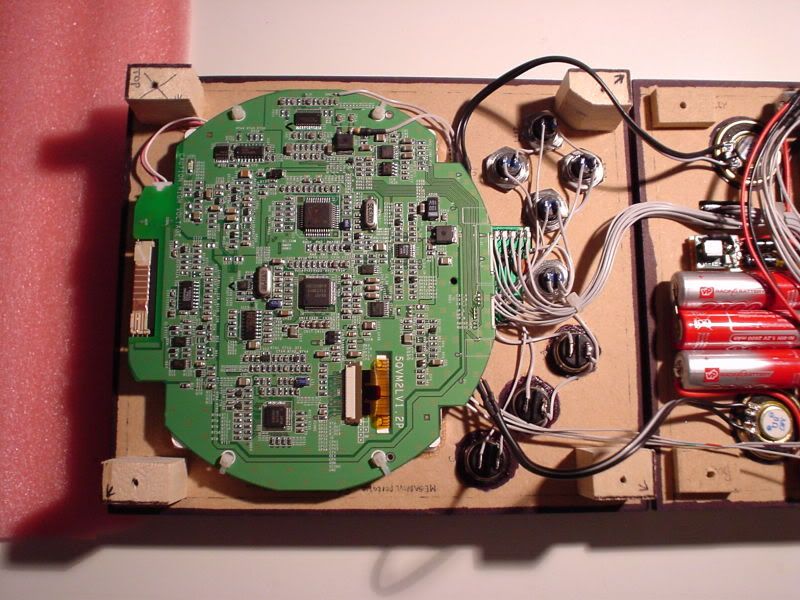
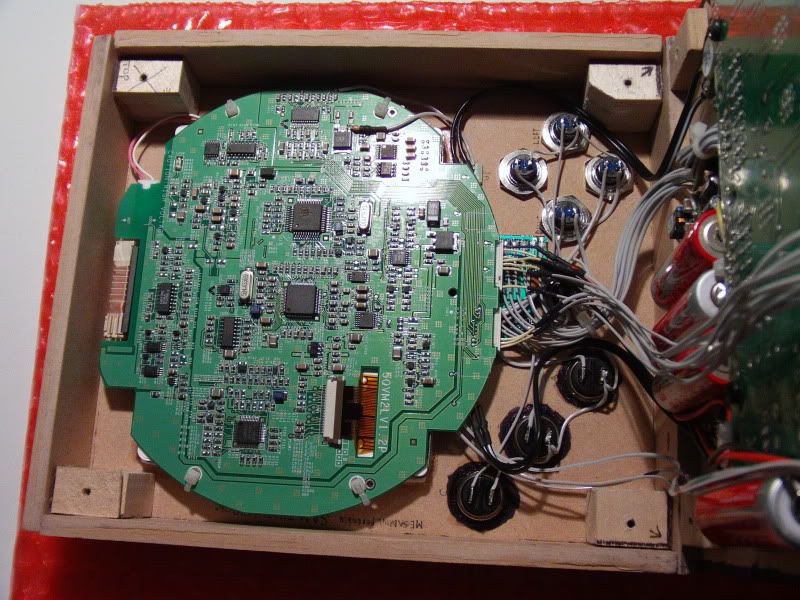
The Genesis 3 Board:
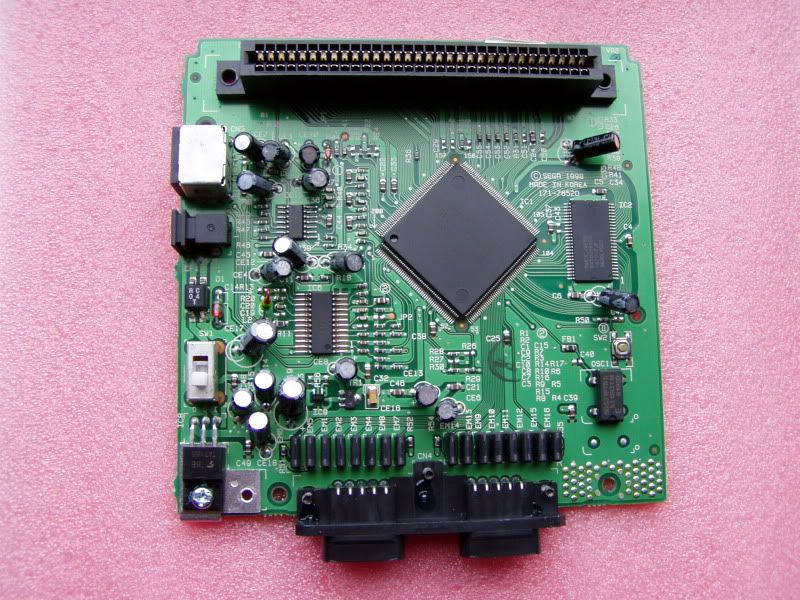
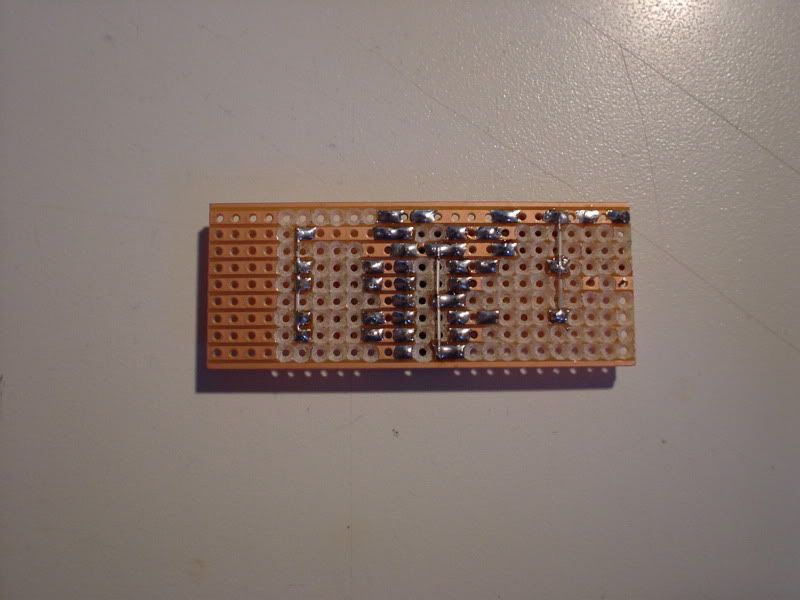
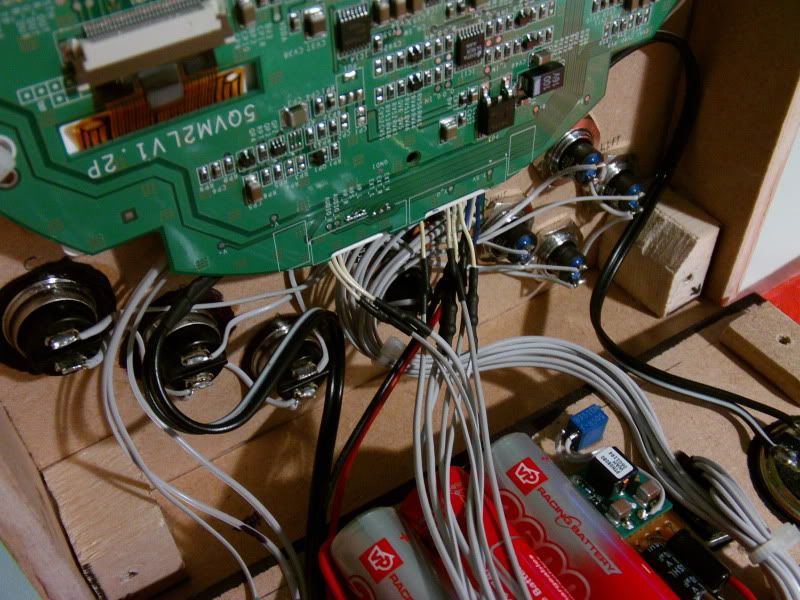
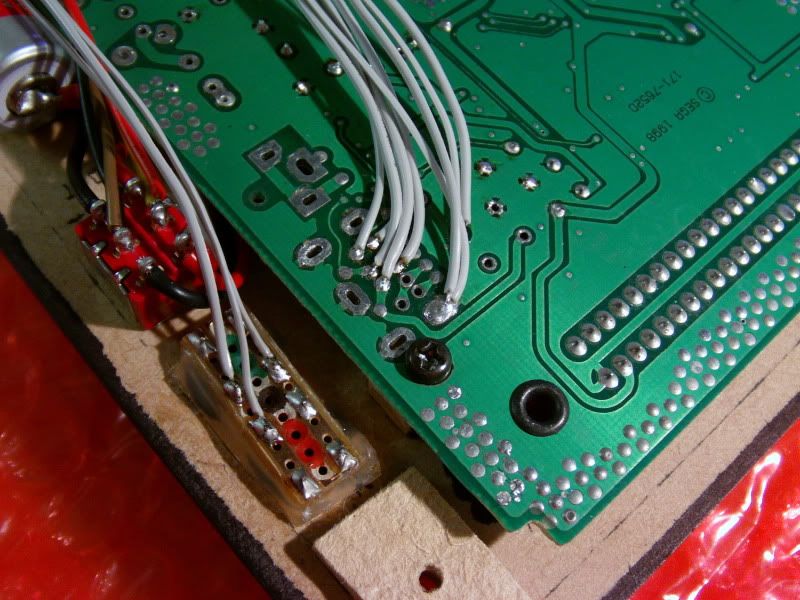
As you can see its the one with the heart shaped traces near the RAM chip. This particular board has RGB wired up to the av port like a megadrive 2. I've heard the other genesis 3 revision with 2 memory chips does'nt, but RGB is still easy to do. You can wire up RGB from a genesis to a PSone screen really easily. No video amps are needed, just add 3 75ohm resistors in series on each of the RGB lines. This will give you a crystal clear picture on the PSone screen. It will still work without the resistors but the outputs slightly overdrive the PSone screen. I will do a diagram in mspaint later if anyones interested.
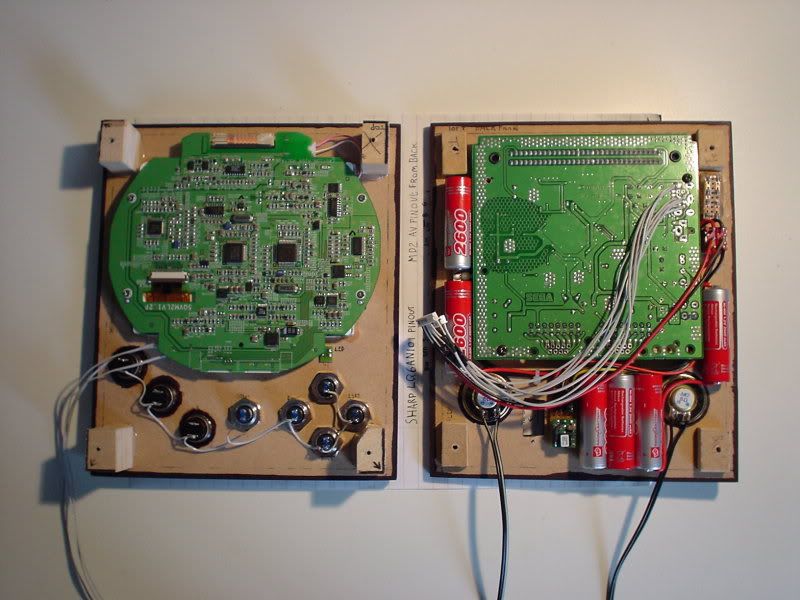
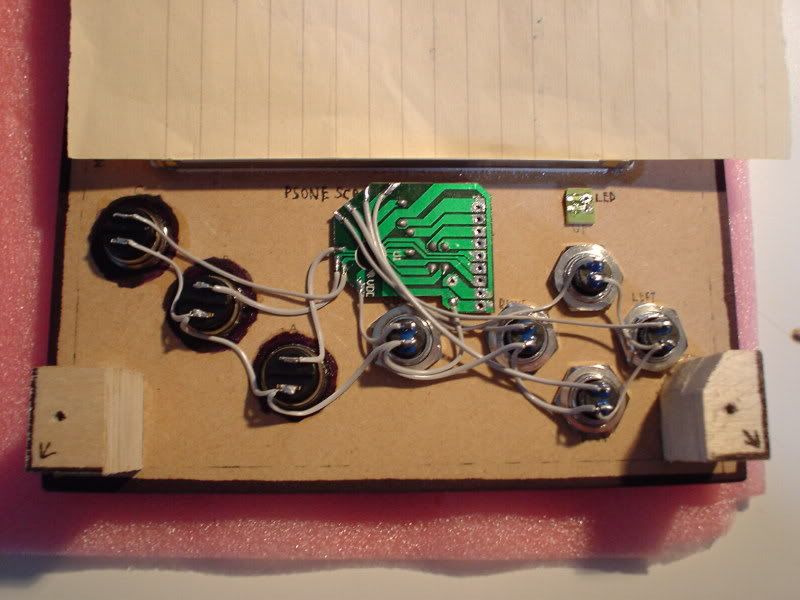
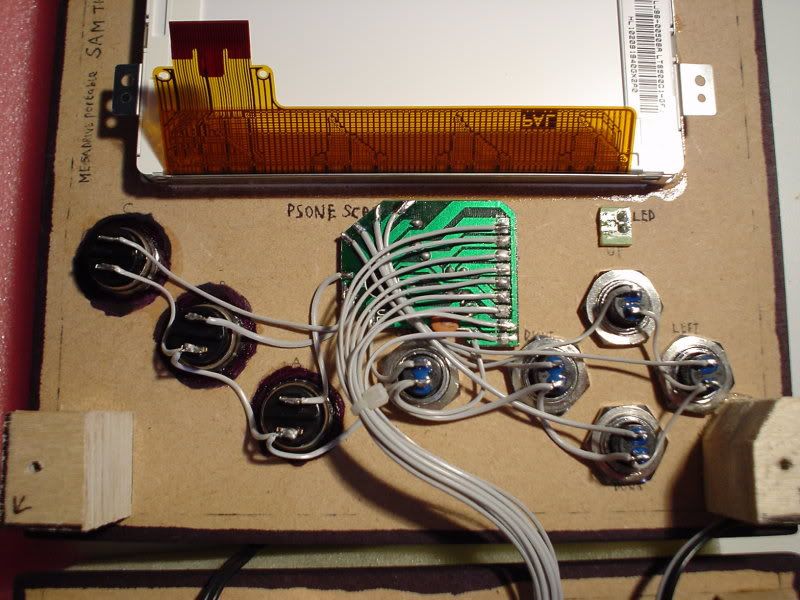
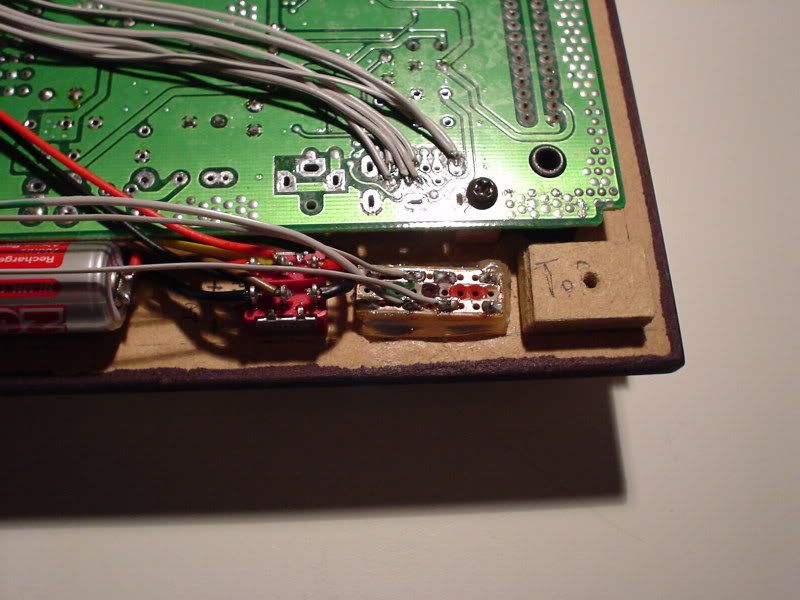
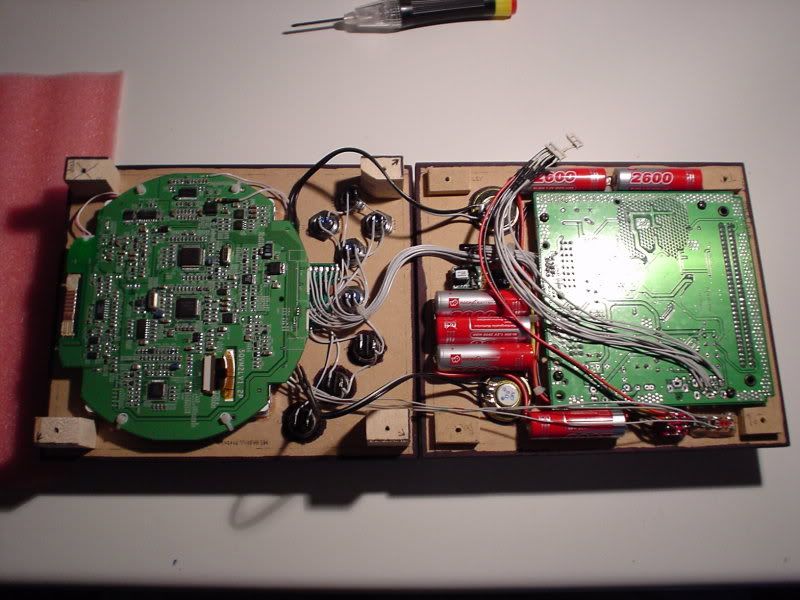
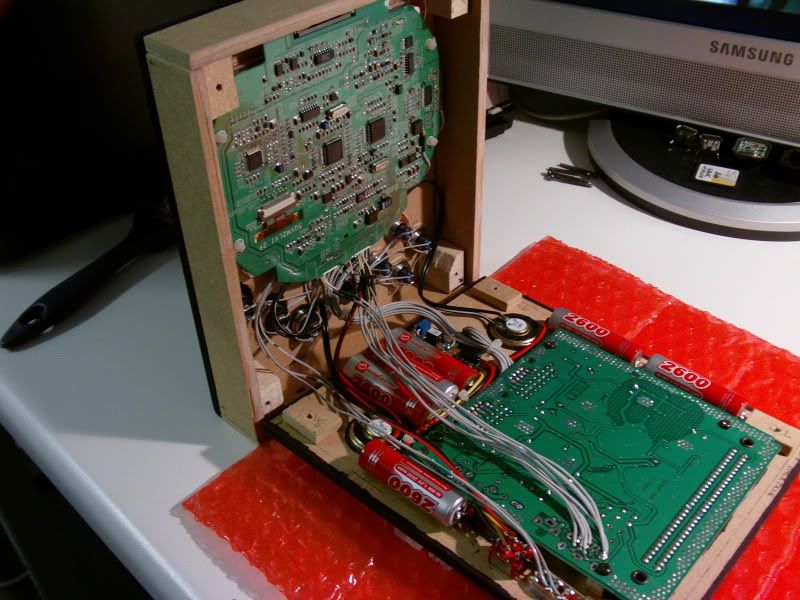
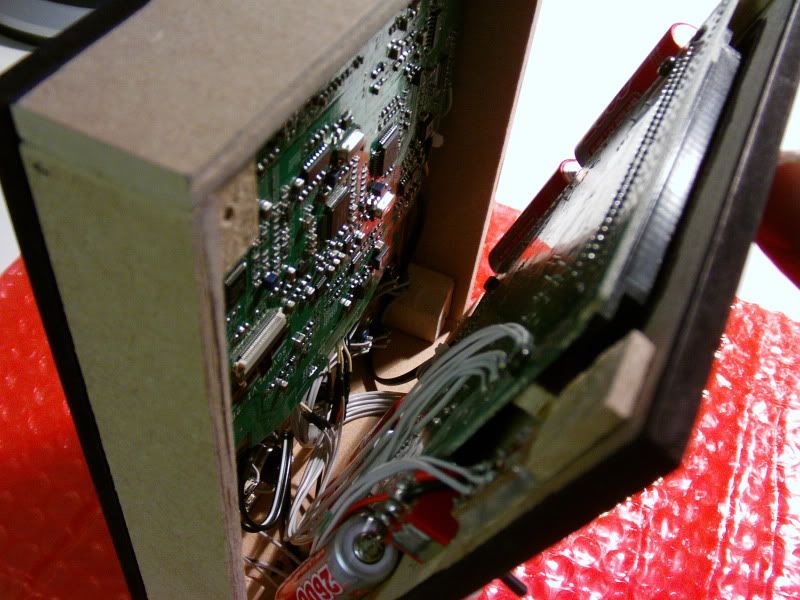
Heres my prototype system from a few months back:
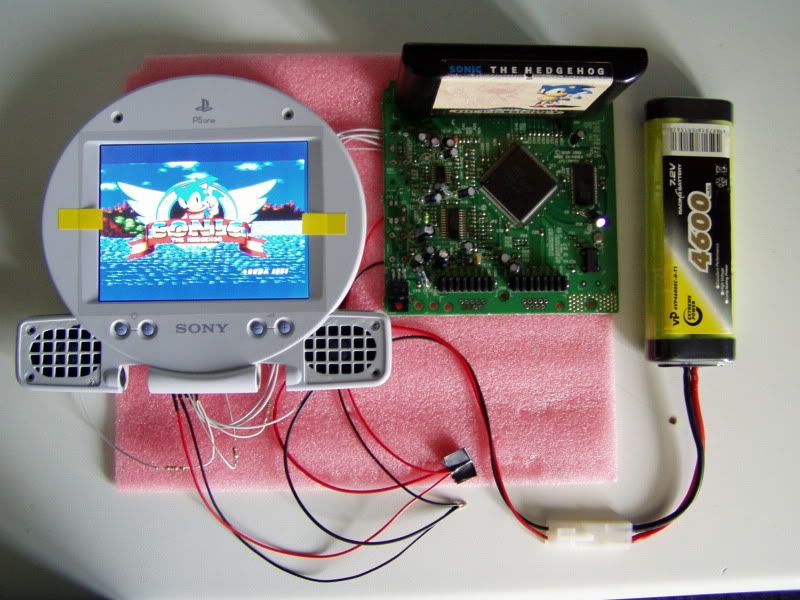
You can see my 75ohm resistors below the screen. Desolderd the ports of the geny board. I've also region modded the board so its runs at 50hz pal. (Info on how to do this here: http://vgmods.webs.com/segagenesismodificaitons.htm" onclick="window.open(this.href);return false; Scroll down) I'm not using the battery in the picture, its just one i had spare.
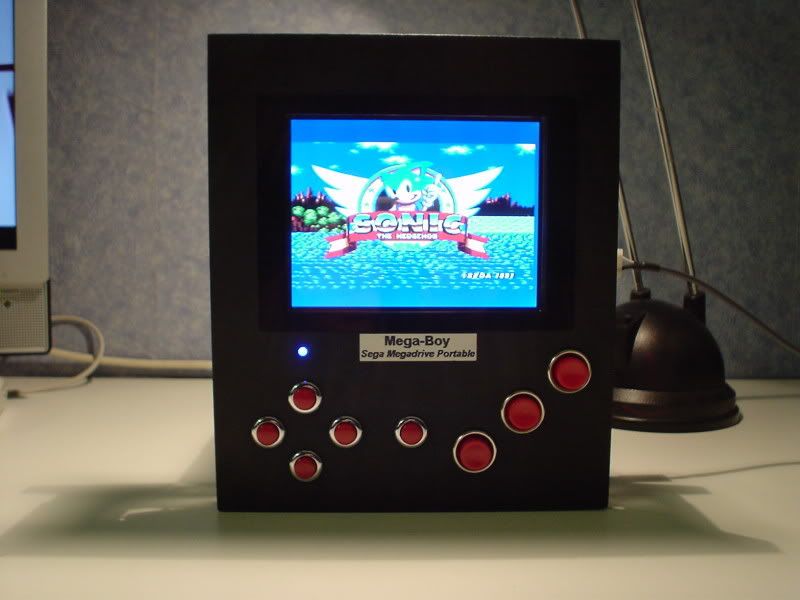
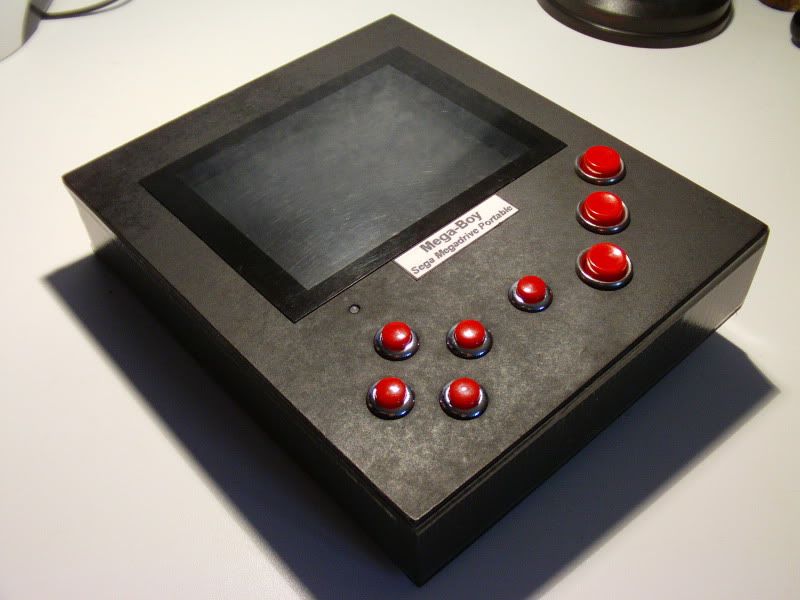
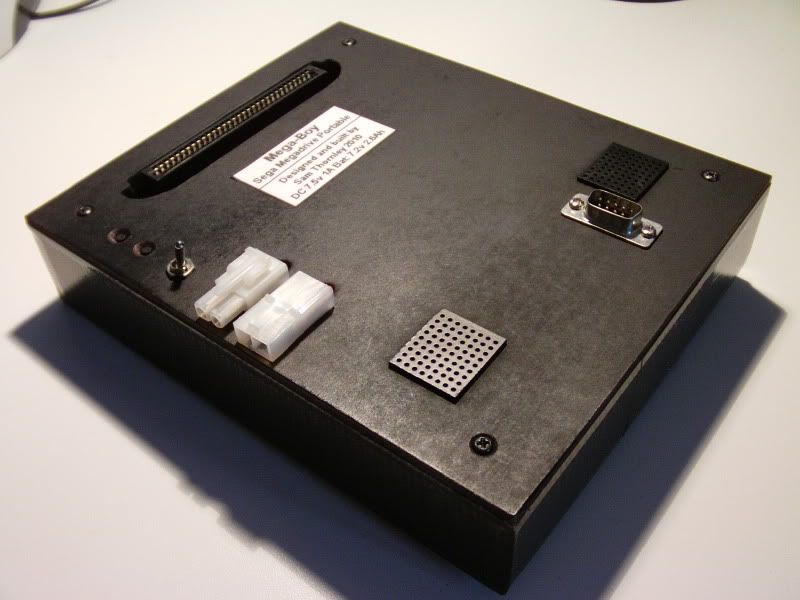
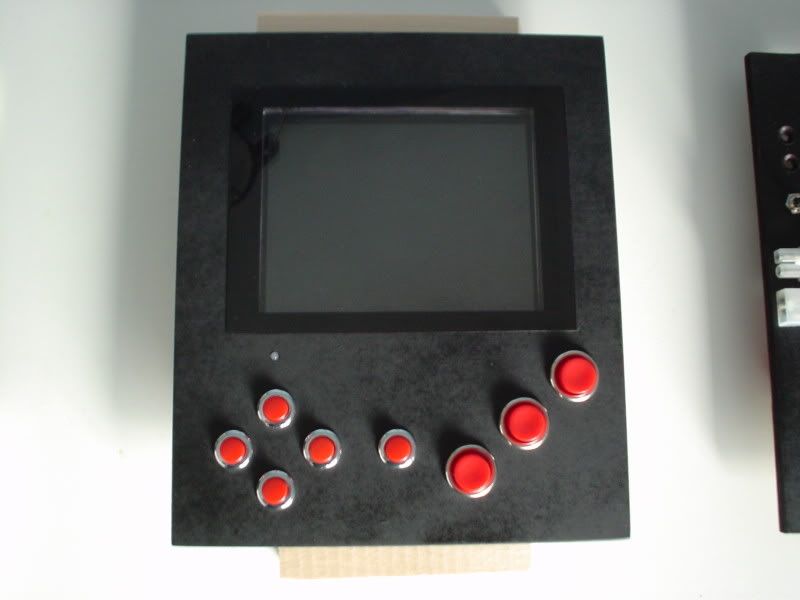
So here's how far i've got as of now:
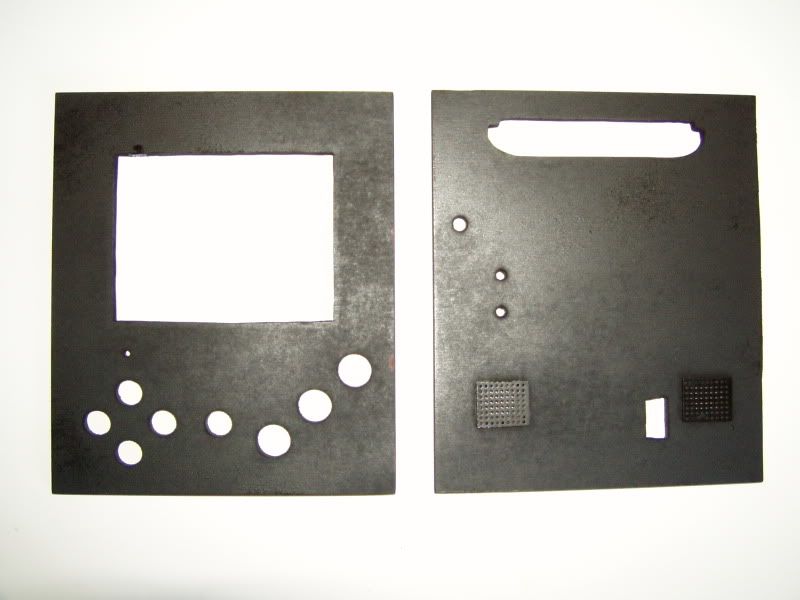
I've started work on my case got the front and back panels cut, drilled, sanded, filed and spray painted. I'm using 6mm thick MDF (as usual!) Dimensions: 165MM X 195MM
Ready to spray paint:
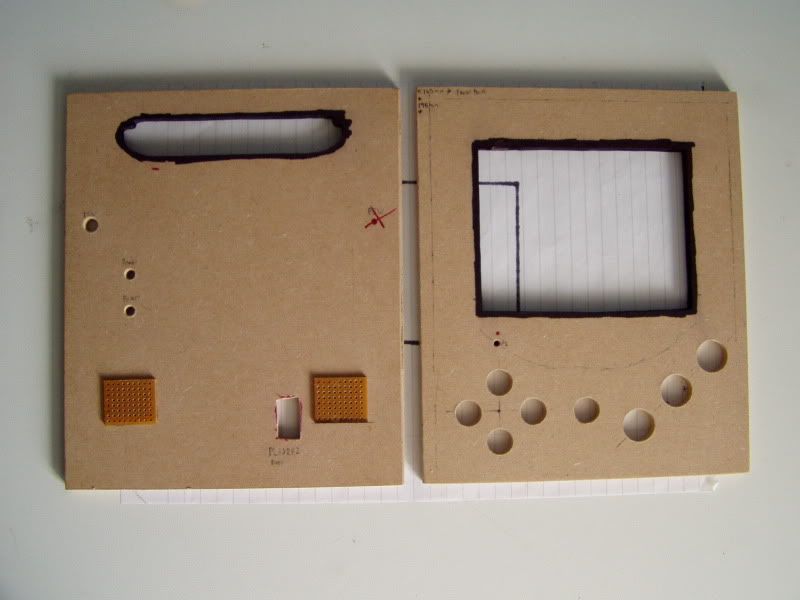
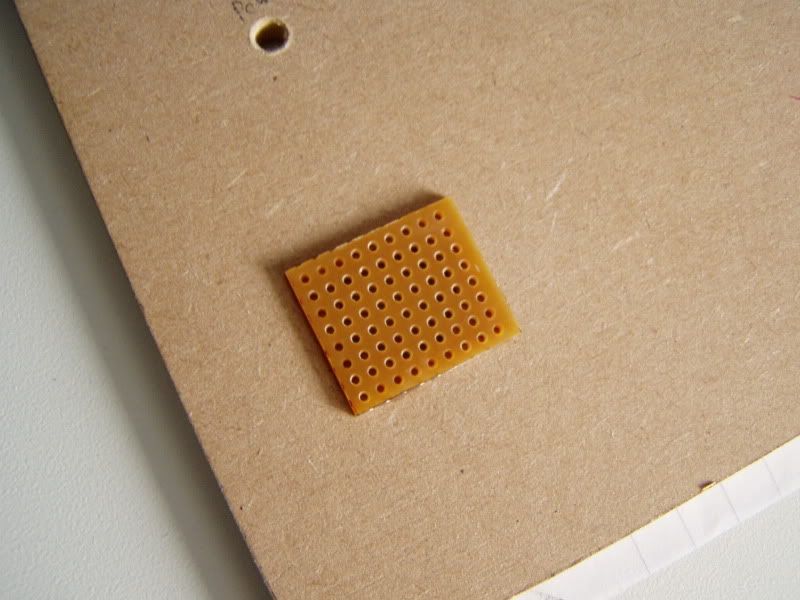
Perf boards for speaker grills:
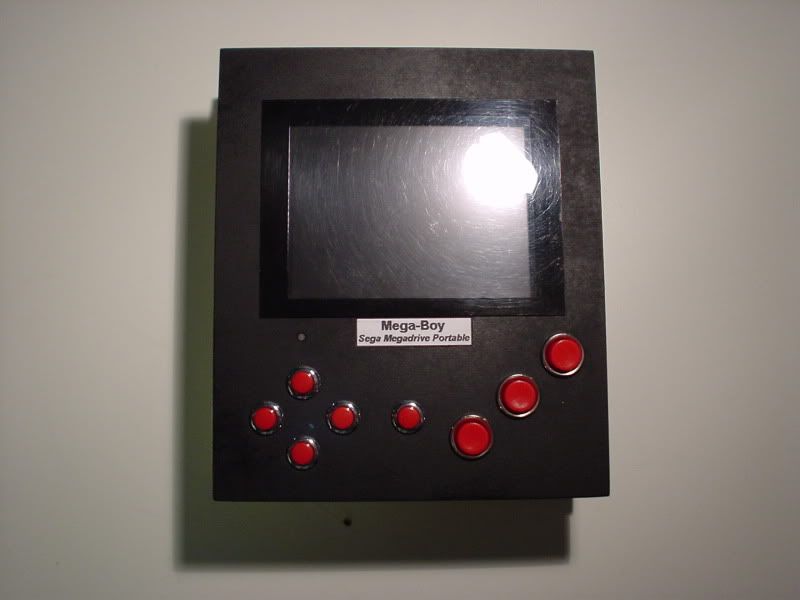
Painted with 3 coats of mat black:
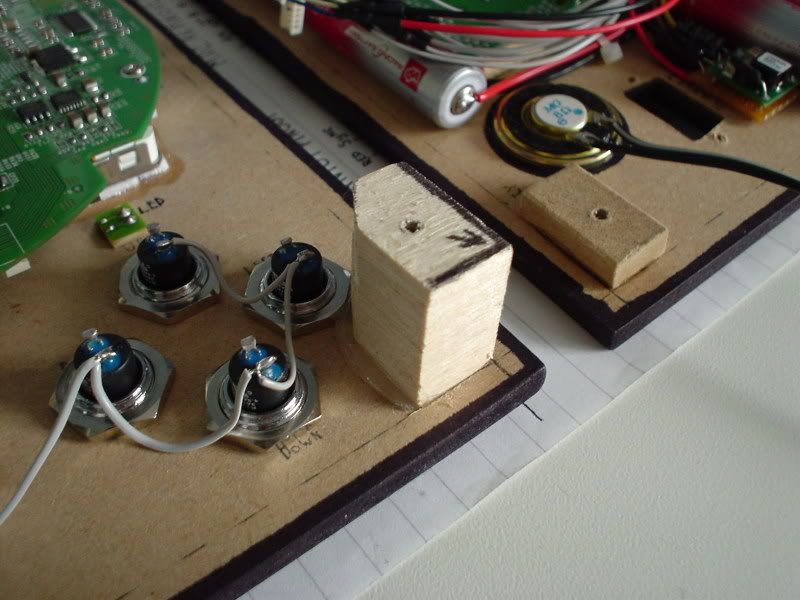
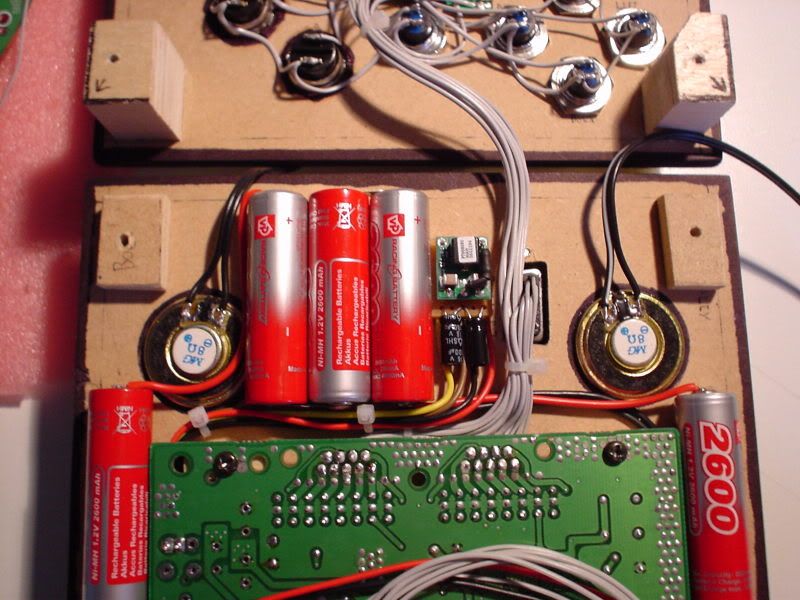
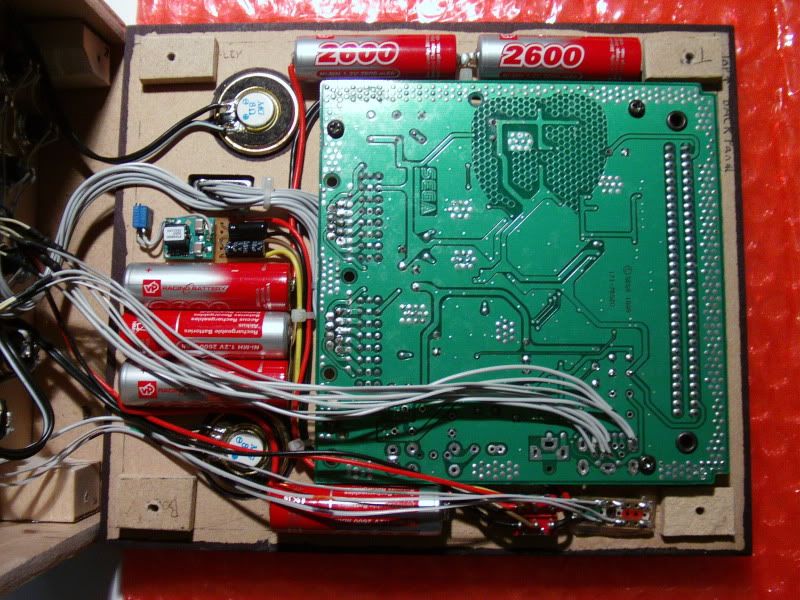
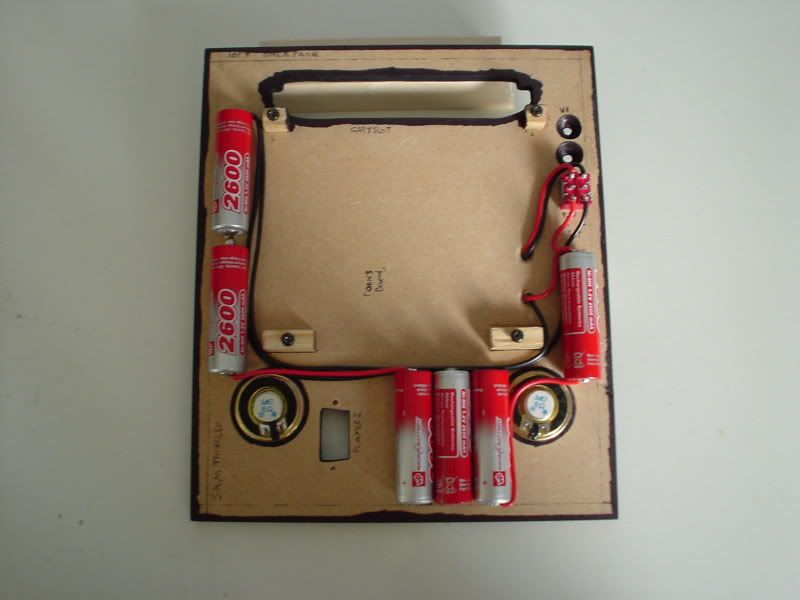
Installed the buttons, screen cover, PSone screen LCD and power led to the front panel. Then installed the Power jacks, power switches, Batteries, speakers and mounts for the genesis board on to the back panel. Also wired up the batteries.
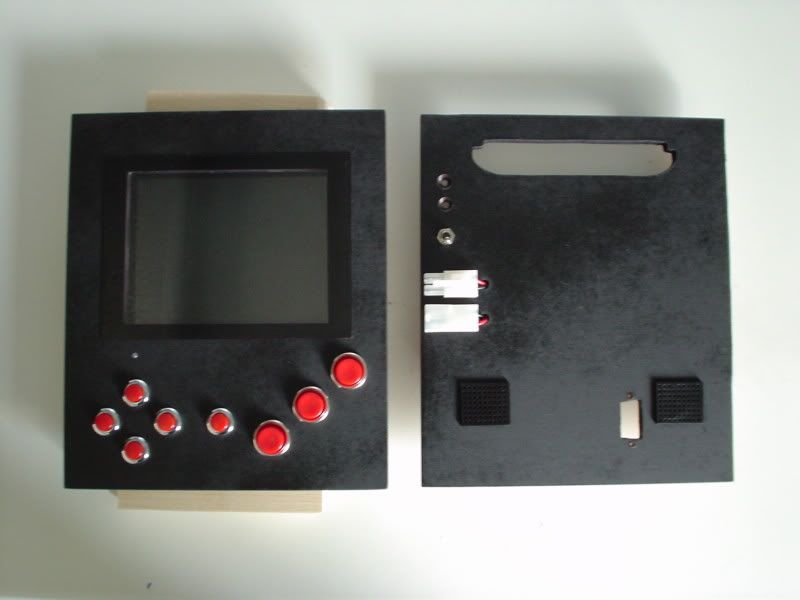
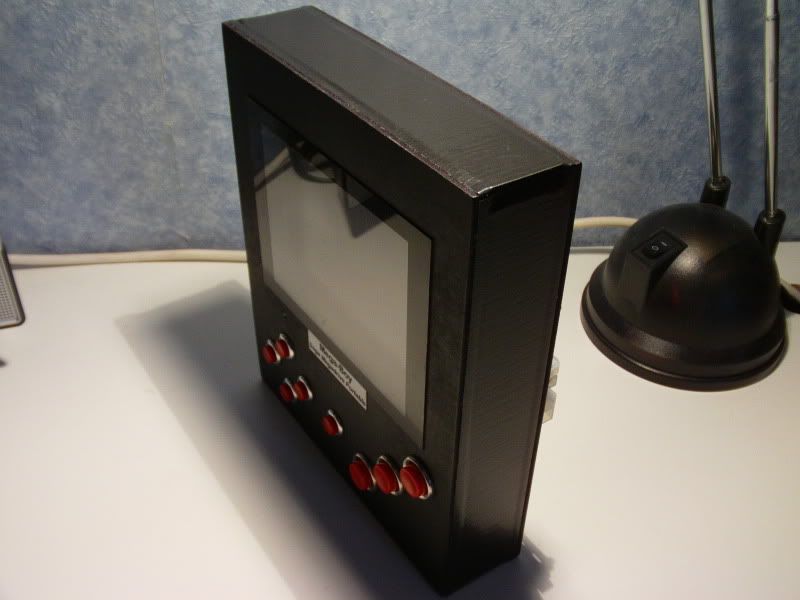
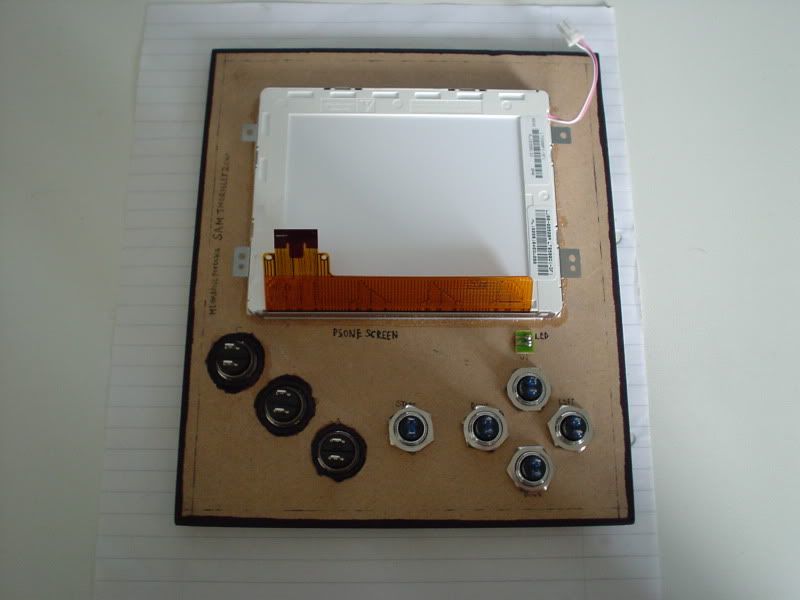
The front panel, i got the screen cover from a crappy game cube screen:
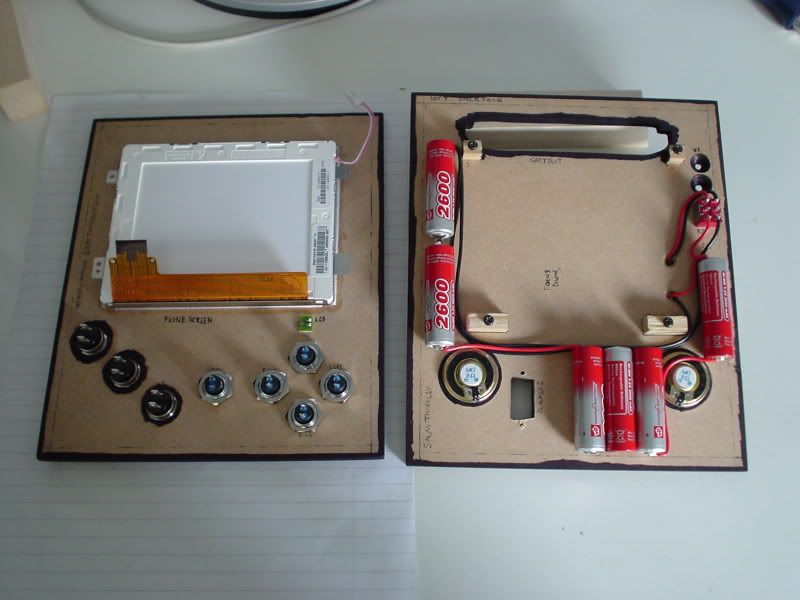
The PSone LCD is held in with double sided sticky foam around the boarder. Then i added some all purpose glue after. The LCD still comes apart from the metal frame, in case one day i want to do an led mod:
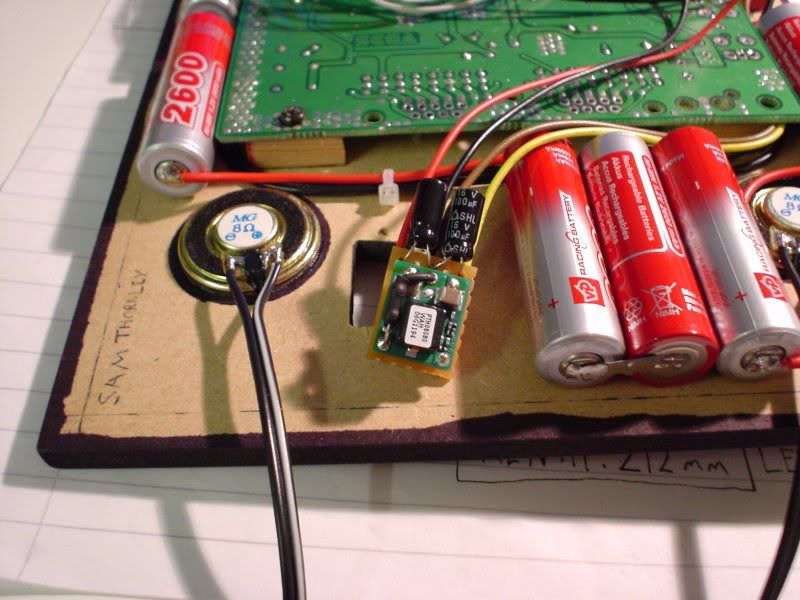
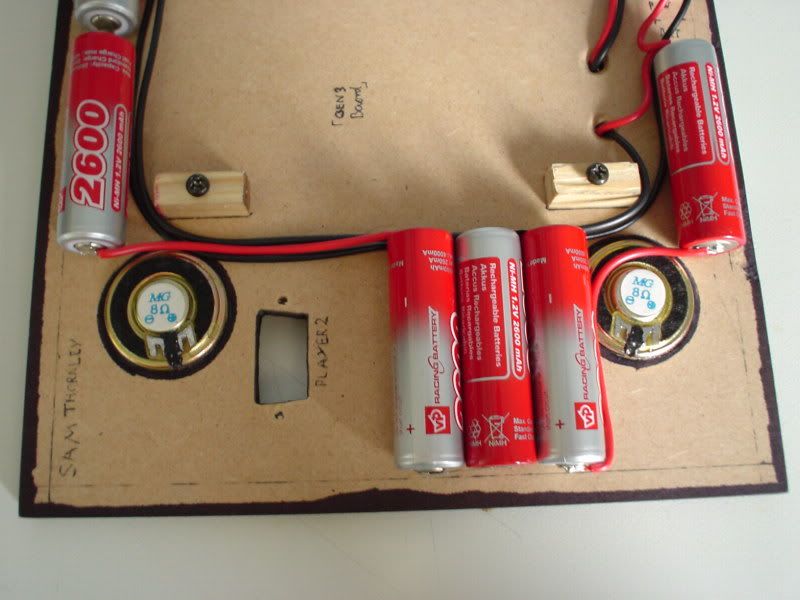
The batteries are all wired up, so is the power switch and DC input jack. The batteries are held in with super glue. You can see where the genesis 3 board is going:
Thats it for now. Expect updates every few days.