Kurt, I'm touched that you actually spent time on that joke. I think I will print those out and carry them in my wallet.
D'oh, page break!
New NOACp worklog: DONE! Video on page 6
Moderator: Moderators
-
Life of Brian
- Moderator
- Posts: 2867
- Joined: Wed Aug 03, 2005 5:55 pm
- Location: Oklahoma
- Contact:
-
Life of Brian
- Moderator
- Posts: 2867
- Joined: Wed Aug 03, 2005 5:55 pm
- Location: Oklahoma
- Contact:
You probably have nothing better to do right now. Why not look at these pictures?
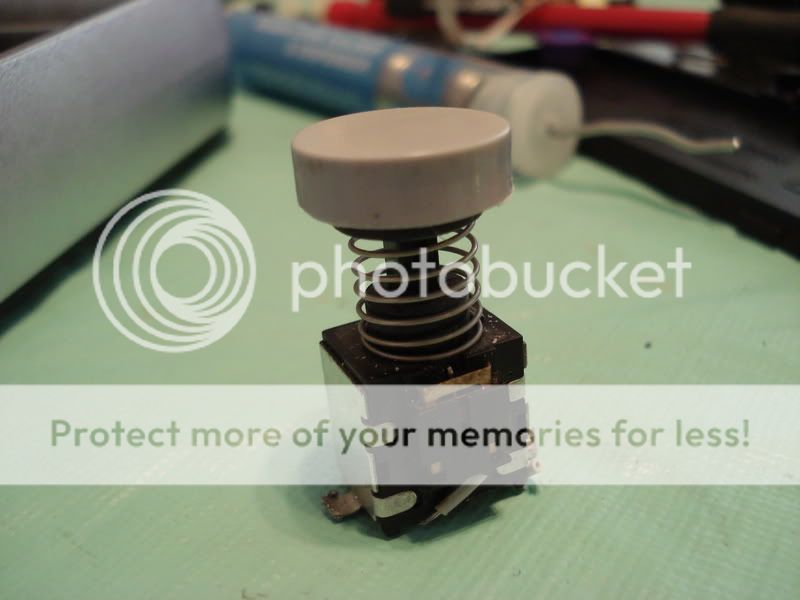
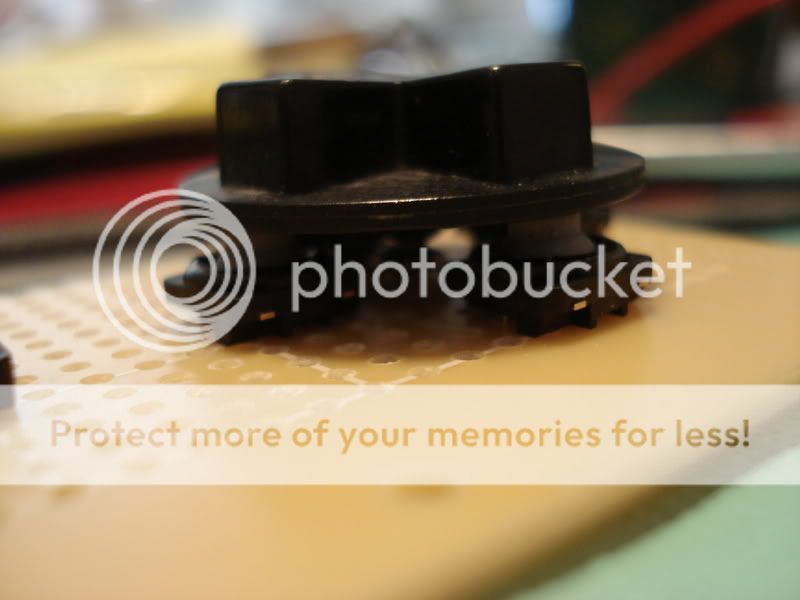
The rubber contact tact switches showed up today! They feel absolutely perfect - like a brand new SNES or NES controller. I love 'em.
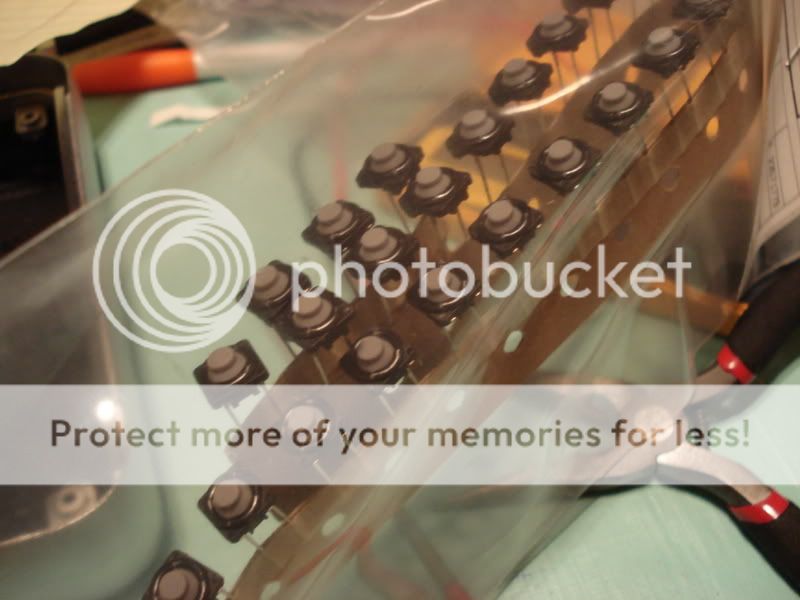
I like them so much, in fact, that I will probably be using them for every project from now on. I highly recommend them. The Digi-Key part number for them is P8029SCT-ND, in case you want to get some. You really should.
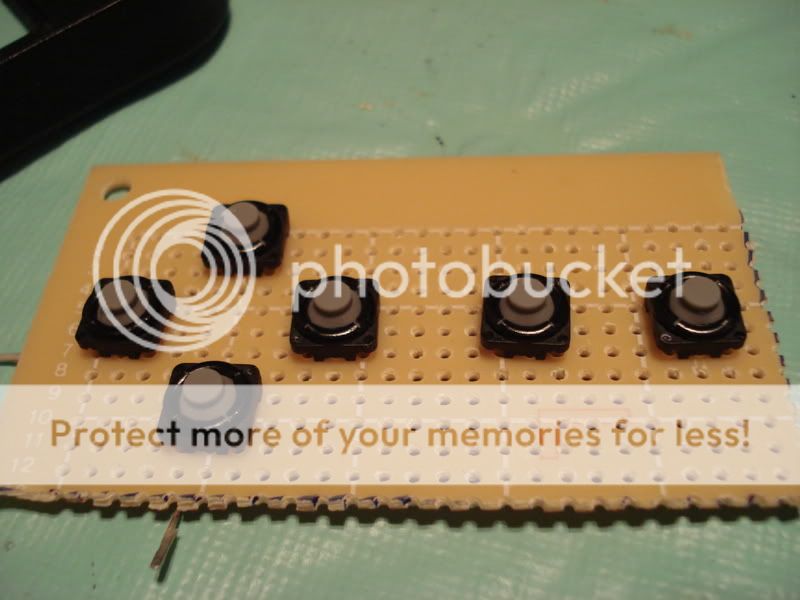
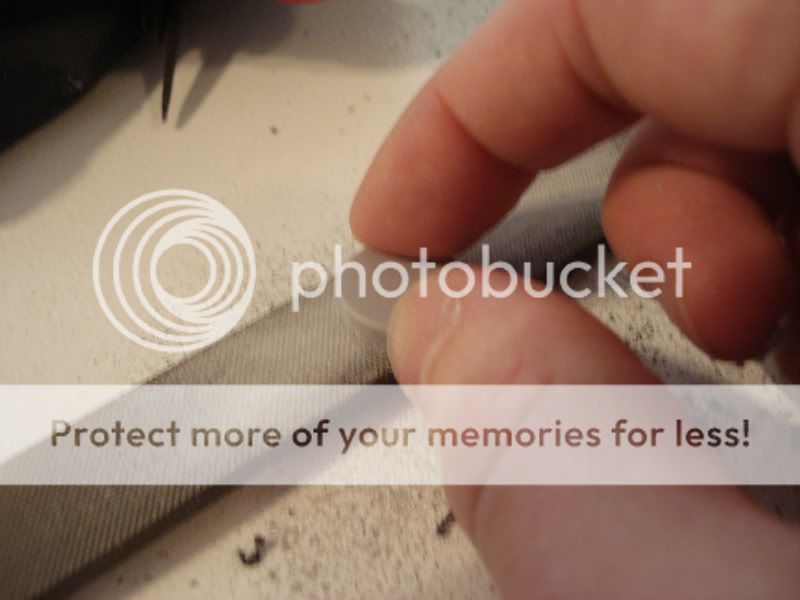
The buttons were sitting a little low on the new tact switches, so I devised a way to raise them a little. I considered filling them with a bit of hot glue, but this cardboard seemed like a better, stronger option.
Superglued in place:
All better!
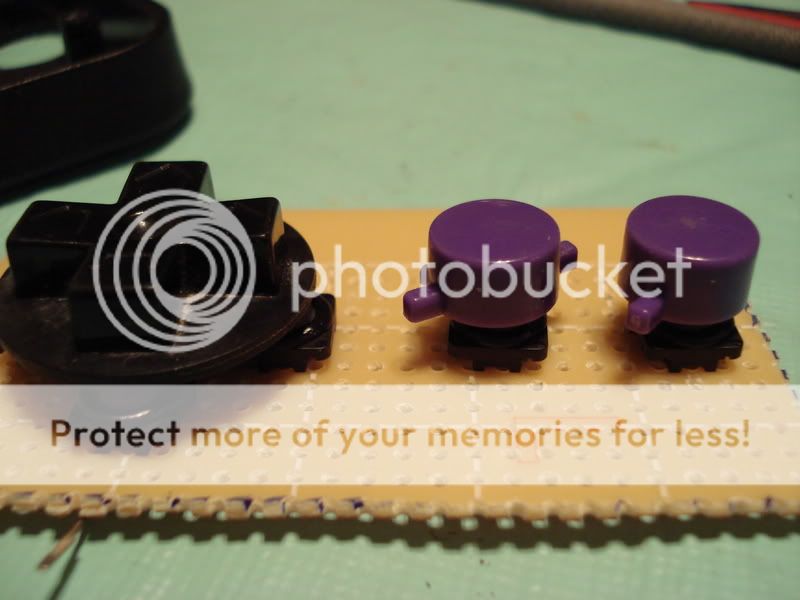
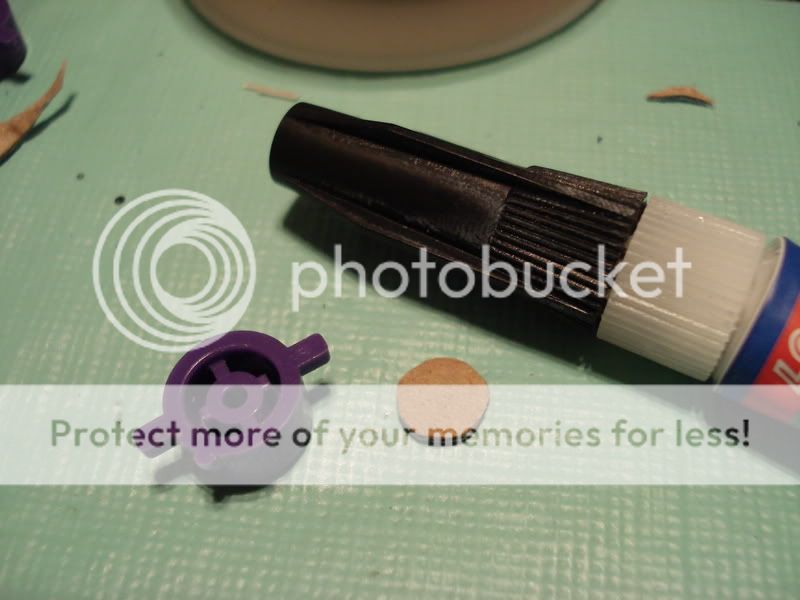
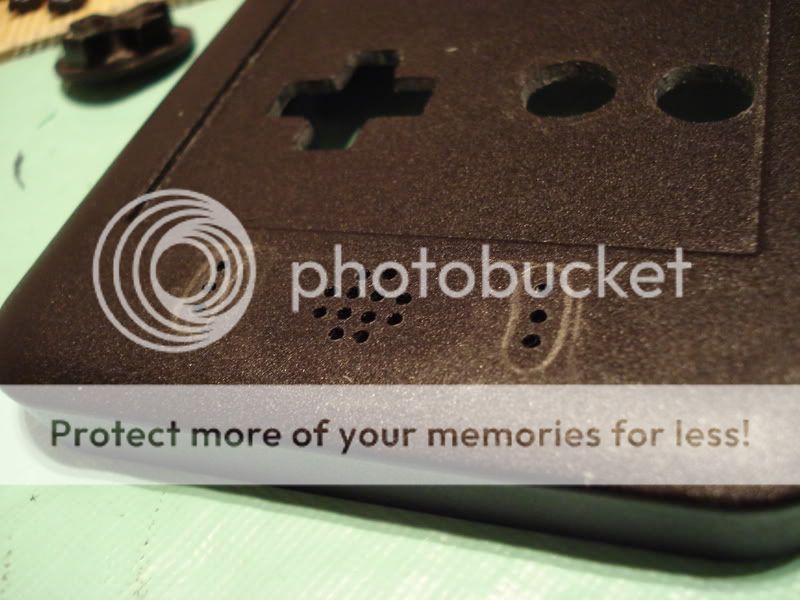
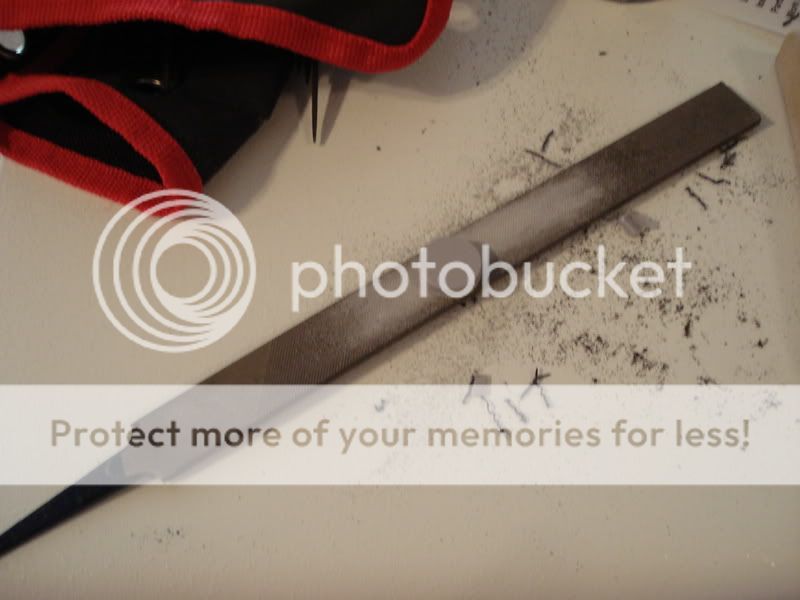
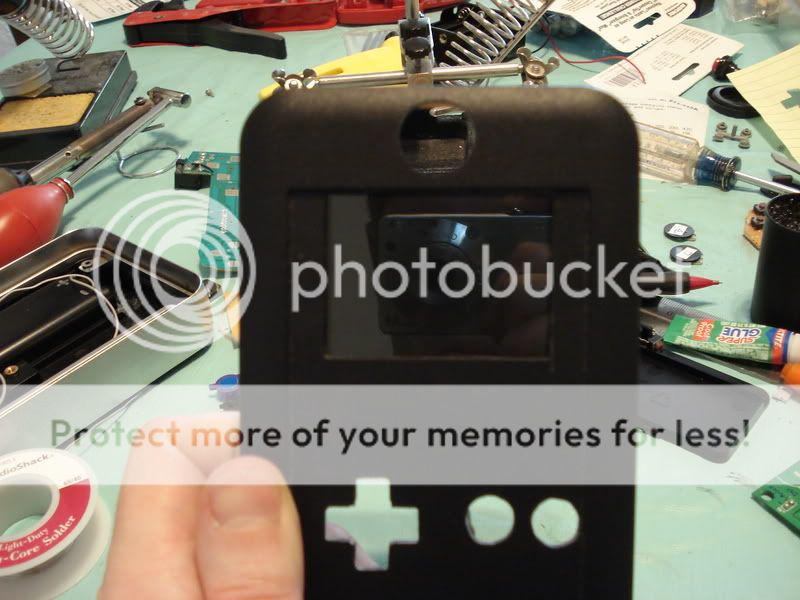
I started working on the start and select buttons. Man, those curved holes were hard to file to just the right shape. I just realized that this portable has a dpad from an NES controller, two purple buttons from an SNES controller, a select and start button from a PS2 controller, and a power switch from a GameCube. I have officially justified holding on to all this crap!
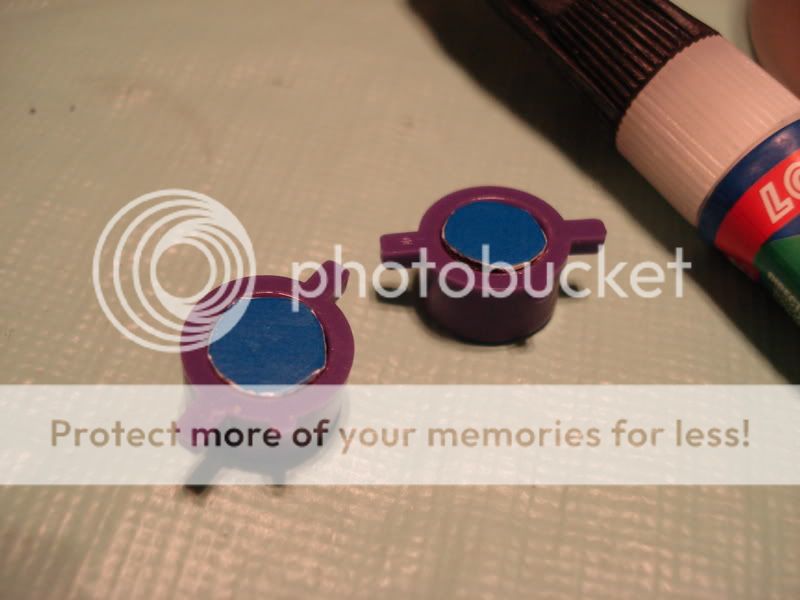
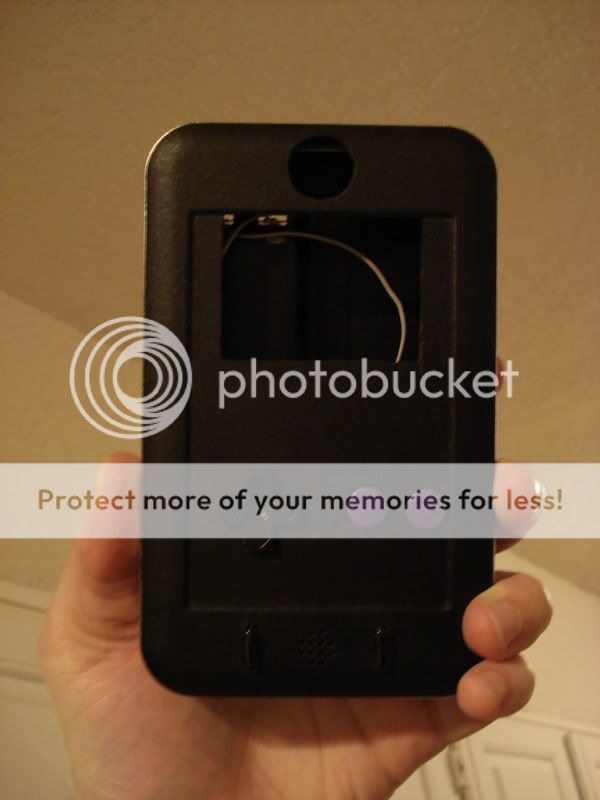
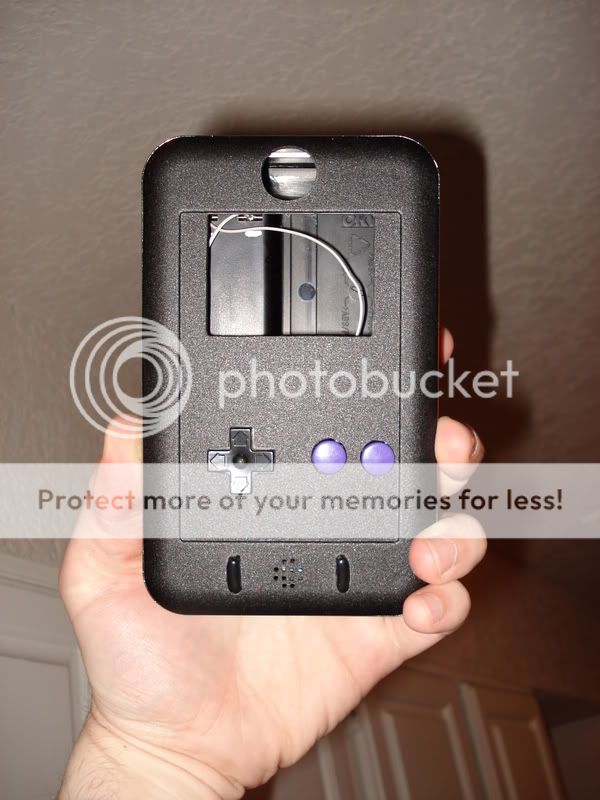
Just a quick mock-up to see how the buttons will look once installed.
Flash so you can see texture and details. I know, the lighting in my apartment isn't very good, and I tend to work in the evening on this stuff. Not all of us are as awesome as Triton and build homemade light tents
At this rate I might be able to submit this sucker in the contest!
The rubber contact tact switches showed up today! They feel absolutely perfect - like a brand new SNES or NES controller. I love 'em.
I like them so much, in fact, that I will probably be using them for every project from now on. I highly recommend them. The Digi-Key part number for them is P8029SCT-ND, in case you want to get some. You really should.
The buttons were sitting a little low on the new tact switches, so I devised a way to raise them a little. I considered filling them with a bit of hot glue, but this cardboard seemed like a better, stronger option.
Superglued in place:
All better!
I started working on the start and select buttons. Man, those curved holes were hard to file to just the right shape. I just realized that this portable has a dpad from an NES controller, two purple buttons from an SNES controller, a select and start button from a PS2 controller, and a power switch from a GameCube. I have officially justified holding on to all this crap!
Just a quick mock-up to see how the buttons will look once installed.
Flash so you can see texture and details. I know, the lighting in my apartment isn't very good, and I tend to work in the evening on this stuff. Not all of us are as awesome as Triton and build homemade light tents
At this rate I might be able to submit this sucker in the contest!
dragonhead wrote:sweet. ive spent a third of my life on benheck!

-
dragonhead
- Posts: 952
- Joined: Sun Apr 04, 2004 4:28 pm
- Location: NH, USA


-
Twilight Wolf
- Posts: 848
- Joined: Wed Jan 14, 2009 10:46 pm
- PSN Username: MySegaSaturn
- Location: Reno

-
Life of Brian
- Moderator
- Posts: 2867
- Joined: Wed Aug 03, 2005 5:55 pm
- Location: Oklahoma
- Contact:
-
Twilight Wolf
- Posts: 848
- Joined: Wed Jan 14, 2009 10:46 pm
- PSN Username: MySegaSaturn
- Location: Reno
-
lovablechevy
- Portablizer Extraordinaire
- Posts: 1104
- Joined: Wed Nov 01, 2006 3:09 pm
- Location: busy with a project
- Contact:
just curious, but what buttons are those from a ps2 controller...? i don't recognize those from any ps2 controller i've seen... 
they call me the Queen of Bondo, though maybe i should be called the Queen of Epoxy Putty
current project - code name: blue mushroom!
current project - code name: blue mushroom!
-
Life of Brian
- Moderator
- Posts: 2867
- Joined: Wed Aug 03, 2005 5:55 pm
- Location: Oklahoma
- Contact:
They came from a wireless, see-through controller for PS2. It was smaller than normal size, and I think it was made by Pelican. Two of its regular buttons (X, O, square, triangle) were used in the Nintendo SuperBoy - I used them as the clear select and start buttons in that portable. I had originally intended to put blue LEDs under them but never got to it.
dragonhead wrote:sweet. ive spent a third of my life on benheck!
-
Life of Brian
- Moderator
- Posts: 2867
- Joined: Wed Aug 03, 2005 5:55 pm
- Location: Oklahoma
- Contact:
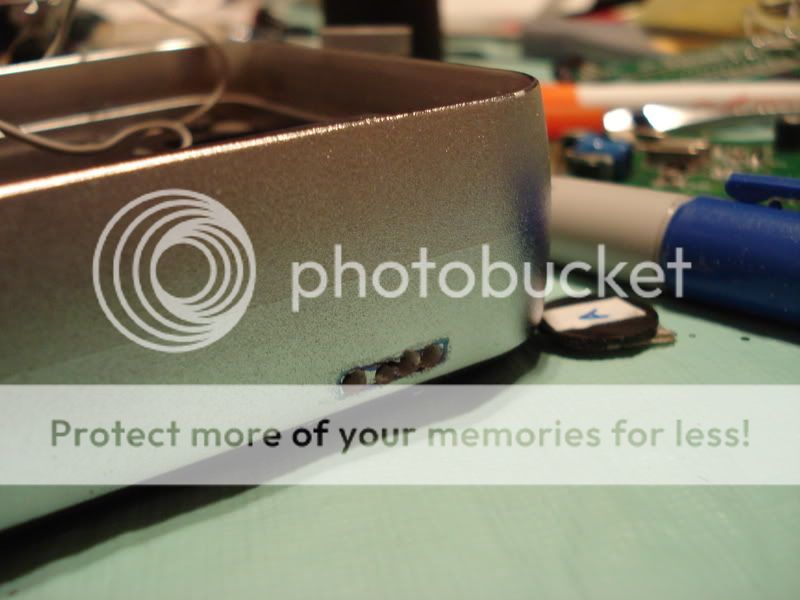
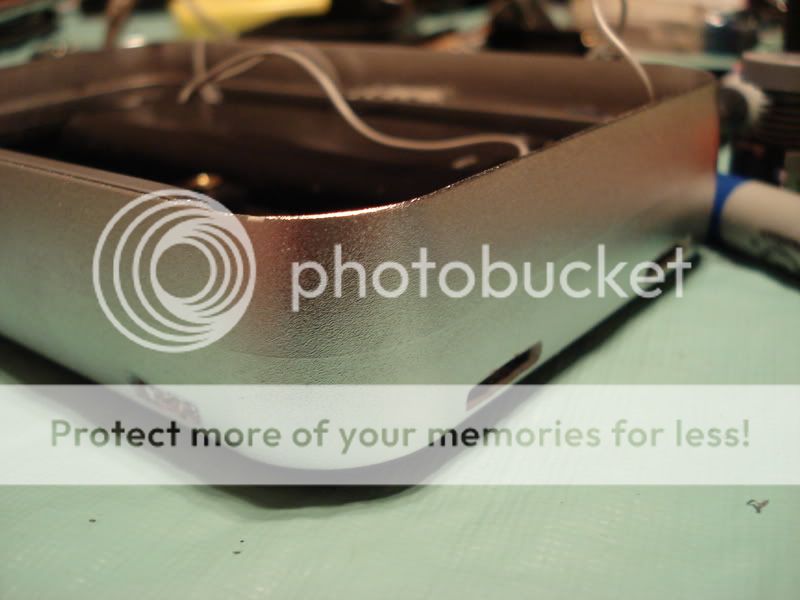
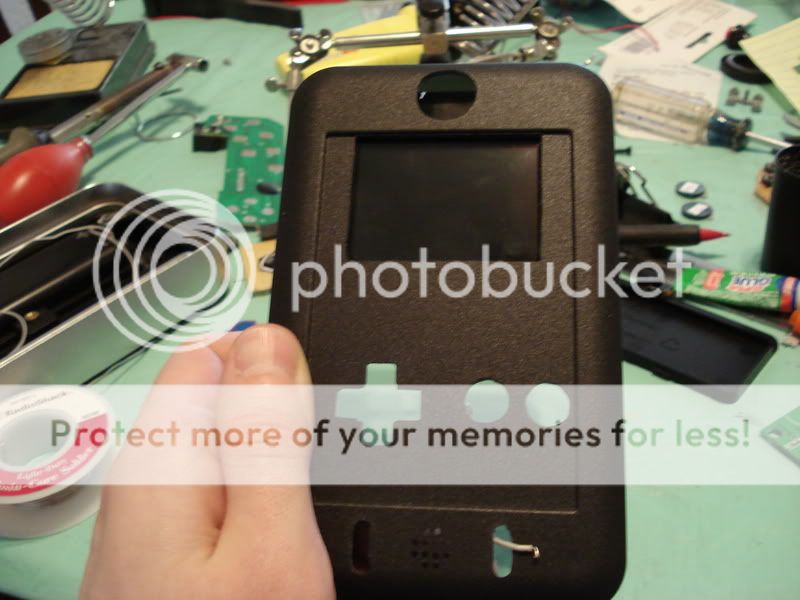
Good news, children - more pictures! The case is totally done. It is now time to work on the electronics.
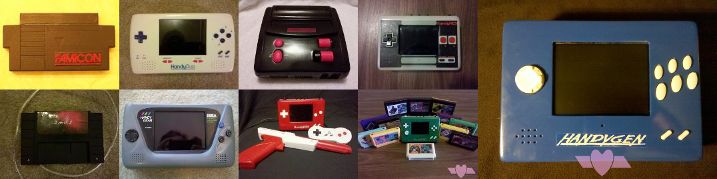
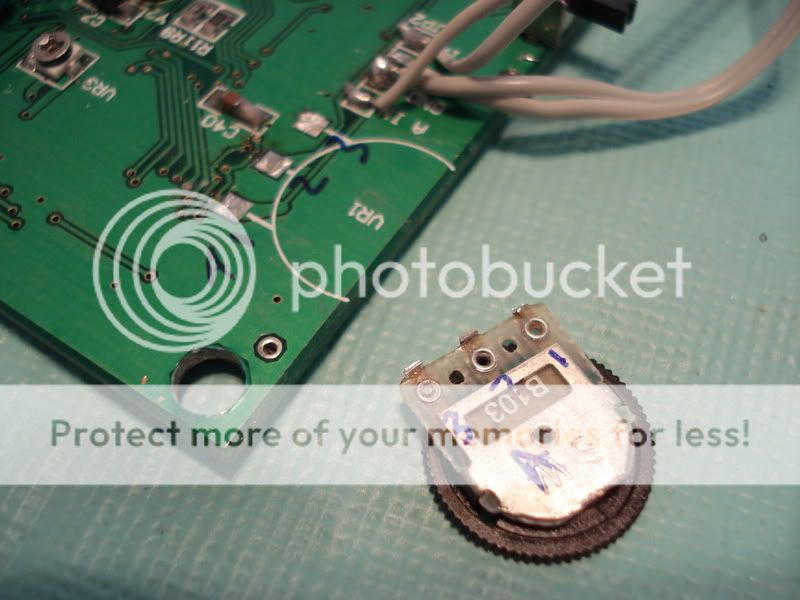
These three pots are for the screen's brightness, color, and volume. They are different values, and rather than measuring them with a multimeter to make sure I'm using the right one in the right spot, I just labeled them with a bit of white electrical tape and called them A, B, and C.
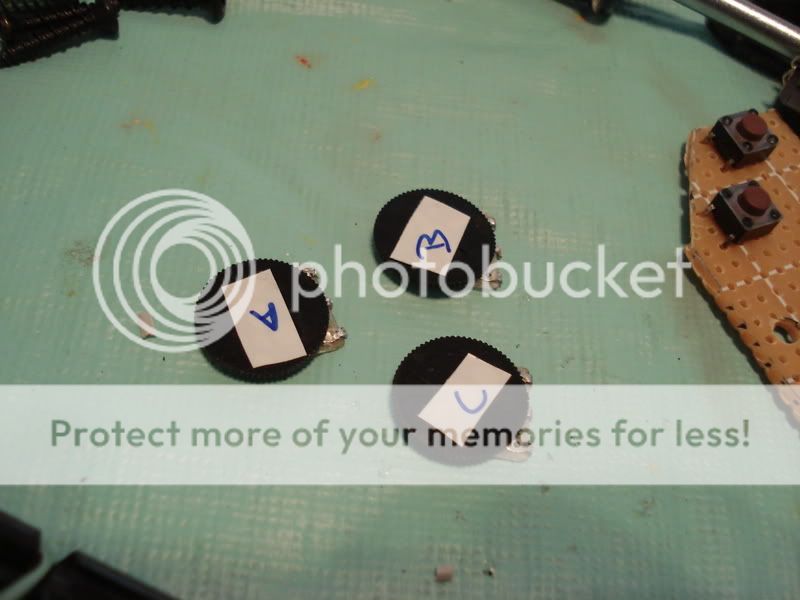
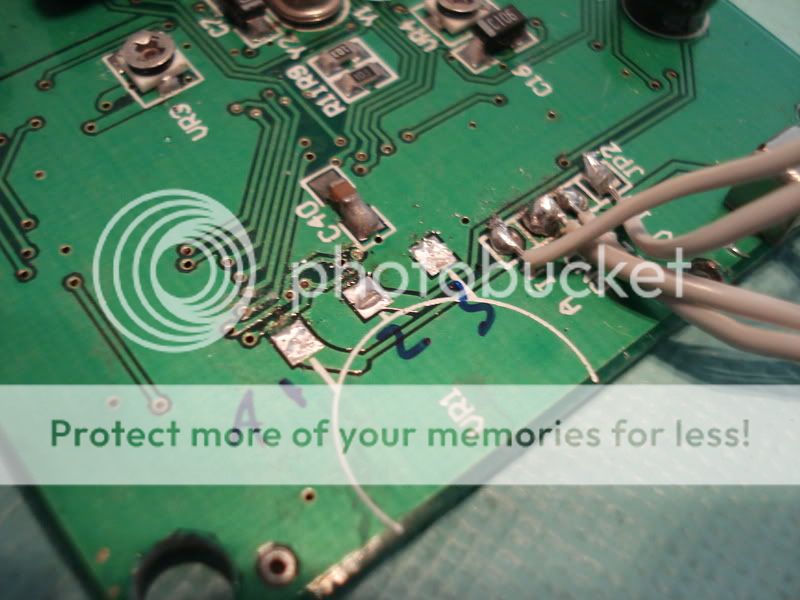
I also labeled each pin 1, 2, or 3 on both the board and the back of the pot. It will make things so much easier later:
The majestic GameCube power switch, cut down to size and hot glued on top:
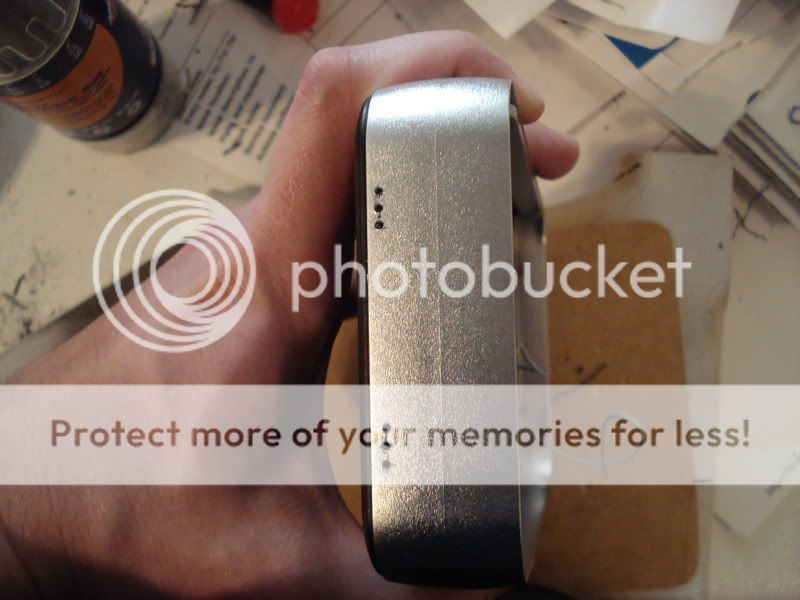
I had to take a lot of plastic off of the power switch's gray cap. To do this, I first cut the excess plastic off with wire cutters and then used a giant file to get it to just the right height.
Messy!
I drilled and filed holes for the three pots. I spent the most time on that today. What a pain! But it was worth it:
I also tacked the screen in place with a bit of hot glue to see if it would get in the way of the power switch. It did, but I did a bit of filing here and there and all is well now.
Very shiny screen!

I'm really liking how the layout is shaping up. It's going to be very comfortable to hold and play.
These three pots are for the screen's brightness, color, and volume. They are different values, and rather than measuring them with a multimeter to make sure I'm using the right one in the right spot, I just labeled them with a bit of white electrical tape and called them A, B, and C.
I also labeled each pin 1, 2, or 3 on both the board and the back of the pot. It will make things so much easier later:
The majestic GameCube power switch, cut down to size and hot glued on top:
I had to take a lot of plastic off of the power switch's gray cap. To do this, I first cut the excess plastic off with wire cutters and then used a giant file to get it to just the right height.
Messy!
I drilled and filed holes for the three pots. I spent the most time on that today. What a pain! But it was worth it:
I also tacked the screen in place with a bit of hot glue to see if it would get in the way of the power switch. It did, but I did a bit of filing here and there and all is well now.
Very shiny screen!
I'm really liking how the layout is shaping up. It's going to be very comfortable to hold and play.
dragonhead wrote:sweet. ive spent a third of my life on benheck!
-
themadhacker
- Senior Member
- Posts: 2670
- Joined: Wed Aug 06, 2008 7:53 pm
- Location: ohio
-
lovablechevy
- Portablizer Extraordinaire
- Posts: 1104
- Joined: Wed Nov 01, 2006 3:09 pm
- Location: busy with a project
- Contact:
looking great, brian!
they call me the Queen of Bondo, though maybe i should be called the Queen of Epoxy Putty
current project - code name: blue mushroom!
current project - code name: blue mushroom!
Damn, this has gone pretty quick. And its beautiful! More pics, PLEASE!
Please keep an eye on my HBN64 progress.
HBN-Style Anti-Noise Headphones.
Moderatio Est Figmentum.
Long live the Queen of Bondo!
HBN-Style Anti-Noise Headphones.
Moderatio Est Figmentum.
Long live the Queen of Bondo!
-
Twilight Wolf
- Posts: 848
- Joined: Wed Jan 14, 2009 10:46 pm
- PSN Username: MySegaSaturn
- Location: Reno
-
Life of Brian
- Moderator
- Posts: 2867
- Joined: Wed Aug 03, 2005 5:55 pm
- Location: Oklahoma
- Contact:
The race to the finish line continues ever onward.
When modding electronics, it's essential to take detailed notes so you know where to reconnect stuff. Who cares if you use proper diagrams or know all the names of all the components - all that matters is if you can reconnect what you took apart:

Once I followed all the traces and made my own pinout, it was time to score the circuit board with an exacto knife and snap out the chip:

I then scraped the traces, applied some flux, and tinned them:


Rekarp has experience with these rubber contact buttons and he highly recommended putting something in the middle of the dpad area to prevent what he calls "rollover", which is when you press really hard in one direction and it accidentally presses in another direction as well. I drilled a small hole and inserted a screw:


The dpad sits just like it used to, but now it has something in the middle to help it rock in only one direction instead of squishing all the buttons at the same time. An easy fix to a problem I wouldn't have discovered until the project was completely finished. Thanks Rekarp!
I tacked the speaker in place with a little bit of hot glue. It came from a hip gear screen, and was the only speaker small enough on hand that would fit this project. I used two in my SuperBoy project, and they sound perfectly fine. Nice and loud.

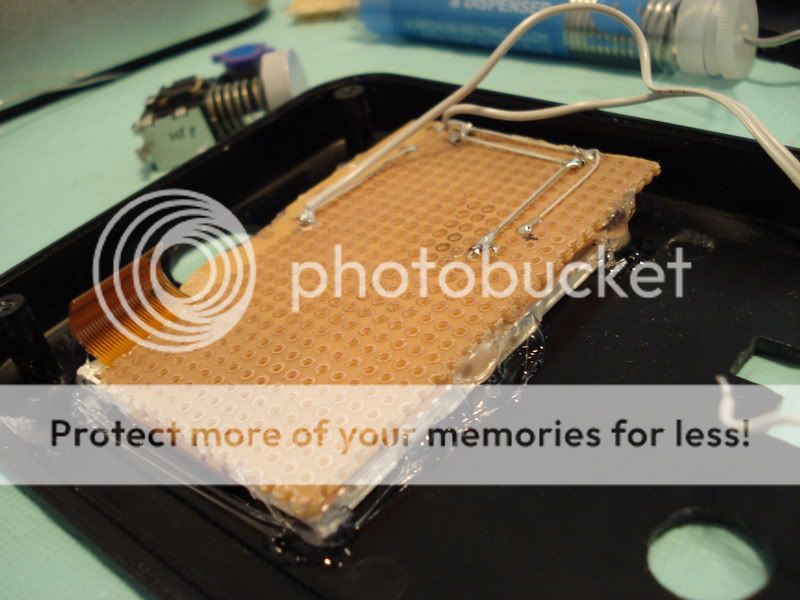
This project enclosure box from OKW is the perfect size for a NOAC portable. My voltage booster is that little thing on the right.

I connected the screen's circuit board and did a test fit. Uh oh - it's too thick inside!

The culprits:


But never fear - a bit of quick soldering relocation work and all was well:

In my Advanced Instrumental Analysis class, we discussed operational amplifiers. I already had a bit of experience with them from building an audio amp for portables! I noticed that this board uses an LM386 for the audio circuit:

See? Right there:

Well, time for class. I may work on this some more tonight, but if I don't then it will be well into next week before I get any more progress. I'm going to be a wee bit busy this weekend - I'm sure you all can forgive me if I take a short break!
When modding electronics, it's essential to take detailed notes so you know where to reconnect stuff. Who cares if you use proper diagrams or know all the names of all the components - all that matters is if you can reconnect what you took apart:
Once I followed all the traces and made my own pinout, it was time to score the circuit board with an exacto knife and snap out the chip:
I then scraped the traces, applied some flux, and tinned them:
Rekarp has experience with these rubber contact buttons and he highly recommended putting something in the middle of the dpad area to prevent what he calls "rollover", which is when you press really hard in one direction and it accidentally presses in another direction as well. I drilled a small hole and inserted a screw:
The dpad sits just like it used to, but now it has something in the middle to help it rock in only one direction instead of squishing all the buttons at the same time. An easy fix to a problem I wouldn't have discovered until the project was completely finished. Thanks Rekarp!
I tacked the speaker in place with a little bit of hot glue. It came from a hip gear screen, and was the only speaker small enough on hand that would fit this project. I used two in my SuperBoy project, and they sound perfectly fine. Nice and loud.
This project enclosure box from OKW is the perfect size for a NOAC portable. My voltage booster is that little thing on the right.
I connected the screen's circuit board and did a test fit. Uh oh - it's too thick inside!
The culprits:
But never fear - a bit of quick soldering relocation work and all was well:
In my Advanced Instrumental Analysis class, we discussed operational amplifiers. I already had a bit of experience with them from building an audio amp for portables! I noticed that this board uses an LM386 for the audio circuit:
See? Right there:
Well, time for class. I may work on this some more tonight, but if I don't then it will be well into next week before I get any more progress. I'm going to be a wee bit busy this weekend - I'm sure you all can forgive me if I take a short break!
dragonhead wrote:sweet. ive spent a third of my life on benheck!
-
dragonhead
- Posts: 952
- Joined: Sun Apr 04, 2004 4:28 pm
- Location: NH, USA