UPDATE TIME
Well, you may have been thinking I have done nothing, but I have done plenty. I was just to lazy to post an update.
I have all of the controller crap bondoed, super glued, spot puttied, and kind of primed with paint. The 6 led's in my screen look 100 times better than that piece of crap that is in my ps1p. I relocated the jumper pak, it was pretty easy with some 30 gauge enamel wire. I copied bacteria in counter sinking the mother board into the case. OK, picture time....
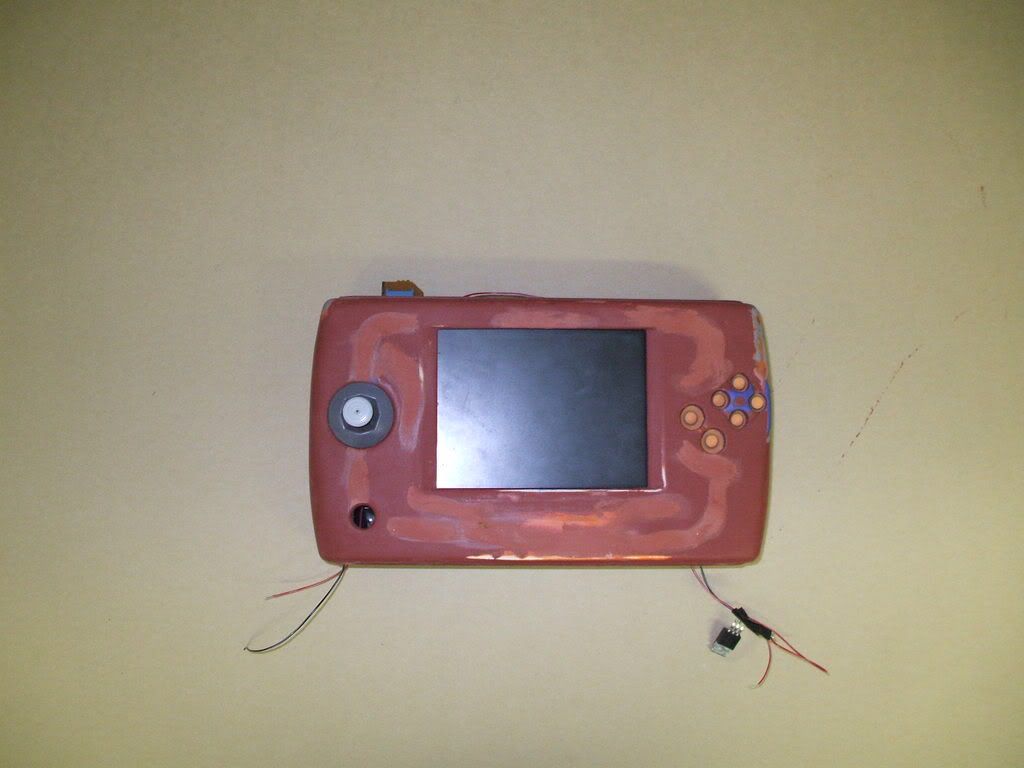
this shows the front of the unit, there is no d-pad (cause I have never used it)

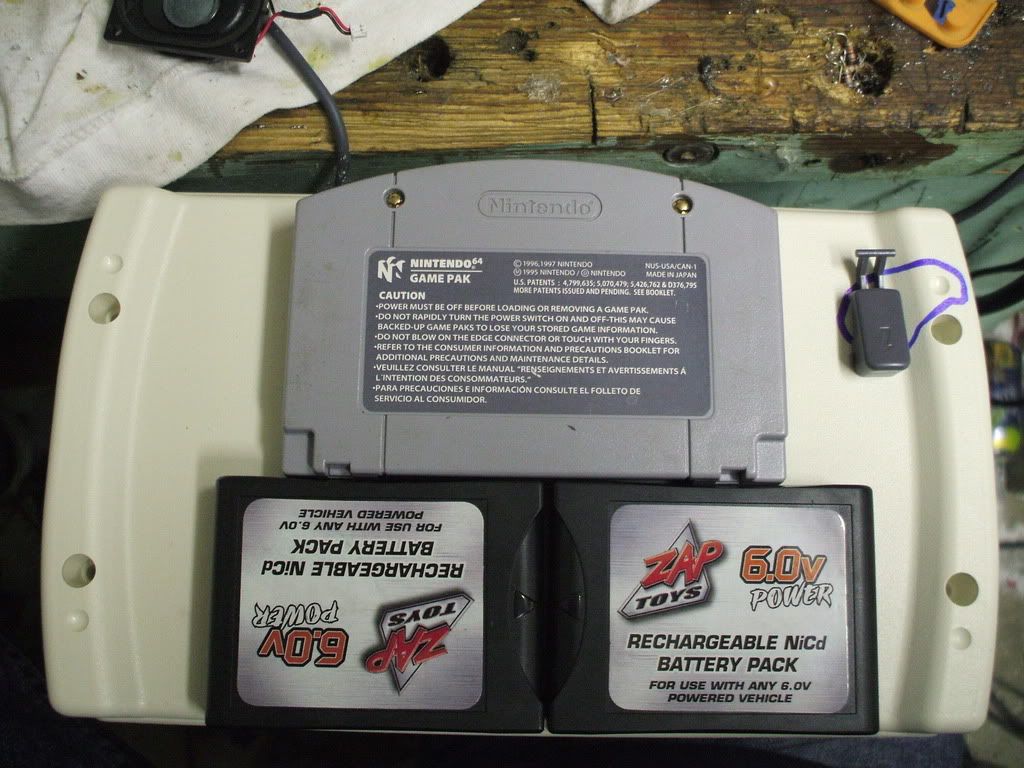
Back of unit showing the car slot, the ps1 buttons for L & R and my beautiful Z button. It is so pleasant to hold. ALSO thats right folks, it going to be bright glossy
ORANGE
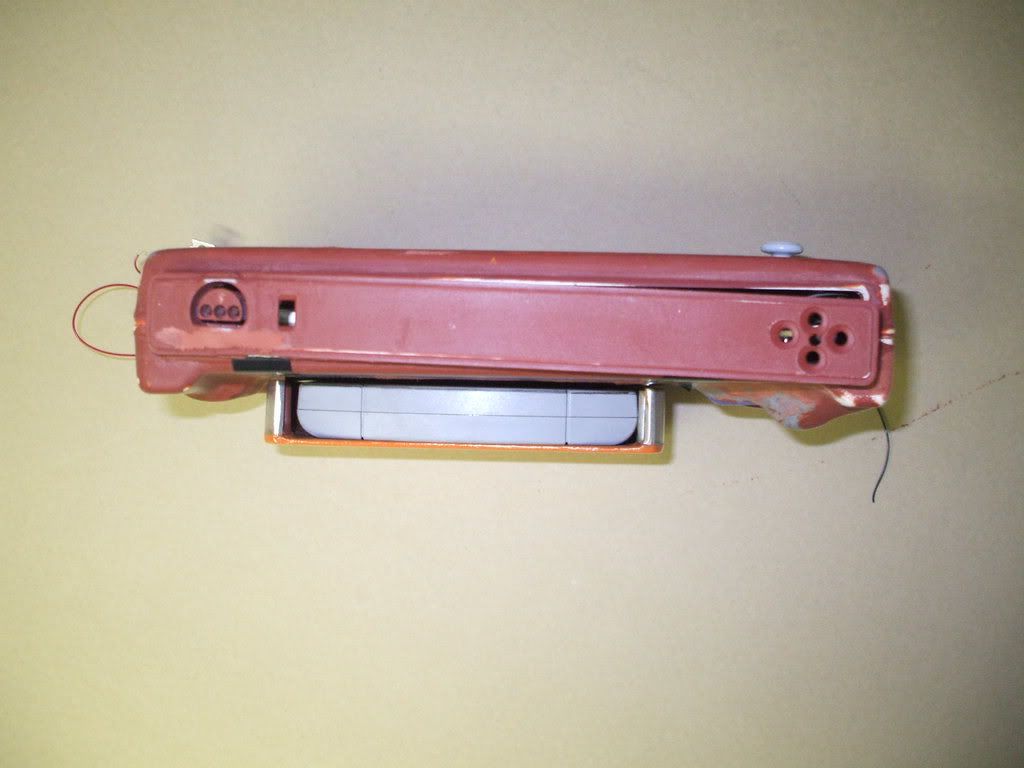
top of unit showing the volume up/down brightness up/down and the FULL SIZE controller port. Also an indication of overall thickness.
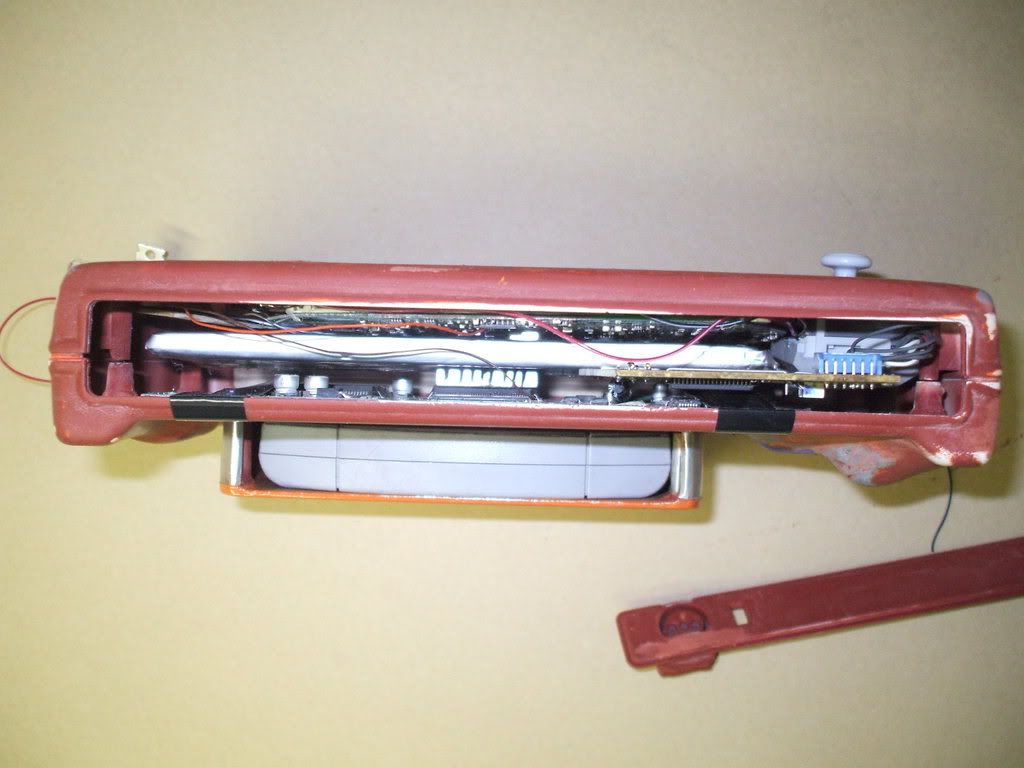
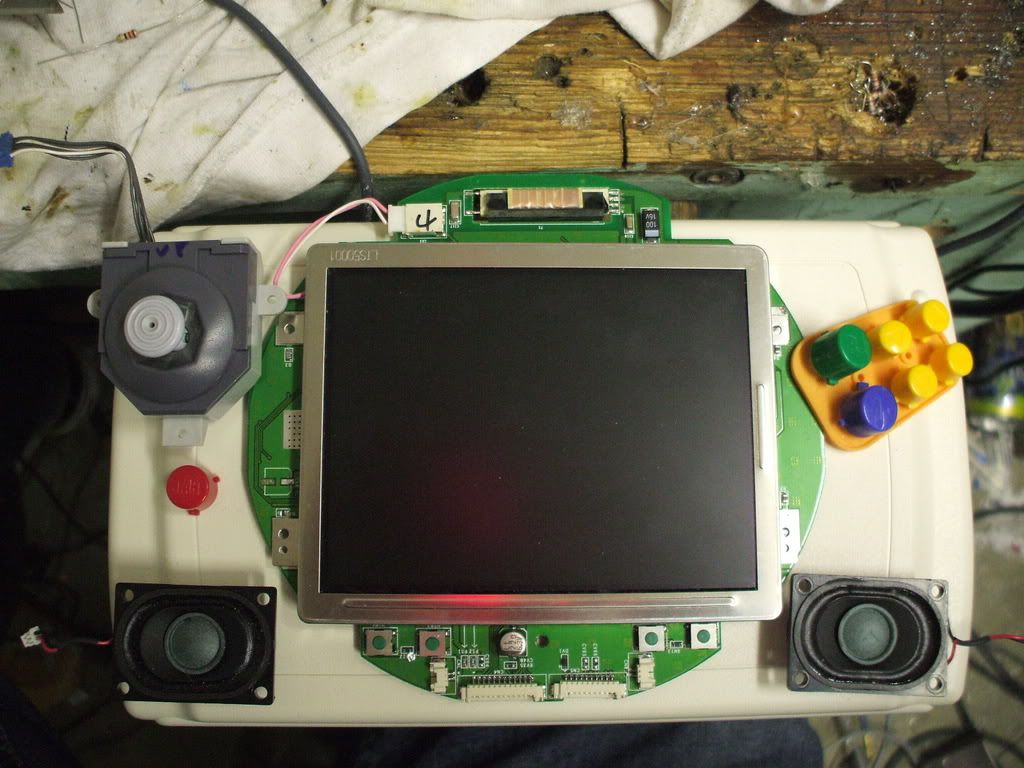
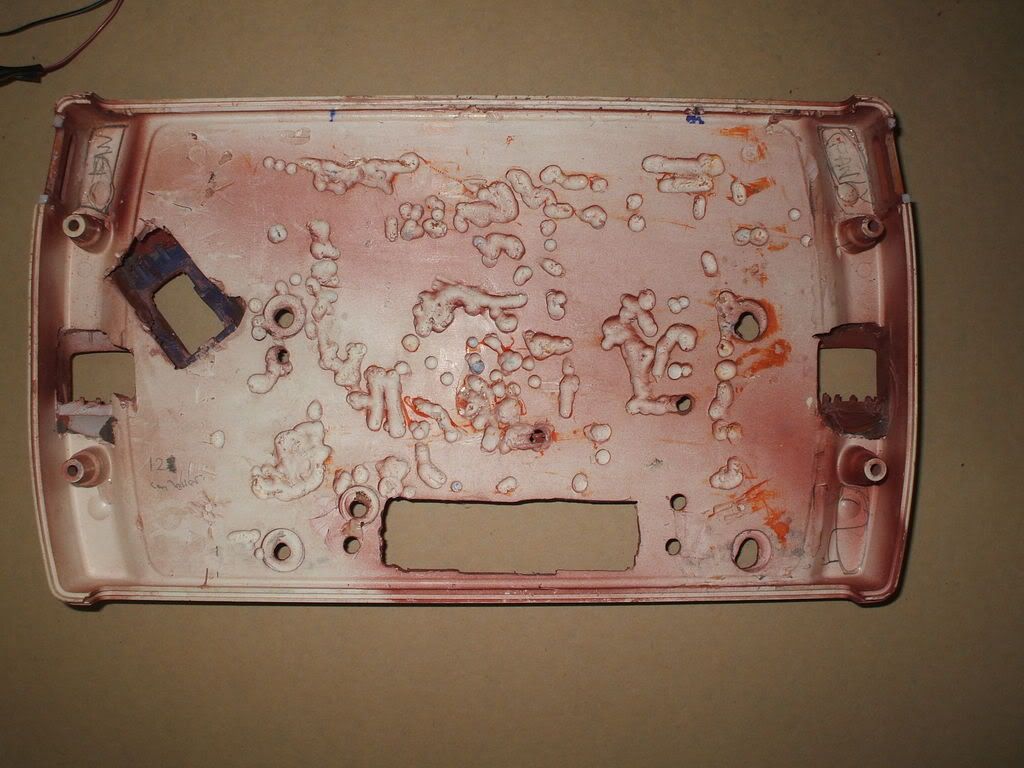
BUSY BUSY BUSY, there is so much stuff rammed in there, but it all fits nicely.
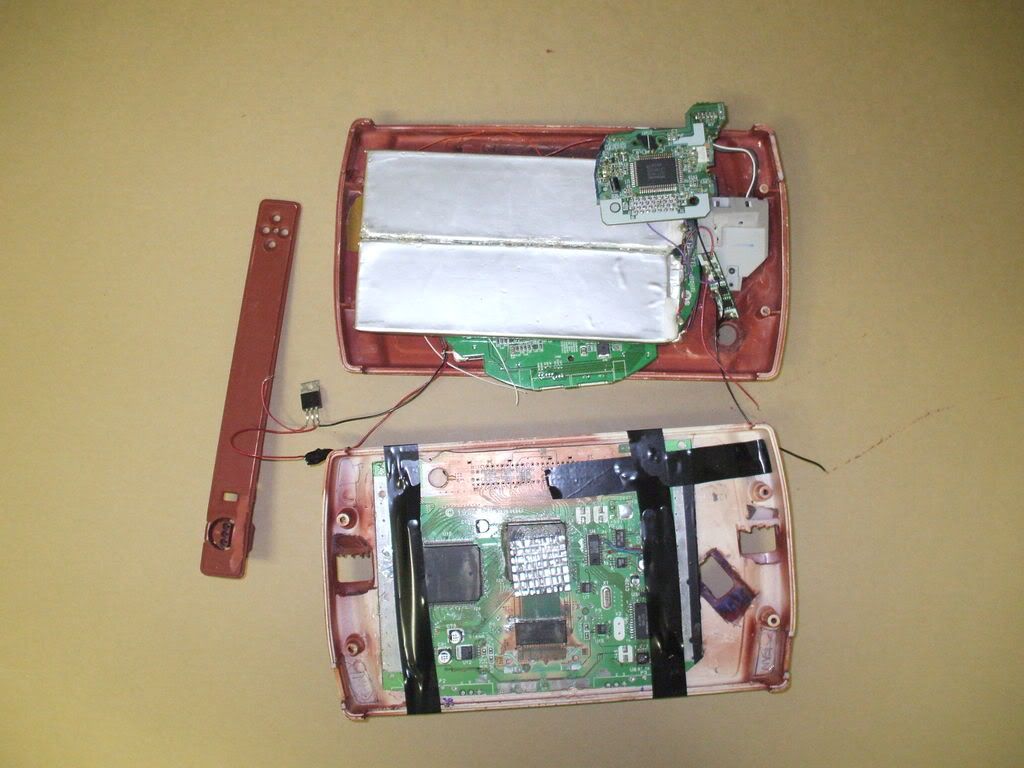
split, indicates what components go where.
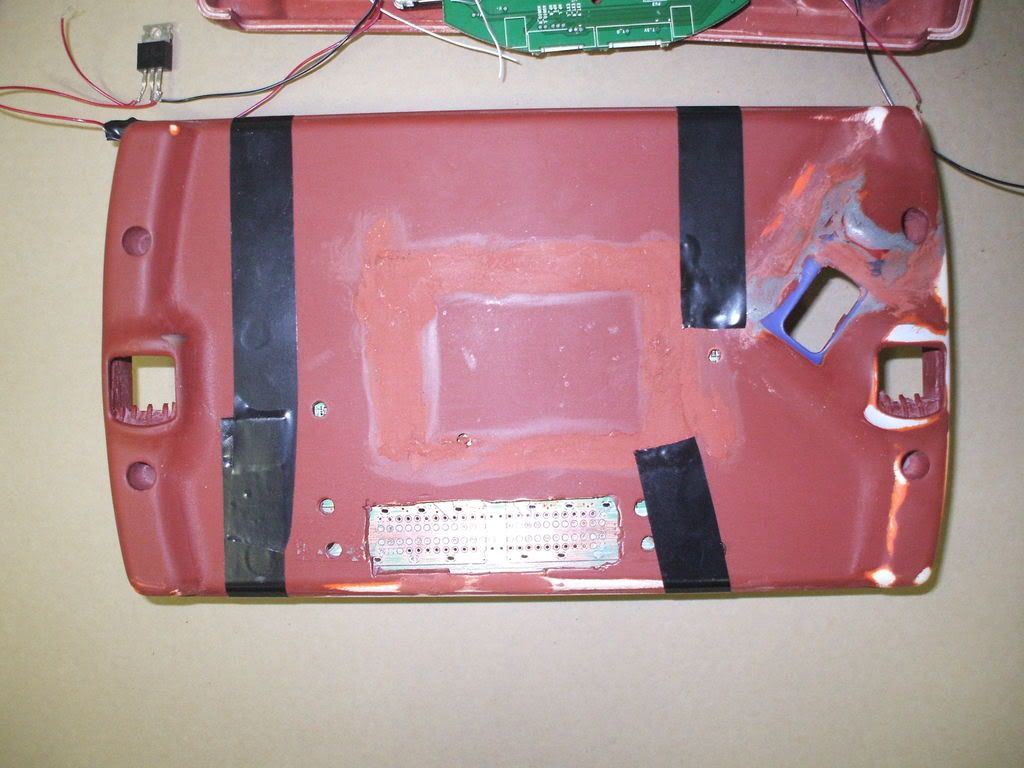
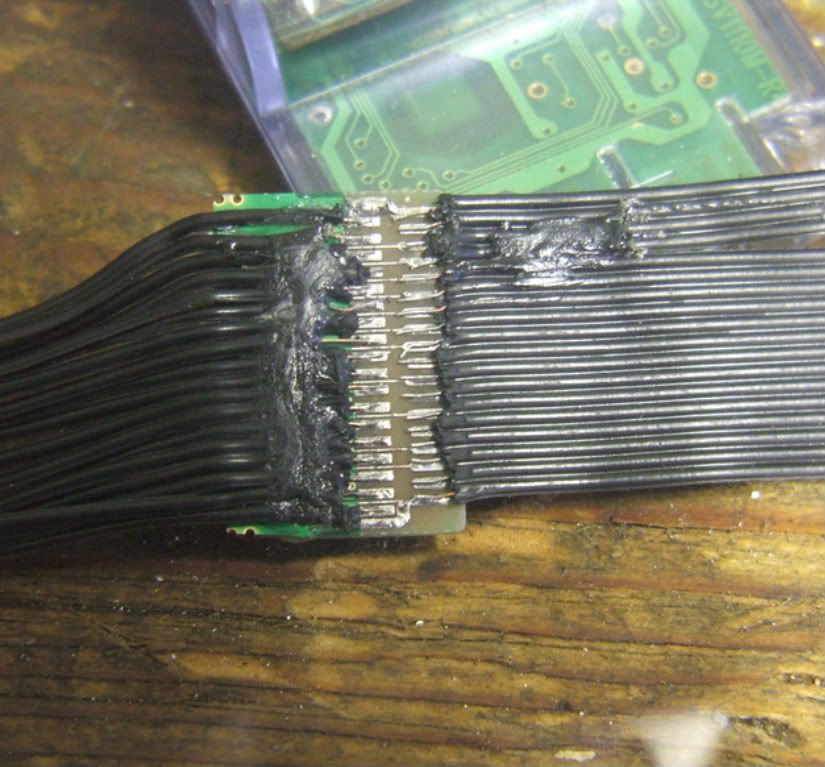
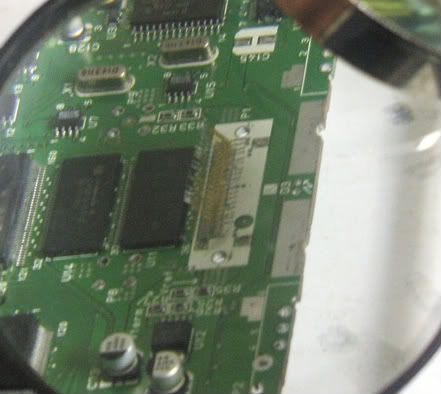
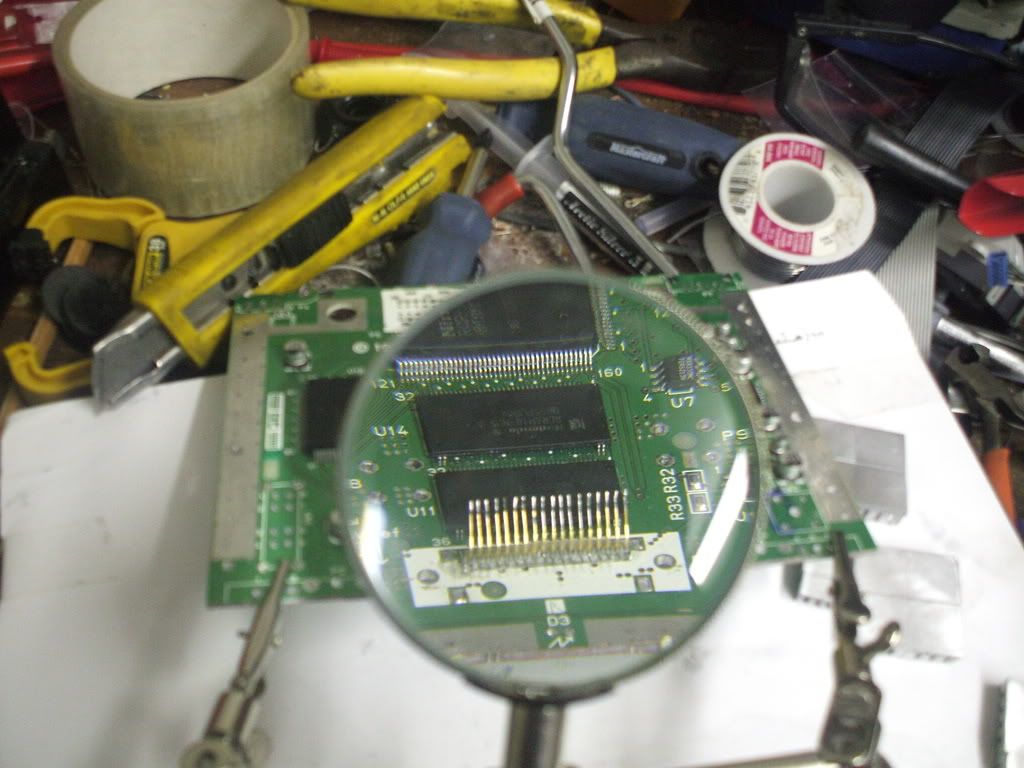
If you look close, you can see all the cartridge pins right there. this means that I have to wire the cart solidly in place... means harder work and a greater risk of melting some case.
Counter sinking was a real pain. eventually I had to take a piece of paper and lay it on a soft but firm surface and place the motherboard on it and push down on it to make dents where components are. I then colored them with a sharpie and dremeled and drilled them out. It took about 1hr
Top view without the cover to indicate whats going on in there.