NESp Finished! - bNESp - Pictures (56k warning)

Includes Atari 2600, Nintendo 8-bit, Sega Master System, MSX and more!

Moderator: Moderators

TheOnlyOneHeFears
Portablizer
Posts: 396
Joined: Mon Oct 16, 2006 9:53 am
Location: Here be Dragons!

NESp Finished! - bNESp - Pictures (56k warning)

Post by TheOnlyOneHeFears »

So I finally decided to start work on my NESp today, after practically finishind my mocks :D YES!
Ahem
Well anyway, my replacement Super Joy hasn't come yet, so I decided to work on the Hip Gear Screen. Sadly my camera's broken, so no pics :(
I unscrewed the whole shebang and snipped every wire connecting the halves together, so I was just left with the screen assembly. At the moment, I've got the LCD connected to its board, connected to the brightness etc adjust board. I had to de-solder the two Hip Gear speakers.
That's basically it now :P Yeah not much progress, but this is my first portable :) I've issued a houshold bulletin; if anyone so much as breathes next to the screen assembly, they get it, big time :lol:
Few questions:
1. I have the Xbox version of the screen, and I presume if I snip the ribbon cable connecting the screen board and the adjust board and strip that cable, I can just connect my wires there instead of bothering with the TINY solder holes on the screen board. Can I do this? Also, on bquatch's diagram, what are the adjust power and adjust ground used for? Where do I connect them?
http://www.bquach.com/images/gamegrrl/pinout.jpg

2. The gold ribbon cable connecting the screen to the screen board is incredibly flimsy. Is there any way I can strengthen it?

Cheers in advance!
Last edited by TheOnlyOneHeFears on Tue May 15, 2007 3:49 am, edited 3 times in total.
Image
paul4990
Posts: 510
Joined: Sun Oct 30, 2005 2:21 pm
Location: Greater Manchester
Contact:

Post by paul4990 »

strengthen the ribbon by putting tape around it
demonofaj
Portablizer Extraordinaire
Posts: 2553
Joined: Tue Jun 21, 2005 2:52 pm
PSN Username: ajsen1gma
Steam ID: demonofaj
Location: NYC (718)
Contact:

Post by demonofaj »

My personal tip is honestly just to let it be :wink:
"Life's a female of the dog species, then you die.."
TheOnlyOneHeFears
Portablizer
Posts: 396
Joined: Mon Oct 16, 2006 9:53 am
Location: Here be Dragons!

Post by TheOnlyOneHeFears »

Cool, thanks for the tips :)
My first question still stands: What are the power adjust and the ground adjust for on bquatch's diagram? What do the adjusts actually do?
Thanks!

MAJOR EDIT:
Well, I had the morning and the evening off today, considering I only had one exam (German writing, ugh :P), so I made major progress with my NESp. Its practically finished, electronics wise. I just need to solder everything together, as I tested by twisting the connections and covering them with electrical tape. Yeah, ghetto I know, but better than soldering a bunch of useless connections :P.

After preparing the LCD last night, my mum and I went to collect my Power Player (stupid thing was too big for my letter box), and I ripped it apart as soon as I got it home. Snipped the ribbon cable, sliced it into separate wires, stripped them etc. twisted it all together, and turned on. And to my delight, it worked first time! No hitches, no errors, no nothing :D. Only bad thing was that my mum misenterpreted (sp?) my screams of delight as soldering iron related injuries :lol:

Hooked up controller, and played a bit of Contra :D.

No pics, sorry, crappy broken camera :(

Stuff to do:
BUILD A CASE
Solder everything together
Get sound working
A/V Output
2nd player controller port.

Oh, and I also took apart the Power Player 2p controller, and it is the worst thing I have ever laid my eyes/hands on! Bent circuit board, flimsy wires, cheap buttons, terrible D-Pad, appalling soldering. Ok, so I was expecting it to be bad, but dyslexic monkey bad? Ah well
Image
TheOnlyOneHeFears
Portablizer
Posts: 396
Joined: Mon Oct 16, 2006 9:53 am
Location: Here be Dragons!

Post by TheOnlyOneHeFears »

Yeah, the title of this topic's a bit misleading...I've still got a lot to do :P
Progress from today:
-Got rid of the ghetto electrical tape connections, and started to do some proper soldering. I got composite video in, the controller wires and power soldered to a switch.
-Tried for at least half an hour to get sound working, but failed. I really need help on this! On the brightness adjust board I twisted the red and white wires together to simulate mono audio. I then connected the resulting connection to the mono audio spot on the Super Joy and connected the remaining black wire to ground. But no sound! I tried using the volume dial to adjust the volume, nothing. I tried the headphone socket, nothing. I even tried using the on/off switch on the adjust board, to see if that made any difference and again, nothing!
I really need help here, so if anyone can, I'd be truly grateful.
-Final note: I'm making a guide on how to do this, even though its really too simple to warrant a walkthrough :P. But I think it would be a good idea. So look out for that soon!
Tschuss!
-TheOnlyOneHeFears
Image
TheOnlyOneHeFears
Portablizer
Posts: 396
Joined: Mon Oct 16, 2006 9:53 am
Location: Here be Dragons!

Post by TheOnlyOneHeFears »

So I got most of the case done today.
It's basically the Hip Gear screen front superglued to the two halves of the NES controller. I rather like it :). At the moment, its very scratchy, however I will be doing some sanding and some bondoing soon hopefully.

Front:

<a href="http://photobucket.com/" target="_blank"><img src="http://i7.photobucket.com/albums/y261/T ... table1.png" border="0" alt="Photobucket - Video and Image Hosting"></a>

I plan on bondoing the screw post gaps, and generally making it look tidyier.

Front 2:

<a href="http://photobucket.com/" target="_blank"><img src="http://i7.photobucket.com/albums/y261/T ... table2.png" border="0" alt="Photobucket - Video and Image Hosting"></a>

You can see that I ripped out the screen cover on the Hip Gear casing. This was because I got superglue on it during construction :roll:

Back:

<a href="http://photobucket.com/" target="_blank"><img src="http://i7.photobucket.com/albums/y261/T ... table3.png" border="0" alt="Photobucket - Video and Image Hosting"></a>

Its a bit of a rats nest in there :P The Super Joy is taped down, and shall remain so until I get a hot glue gun. I also need to cut and sand the back pieces to protect the boards :)

I'm pretty proud of my portable. Its very basic (no sound, no A/V output etc.) but for a first portable, I'm pleased, especially considering I got it to work first time. I had to miss out stuff because of time constraints. All the extra stuff (A/V output, 2P port etc.) will come in my next version. I rather like making NOACps :)

I call my creation...THE POWER BOY!
Image
Nick
Posts: 320
Joined: Fri Jan 06, 2006 3:12 pm
Location: ....I forgot.

Post by Nick »

Cool. That is one awesome case! Can't wait to see it finished!
Refusing to change my avatar since like freakin 2007.
TheOnlyOneHeFears
Portablizer
Posts: 396
Joined: Mon Oct 16, 2006 9:53 am
Location: Here be Dragons!

Post by TheOnlyOneHeFears »

Heh thanks :). I am rather proud of the case, considering it's my first portable. My next portable will probably be another NOACp, with everything I wanted to have here. I may well add NES cart support :D
Image
Rellizate
Posts: 732
Joined: Sat Nov 04, 2006 11:00 am

Post by Rellizate »

Looking quite good. But I never liked the whole concept with the screen fastened to the main bit. I like it all in one.
A piece of advice, don't think about your next portable before you finish this one. You will think up some good ideas for the next portable, and start working on that.

Or at least I did.
TheOnlyOneHeFears
Portablizer
Posts: 396
Joined: Mon Oct 16, 2006 9:53 am
Location: Here be Dragons!

Post by TheOnlyOneHeFears »

Just a quick update/bump to say that I've now got audio working, which is always a plus. I'm also making the case better/prettier, so I'll hopefully have some new pics sometime soon.
Image
schmellyfart
Portablizer Extraordinaire
Posts: 1151
Joined: Sun Mar 05, 2006 8:29 pm
Steam ID: schmellyfart
Location: Gilbert, AZ

Post by schmellyfart »

Could you put up a pic of where you have the audio input wired to? I cant seen to get and audio on my pNES.
TheOnlyOneHeFears
Portablizer
Posts: 396
Joined: Mon Oct 16, 2006 9:53 am
Location: Here be Dragons!

Post by TheOnlyOneHeFears »

Sure, I'll try and post a pic later.
I scrounged a speaker from an old broken radio, which had two wires. I connected one wire to the sound pin from the Super Joy (Pin 3, from the left as you look at it), and the other wire to +5v coming from my battery. It isn't very loud, so I might try to construct/find an audio amplifier circuit. There's no volume controll either. Still, it's a darn sight better than having no audio :P
Image
goodie
Posts: 824
Joined: Mon Oct 11, 2004 1:02 pm

Post by goodie »

I'm pretty sure that the other wire should be going to ground, instead of +5v. Perhaps that will make it louder.
mnbvcxzlkjhgfdsapoiuytrewq
TheOnlyOneHeFears
Portablizer
Posts: 396
Joined: Mon Oct 16, 2006 9:53 am
Location: Here be Dragons!

Post by TheOnlyOneHeFears »

It's been a while, so I thought I furnish you all with an update

-I've been working on the case a lot recently, now that I've finally got some Bondo. I ended up replacing the bottom part with the other side of a controller shell, to give me more room inside. I've basically re-worked most of the case, but it still follows the same design. I need to do some more Bondo and paint soon.
-Fixed sound, as described in a previous update. I've also set up A/V output, partially to test on the big screen, but also as a nice extra feature. I also want to set up two power switches, so you can switch off the screen to save battery power if you are using A/V output.
-One bad thing though, my controller doesn't seem to want to work. I'm pretty sure one of the wires has broken loose, so I'll hopefully fix it pretty quickly. It could be a battery problem, my test batteries are quickly dying :P

That's all for now hermanoes!
Image
TheOnlyOneHeFears
Portablizer
Posts: 396
Joined: Mon Oct 16, 2006 9:53 am
Location: Here be Dragons!

Post by TheOnlyOneHeFears »

Wow, it's been a while since updates. Well, I've finally finished :D 
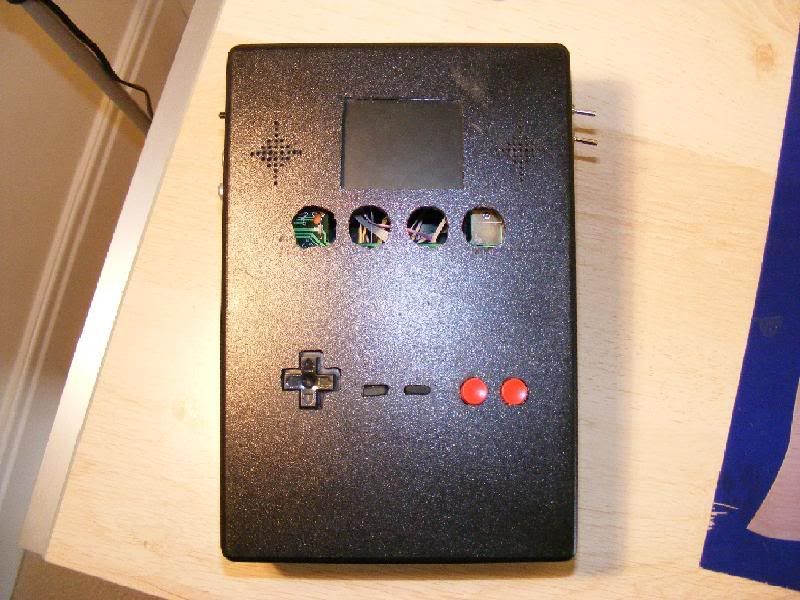
I ditched the old case, because if was too cramped. I also had major troubles bondoing, painting, sanding etc. It was generally tough to make it look good. So, I went down to Maplin and just got be a big box, and used it as my case.

Pictures:

<a href="http://photobucket.com" target="_blank"><img src="http://i7.photobucket.com/albums/y261/T ... erview.jpg" border="0" alt="Photo Sharing and Video Hosting at Photobucket"></a>

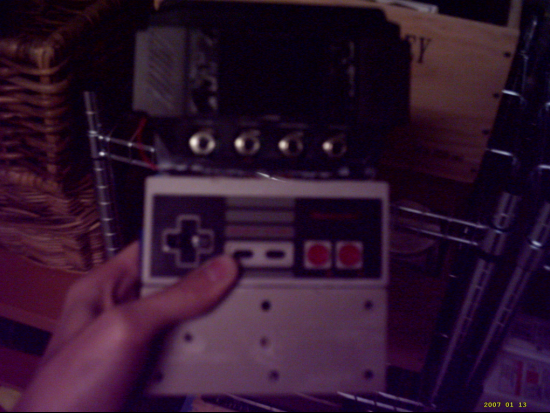
As you can see, I used the Hip Gear adjust board in full, as there was enough room, and trying to shrink it would have been unnecessary hassle. I lost the adjust knobs during construction. Unless anyone can send me a set (hint hint :P), I'll just leave it as it is at the moment.

<a href="http://photobucket.com" target="_blank"><img src="
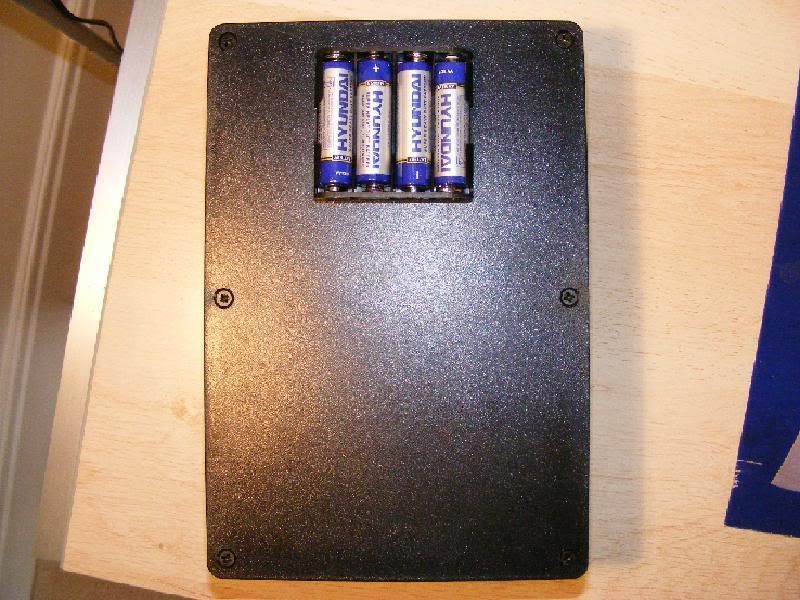
http://i7.photobucket.com/albums/y261/T ... d/back.jpg" border="0" alt="Photo Sharing and Video Hosting at Photobucket"></a>

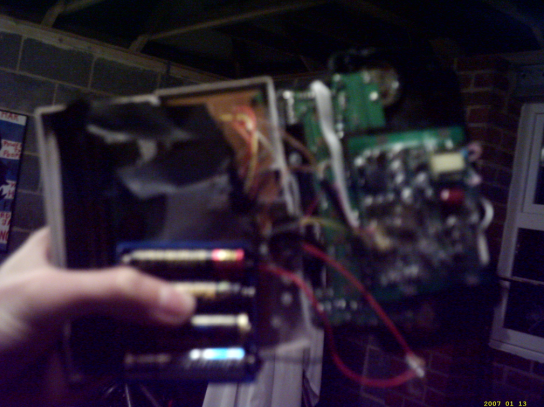
4XAA batteries, ordinary alkalines, powers the thing for quite a long time, I don't know exactly. It's long enough though :P

<a href="http://photobucket.com" target="_blank"><img src="
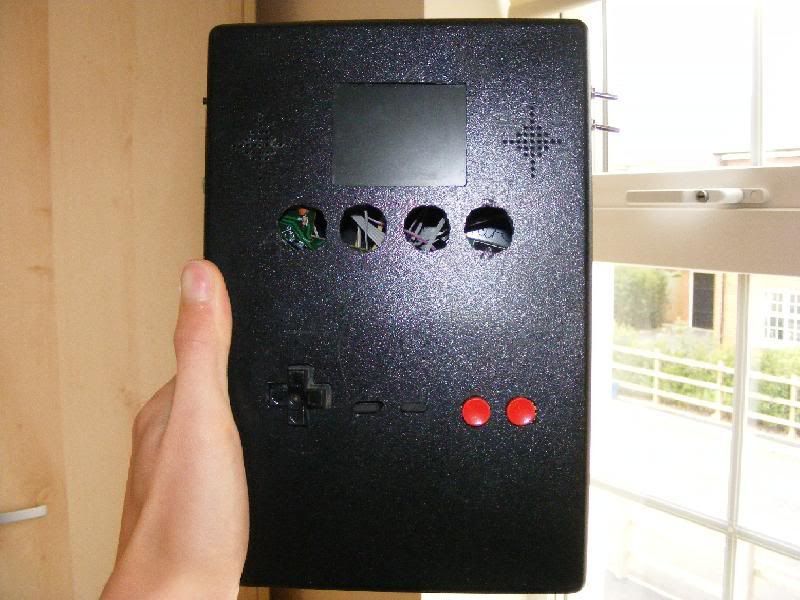
http://i7.photobucket.com/albums/y261/T ... d/hand.jpg" border="0" alt="Photo Sharing and Video Hosting at Photobucket"></a>

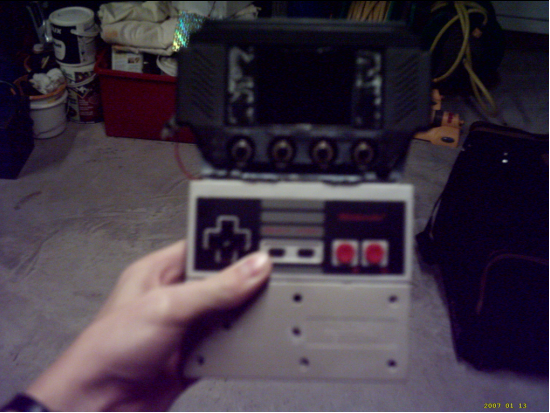
The NESp, my hand, and a quick view of the neighbourhood :P I also made a custom tact switch control board, as I didn't really like the feel of the mushy switches, tact switches are so much nicer. I simply soldered leads to the legs, and connected them to the pads on the NES board. The NES board is hot glued somewhere inside.

Features
-Hip Screenpad + original adjust board
-Super Joy III, all built in games (Illegal Contra :P)
-Custom tact switch controls
-A/V Output
-Reset switch
-Mono sound pumped through two speakers
-Separate switches for the screen and the Super Joy. If you want to use the A/V output feature, you can switch off the screen and sound to save battery power, and just have the Super Joy and the controls running.

Name change too: bNESp (Stands for Bulky NESp, as the case is fairly chunky :P I like it that way though :P)

I *might* sell it, I'm not sure. My only reservation is if anyone actually wants it or not :P If you do, PM me :)

--
TOOHF
Image
Post Reply