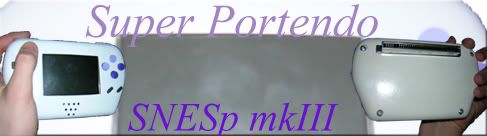
I started this thing 2 weeks ago or so. I looked around my room, wanting something to do, and my eyes fell upon the N64 in the corner. Luckily I made it through this whole project without frying a single N64, although an expansion pak was smoked. You live and learn right? Seems like a huge step up from my original model. Here's a pic of the completed portable:

I cut up the original controller shell, epoxied it into place, then used CrackShot wall spackling to shape it so it was flush with the N64. I would've used Bondo, but it was the middle of spring break, I had a tight budget. Bondo wanted me to pay $15 so I said screw that, I'll look in the garage for some putty or something. Sure enough, I tried this out, and so far it works fine. Next time I'll def use bondo, though.
Here's some guts for ya:

Man look at that cart slot relocation, PDS (pretty damn sexy) if you ask me. Also notice the memory card relocation. Mmm, that took a while. The expansion pak was cut down as low as possible, but it still isn't low enough: the screen mobo rests on top of it, lifting the top of the case up about a millimeter. Fine enough for me though, you can't see inside.

A closeup of the front, taken after the guts pic, which is why it's not fully screwed in. You can see where the block of wood I had it resting on scratched through the then-wet paint job and into the CrackShot (at least it didn't scratch the screen). I felt like pulling my hair out, the stupid stuff takes 2 and a half hours to dry. I decided to fix it later.
The paint job is flat black speckled with flat gray, it looks great IMHO, I'm deciding whether or not to paint the bottom as well, I think I will within the next week. Also notice how I molded in part of the screen's casing to give it a flush, professional look.
That's it for now! I'll post an update in a week or so, school has started again and is eating up more time than I want, which it has been known to have a habit of doing.
Anyways, I'm off to eat some cereal (at 11:30 PM).
-Joe


