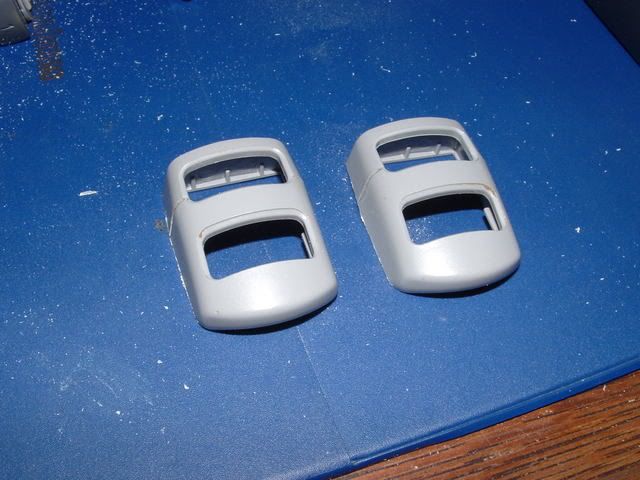
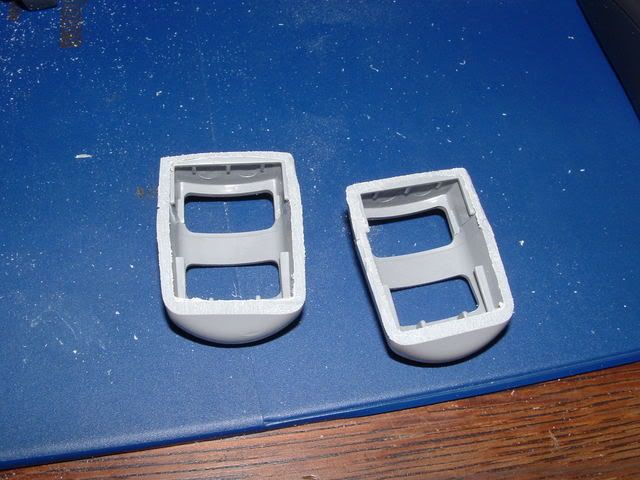
I don't know if you ever noticed, but the newer playstation controllers have large R2 and L2 buttons. Nice for a controller, but not so much for a portable where handgrip space is limited. The old ones, the kind with no analog sticks, have smaller R2 and L2 buttons. So I bought one of those from a pawn shop, the guy charged me way too much ($5) but oh well.
Dremeled the plastic off the controller, then sanded them flat.
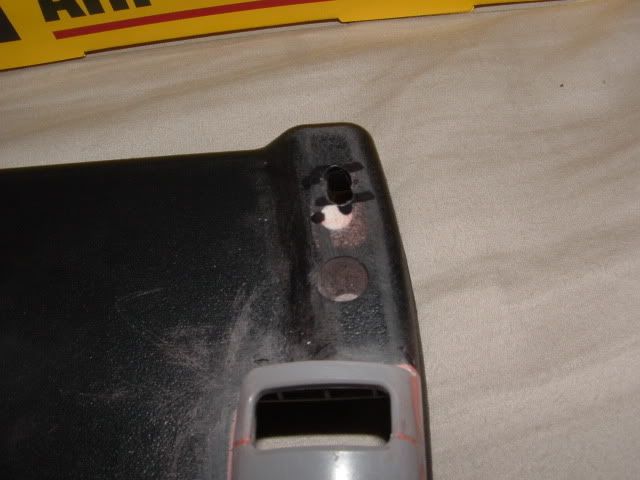
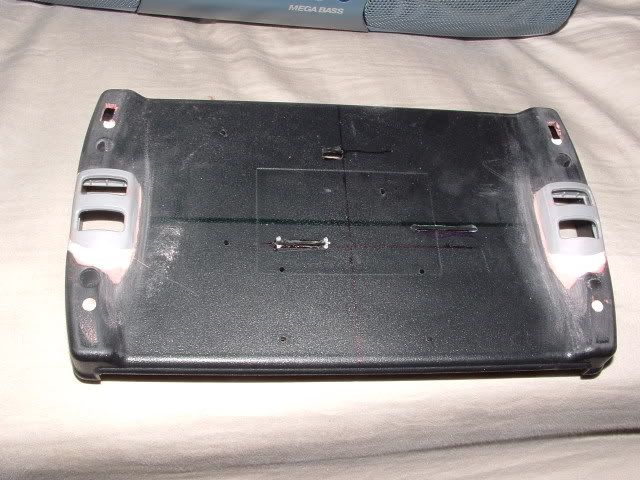
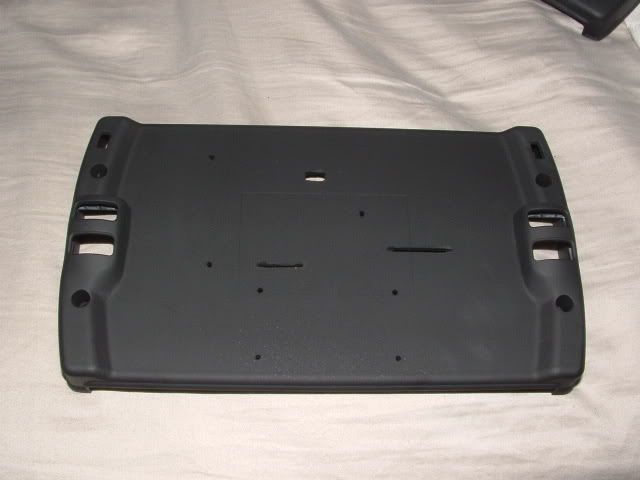
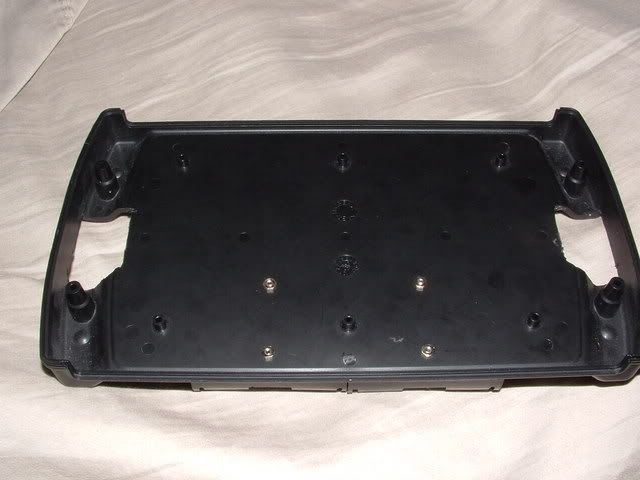
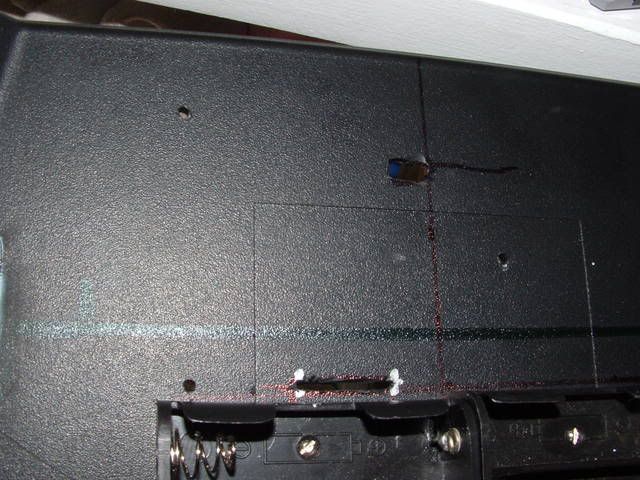
Then I cut holes in back case for them. The first time, I cut the holes too high, and it wasn't as comfy as I thought it would be.
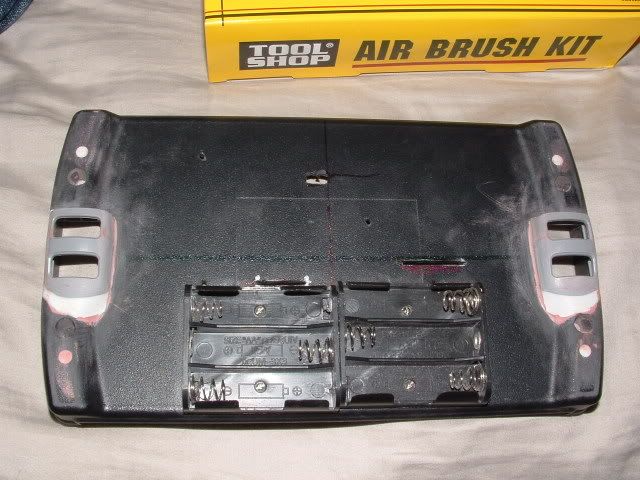
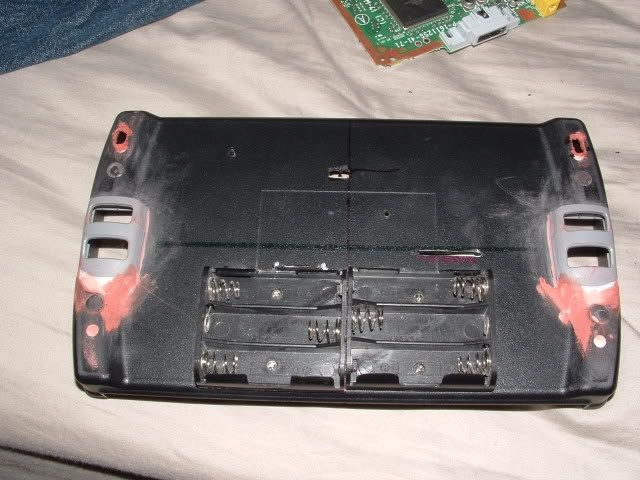
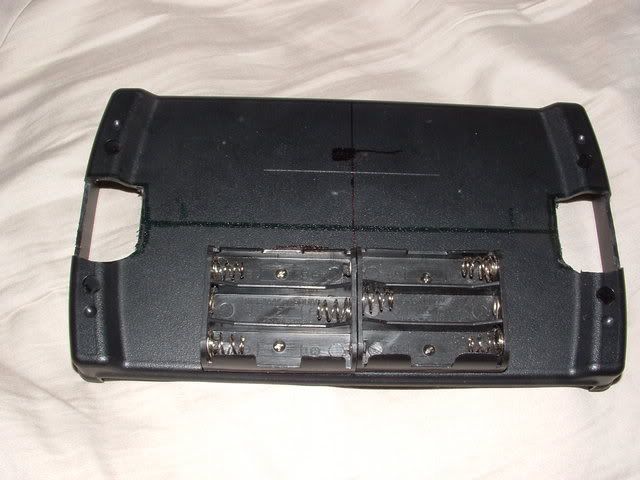
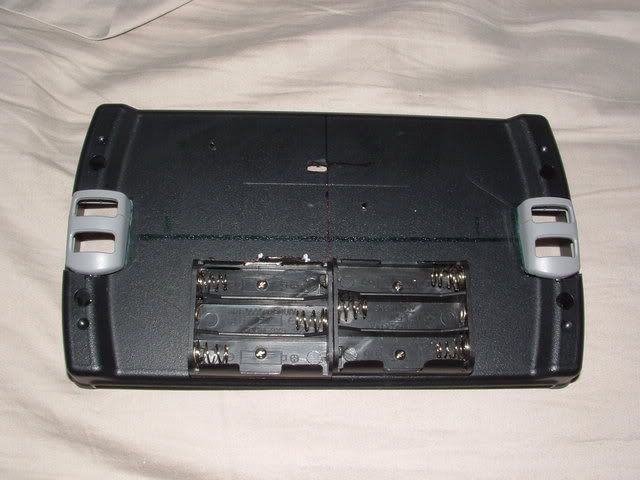
I wanted to see the battery pack on it. The holder is made of two 3AA holder's, which I will wire in series later. They had two holes on each holder for putting screws through, so I put them on the case, then marked through the holes, drilled though the marks, then screwed them onto the case.
Nice. That'll work.
These steps are kinda unorganizd, but this is how I did it
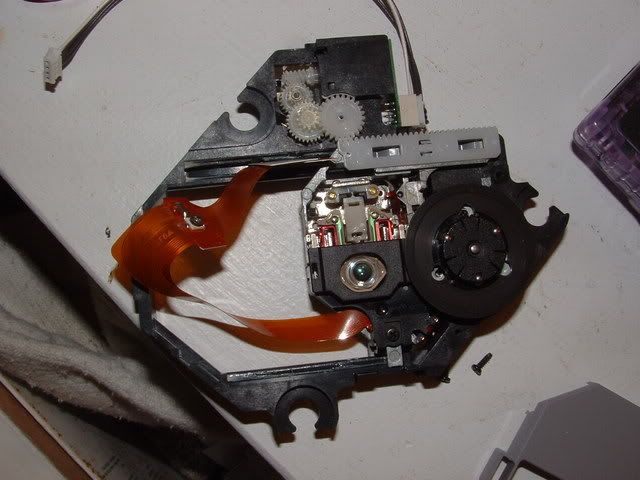
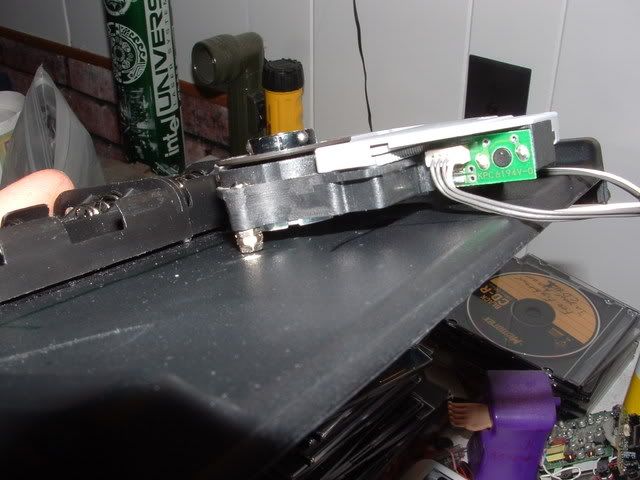
So I needed to mount that laser drive! It took me a while to figure out how to do it nicely. First I needed to get rid of the excess plastic on the drive.
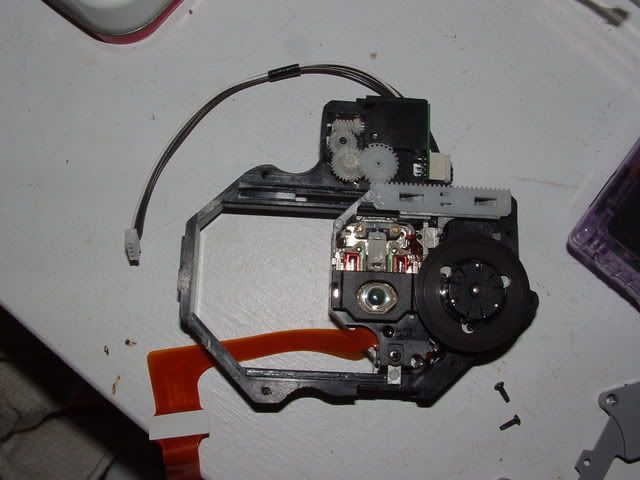
So I took the grey plastic cover off:
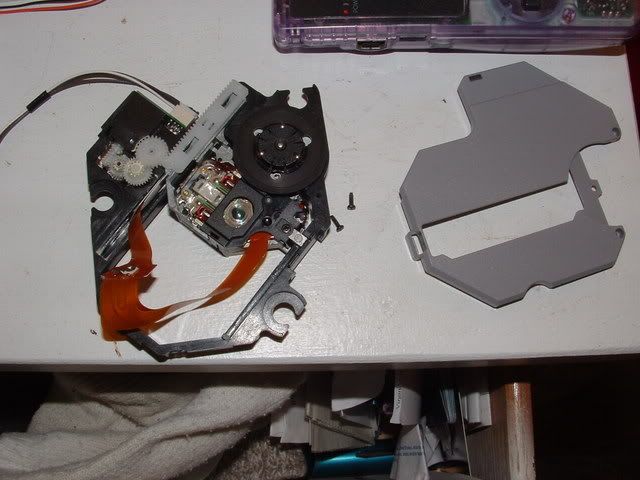
Then dremeled.
Before:
After:
There were these little screw post looking things, three of them, so I drilled through them and stuck a screw through. I also cut places for the laser cables to go through.
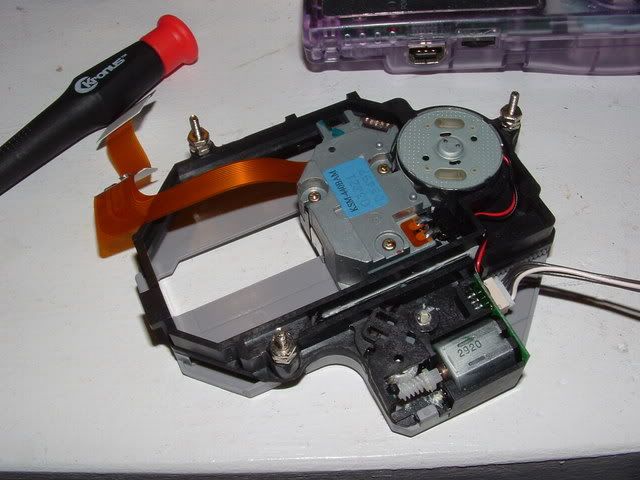
Then I drilled holes in the case to match the screws. I used extra nuts to add more height to it.
The CD will spin slightly above the battery holder.
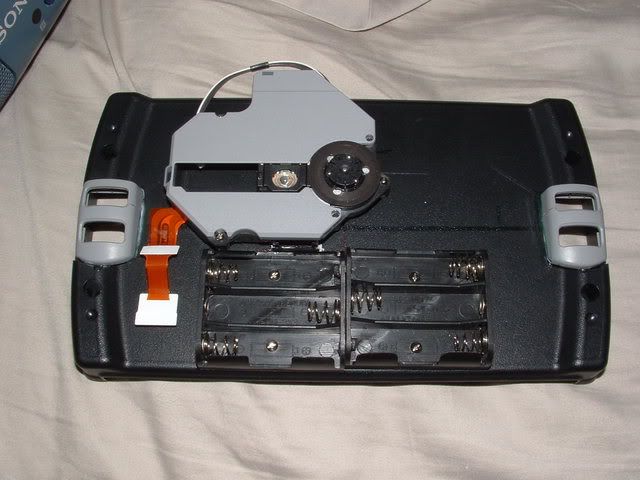
Thats where I'm at right now. Still more to do, but thats a lot of it. I plan to put the memory card holder in the empty space next to the CD laser.
The power and CD lid switches will be put above the R1,2,L1,2 buttons.
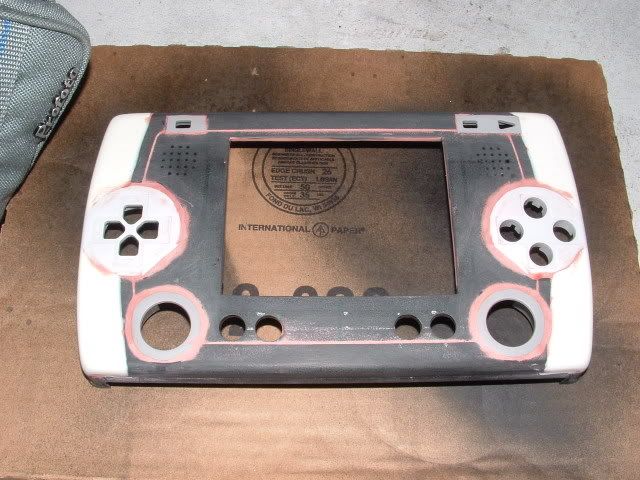
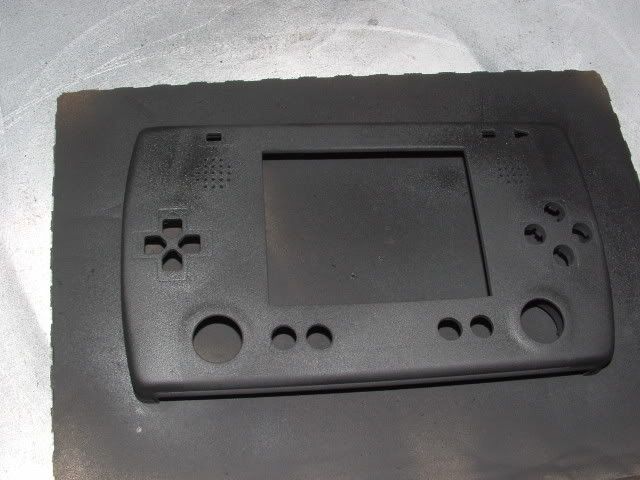
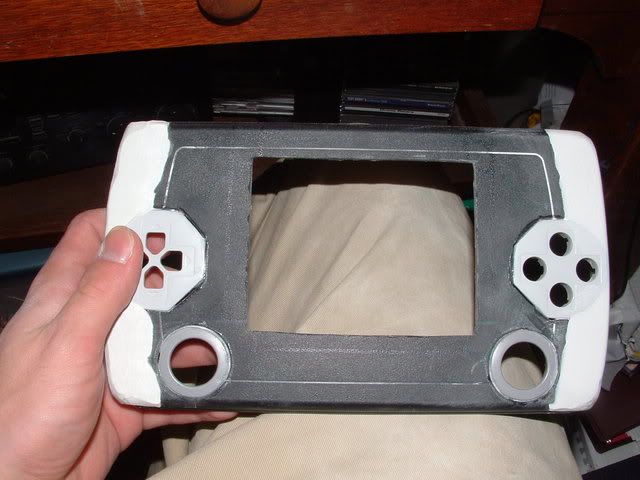
Oh yeah, I sanded the spot putty. Needs another layer still.

More to come!