Bacteria's N64/GBA combined portable - Nintendo 64 Advance

Includes but not limited to: SNES, Genesis, Sega CD, PlayStation 1, Nintendo 64, Dreamcast, Game Gear and I guess the Virtual Boy.

Moderator: Moderators

Post Reply
bacteria
Portablizer Extraordinaire
Posts: 3984
Joined: Fri Apr 20, 2007 12:14 am
Location: Hampshire, UK
Contact:

Post by bacteria »

I diverted a bit on the project today. I mentioned a while back that part of my project is to make a case to house my system, PSU and game carts? Well, yesterday, went to a car boot sale and bought a rather nice, and probably once, rather expensive briefcase, for 20p (about 40c). The guy claimed he forgot the combination to open the case so I haggled it cheap. I tried all 1000 combinations of the lock, didn't open. Not a problem, forced the lock to open using a big screwdriver - catch flipped open.

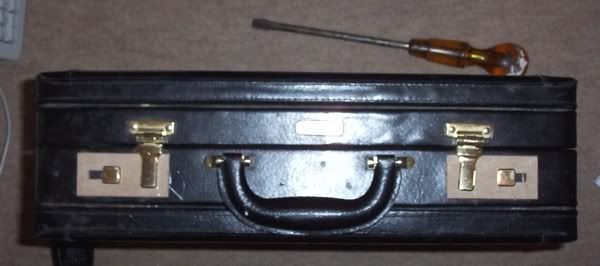
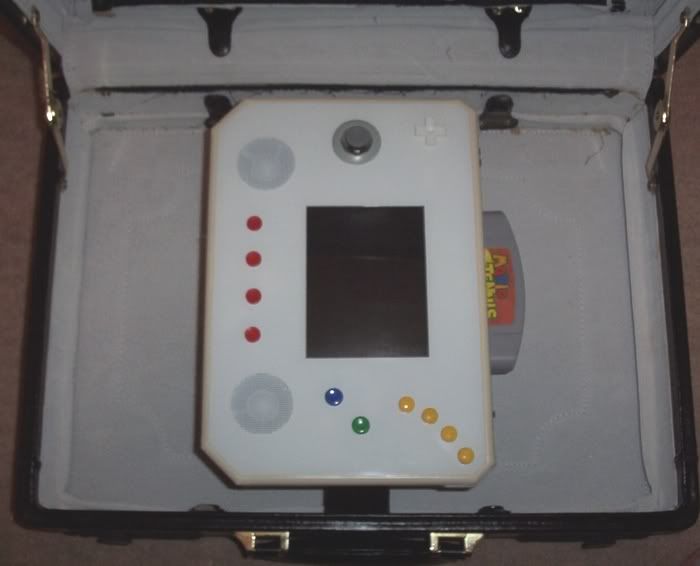
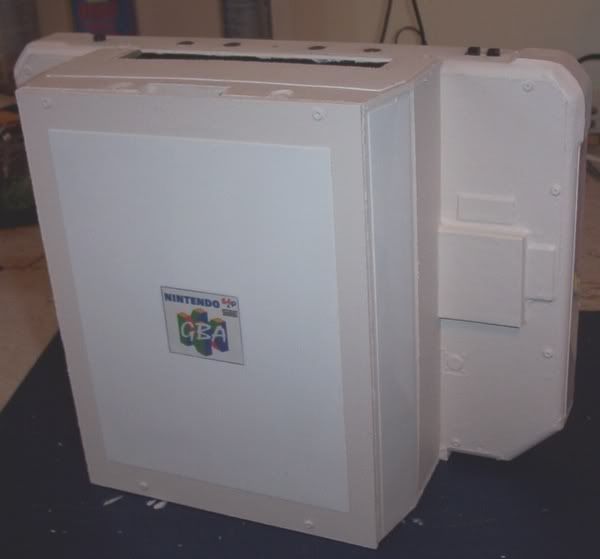
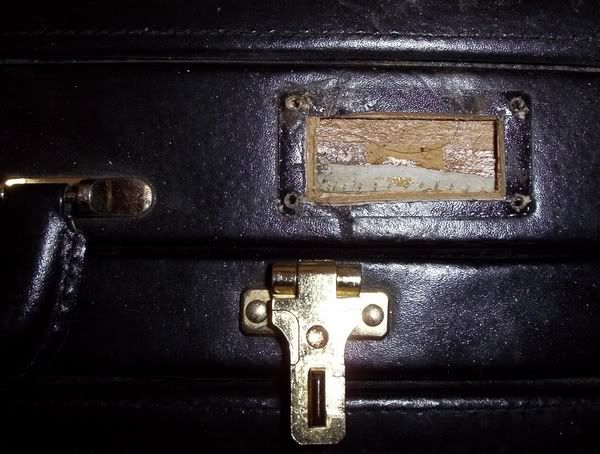
I bought the case as it is big enough to house my portable, when it is put in protective material in the briefcase (briefcase is about 120cm high), is a very strong briefcase and looks nice. I decided to mod a briefcase! ;)

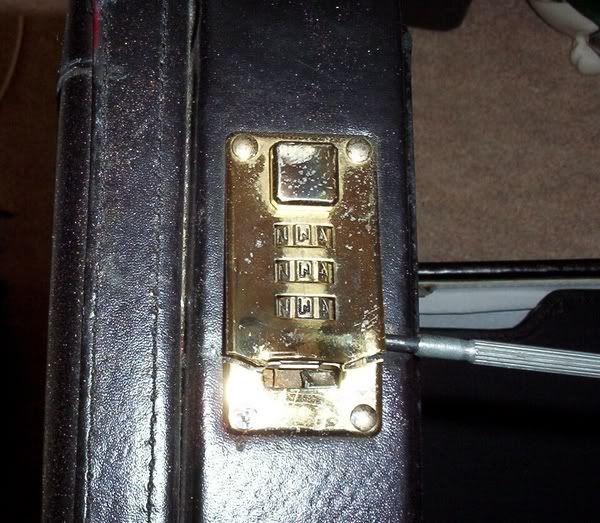
As the locks on the briefcase don't work, I pried a normal screwdriver under the metal, then dremelled across the screwdriver to cut open the metal. Cutting across the screwdriver meant I wasn't going to slice the briefcase by mistake.

Image

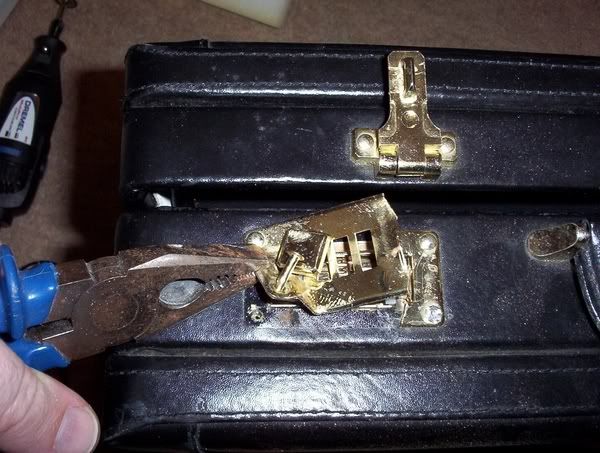
I then just used brute force with a big screwdriver to provide leverage and thick pliers to lever and pull the lock surround off.

Image

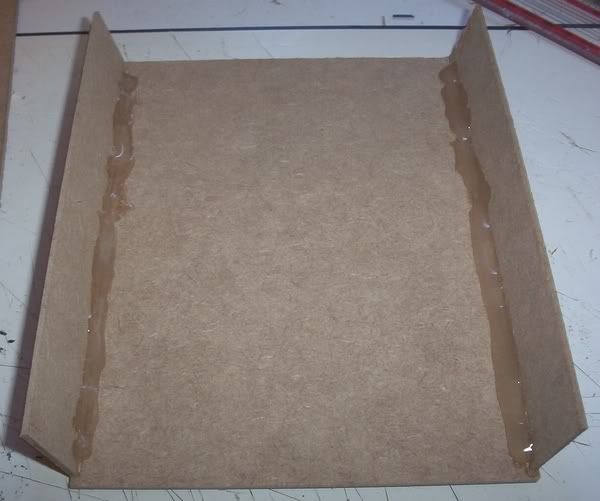
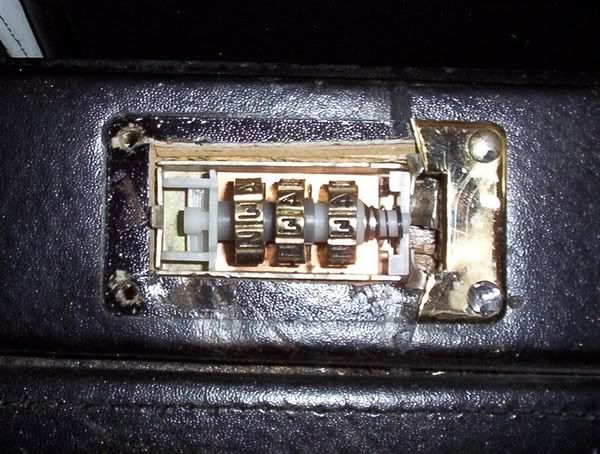
This is what the insides look like:

Image

Pulled it all out

Image

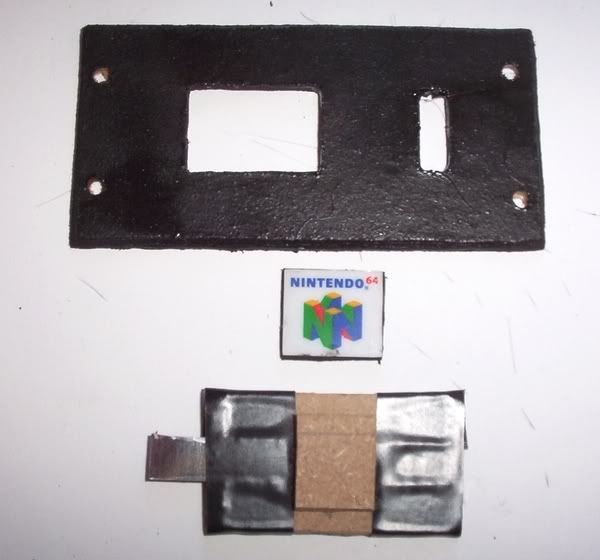
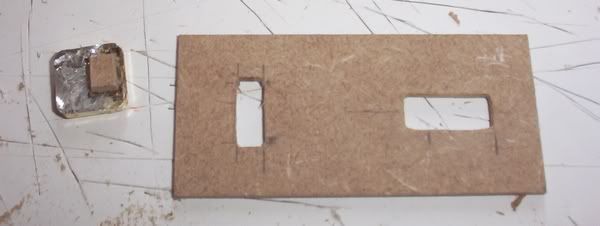
I then needed a thin piece of metal, to slide across and trap the latch, hence holding the case shut. I looked in my bin, had a nice metal lid, Used my dremel again and sliced a bit out

Image

I thought it would be a nice touch to preserve the slide on the mechanism, so dremelled it flat on the reverse side. I held it in place during this proceedure with pliers. After finishing, I touched the metal - mistake - burned my finger; so waited for it to cool

Image

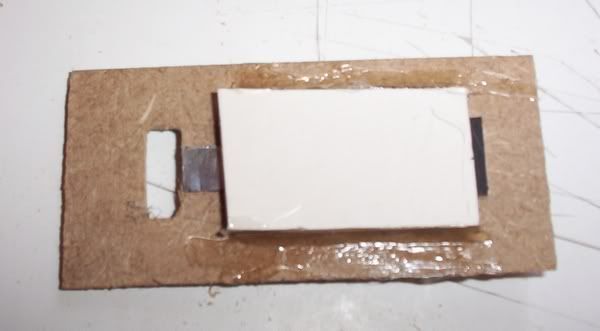
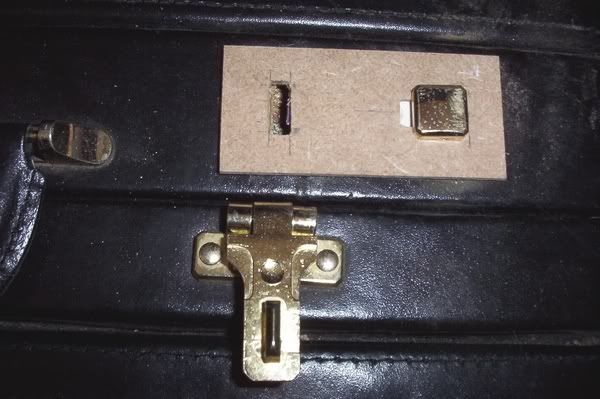
Cut out a piece of wood (picture framing wood), made a slit for the latch to go into and for my slide to move across. On the button, I hot glued in a 6mm piece of wood.

Image

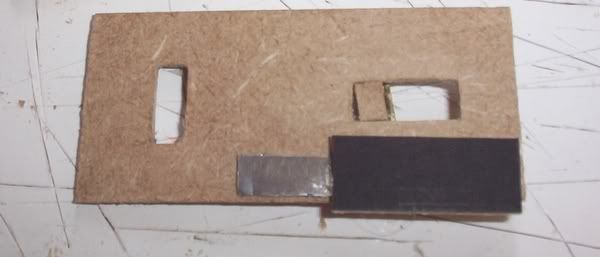
Cut out a piece of mounting board and hot glued half of the metal strip to it, and made sure another 6mm piece of wood slides in the hole freely

Image

Assembled it, and put two strips of mounting board next to other one (middle) to ensure it only moves in a straight line

Image

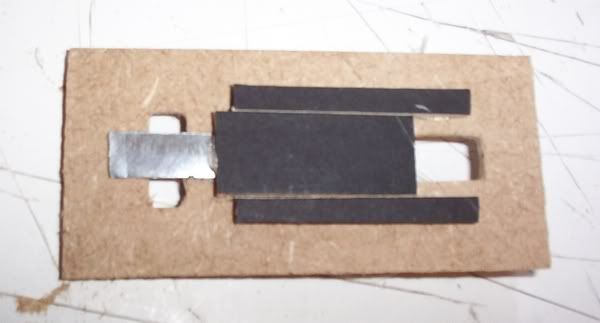
And covered the back to keep everything in place

Image

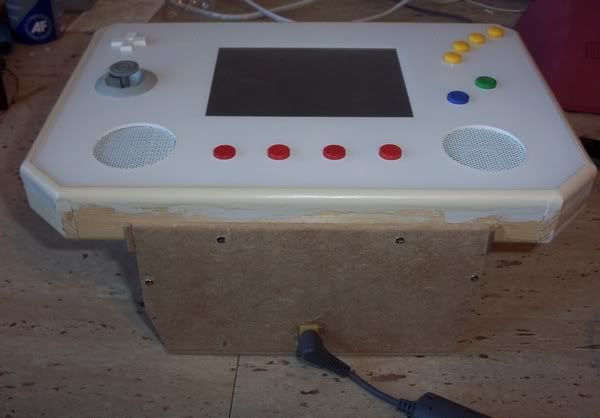
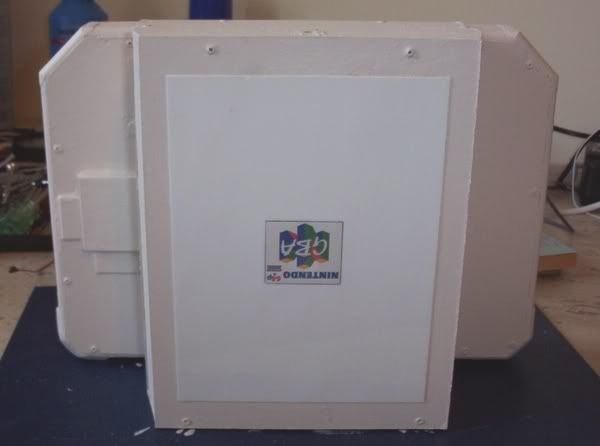
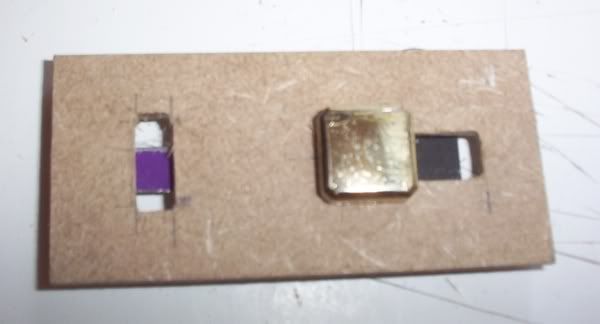
Front view (mechanism open)

Image

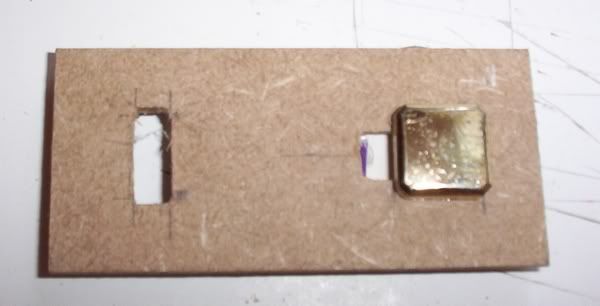
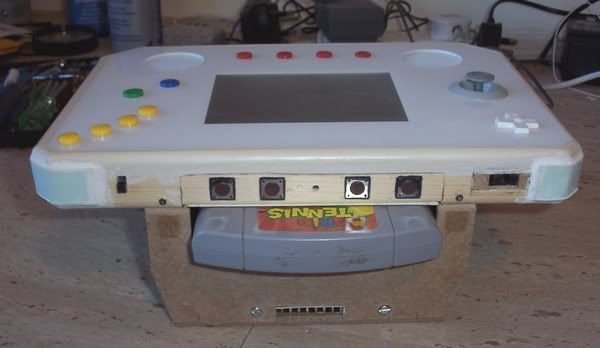
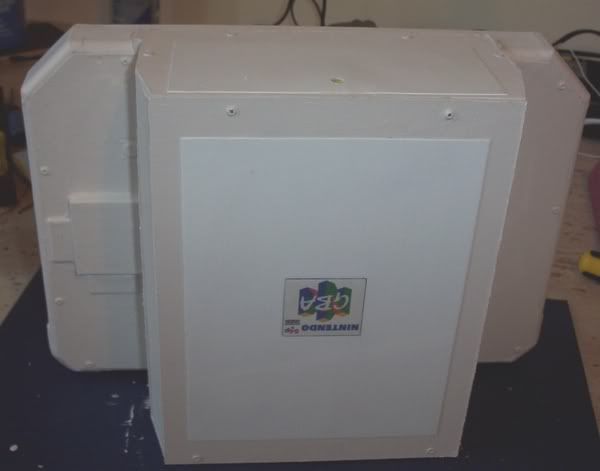
Front view (mechanism closed)

Image

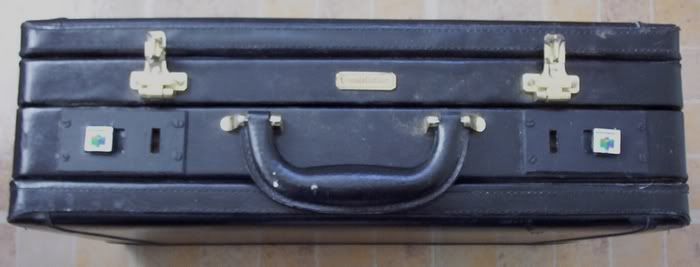
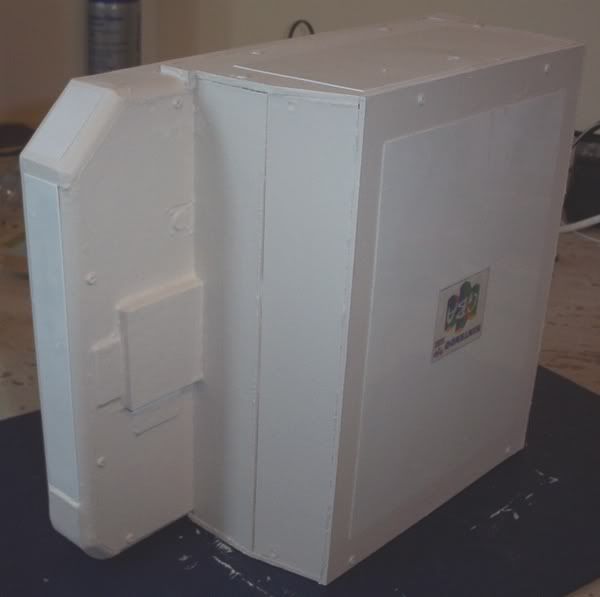
On case itself - mechanism locked
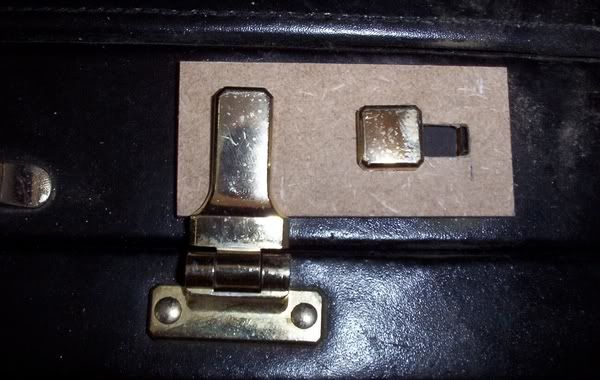
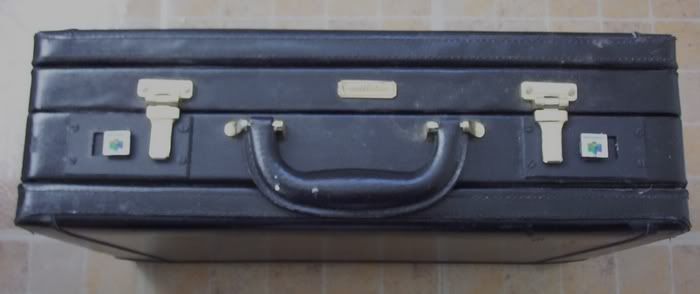
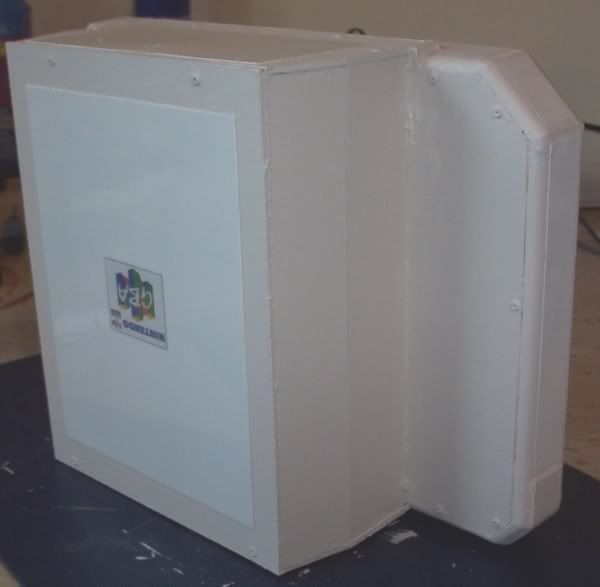
Image

Mechanism unlocked

Image

I now need to make the one for the other side, then I can paint and varnish them and hot glue them to the case.
Image
bacteria
Portablizer Extraordinaire
Posts: 3984
Joined: Fri Apr 20, 2007 12:14 am
Location: Hampshire, UK
Contact:

Post by bacteria »

I will complete the case for the Nintendo 64 Advance tomorrow, although it will need a fair bit of finishing work to it, which will take a few hours to complete, after the case itself is done. I have a fair bit of time over the next three days for the project, so the fact I spent time today modding a case for a case is fine.

The briefcase will, when it is finished, have individual compartments for the games, system and PSU and will be lined with material to make it nice. If I want to take the system to work, it is easy to transport it and keep it safe.
Image
bacteria
Portablizer Extraordinaire
Posts: 3984
Joined: Fri Apr 20, 2007 12:14 am
Location: Hampshire, UK
Contact:

Post by bacteria »

Ok, made both of them and hot glued them to the case. The case is hard leather, the hot glue will pry off fine if I need to do any repairs to the bits i made.

Looks nice, huh?!

It will look 10x better when it is painted and varnished.

Image

BTW - the screwdriver I used to snap open the locks is in the pic. It just shows how useless the locks are on breifcases, only took a couple of seconds to open them!
Image
Kyo
Senior Member
Posts: 2470
Joined: Tue Jan 02, 2007 11:59 am
Location: Germany

Post by Kyo »

I guess the point of a lock on a briefcase is just to protect it from people snitching (or spying on) stuff without being noticed...

Anyway, very nice construction, although the wood looks a bit out of place, can't wait to see the paint job on that :D
bacteria
Portablizer Extraordinaire
Posts: 3984
Joined: Fri Apr 20, 2007 12:14 am
Location: Hampshire, UK
Contact:

Post by bacteria »

Kyo - Yes, it is just there to, in theory, stop an opportunist opening a briefcase, although in reality it is pointless as an opportunist will simply steal the case! If you need to keep it locked against your colleagues, then you shouldn't be with them! I can't see a reason why briefcases have these daft locks. Two seconds with a screwdriver or an hour to manually find the combinations and you are in anyway! ;)

Oh well, it enabled me to get a really cheap case for my project housing! As Mentioned, the case is 120cms high, although it has vents to raise it higher by another 2cms or so.

Paint job is only black paint, the case itself has some minor scuffing, so there is no point finishing this off perfectly either.
Image
minkster
Posts: 652
Joined: Tue Jul 19, 2005 9:03 pm
Location: NJ

Post by minkster »

wow this thread is so useful. it varies information from making portables to breaking safes! this is one godly thread right here :P
Minktendo-Dead
Next portable: who knows ;)
bacteria
Portablizer Extraordinaire
Posts: 3984
Joined: Fri Apr 20, 2007 12:14 am
Location: Hampshire, UK
Contact:

Post by bacteria »

minkster wrote:wow this thread is so useful. it varies information from making portables to breaking safes! this is one godly thread right here :P
:D :D
Using the metal tops for the slides wasn't good enough, they were destined to fail, so I made it far stronger, made a slide top with an official N64 badge and rather than hot gluing the mechanisms to the top of the case I am using screws.

I will upload pics of this in the next couple of hours, I had to make them again from scratch this morning; they have been painted and varnished, just waiting for them to dry before assembling to the case. I had to dremel about 1cm from the long side of the holes I made in the briefcase to make sure everything works fine, it made lots of smoke! I also disposed of mounting board for wood. This baby is designed to last now (and can be removed if required).
Image
bacteria
Portablizer Extraordinaire
Posts: 3984
Joined: Fri Apr 20, 2007 12:14 am
Location: Hampshire, UK
Contact:

Post by bacteria »

Removed the Nintendo logo stamp from the back of a rumble pack with a craft knife, mounted it onto a piece of wood. Made the mechanism again, out of wood, then painted it as per pic. Method of manufacture was similar in many ways to my last pics, so didn't think it worth uploading pics of the making the new one. Drilled the holes into the top piece and into the briefcase.

Image

Finished (exterior) of briefcase. Notice the nifty Nintendo slides! Put on another coat of paint to make it extra nice, leaving it to dry.

Pics of the case below in locked and unlocked mode. The slides work fine, but there is a little play when you slide them across - mind you, if they were made too exact there would be too much friction moving the slide across, so I think I have it about right.

Image

Image

I think it looks cool and in keeping with the rest of the briefcase! 8) There was no point making the mechanism out of shiny plastic, it would look naff. Making it look the same colour and a bit weathered is in keeping and looks integrated.

I will get back to this later, lots of work to make the inside of the case custom made (which I will document - you don't just make a console after all, you need a case to carry it in), I need to get back to my console now. In the time remaining today, I want to get the sides and bottom cut, moulded to shape and screwed in place. Tomorrow I can start making it pretty.
Image
bacteria
Portablizer Extraordinaire
Posts: 3984
Joined: Fri Apr 20, 2007 12:14 am
Location: Hampshire, UK
Contact:

Post by bacteria »

As promised, back to the project case!


Measured out the sides and back and cut the shapes out of the wood, used some hot glue to stick and seal them in place.

Image

I had drilled four screw holes for the top and four for the sides, but in the end I only needed the ones at the top. Seems quite airtight. Case is well made!!

Some pics - they aren't that flattering (it is hard to make the system look as it does in real life without making it look far bigger/thicker than it really is: :shock:

Image

Image

Image

I promised a pic of me holding the system case. I am holding it properly, as when playing a game, however slightly to the side so i'm not in the pic. As you see, my fingers have enough room to move, and my finger is right next to the "Z" button when needed.

Image

I can now hold the system for real; it feels really nice. It feel completely natural to hold and use. Tested system quickly on a GBA game, then N64 one. Playing it is fine, rest it on your knees or slanted on the desk. Lovely! I am really happy with it. 8)

Changed camera to my other one, it is supposed to be 6.6 megapixels but it isn't as good as my other one which is only 2 megapixels (which I have been using for the project pics as it is far better at taking indoor shots), as this other camera has a timer facility, and video (no sound).

Tomorrow, I can lightly sand down any bits needing it, start preparing the edges and case sides for painting, do that, then do the reverse spray painting for the all surfaces (apart from the edges, so I can remove the outer case to get to the inside easily if I need to). I also intend to pop my project logo onto the flat base of the project before I am done!

At the moment it looks a bit ugly, but it won't for long!
Image
bacteria
Portablizer Extraordinaire
Posts: 3984
Joined: Fri Apr 20, 2007 12:14 am
Location: Hampshire, UK
Contact:

Post by bacteria »

Hacked away the compartments inside the briefcase - you can see in the pic that the console system has plenty of space in the case, and for a selection of game carts and the PSU.

Image

Have to finish project for today, back tomorrow!
Image
bacteria
Portablizer Extraordinaire
Posts: 3984
Joined: Fri Apr 20, 2007 12:14 am
Location: Hampshire, UK
Contact:

Post by bacteria »

I started to paint the edges, then thought I might as well paint the rest of the surfaces as it looked rather nice. I will need to have some of the surfaces with the acetate as mentioned before, to cover some of the sides I didn't bother finishing off as I was going to use acetate later; but thinking about it, if I use it to cover all the surfaces it might look tacky, so I decided to use it more sparingly, and thus use more painted area. Rough with smooth, if you like. A sort of "hybrid" - (anyone else seen that episode on South Park?) :D I can't have this case perfectly smooth as the whole thing comes apart in three parts (a total of 17 small screws, plus two for the fan if needed to remove) - if it were in one piece it would be hard to put back without trapping wires somewhere, so therefore I may as well make some of the rougher parts a feature against the smooth.

Image

Here are some pics of the case at the moment. The rear will have a large piece of acetate on it (so only painted the edges). The paint also has the benefit of covering in the small gaps between the wood joints, further making the case airtight. I also painted over the screws (felt like it!). The colour of the case will yellow a bit (nice shade of) when the varnish is applied later. I have put two coats of paint on this at the moment, not painted the underside yet (until the rest dries).

Image

Image

I think it looks nice, it will be better when finished. Undecided if I will leave the tact switch "Z" button as it is or pop on a small coloured circle top.
Image
bacteria
Portablizer Extraordinaire
Posts: 3984
Joined: Fri Apr 20, 2007 12:14 am
Location: Hampshire, UK
Contact:

Post by bacteria »

Printed out the project logo I prepared a while back, used some spray glue to stick it to the reverse side of some 6 thou acetate, then spray painted all over it. Once dried, I cut it out, smeared some UHU glue on paper and smoothed it with flat card, popped the acetate on top. I realised the acetate wasn't opaque enough inspite of the spray paint, so stuck the acetate back onto white card (same process as above with the glue) and stuck the card onto the project case (same process with glue again). This means the logo is under th acetate so can't get damaged.

The edges of the varnish coat should help to protect the edges of the acetate from lifting.

Yes, before anyone comments on this - the logo is upside down - needs to be at the case is also upside down!

Image

I have some more sides prepared, drying, before I apply them to the case.

At least you can start to visualize how this case is going to look finished...
Image
bacteria
Portablizer Extraordinaire
Posts: 3984
Joined: Fri Apr 20, 2007 12:14 am
Location: Hampshire, UK
Contact:

Post by bacteria »

Got the acetate on the underside and sides of the case. It looks nice, I am happy with it, although I had imagined it looking a little less "homemade". If I hadn't made this a dual system, I could have made the case not only noticeably less thick but also the back would have been in one piece. The base (with sides) on this project had to be detachable so I can remove the GBA flashcard and add/delete games from it.

I have the final strips of acetate drying at the moment before I apply them, the underside, as per the pic below, is complete, although it needs a coat of varnish to preserve the paint and make it scratch resistant. Varnishing the paint will also change the colour a bit as already mentioned.

Image

Image

Image

Not a lot left to complete the console case, I just need to stick the remaining acetates, then varnish; then it will be time to complete the system case (briefcase). Then, project completed.

On one hand it is nice to be virtually finished and I can crack on and play lots of games, on the other hand it feels a bit empty; I have spent since mid June on this project, just over 4 months work, logging all the work and devoting lots of time and thought to this project and it is nearly over. :? Never mind, I have a few other projects to do, including the GP2x mod (which I can log my progress in the Handheld Hacking forum when I start it).

I will upload pics of the top of the case when done; then lots of final pics of the case and system after paint is varnished.
Image
bacteria
Portablizer Extraordinaire
Posts: 3984
Joined: Fri Apr 20, 2007 12:14 am
Location: Hampshire, UK
Contact:

Post by bacteria »

Ok, all the acetates are on. I will make small plastic circles and put them over the four tact switches on the top of the case and the "Z" one too. This will look far better.

Image

Image
Image
Life of Brian
Moderator
Posts: 2867
Joined: Wed Aug 03, 2005 5:55 pm
Location: Oklahoma
Contact:

Post by Life of Brian »

Wow! You're almost there!
dragonhead wrote:sweet. ive spent a third of my life on benheck!
Image
Post Reply