Unicycler17's GCP worklog FINISHED

Includes PS2, Xbox 1, GameCube (but not the Phantom Game Console)

Moderator:Moderators

User avatar
unicycler17
Posts:123
Joined:Wed Feb 16, 2011 9:24 pm
PSN Username:unicycler17
Unicycler17's GCP worklog FINISHED

Post by unicycler17 » Sat Mar 19, 2011 8:25 pm

I already started on this project, but I figured it's never too late to start documenting it. This is my first portable, and I'm only 14.

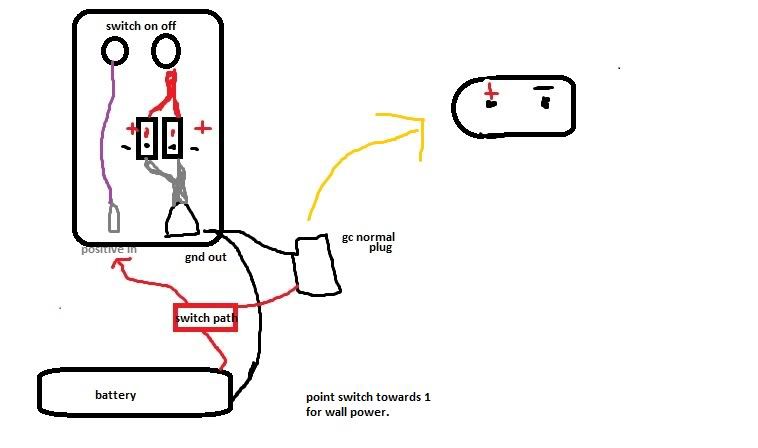
For the case, I ordered a zn-45 and a rw-45 both from polycase.com. It will be a vertical format, and the rw case will attach on the back at the top to hold the disc drive (I know I can use sd cards, but I can't afford the wiikey fusion) The cases havn't come yet :cry: and Im using a 3.5 inch ebay screen.

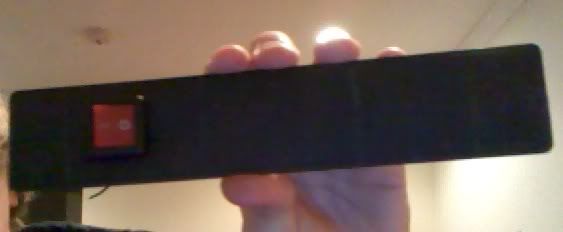
EDIT: Yes I am using the Wiikey, and It will be a horizontal format. I'm not going to use the RW case anymore either.

Image

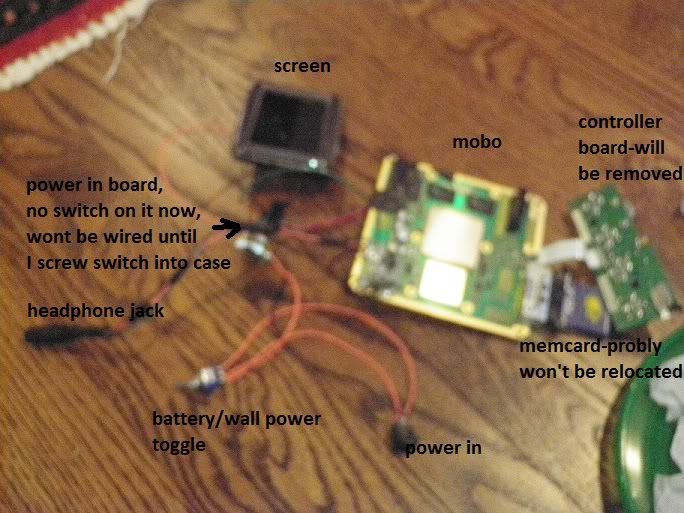
I removed all the connectors from the board, and relocated the regulator board. I wired up a headphone jack, and wired up the screen without using the av cables. I used six wires to relocate the board, not using shockslayers discovery, and one extra so that it will shut off if it overheats.

Image
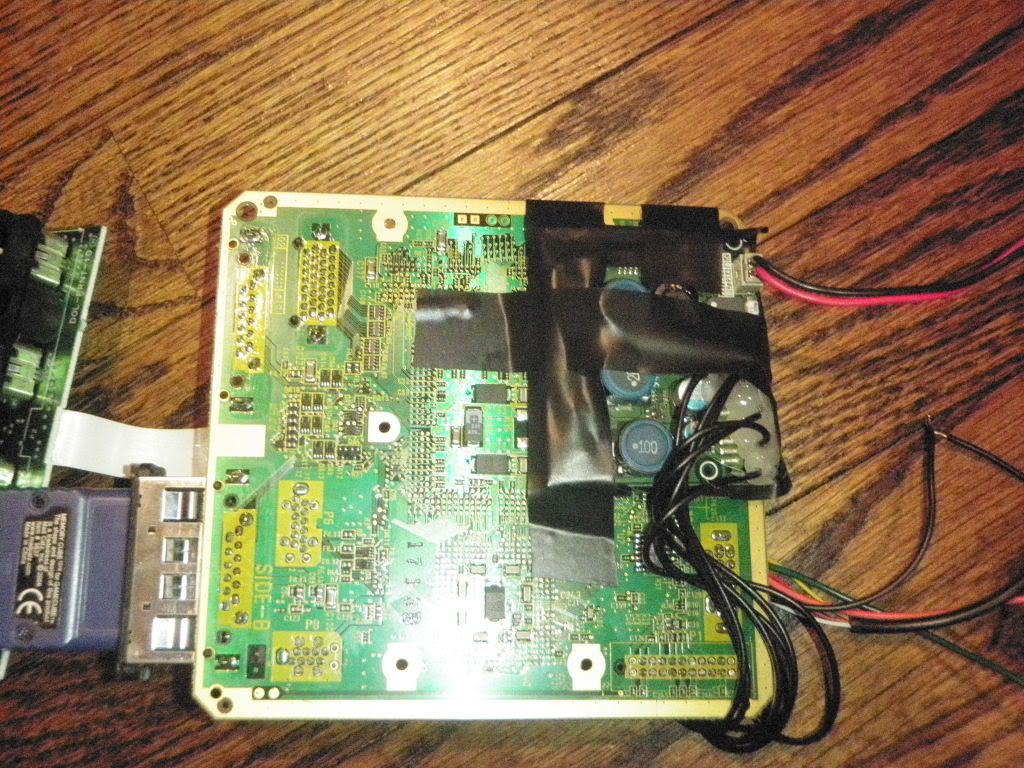
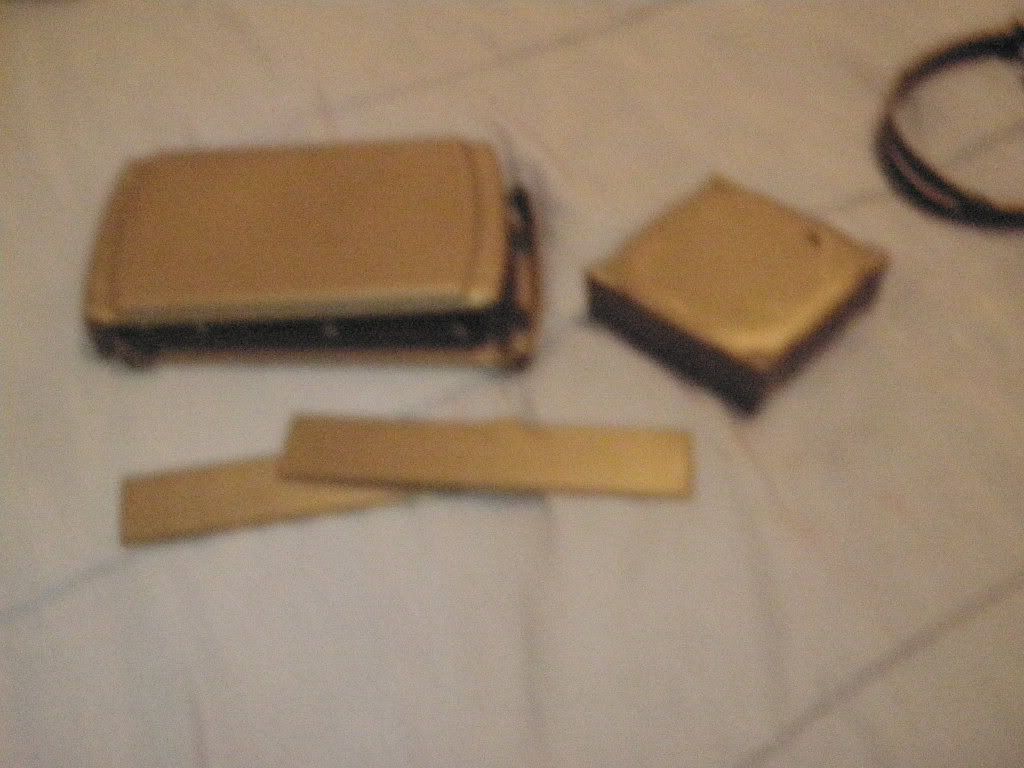
Bottom of board with relocated reg board and no connectors

Image
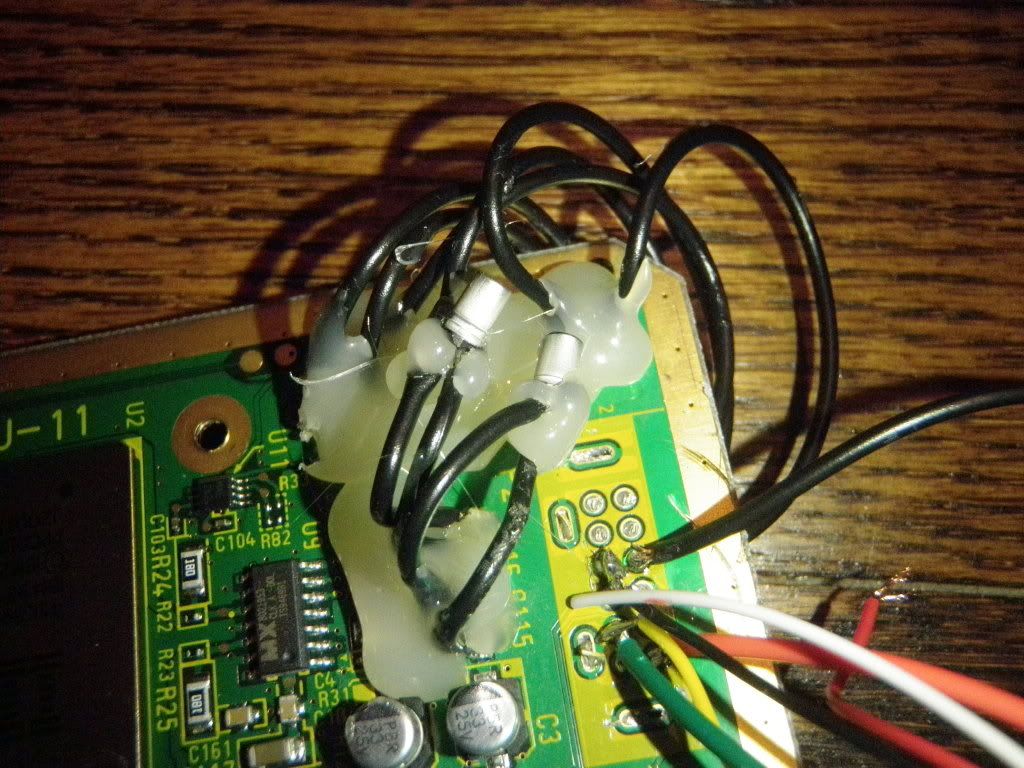
My headphone jack (probly won't have a normal speaker, just headphones)

Image
I knocked off two capacitors when removing av port, and soldered them on wires back on

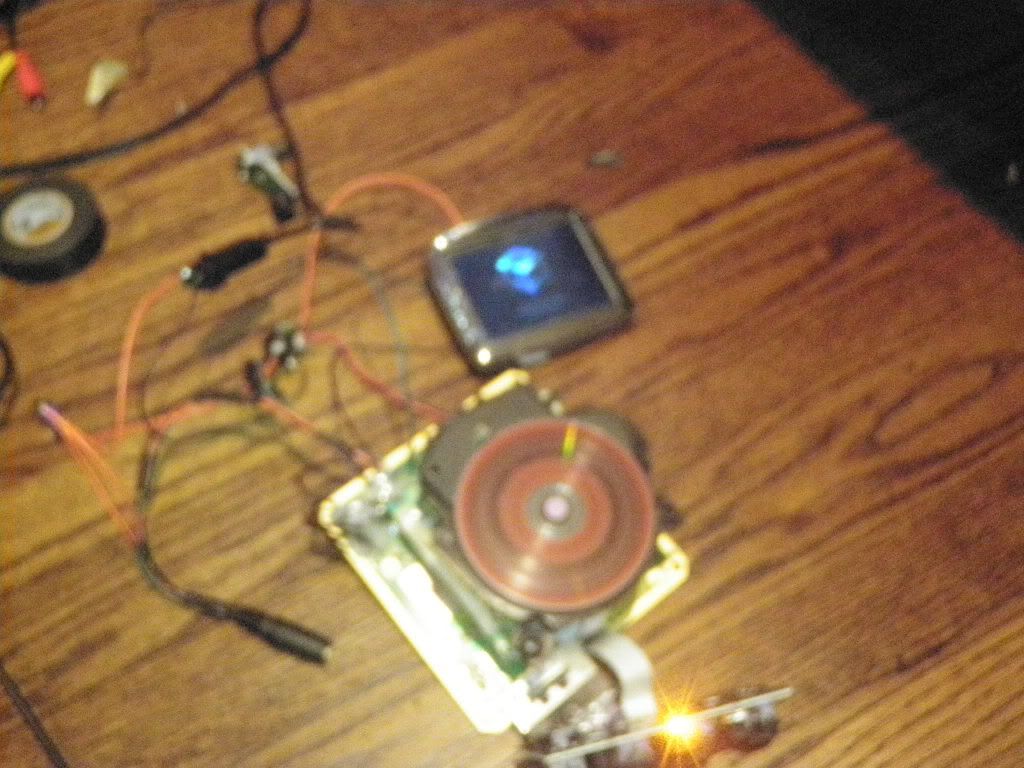
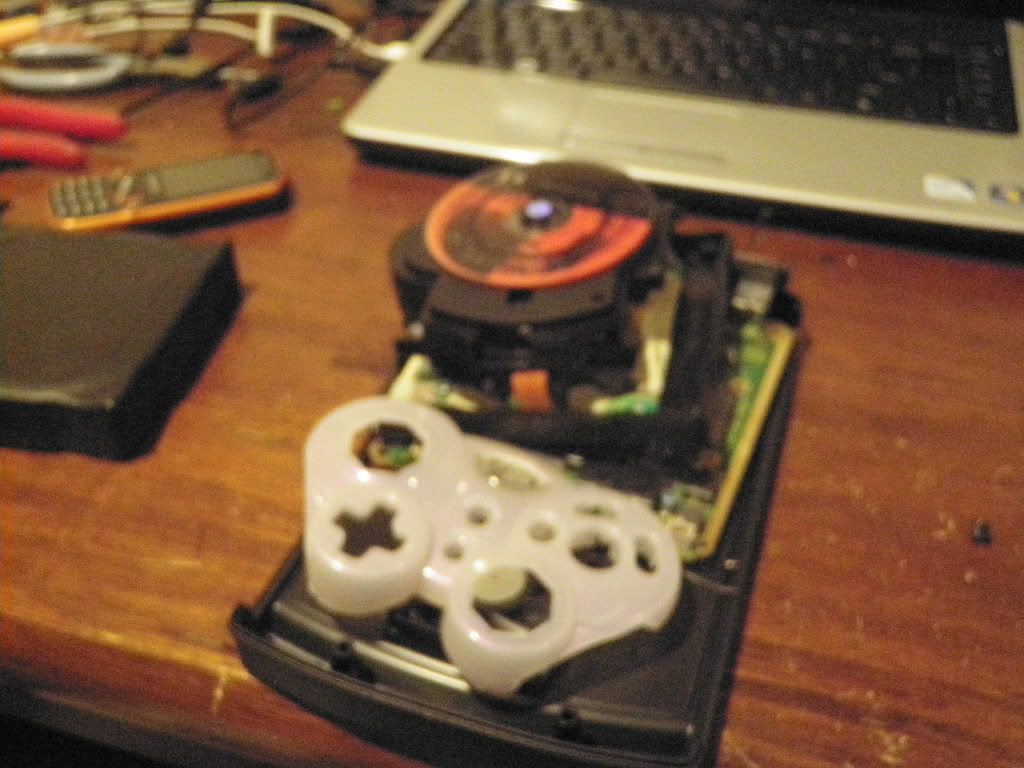
I removed all the large mounting hardware on the disc drive, and used broken pencils and hot glue to raise the plastic above the board.
Image
Image
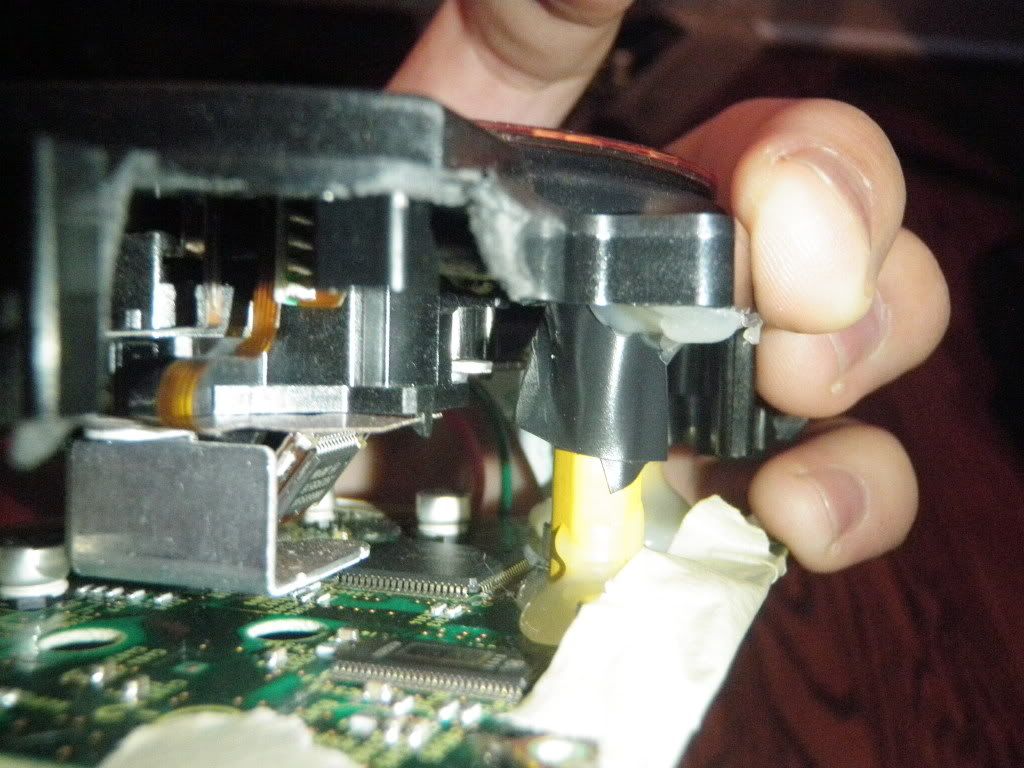
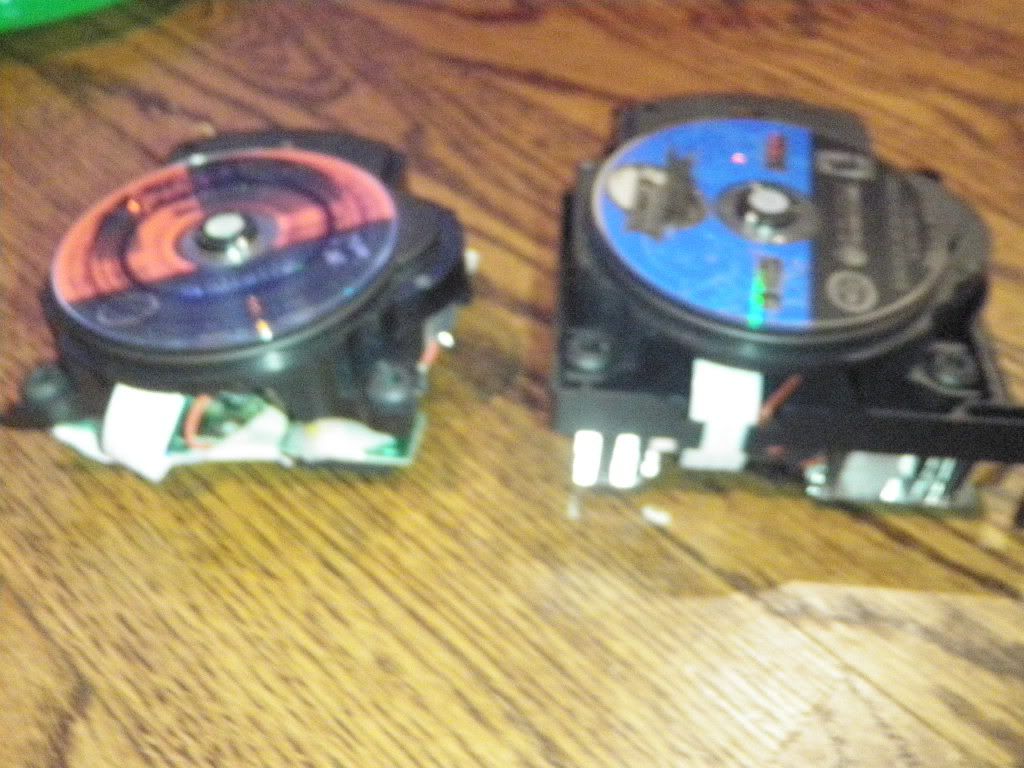
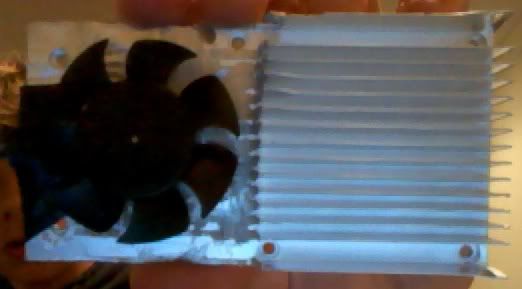
I'm probably not going to relocate the daughterboard, and I will use the original heatsink.

sorry for gigantic or blurry pictures, I just figured out how to post them successfully
Last edited by unicycler17 on Tue Jun 28, 2011 1:49 pm, edited 3 times in total.
Image

User avatar
unicycler17
Posts:123
Joined:Wed Feb 16, 2011 9:24 pm
PSN Username:unicycler17

Re: Gamecube portable worklog

Post by unicycler17 » Sun Mar 20, 2011 11:06 am

Im using the original little power input board because I want to make sure that I get the correct polarties to the mobo, and The wire that connects from it to the mobo isn't always correctly marked. I removed the original push button on off switch, and wired in a "flippy" one. I also removed the power in part, and relocated it. I made this diagram for myself, and have basically re-created it, but I don't have batteries yet.

Image

EDIT: I am using one of the plastic-covered power inputs, not the circuit board style one. Upon ripping off the top plastic cover, I found metal leads that could easily be soldered to, for getting power to the screen.
Last edited by unicycler17 on Tue Mar 22, 2011 4:39 pm, edited 1 time in total.
Image

User avatar
unicycler17
Posts:123
Joined:Wed Feb 16, 2011 9:24 pm
PSN Username:unicycler17

Re: Gamecube portable worklog

Post by unicycler17 » Sun Mar 20, 2011 5:08 pm

Image


sorry for blur. I don't have batteries yet, but I figured I might as well figure out the switch between them and wall power, since I def want to be able to play off the wall.

Image

and it works!
Image

User avatar
unicycler17
Posts:123
Joined:Wed Feb 16, 2011 9:24 pm
PSN Username:unicycler17

Re: Gamecube portable worklog

Post by unicycler17 » Mon Mar 21, 2011 8:36 pm

Image

I got my cases

Image

piled everything together to see what it might layout to be.... Thats an old broken mobo, not the one ive been working on.

Image

Started to cut out the disc drive shape from the rw case, but my dremel cutting bit is broken, and it's slow progress with a box cutter.

EDIT: I traced the disc drive with it upside down, so I cut it out backwards. Doesn't matter now though.
Last edited by unicycler17 on Sat Apr 09, 2011 7:59 pm, edited 1 time in total.
Image

User avatar
Rockin Husker
Posts:24
Joined:Sat Mar 19, 2011 6:43 pm
360 GamerTag:RockinHusker

Re: Gamecube portable worklog

Post by Rockin Husker » Tue Mar 22, 2011 12:03 am

Hey thanks for doing this! it will (when i get to it) help me build my own. :)

And broken pencils? funny but good idea. XD
*enter witty phrase here*

User avatar
unicycler17
Posts:123
Joined:Wed Feb 16, 2011 9:24 pm
PSN Username:unicycler17

Re: Gamecube portable worklog

Post by unicycler17 » Wed Mar 23, 2011 8:54 pm

I've decided that I am now going to use the SD card loading, and will now have a horizontal layout. It will be harder to do, But I think it will look better and be more comfortable. The problem is, I need more money, because I need to buy:

Batteries
Wiikey Fusion
An SD card
Bondo
New dremel cutting bit mount
Mini controllers

And Ill probably need some IDE cable for soldering the motherboard to the WiiKey. Ive never used IDE cable, but Ive heard good things about the stuff and it seems to make everything more organized.

I now won't be using the RW case, just the ZN45, and I won't do much work on it for another few weeks.
Image

User avatar
unicycler17
Posts:123
Joined:Wed Feb 16, 2011 9:24 pm
PSN Username:unicycler17

Re: Gamecube portable worklog

Post by unicycler17 » Sat Mar 26, 2011 9:53 pm

I got a dremel mandrel bit, and now im working on cutting up a heatsink in order to put a fan directly on it. I was planning on using jb weld to attach the fan to the heatsink, but i don't know if that will work.

Can jb weld get really hot?
Is it conductive?
Image

User avatar
hackmodford
Portablizer Extraordinaire
Posts:651
Joined:Fri Aug 21, 2009 10:44 am
Location:Michigan
Contact:

Re: Gamecube portable worklog

Post by hackmodford » Sun Mar 27, 2011 11:33 am

I don't see why that wouldn't work.

And you can get IDE cable at your local computer shop (they will give it away to you they have sooo much)

User avatar
unicycler17
Posts:123
Joined:Wed Feb 16, 2011 9:24 pm
PSN Username:unicycler17

Re: Gamecube portable worklog

Post by unicycler17 » Mon Apr 04, 2011 8:17 pm

Image

After 6 dremel cutting wheels, plenty of pliers-pulling, and finally getting a grinding wheel from my attic, I managed to cut up my heatsink and mount a fan on it. The fan is mounted with 5 minute epoxy and is blowing air downward. I attempted to hardwire my memcard, but failed. I will try again tomorrow.

Theres a small computer shop 2 blocks from me. I'll go get some IDE cable tomorrow. Maybe that will help me with the memcard.
Image

User avatar
hackmodford
Portablizer Extraordinaire
Posts:651
Joined:Fri Aug 21, 2009 10:44 am
Location:Michigan
Contact:

Re: Gamecube portable worklog

Post by hackmodford » Mon Apr 04, 2011 8:35 pm

My plan too...

I love this...... Were all copying each other

Sent from my HTC Hero CDMA using Tapatalk

User avatar
unicycler17
Posts:123
Joined:Wed Feb 16, 2011 9:24 pm
PSN Username:unicycler17

Re: Gamecube portable worklog

Post by unicycler17 » Tue Apr 05, 2011 5:35 pm

Copying is the greatest form of flattery haha.

In Zenloc's second gcp, he left part of the fan case on, as seen in this pic.

http://www.facebook.com/photo.php?pid=1 ... 1843721188" onclick="window.open(this.href);return false;

Should I do this to direct the airflow through the fins?
Image

User avatar
hackmodford
Portablizer Extraordinaire
Posts:651
Joined:Fri Aug 21, 2009 10:44 am
Location:Michigan
Contact:

Re: Gamecube portable worklog

Post by hackmodford » Tue Apr 05, 2011 8:18 pm

That's what I was going to do...

Sent from my HTC Hero CDMA using Tapatalk

User avatar
unicycler17
Posts:123
Joined:Wed Feb 16, 2011 9:24 pm
PSN Username:unicycler17

Re: Gamecube portable worklog

Post by unicycler17 » Thu Apr 07, 2011 6:23 pm

okay frankencased the screen's case into the ZN case.

Image

I used JB weld. I think I might buy some Epoxy putty and make the transition from the raised up case to the ZN a bit better looking. Still tons of Sanding to do.

I think I might do a neon green paint, and tons of gloss. But I'm not going to paint anything until I have the controller figured out.

How do I mount the circuit board and internals inside the case? I've seen people JB welding nuts into the case and then screwing into those. But I need a rather tall screw post because I am mounting the mobo to the back, and the heatsink is pretty tall. I was thinking of using scraps of wood, epoxying them into the case, and using those as screw posts. Bad idea?

I ordered some momentary switches from ebay. I don't think I'll use them as the main buttons, but I will use them for the eject, start, and z buttons. Unless I do a terrible job at cutting a controller. Then I will use them as the main buttons.
Image

User avatar
hackmodford
Portablizer Extraordinaire
Posts:651
Joined:Fri Aug 21, 2009 10:44 am
Location:Michigan
Contact:

Gamecube portable worklog

Post by hackmodford » Thu Apr 07, 2011 6:30 pm

Try to find nylon spacers. If you get ones small enough you can thread them with woodscrews.


Sent from my iPod touch using Tapatalk

User avatar
unicycler17
Posts:123
Joined:Wed Feb 16, 2011 9:24 pm
PSN Username:unicycler17

Re: Gamecube portable worklog

Post by unicycler17 » Thu Apr 07, 2011 8:39 pm

Thanks for all your help, Hackmodford.

Image
I mounted the power button into the top piece of the case.

I don't have my camera now, so i've been holding things up to my webcam for pictures, so thats why you see my hand.
Image

Post Reply