DasXero's Xero64 Worklog

Includes but not limited to: SNES, Genesis, Sega CD, PlayStation 1, Nintendo 64, Dreamcast, Game Gear and I guess the Virtual Boy.

Moderator:Moderators

Post Reply
User avatar
DasXero
Posts:44
Joined:Sat May 22, 2010 7:35 pm
PSN Username:DasXero
Location:The Virtuality of Reality
DasXero's Xero64 Worklog

Post by DasXero » Tue Jun 08, 2010 3:06 pm

Hello one and all! Around 2-3 weeks ago i started my Nintendo 64p project, and you mighty awesome benheckiens helped me get enough courage and knowledge to do this project. Anywho i'll inform you all what has happened since than...

I started by watching a lot of threads and videos, one website that particularly helped was bacteria's (guys a Guinness). So i started out by buying a used N64 off the one and only - Ebay. Mostly because i didn't want to ruin me and my brother's pikachu N64 (awesomest n64 evar!!!). So i bought that n64 (like $20), than i tried to find a really really cheap zenith/psone screen, and i found one (only one :cry: ) on amazon that was like $25 and like $4 shipping, i was like w000t!! so i bought that.

After like 3 days (wth? supposed to be atleast a week for both? :D ) i got BOTH in the mail in the same day. so i tested the screen out it is a Zenith screen for xbox w/ ps2 adapter, well i don't got a xbox so i tested it with my ps2, and it worked very nicely. Than i ripped open the n64 box... there it was a BRAND NEW (really badly used) N64 with a bunch of extra stuff that i dont really need or want. so i tested it out and guess what? it took like 20 trys to get the thing on! than again that happened to my pikachu N64 for years (man i love that pikachu N64 its just... awesome) so i finally got it on with some game it came with mario golf. I played for a time of 5 seconds and dubbed it dumb. so there i got my testing game! it came with 2 other games but heck idc - lets tear it apart!!!

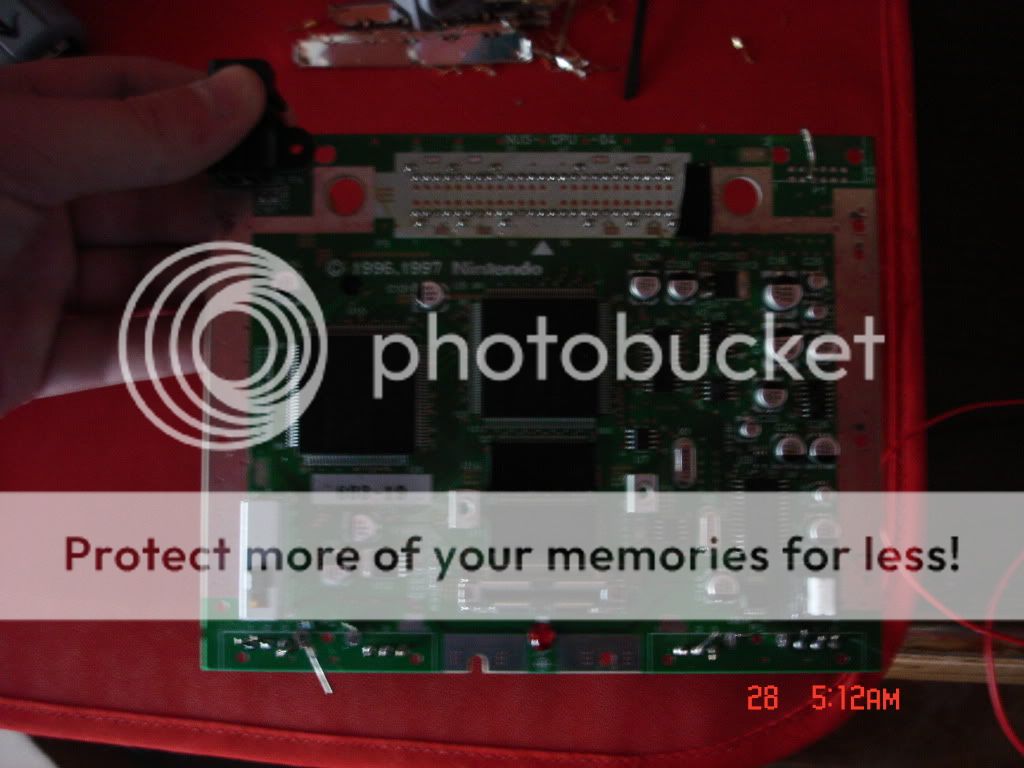
so i tear it all apart, oh and i gotta tell ya while burning a bic pen outside DONT i mean DONT watch a hot girl or hot car pass by, dumb plastic dripped on my finger! but i got it all open! and than i left it on my table for a few days till i got yelled at, than thrown into the garage with a work area. but heck now i got a work area :D so than i finally went in the garage and DID something! i tore off the front ports and the video port (wish i did not do that) and got to work!!

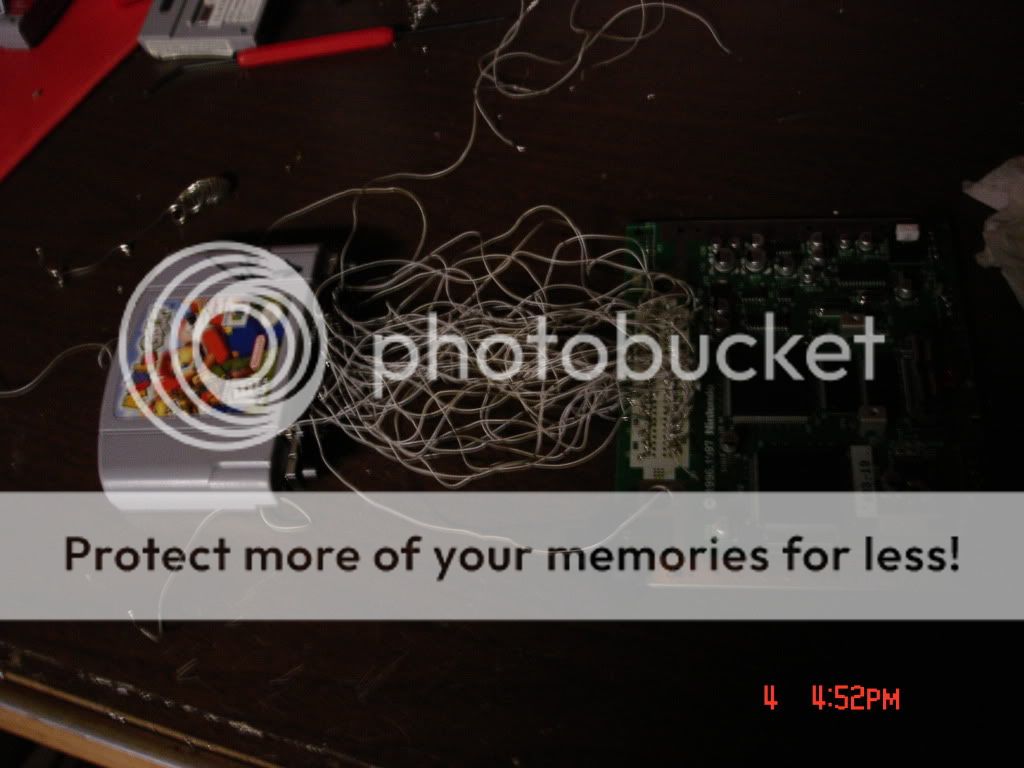
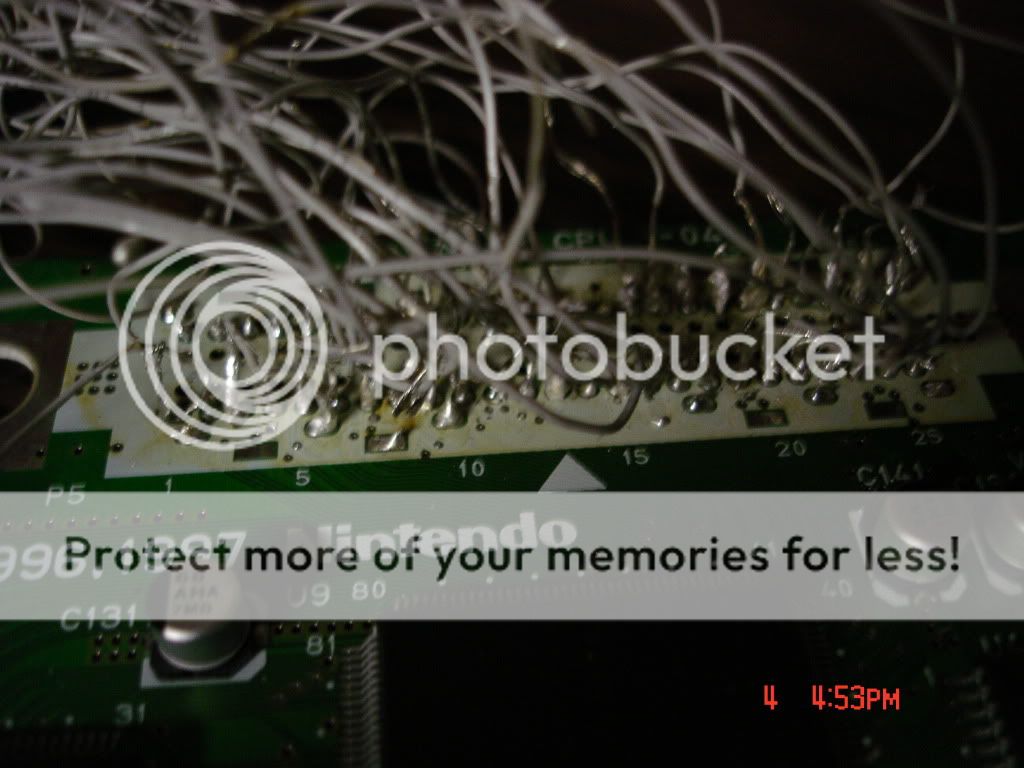
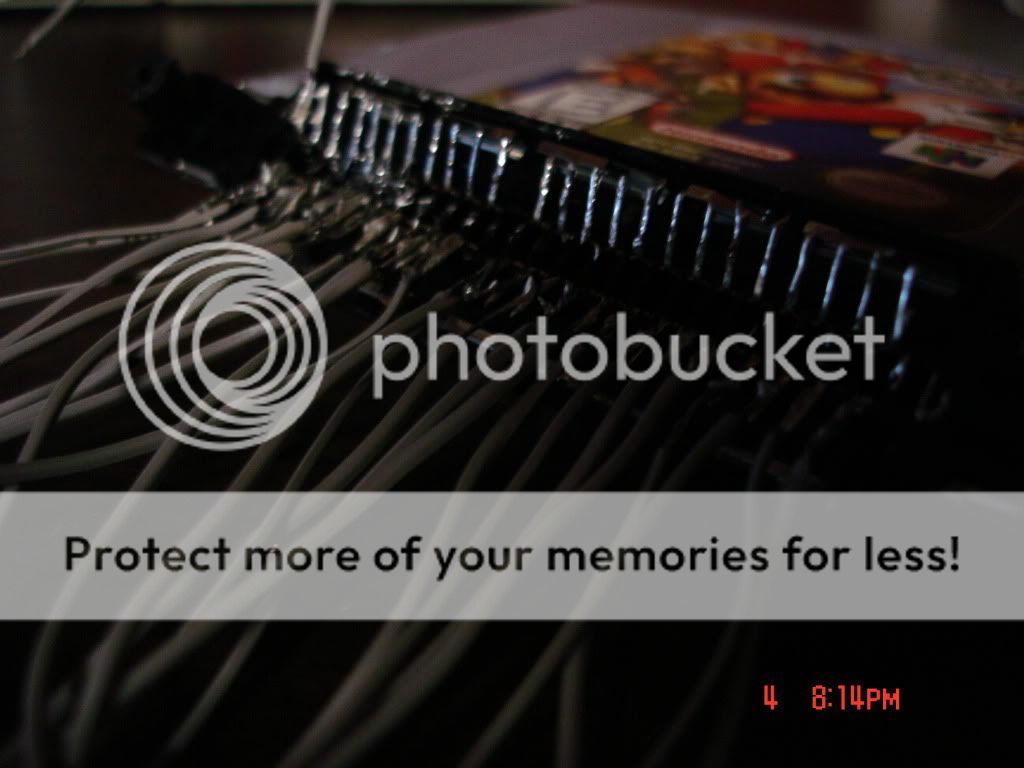
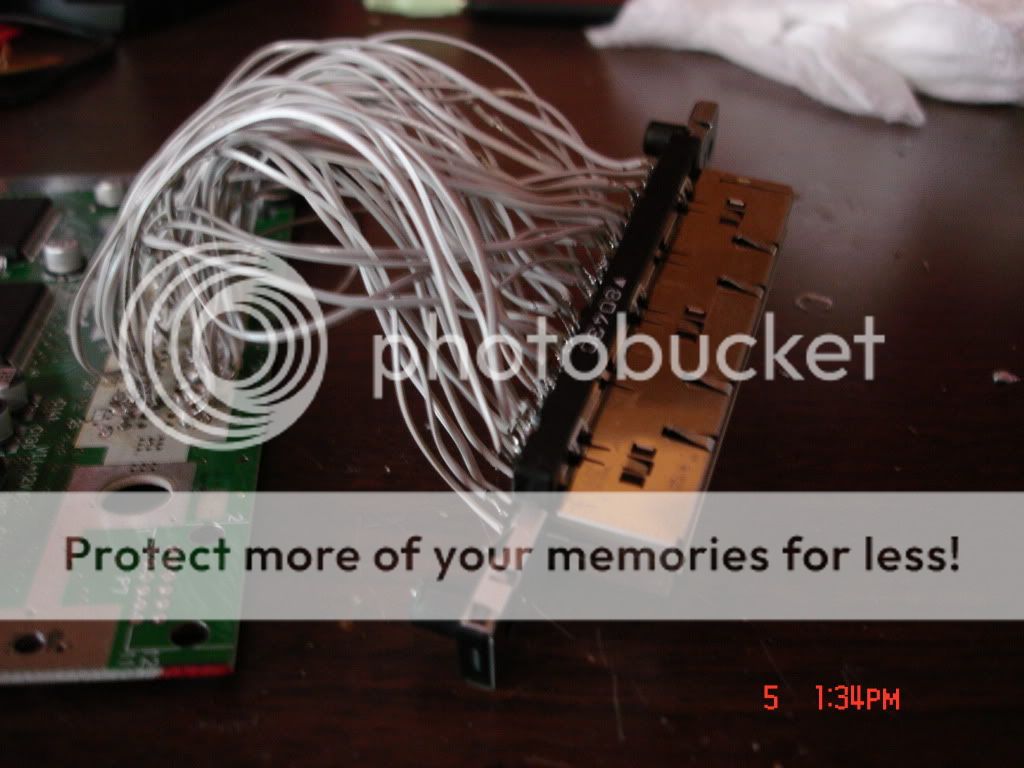
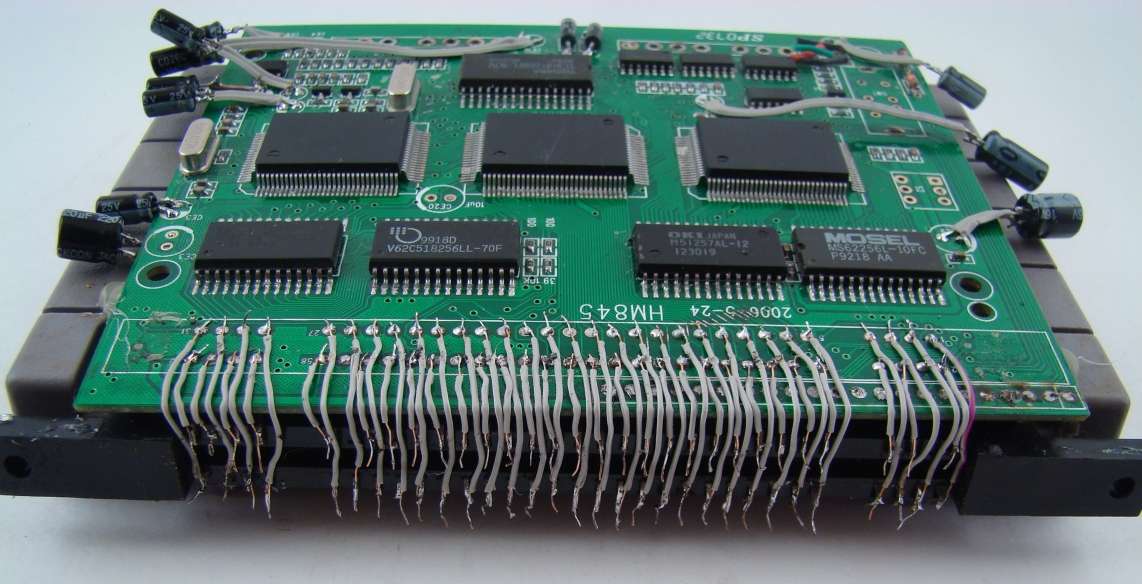
I relocated the cartridge slot... and i somehow managed to make a huge mess on the catridge slot itself. i than finished relocating it and started patting myself on the back when i realized half the wire managed to fall apart. so i got really mad and just desoldered everything. than i was about to resolder everything on again as a fresh start when i looked at my floppy cable (i was using hdd cable or IDE dur) and saw it was just a BIT thicker than the hdd cable i was using, so i restarted with that, and man it was WAY easier to work with, and it didnt whind around other cables, and stayed pretty straight!

Than i messed around with my screen wires and the thing WOULD NOT power on anymore because i was using the whole circuitry that was actually inside the screen, instead of like taking off the screen and just using that i also tore apart the bottom bar thing :wtf: but after another few days i just directly wired it to the power plugin, and BAM thing turned on again i seriously like danced. than i wired it to the n64, and~ it didnt work :? i checked everything and nope not working still, the dumb n64's led wasnt even lighting up, so i got mad and... started hurting it with my x-acto knife lol... than i was like whatever and desoldered/tore off the rest of the ports and stuff, than desoldered the cart slot and now i don't have a working N64 (besides my pikachu one :mrgreen: ) so i bought another N64.

also i got a few other parts along the way i got a ti pth08000, psp analog stick, psp analog stick caps, also got a 3rd party controller, ram expander, memory slot thing, and few other things.

also i got a concept design/idea for the case; im gonna use a zn-45 (shut it!) and the case of the original FAT xbox controller than make it look like a fat oversized controller with a screen and a catridge comin out the top.

and i want to use psp analog sticks because i just love dem things there tiny, comfortable, and... tiny! Also i want to know if there is any way to turn the "c" buttons into a analog stick? I would like to make it a red psp analog stick :D

Pictures of progress so far in the next post...
Image
"If Ben Heck can do it, I sure as hell can't"
~DasXero
~-~-~~Beginner Modder~~-~-~
Projects:
<----Xero64---->
Progress:
---->STARTING OVER 100%!

User avatar
ishowernaked
Posts:212
Joined:Sun May 09, 2010 6:01 pm
Location:sleeping the towel section of walmart

Re: DasXero's Xero64 Worklog

Post by ishowernaked » Tue Jun 08, 2010 3:17 pm

lol! started hurting it with my exacto knife. question.... i havent gotten my supplies yet but have started my case and i need to know the size of the screen board at it's longest and widest plz. this would help a bunch.
Image

User avatar
DasXero
Posts:44
Joined:Sat May 22, 2010 7:35 pm
PSN Username:DasXero
Location:The Virtuality of Reality

Re: DasXero's Xero64 Worklog

Post by DasXero » Tue Jun 08, 2010 3:25 pm

The screen itself? or the pcb?

EDIT: im waiting for my pics to upload to photobucket - why do they always upload so slow?!?

EDIT2: This is what i approximately got for the measurements of the screen and the pcb, its in fractions because thats what my measure measures by
The Screen:
Width <---> counting tabs is: 5 1/4 in.
Width <---> Not counting tabs is: 4 5/8 in.
Height of thing: 3 5/8 in.

The PCB:
Width of the bottom and top parts: 3 1/2 in.
Width of the whole thing: 6 3/4 in.
Height of the side parts: 3 3/4
Height of the whole thing: 5 1/4

Hope that helps ishowernaked!

EDIT3: I just remebered that you said that you were working on your case! so i think that you might be wondereing how big to cut the whole for the visual of the screen, so i measure the visible part of the screen itself, so heres about the measures i got:

Width of visual: a little less than 4 1/8 in.
Height of visual: 3 1/8 in.

Hope that helps ishowernaked!
Last edited by DasXero on Tue Jun 08, 2010 3:56 pm, edited 3 times in total.
Image
"If Ben Heck can do it, I sure as hell can't"
~DasXero
~-~-~~Beginner Modder~~-~-~
Projects:
<----Xero64---->
Progress:
---->STARTING OVER 100%!

User avatar
DasXero
Posts:44
Joined:Sat May 22, 2010 7:35 pm
PSN Username:DasXero
Location:The Virtuality of Reality

Re: DasXero's Xero64 Worklog

Post by DasXero » Tue Jun 08, 2010 3:31 pm

PICTURES N STOOF:

Nintendo 64 mobo untouched...
Image

Nintendo 64 mobo ports torn off :)
Image

(Yuck!) the whole thing wire...
Image
Image
Image

Progress of the new fatter wires
Image
Image
Image
Image

The Whole thing finished:
Image
Image

And theres also other stuff but photobucket takes forever to upload to so i might upload some more random pics laterz peace! more updates later
Image
"If Ben Heck can do it, I sure as hell can't"
~DasXero
~-~-~~Beginner Modder~~-~-~
Projects:
<----Xero64---->
Progress:
---->STARTING OVER 100%!

User avatar
Mosquito
Posts:16
Joined:Mon May 17, 2010 8:33 pm

Re: DasXero's Xero64 Worklog

Post by Mosquito » Tue Jun 08, 2010 10:36 pm

DasXero wrote:And theres also other stuff but photobucket takes forever to upload to so i might upload some more random pics laterz peace! more updates later
Try http://www.imgur.com/" onclick="window.open(this.href);return false;
Image

User avatar
DasXero
Posts:44
Joined:Sat May 22, 2010 7:35 pm
PSN Username:DasXero
Location:The Virtuality of Reality

Re: DasXero's Xero64 Worklog

Post by DasXero » Wed Jun 09, 2010 11:25 am

Mosquito wrote:
DasXero wrote:And theres also other stuff but photobucket takes forever to upload to so i might upload some more random pics laterz peace! more updates later
Try http://www.imgur.com/" onclick="window.open(this.href);return false;
Thanks i may try that sometime, i got a lot of old pics on my photobucket account from when i did runescape private servers and stuff.

Also no updates, just waiting for my new N64 to come in, until than im gonna mod my Nintendo GC even though its got a broken disk drive :p

EDIT: Changed photoshop to photobucket lol...
Image
"If Ben Heck can do it, I sure as hell can't"
~DasXero
~-~-~~Beginner Modder~~-~-~
Projects:
<----Xero64---->
Progress:
---->STARTING OVER 100%!

User avatar
DasXero
Posts:44
Joined:Sat May 22, 2010 7:35 pm
PSN Username:DasXero
Location:The Virtuality of Reality

Re: DasXero's Xero64 Worklog

Post by DasXero » Wed Jun 09, 2010 3:32 pm

Hey guys can anyone explain to me and possibly make a better diagram to show how and where to wire this thing? To turn the "C" buttons into a "C" stick (yay! 8) )

Here it is:
Image

Thanks mates,
DX
Image
"If Ben Heck can do it, I sure as hell can't"
~DasXero
~-~-~~Beginner Modder~~-~-~
Projects:
<----Xero64---->
Progress:
---->STARTING OVER 100%!

User avatar
dragonhead
Posts:952
Joined:Sun Apr 04, 2004 4:28 pm
Location:NH, USA
Contact:

Re: DasXero's Xero64 Worklog

Post by dragonhead » Wed Jun 09, 2010 4:03 pm

DasXero wrote:Hey guys can anyone explain to me and possibly make a better diagram to show how and where to wire this thing
no.

User avatar
Triton
Moderator
Posts:7397
Joined:Mon May 24, 2004 12:33 pm
360 GamerTag:triton199
Steam ID:triton199
Location:Iowa
Contact:

Re: DasXero's Xero64 Worklog

Post by Triton » Wed Jun 09, 2010 4:12 pm

dragonhead wrote:
DasXero wrote:Hey guys can anyone explain to me and possibly make a better diagram to show how and where to wire this thing
no.
unfortunately he is right, that diagram pretty much explains it lol. you attach the pins indicated to the solder pads for the C buttons on the controller board, the resistors would tie to a ground trace. good job on improving your cartslot relocation tho! looks much neater the second time around, but bigger wires has nothing to do with how well it will work, my GBOsnes slot uses TINY wires
Image

User avatar
DasXero
Posts:44
Joined:Sat May 22, 2010 7:35 pm
PSN Username:DasXero
Location:The Virtuality of Reality

Re: DasXero's Xero64 Worklog

Post by DasXero » Wed Jun 09, 2010 5:35 pm

No, i meant that the thicker wires were easier to work with than the skinner ones, and they stayed straight lol. On the "C" stick diagram the only part i didnt get is the part with the lines, im assuming the part with the rectangles are resistors.

Thanks again,
DX

EDIT: OMG I forgot to say thanks for saying i did good! So... Thanks! Just wish the thing worked >.< but i already tore the thing apart, waiting for a new N64 in the mail, hopefully come soon so i can finally start again :mrgreen:
Image
"If Ben Heck can do it, I sure as hell can't"
~DasXero
~-~-~~Beginner Modder~~-~-~
Projects:
<----Xero64---->
Progress:
---->STARTING OVER 100%!

User avatar
ishowernaked
Posts:212
Joined:Sun May 09, 2010 6:01 pm
Location:sleeping the towel section of walmart

Re: DasXero's Xero64 Worklog

Post by ishowernaked » Wed Jun 09, 2010 8:37 pm

thanks for the measurements. it'll help a bunch. tried using pythagorean theorem (a^2 x b^2 = c^2) but i couldn't because i didn't know the size of the sides in relation to each other. u helped out a bunch.

EDIT: i'm almost done with my case, too just wanted to let u know.
Last edited by ishowernaked on Wed Jun 09, 2010 8:48 pm, edited 1 time in total.
Image

User avatar
DasXero
Posts:44
Joined:Sat May 22, 2010 7:35 pm
PSN Username:DasXero
Location:The Virtuality of Reality

Re: DasXero's Xero64 Worklog

Post by DasXero » Wed Jun 09, 2010 8:44 pm

Glad I could help, and goodluck!

DX
Image
"If Ben Heck can do it, I sure as hell can't"
~DasXero
~-~-~~Beginner Modder~~-~-~
Projects:
<----Xero64---->
Progress:
---->STARTING OVER 100%!

Post Reply