Carmany's Progress

Includes but not limited to: SNES, Genesis, Sega CD, PlayStation 1, Nintendo 64, Dreamcast, Game Gear and I guess the Virtual Boy.

Moderator:Moderators

Post Reply
Carmany
Posts:16
Joined:Fri Feb 12, 2010 8:14 pm
Carmany's Progress

Post by Carmany » Mon Mar 01, 2010 9:27 pm

After asking some questions I will begin creating my portable. This is for a school project. So far I have disassembled the PS1 Screen.
Image

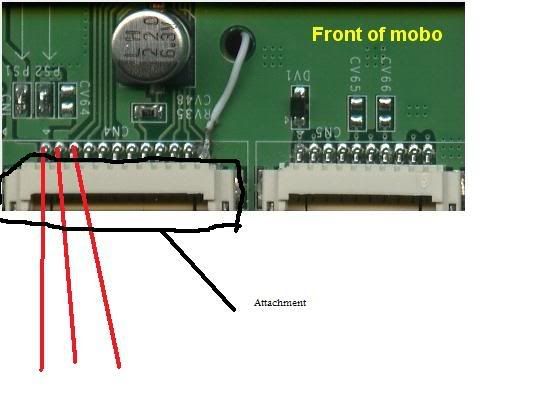
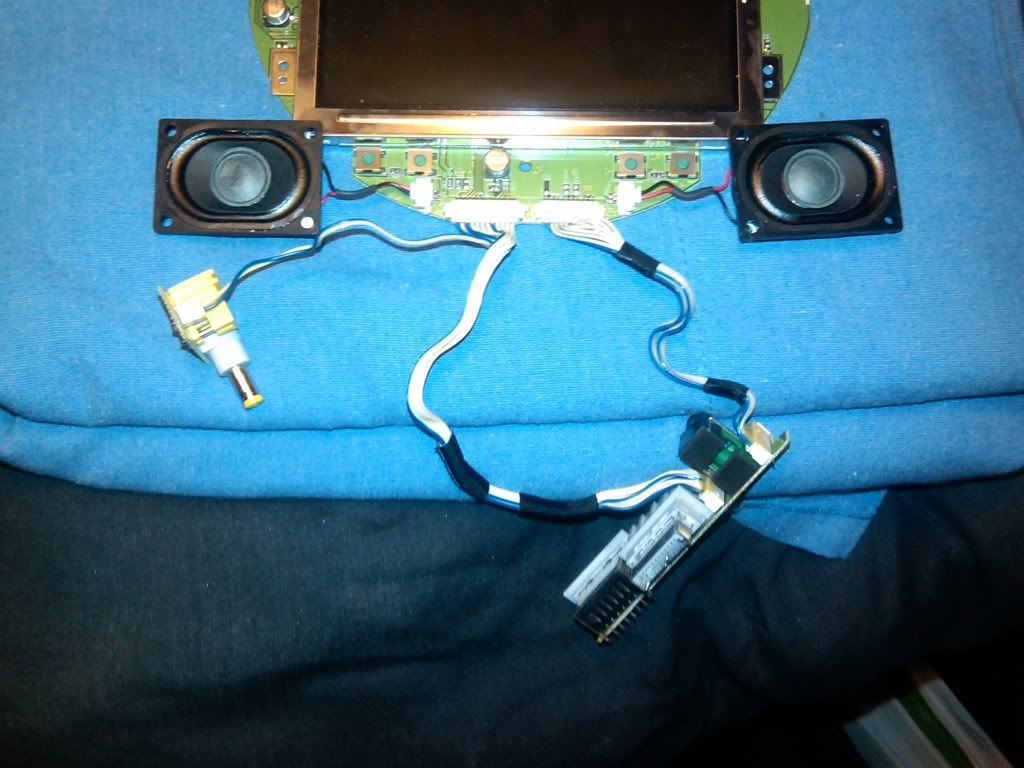
Now taking a look at the bottom left of the screen I have separated the power wires from the rest. Can I just cut the extra wires from the board and leave them? Or do I need to do something else with them even though I will not use them.
I can also disconnect the wires from the screen, and by doing that it leaves me with the prongs, should I just solder my 2 wires to the 2 needed prongs and leave the rest alone? If you need more pictures of elaboration let me know. Thank you.

Carmany
Posts:16
Joined:Fri Feb 12, 2010 8:14 pm

Re: Carmany's Progress

Post by Carmany » Tue Mar 02, 2010 4:55 pm

That actually helps a lot, but what I want to do is attach wires this way: Image

Is there any problems with the attachment still being there? or do I need to remove it?

Carmany
Posts:16
Joined:Fri Feb 12, 2010 8:14 pm

Re: Carmany's Progress

Post by Carmany » Wed Mar 03, 2010 5:54 pm

Thank you I was going crazy, I will leave the clip there, but solder the wires behind it.

MarioOwnsAll
Posts:228
Joined:Wed Mar 11, 2009 9:49 am

Re: Carmany's Progress

Post by MarioOwnsAll » Sun Mar 07, 2010 7:46 pm

Carmany wrote:That actually helps a lot, but what I want to do is attach wires this way: Image

Is there any problems with the attachment still being there? or do I need to remove it?
You can use the attachment but it's not recommended because there are solder pads on the back of the board which work just aswell and that way you can remove the two plugs at the bottom and save room inside the portable.

Post Reply