
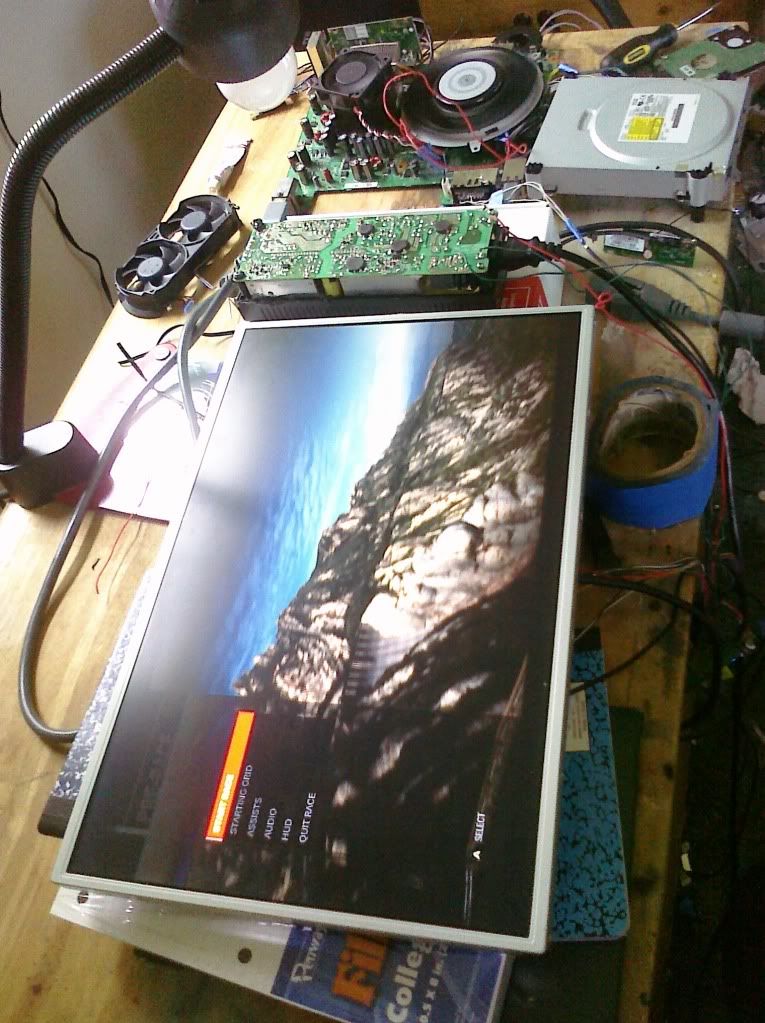
Heres a pic of it in action i was playing the forza 3 demo
 \
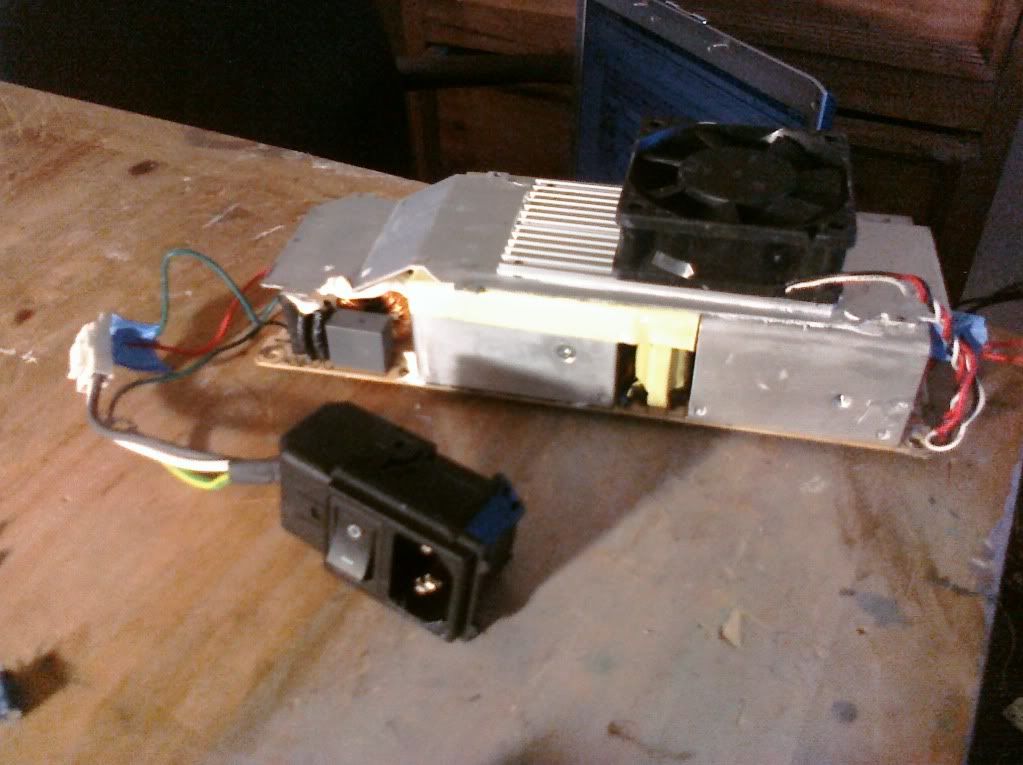
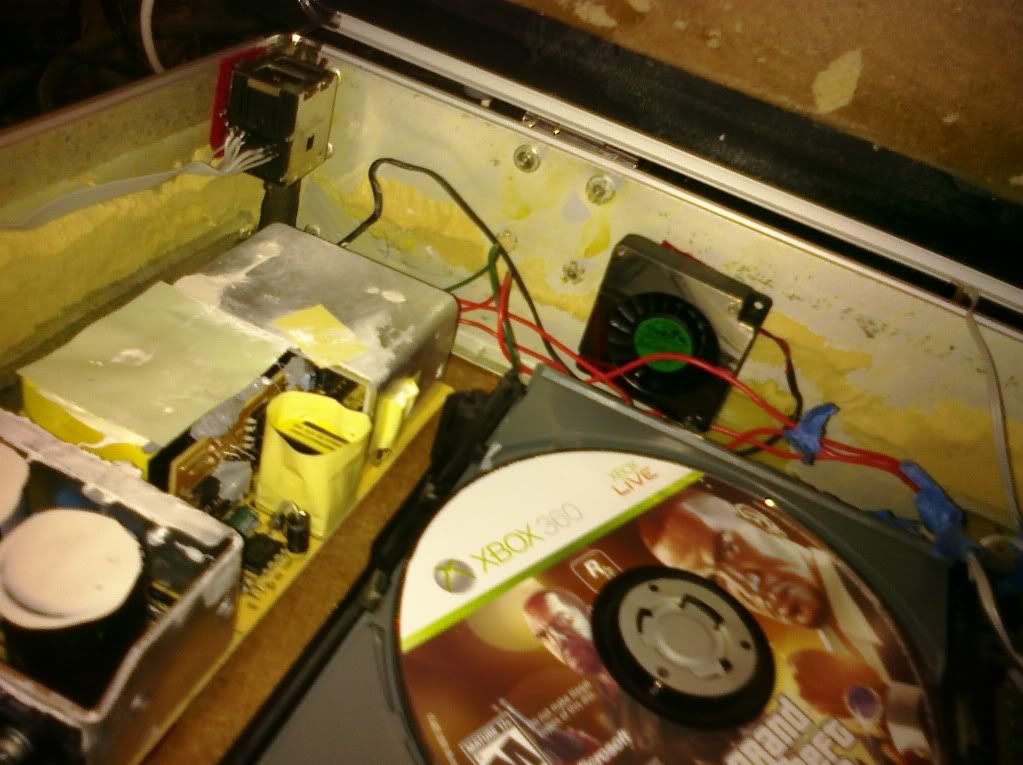
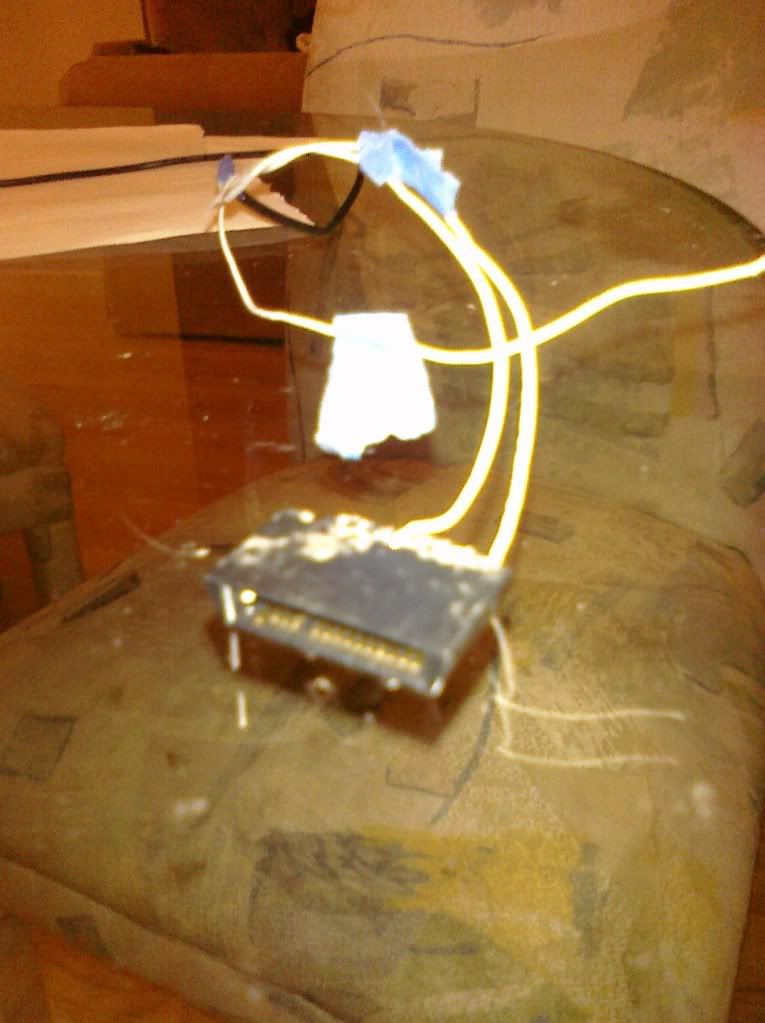
\Pic of the psu, uses the ps3 ac adapter, with bigger fan and artic silver big clunk which is a waste

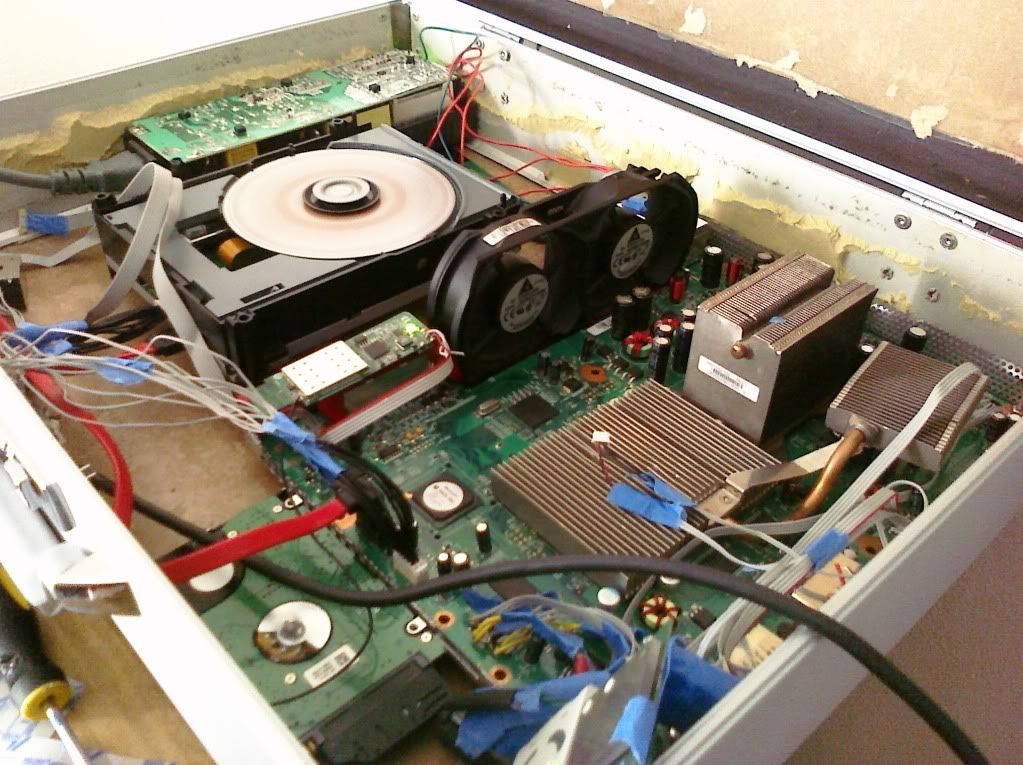
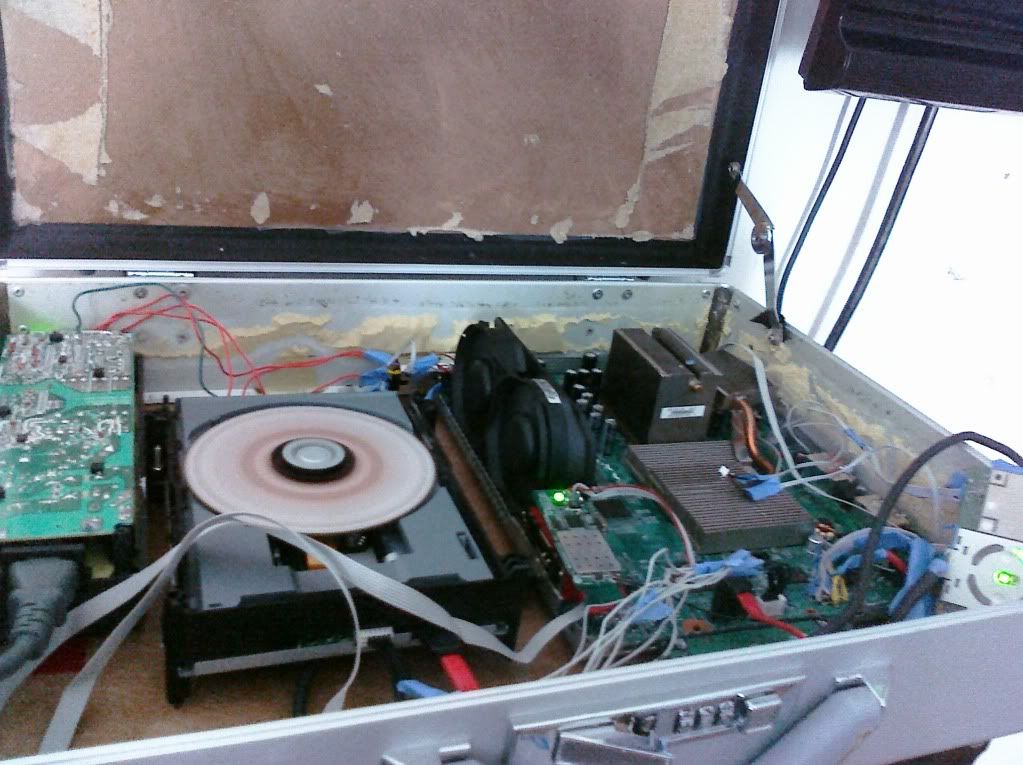
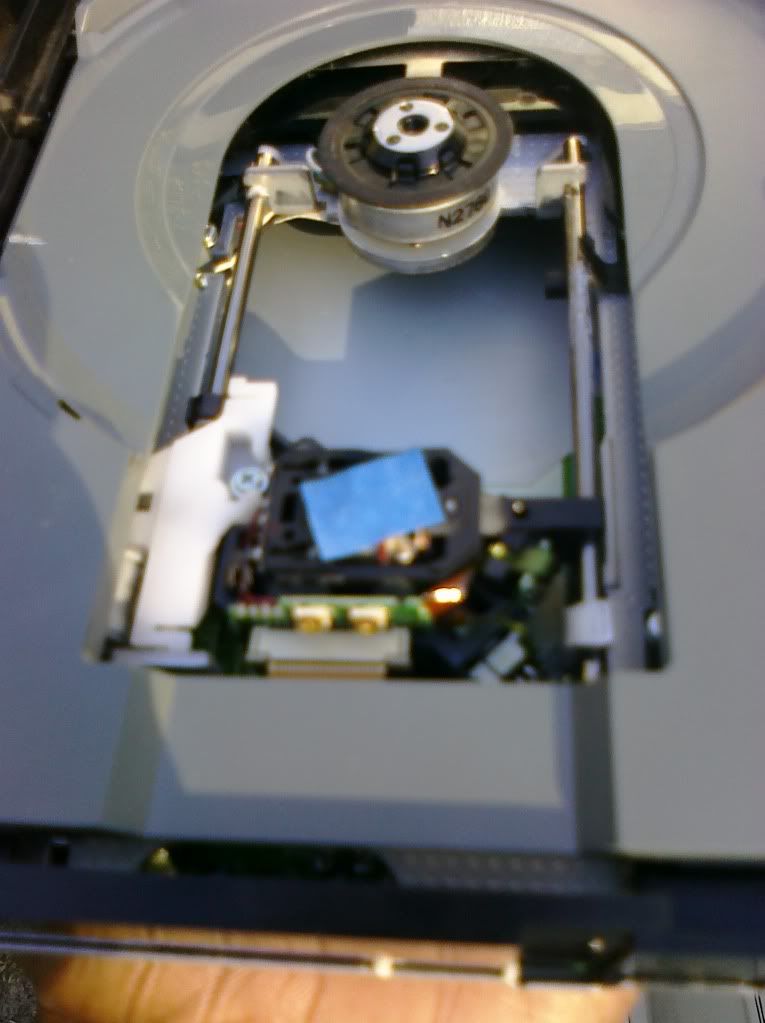
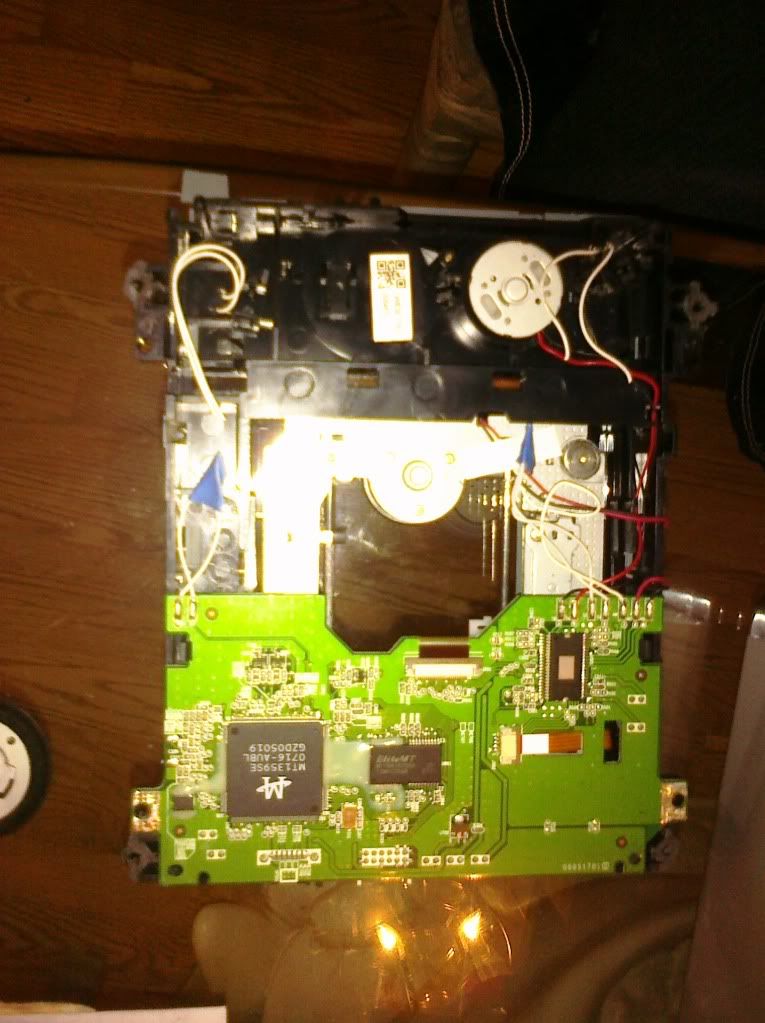
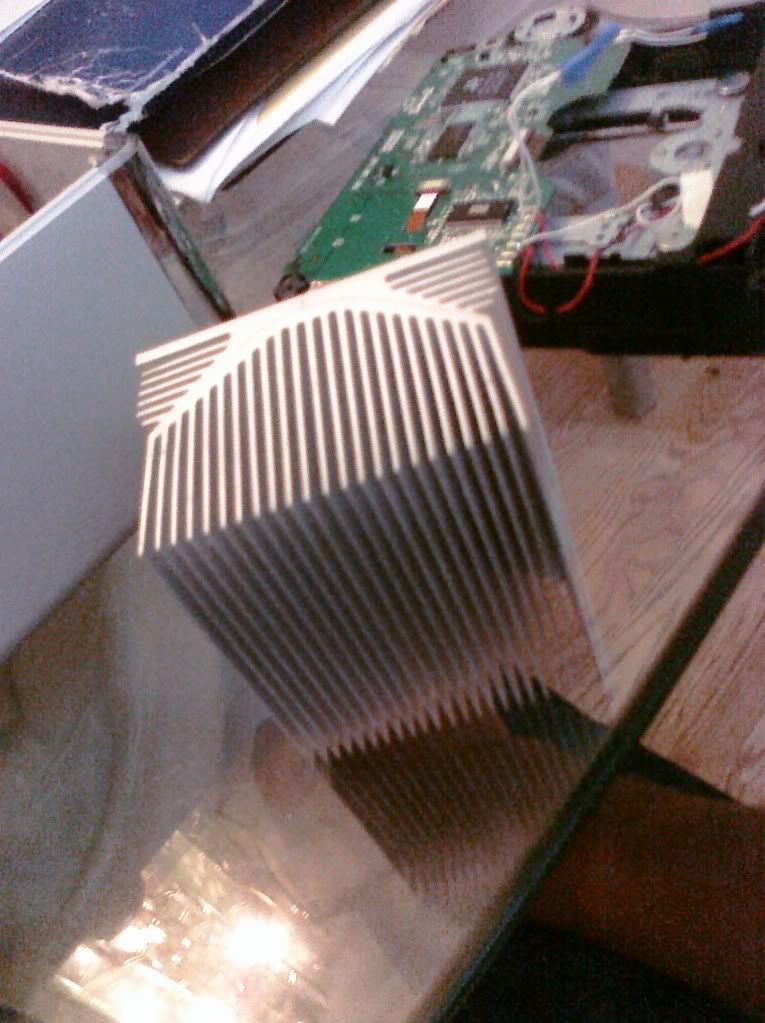
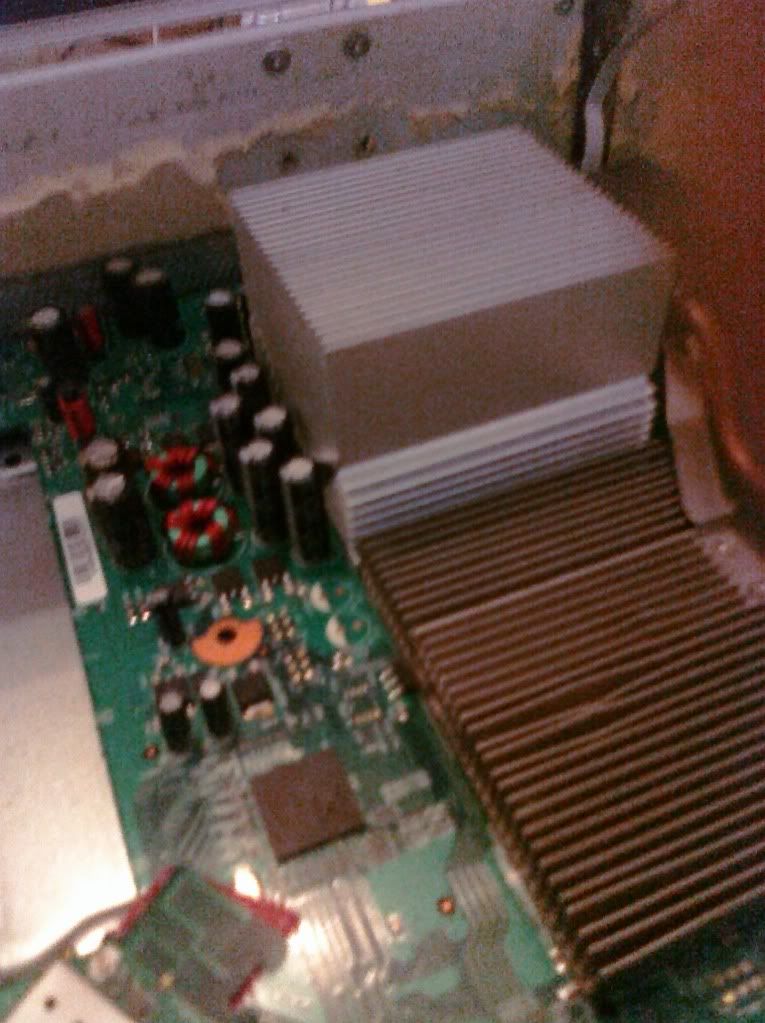
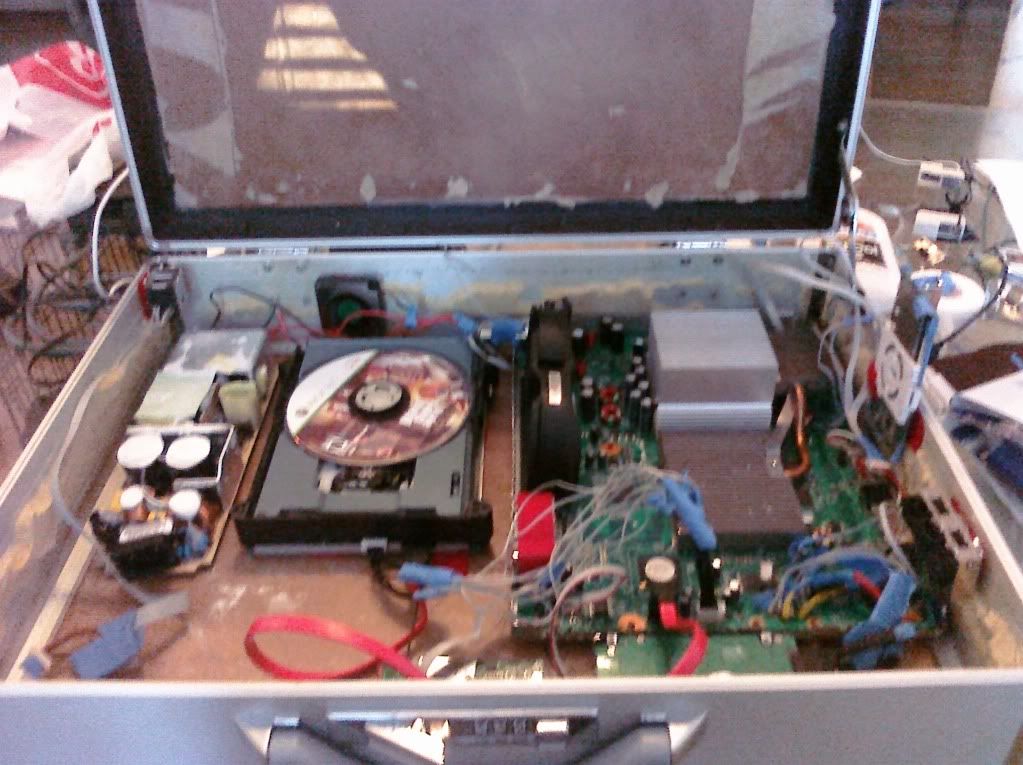
last since the lcd housing is very slimish.. so ive had to slim down the driver board and relocate the psu .. anyway heres a pic of the drive board its 40 percent complete still got some boring desoldering to do...

if you cant see the photos they were tookin from my palm pre so heres the links : http://www.flickr.com/photos/43656925@N ... hotostream" onclick="window.open(this.href);return false;
http://www.flickr.com/photos/43656925@N ... hotostream" onclick="window.open(this.href);return false;
http://www.flickr.com/photos/43656925@N ... hotostream" onclick="window.open(this.href);return false;


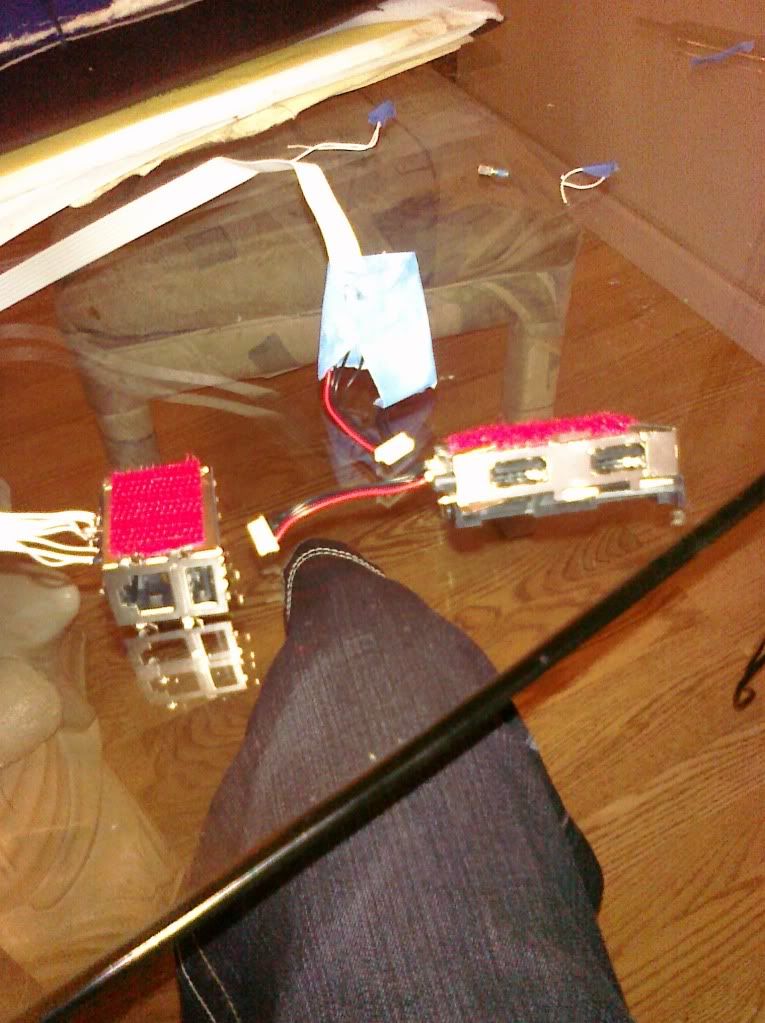

 I know glue on top messy lol
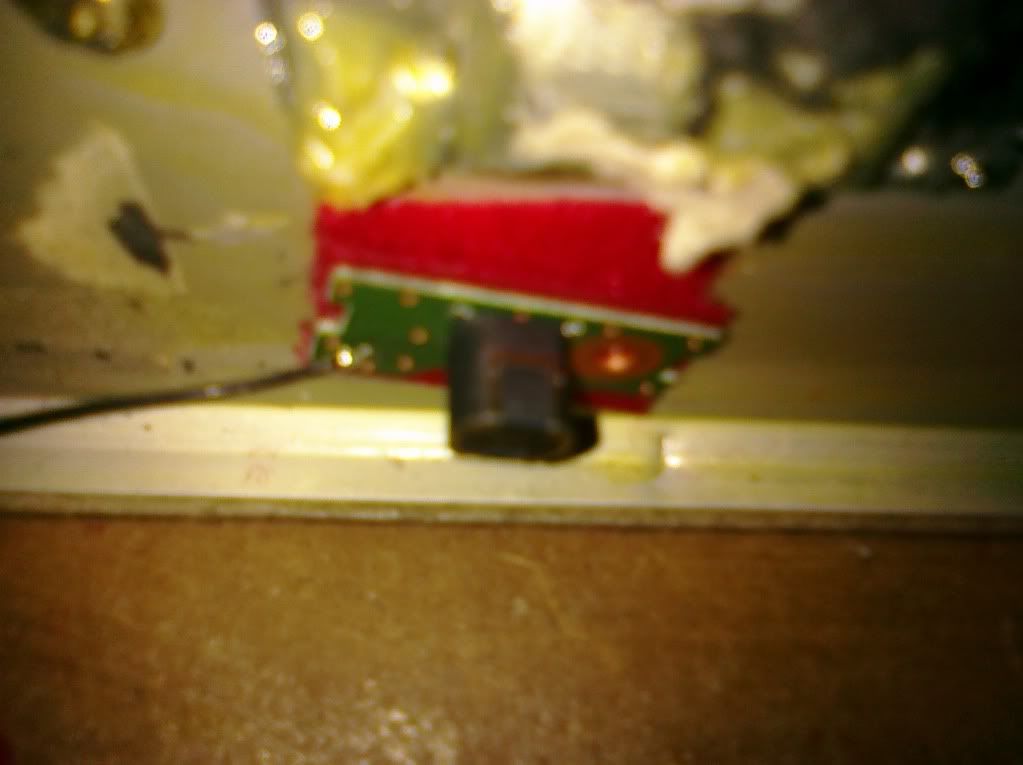


