
Parts:
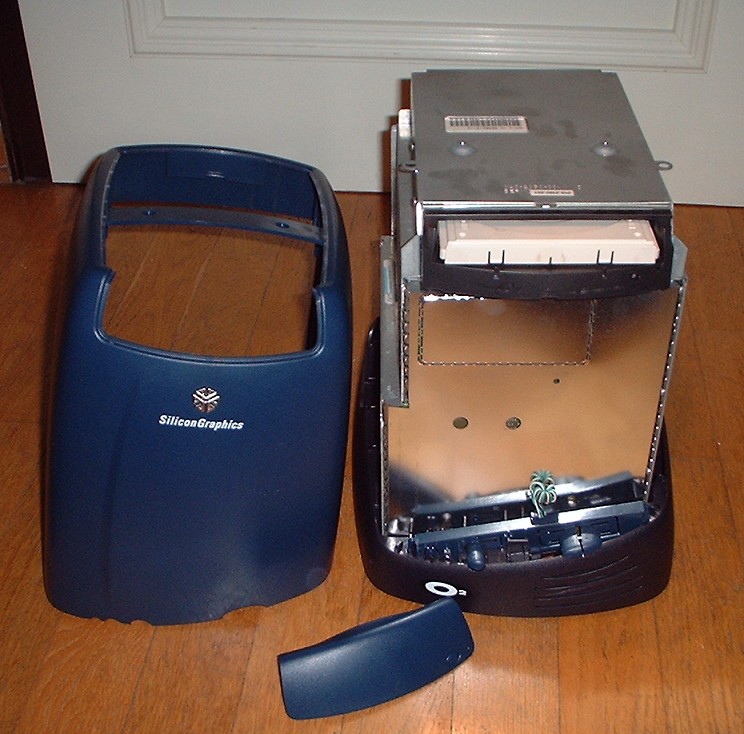
SGI O2 workstation chassis and shell
AMD Geode NX DB1500 motherboard with 512 MB DDR RAM and a 1.0 ghz AMD Athlon
Sony DVD-ROM
Two 400 gig IDE Hitachi Deathstar hard drives
Front panel wiring harness from an old modded Dell case I plan on getting rid of anyway
OS:
Total investment: $0
I want to preserve the outward appearance of the original computer as possible, without going through a bunch of pain in the butt 'stealth' stuff like making adapters to connect the motherboard's ports to ports removed from the O2 motherboard. It's going to be set up so any Mini-ITX motherboard and 3.5" hard drives will just bolt in, so eventually when I have the time and money it can be upgraded with a newer motherboard and some better hard drives, making a multi-terabyte NAS with gigabit LAN and eSATA.
The O2's chassis was designed to hold several removable modules, which connected to a common backplane at the front of the case. Thankfully the outer shell is solid plastic and covers the chassis like a helmet, so this part should be fairly easy. The trickier part will be closing the back up, because that's where most of the butchering will happen. Haven't decided if I'm going to try saving any of the module attachment parts, or just glue them together in approximately the right places building off the motherboard tray.
Here's how the motherboard lines up with the SGI motherboard tray:

Just to make things easier, I'm going to cut down the aluminum remains of a case the board is in now into a motherboard tray that can just attach to the SGI tray with JB Weld. That way there's no question that the screw holes will line up. Unfortunately the motherboard only has 10/100 Ethernet, so
The first snag I hit was the power supply. The original PSU was long and square, while the PC PSU is short and wide. (The SGI power supply cover actually lines up with both, oddly enough.) I tried arranging the PC supply different ways, but there was just no way to line it up so it didn't interfere with the motherboard. The solution? Gut the PC power supply and put its internals into the SGI PSU frame. It needs some rewiring, as the PC power supply has some extra parts on the AC plug, but this should work out better than

The PC supply is smaller, so it will fit.
When it's put back together, it should look something like this (but with the cables coming out the back or other side):

The back of the computer is to the right.
The chassis itself will need some work. There's a plate on the front which has to go for cable accessibility, and the dividers near the bottom may have to go to make room for hard drives. (I'm going to try reusing the original sleds, but more than likely the drives will need a custom bracket.)
More to come later.


 about how nice these manual mode photos are coming out on my 8 year old Powershot A80.


