
Basically just use my guide for the Gamecube.
But you will need these parts for the PS2 :
Here's what you need. From http://www.digikey.com" onclick="window.open(this.href);return false;
For the small brown ribbon cable :
WM10219-ND -- 6" 24 pin .5mm ffc extension
609-1875-1-ND -- 24 pin .5mm ffc zif connector
For the white ribbon cable :
HF12U-06-ND -- 6" 12 pin 1.0mm ffc extension
WM5304-ND -- 12 pin 1.0mm ffc zif connector
That should do you just fine. Gonna cost around $20 shipped.
And here is the Gamecube guide. Do the same thing for the PS2 with the cables/connectors you just bought
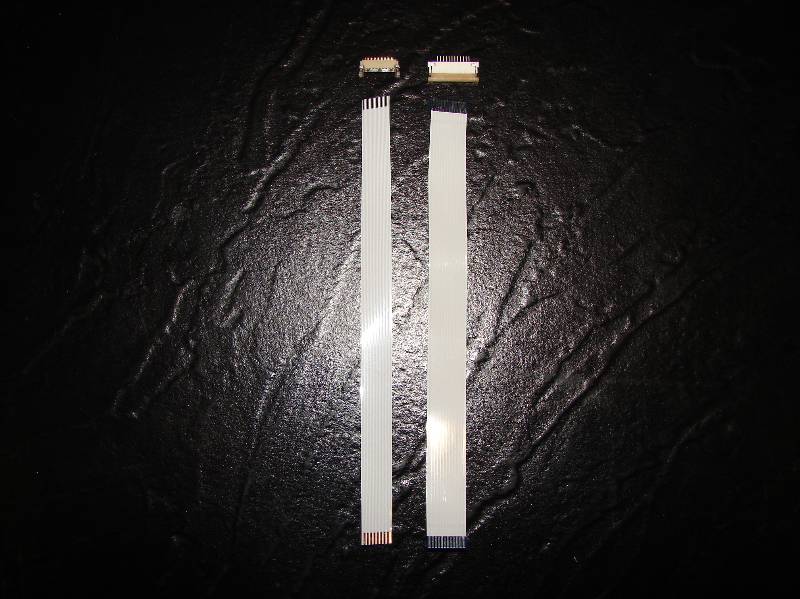
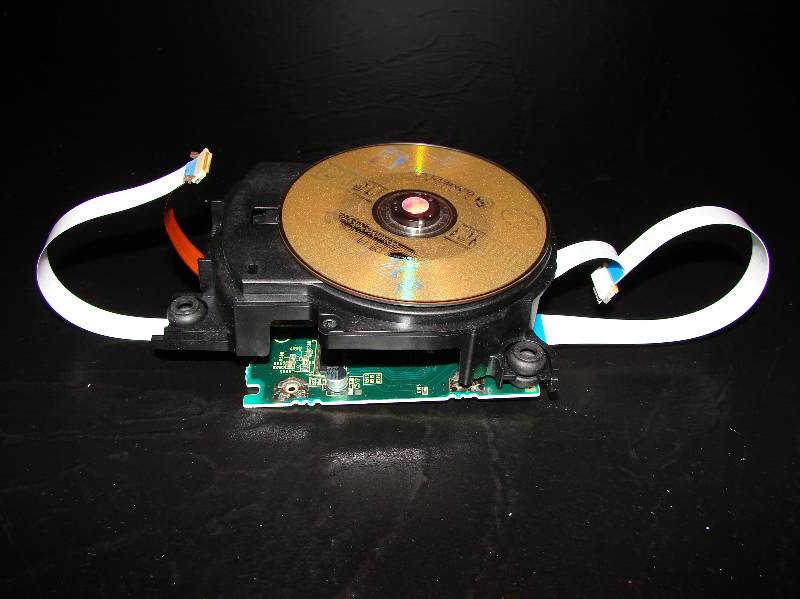
The way this works is by extending the ffc's (Flat Flexible Cables). These will be the two we are extending. The one on the left is a 20 pin .5mm ffc in a slide lock zif socket. The one on the right is a 12 pin 1.0mm ffc in a no lock socket. :
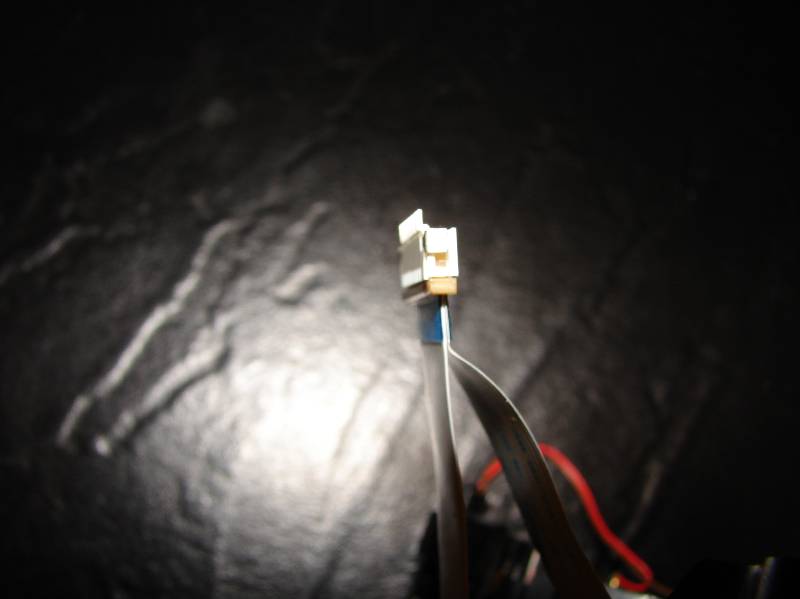
Open the little brown clamp on the zif connector from Digikey. They are pull out slide lock connectors. Be carefull you do want to pull it out to far and break it.
Put the cable you want to extend, and the cable that you bought, face to face so that the silver contacts are touching. Make sure that they are aligned together perfectly, edge to edge , equal length:
Put both cables in the zif and clamp the zif clamp back down. (It may be a little
hard to get them both in there but you can do it. Make sure they are perfectly aligned.)
If they won't go in together use some sandpaper and sand down the BACK EDGE of the cables (not the side with the silver connectors).
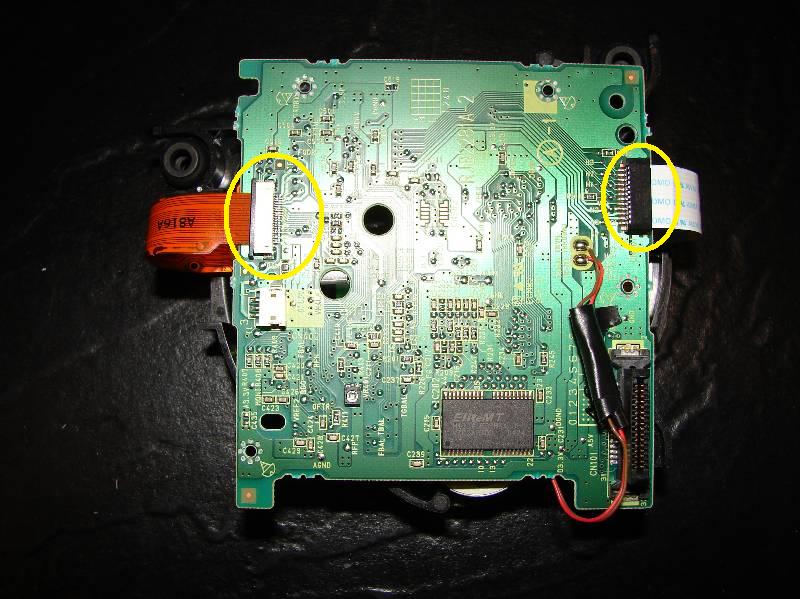
Plug the newly extended cable into the zif on the circuit board. Mind the orientation of the cable (pins); it should be the same as the original cable. On the 20 pin slide in the ffc and then lock the zif socket tab. On the 12 pin just slide in the ffc snugly.
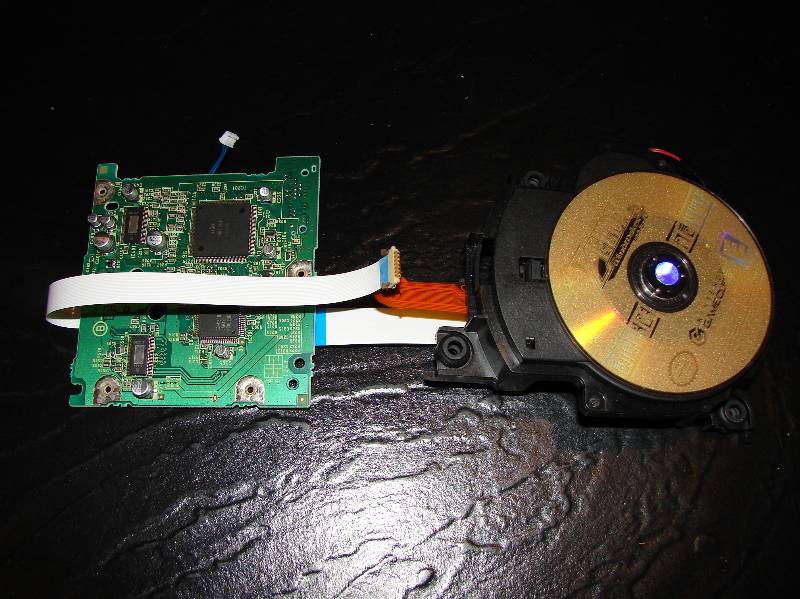
Now notice how much room you have to move the optical drive around :
Now after once again checking to make sure the ffc's are aligned properly, plug the unit back in and test it. If the ffc's aren't aligned you of course will have problems like the optical drive not starting the game or the Gamecube not starting up. Simply turn off the Gamecube and then realign the ffc's and insert them in the zif sockets again. Mine worked the first time because the way the sockets and ffc's are designed it's nearly impossible to get them in NOT aligned properly. There's just not enough room.
Once you make sure everything is working properly, hot glue the ffc's and zif socket extensions you made to keep them from pulling loose or shorting out. I also electrical tape mine after hot gluing them for added security.
