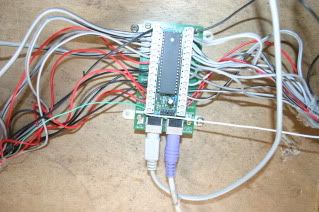
Well I'm back on track after getting sidetracked by those damn awesome PIC microcontroller. What got me onto the arcade
again you ask? It was simply frying my last PIC 16F628a and being unable to get one for a couple of weeks. That and realising that I really wanted to play Galaga and Pacman. Because my midcourse exams for year 11 are over I don't have many assessments for the rest of the term. Expect progress.
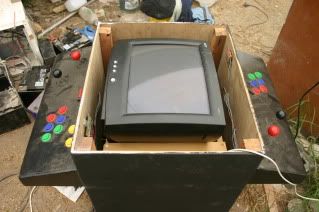
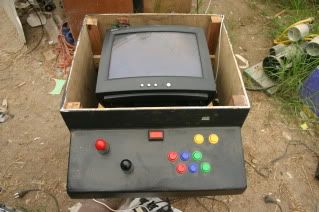
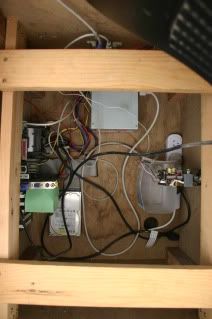
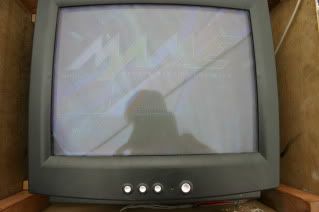
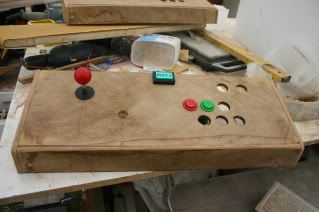
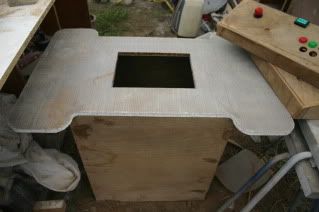
Oh and for anyone who was watching this thread and wanted to see pictures (which I believe is very probably no one) I'm sorry about lying in my previous post. Anyway the pictures below show what's happened in the last few days which is:
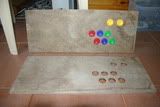
- Put filler around the edges of the tabletop to fill in the exposed honeycomb core.
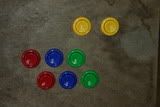
- Take all the panels that I could visualise as a control panel and put them together.
- Put the base in the box so things can be placed inside without falling down onto the ground.
- Sanded lots of edges so they are now flush with other edges.
- Swore at the edges which went less than flush (in my defence not a lot of swearing or bad edges).
And the fruits of this effort is displayed below now in all new larger pictures to replace the thumbnails that Photobucket imposed on me.
That shed isn't really mine but I must take responsibility for a bit of the mess you can see in the background.
Cheers
EDIT: Just looking at my sig next to those pictures and my 3d model doesn't look too different from what the actual product is shaping up to be. Not too shabby.
EDIT: Another edit and this one isn't frivolous. Obviously I'm not miles away from painting so I want the opinions of
YOU the Benheck forum goer on which colour I should use. I've never seen a cocktail cabinet in real life and I want some opinions from people whether you own a cocktail cabinet, played one once or have never played an arcade game but have a favourite colour that would be great for this cabinet.
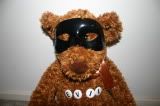
Finally I will probably change my avatar soon because I had a birthday recently and a friend gave me an evil teddy bear. She even put a sinister mask on it and made badges that said "evil" to go on its chest. I think it would make an excellent avatar.
Hope to hear from you guys
Evilteddy