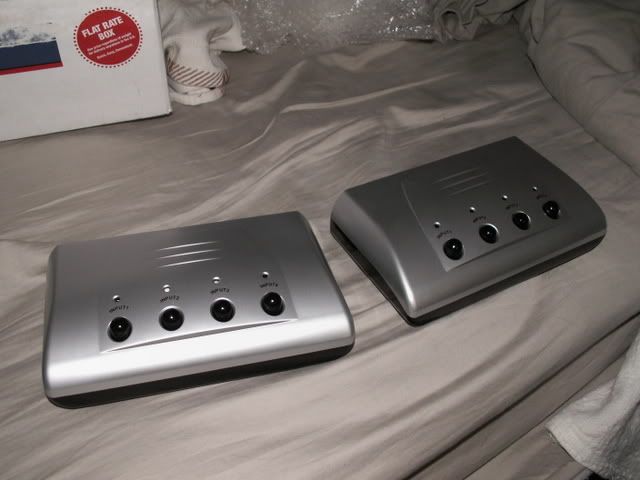
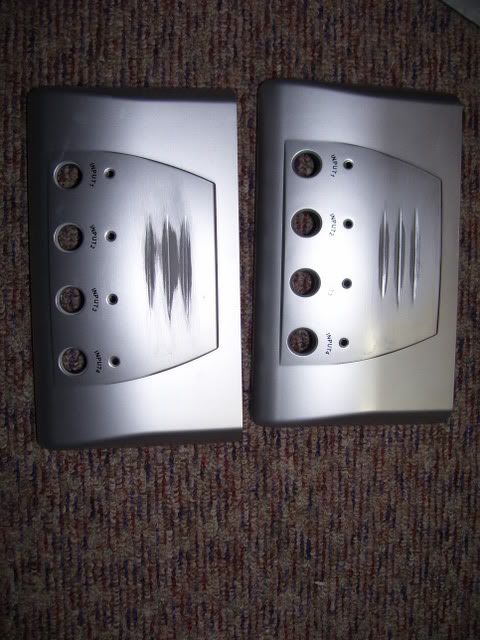
Here they are before modding. Note the innocent look on the boxes. They don't know whats ahead of them.
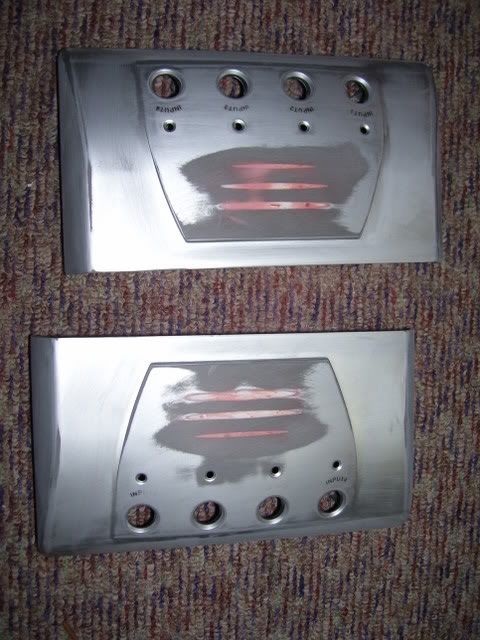
After I attacked the poor things with my tools of change.
I started this by figuring out the best way to put the two together case-wise. Bottom-to-bottom seemed to be the best way, since just joining at the sides would make for an easy break point, look ugly, and take up a monster lot of space.
So I dissasembled them and looked it over.
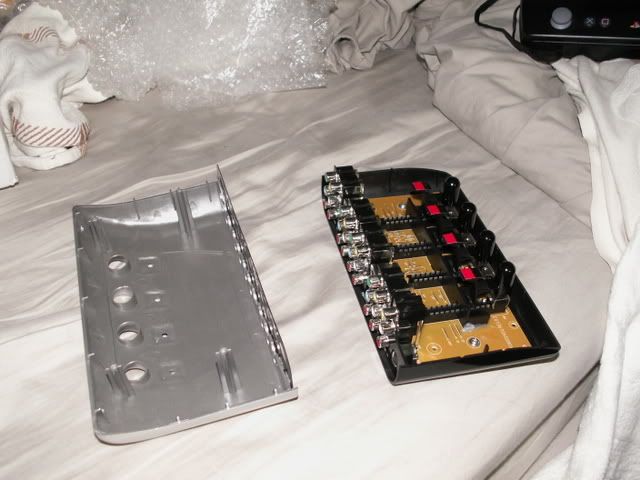
mm....k. Looks easy enough.
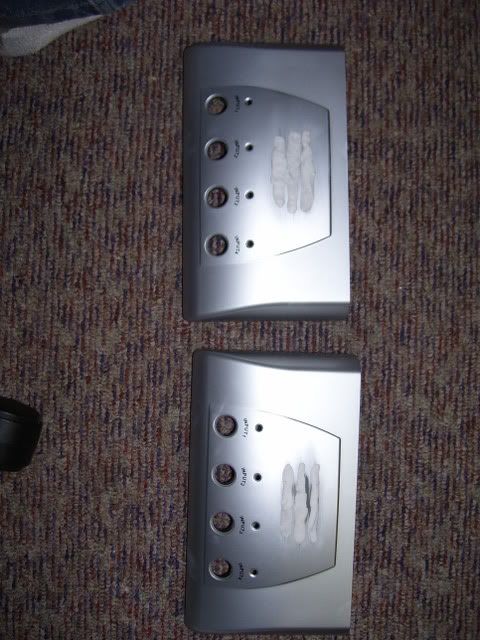
I then started the carnage by taking off the rubber feet (for later use)and dremeling down the plastic left there. Then I sanded the two cases with sandpaper, this would help the superglue and primer bond better than if I had just left the plastic shiny.
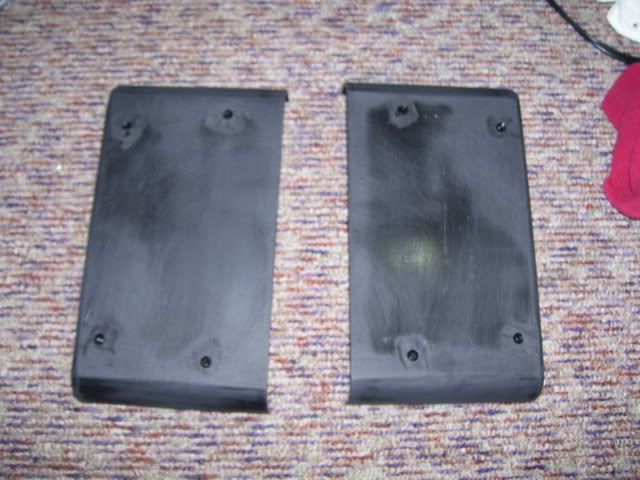
Then, being sure to have both sides on level ground I applied superglue all over the backs, and stuck them together I lined up the screw holes to be sure they would be glued the same.
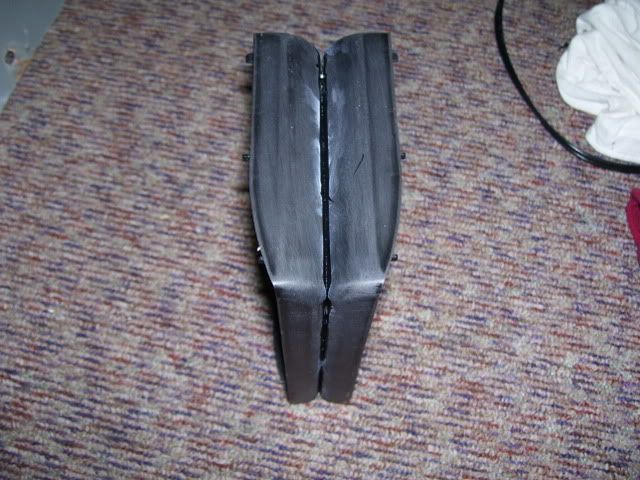
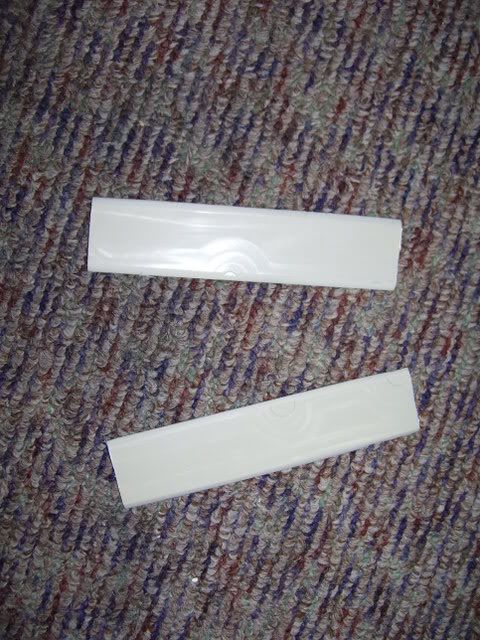
Now the gaps needed filled. I could just use bondo marine epoxy putty... but that would have taken at least 3 sticks, and at $3 a piece, thats a bit of a waste. So, to help out with that, I took an old keyboard, and cut out two pieces of plastic with the dremel *GGRRSSSSZZZ* (dremel sound effect for realism). Then I hand sanded them on a flat table, to fit. This took a bit of time, sanding certain spots, comparing, repeating, but it worked.
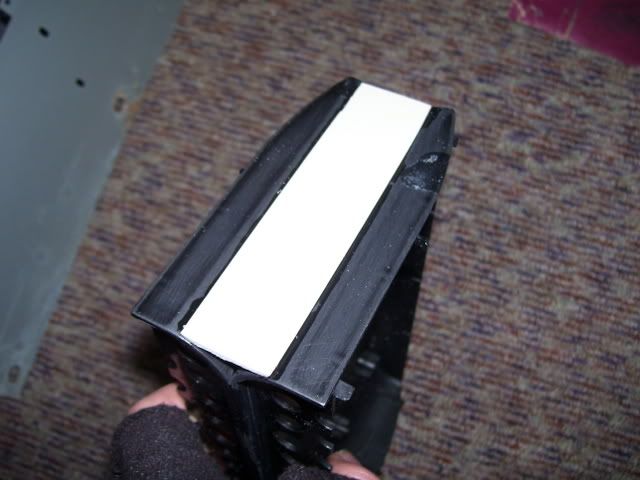
I then superglued both pieces in place. Being sure to leave the plastic slightly higher than the case, since sanding would make them both even. Gap filled! (bottom piece not shown)
Then after a good washing down, I applied bondo marine epoxy putty to the gaps. More was applied after this picture.
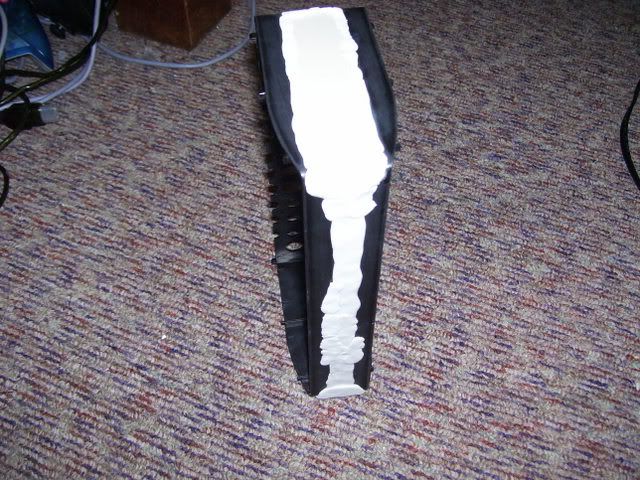
After hardening, I sanded it down. Then I washed and dryed it, and applied spot putty. And after THAT dried, I sanded IT down.
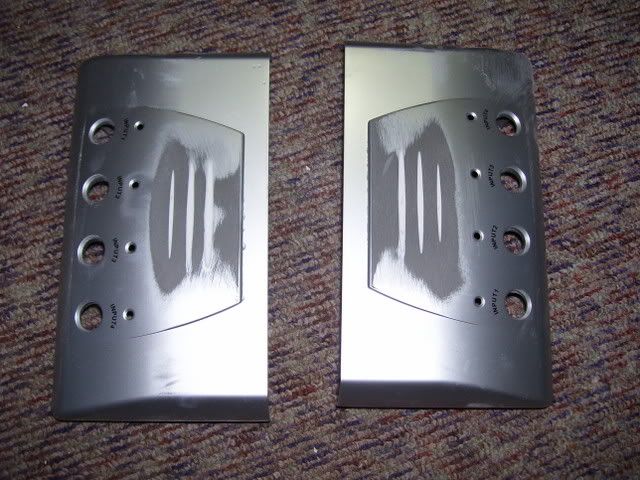
I sanded the grooves thingies to allow the bondo to stick well.
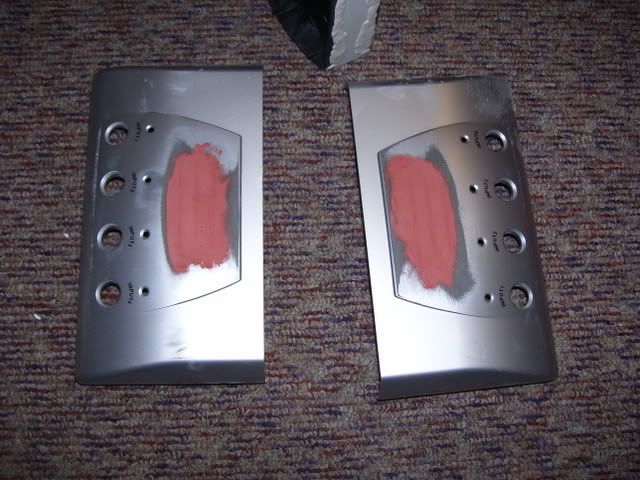
Then I stuck the epoxy putty into the gaps. Mind you, this was not needed, I just thought those "sliver" things looked bad, and I wanted it to be more streamlined.
After hardening overnight, I sanded it down with a sanding block using rough grit.
Then washed, dried, and applied bondo spot putty.
That dried, and then I sanded that down. With a finer grit of course. I also did a light sanding of both case halves, for the primer to stick better.
Then I sprayed all case parts with primer. Gray for the front halves, and black for the middle. It probably doesn't make a difference what color primer I used here, but sometimes it will show through the paint if you use a dark primer, and a light color paint.
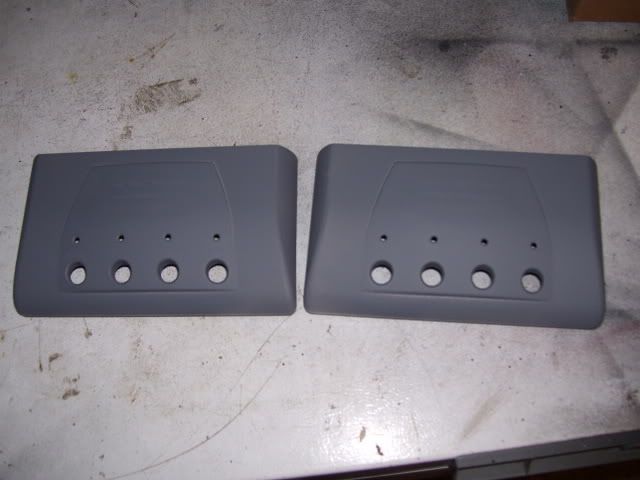
I did several more coats, and I sanded and dried in between each one, until everything looked right.
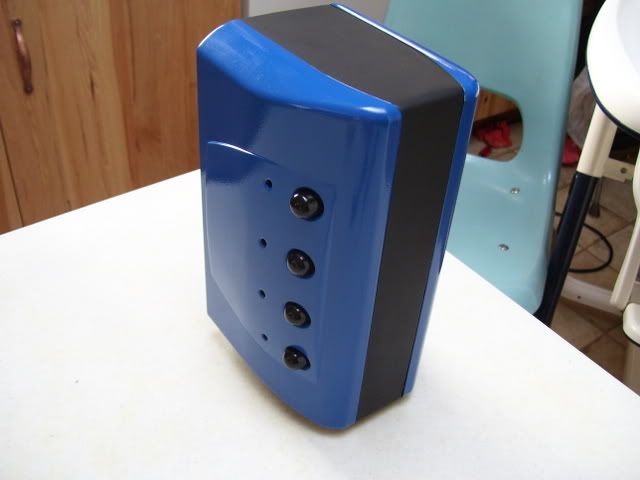
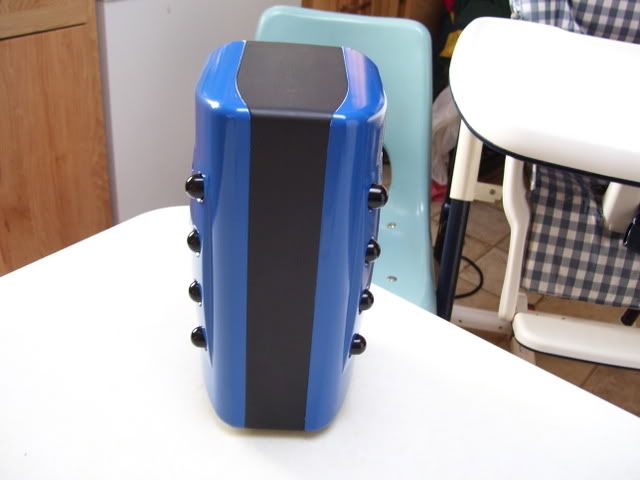
Then I painted the top halves a nice blue shade, using krylon fusion spray paint. Love that stuff. I did a bit of sanding inbetween the three coats I did.
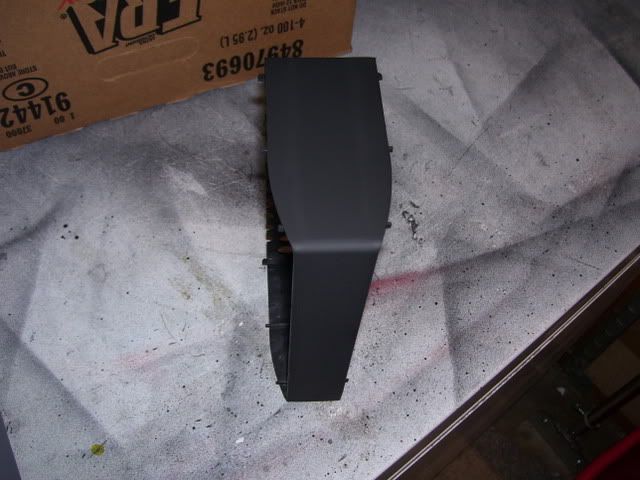
I tried satin black on the middle part, but it didn't look right with the shiny black buttons, so I went with flat black (the same thing as the original primer lol
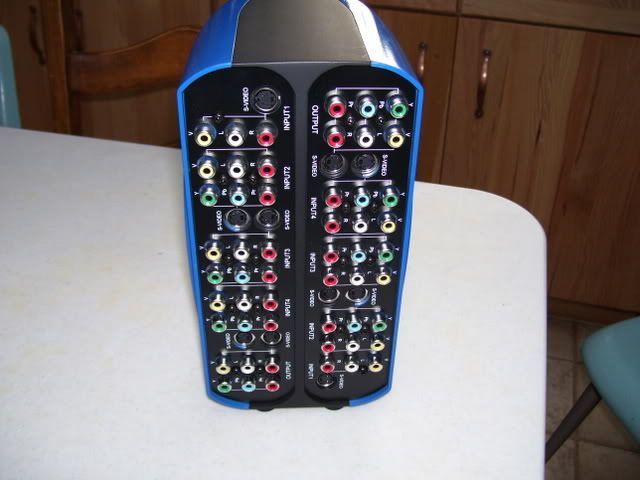
Then, I wired the two AV outputs together through the case. This was deemed the best way to connect the two, since you can make all the buttons go into the "off" position by pressing a button down, but not all the way, it would pop all the others up into the "off" position.
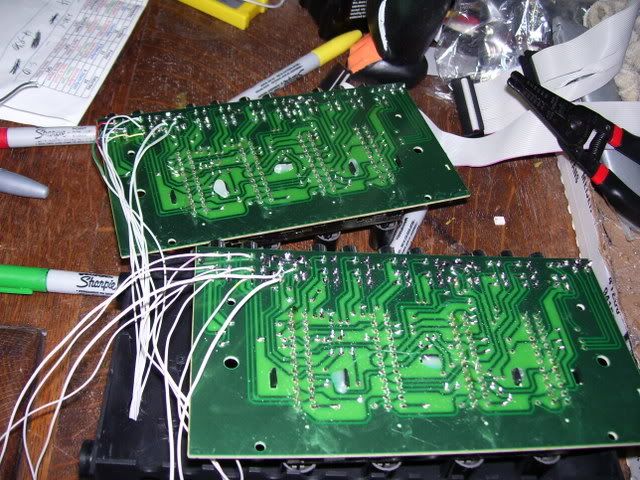
Now, you might notice I glued the cases together in a way that the bottom screw posts were not usable anymore. But that's fine, since they weren't necessary since the AV ports had screws that connected both cases. I also used a few dabs of hot glue to hold down the front of the cases. Worked like a charm.
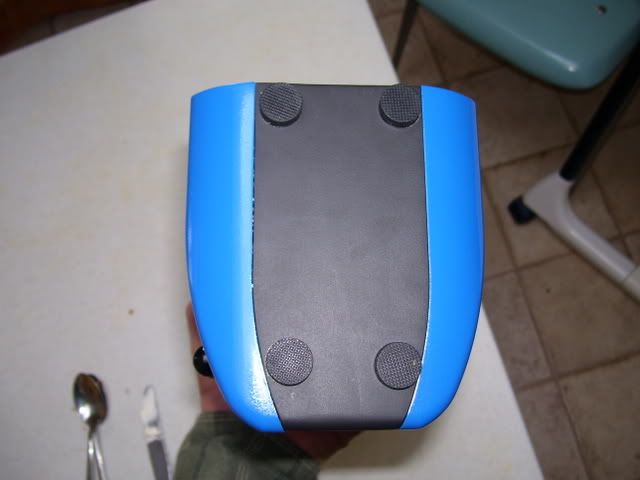
I stuck the rubber footies back on. I had 4 leftover. yay for leftover parts!
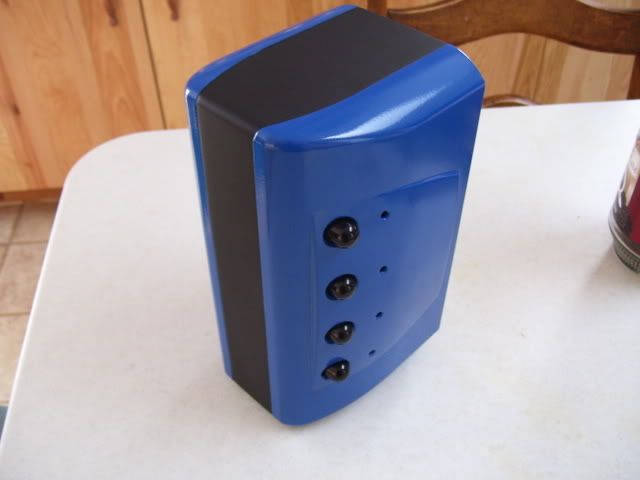
Finished pics
More here
http://smg.photobucket.com/albums/v510/ ... box%20Mod/
Thanks for looking. Hope you want some marine putty now!
(and if certain parts of this semi-guide don't make sense, go ahead and point them out, since I made this in a hurry)


 SAY ALLO TO MY LITTLE FRIEND!!!i finally used google!!