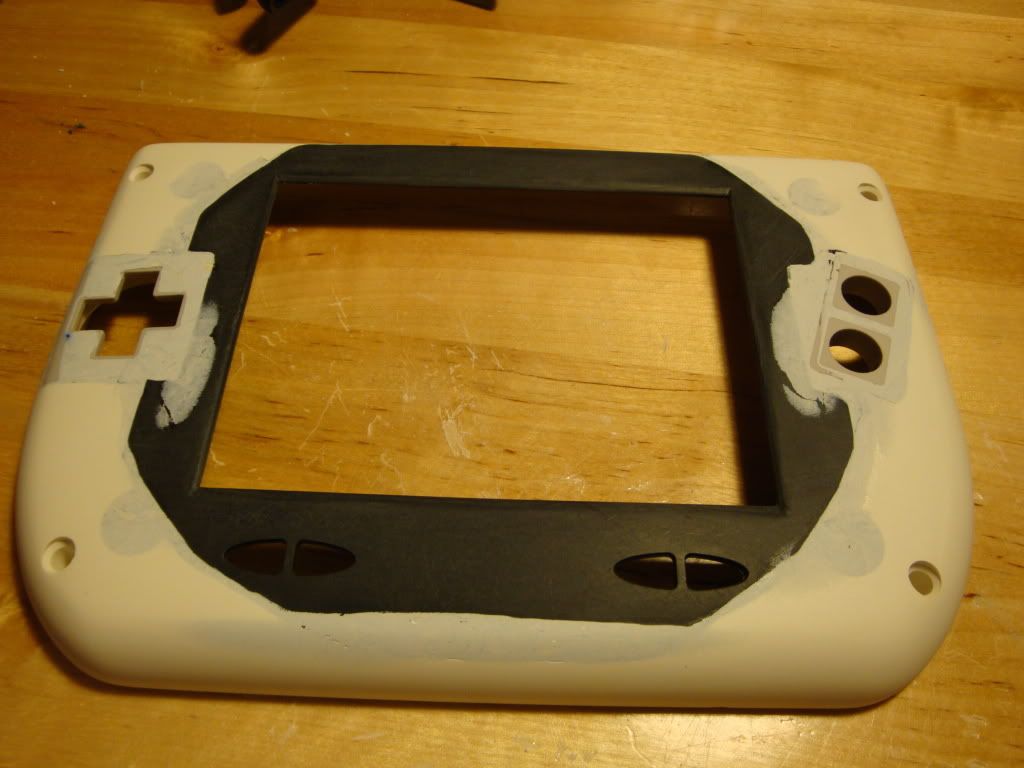
Started painting with Krylon Fusion spray paint. Though I wouldnt of minded a primer to help fill small nitches in the epoxy.
Just I couldn't find a gray any closer to the actual NES shell that appealed to me. As far as plastic spray paints I mean.

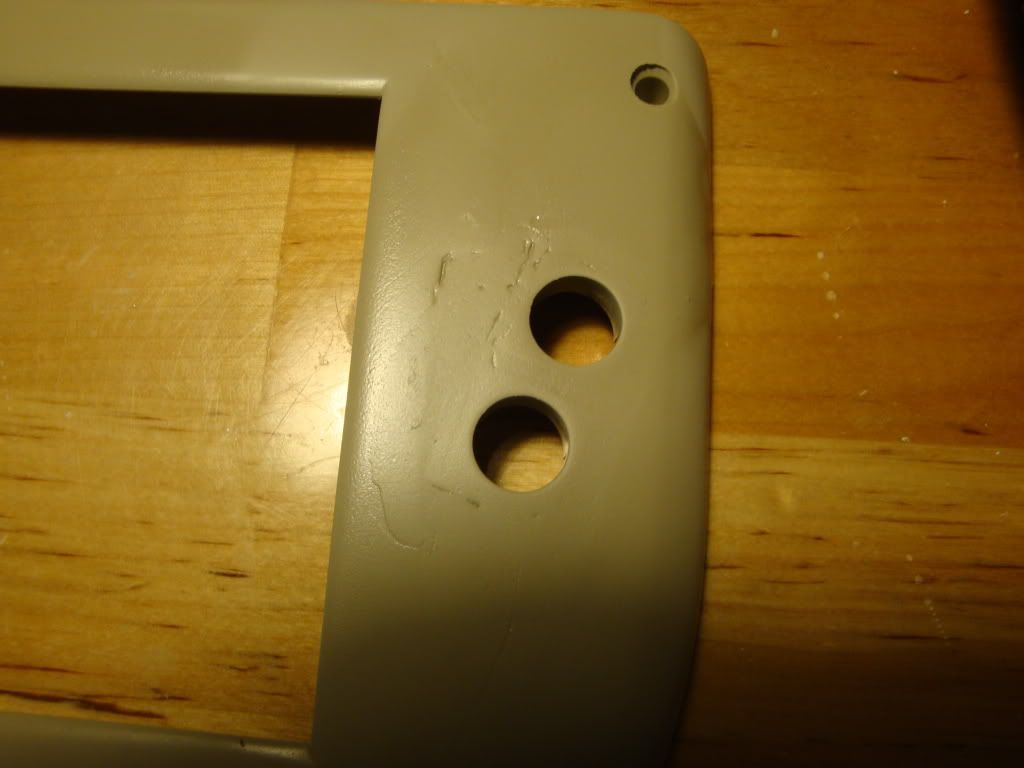
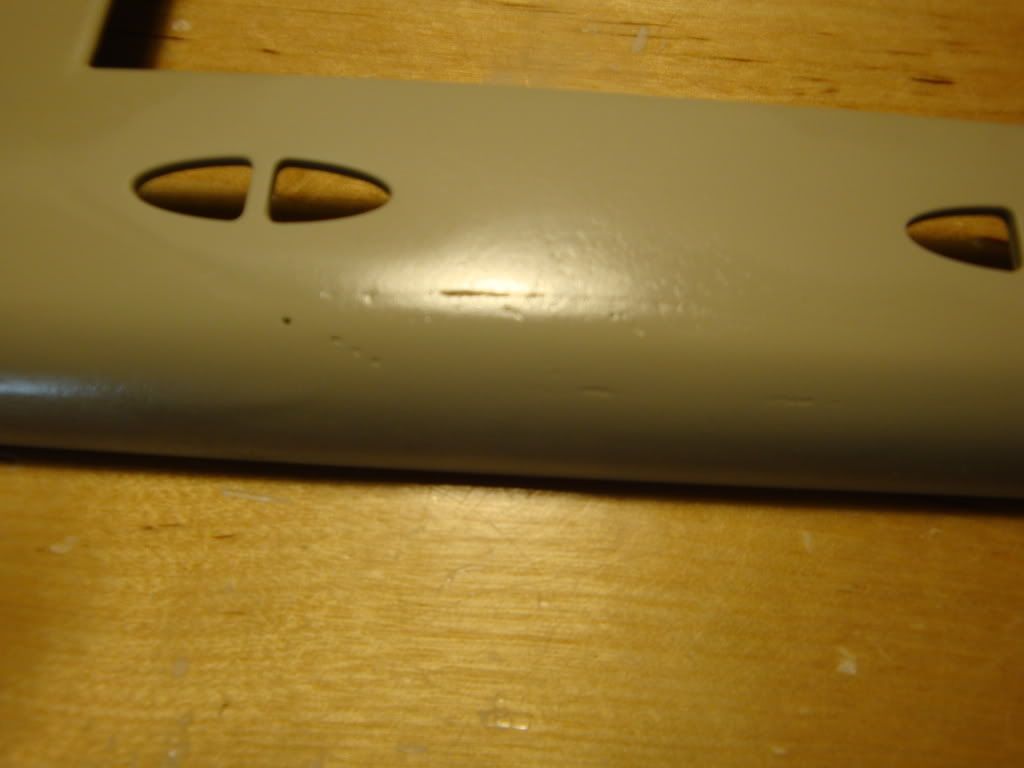
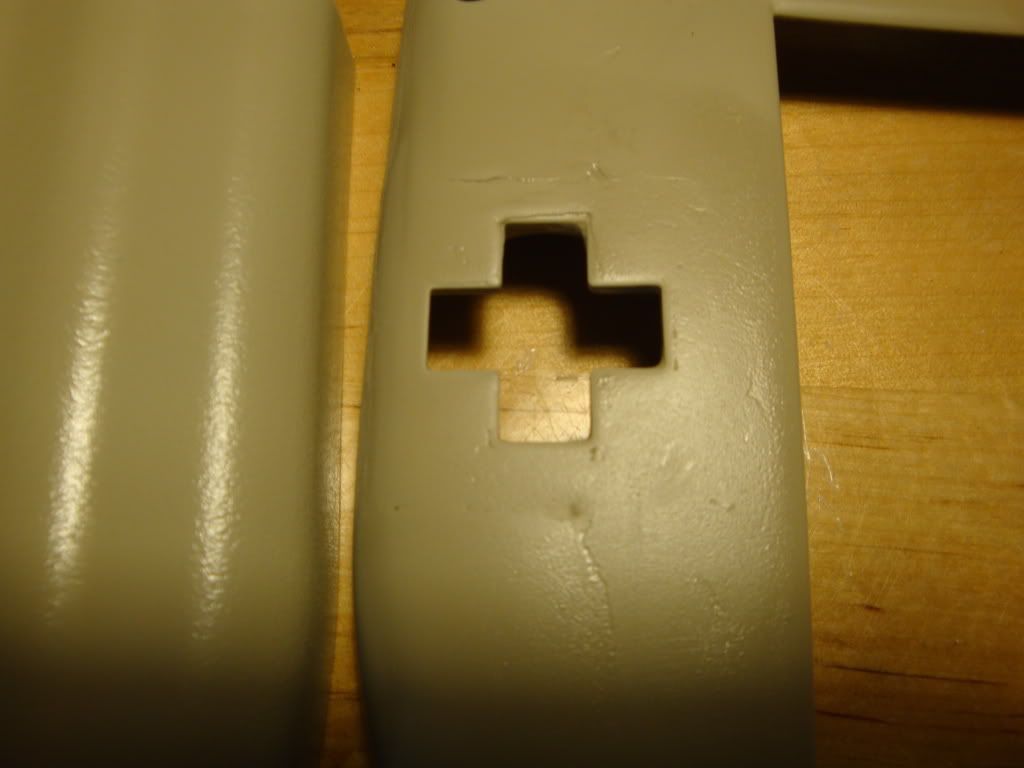
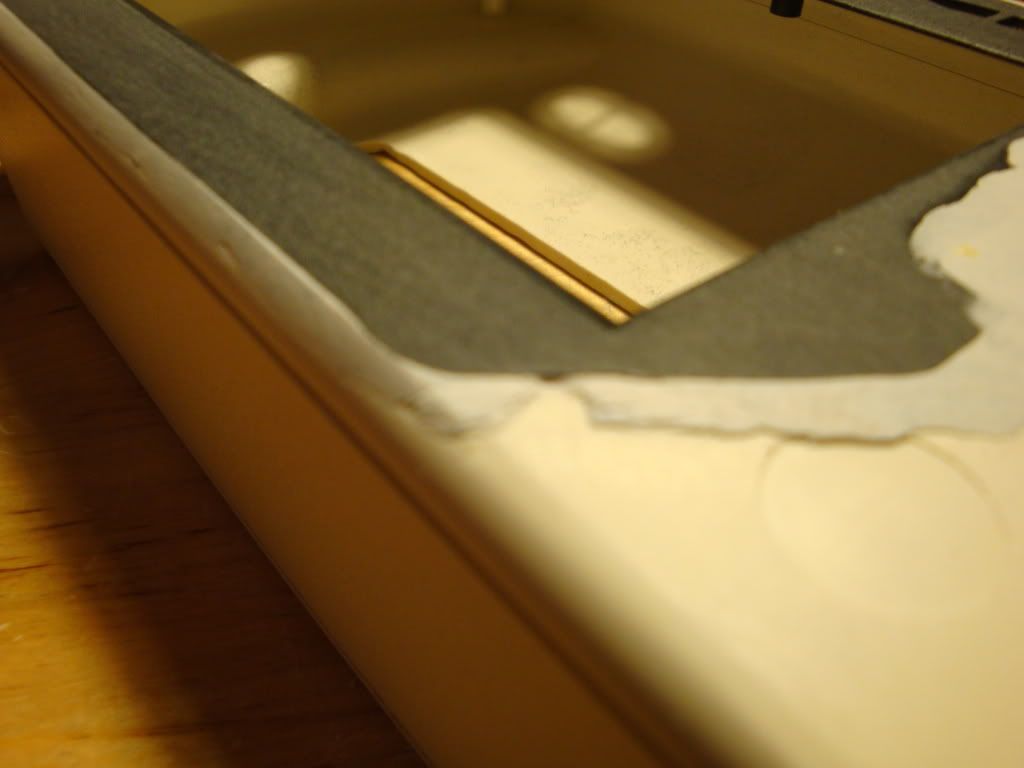
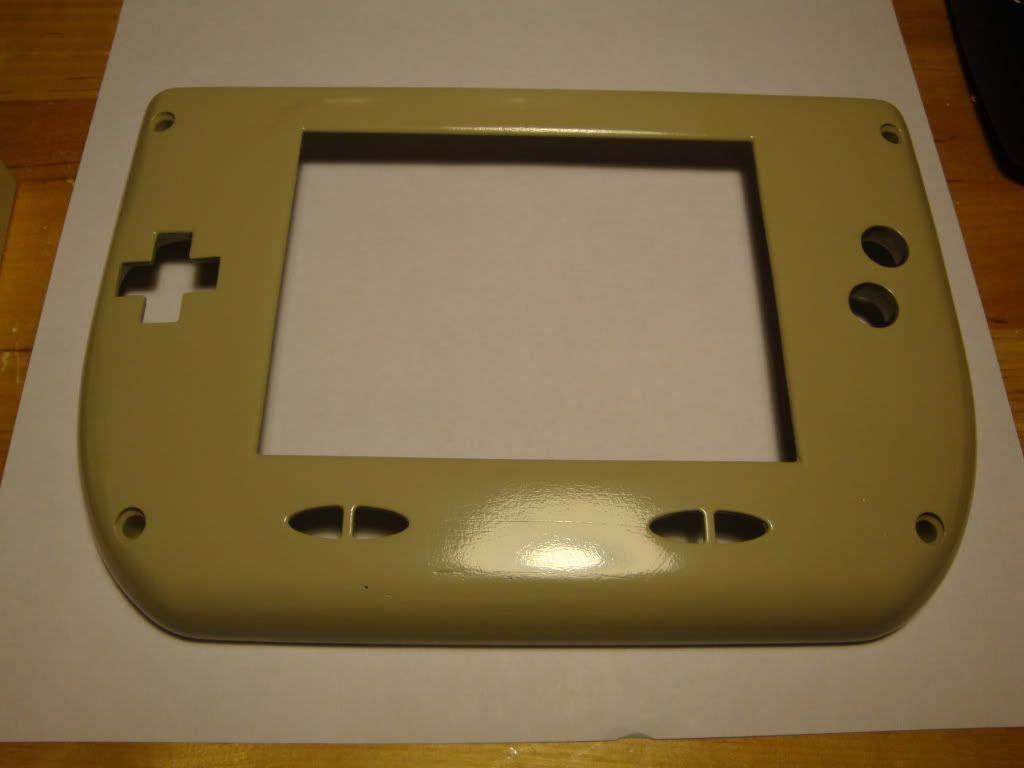
These are closeups of the small nitches, and some parts where the spray paint just will not latch onto however much I spray it.
I'm giving it rough sandings in between coats to see if it will help get the paint flowing properly.
I know I'm supposed to do light sandings, but I was also thinking of maybe getting a wood filler and sand off a coat of paint, fill the cracks, sand, and re-paint.
'
It is actually getting a lot smoother each time I go to spray on a new coat.
This is maybe the 5th coat.......