This one I'm building for someone else. So this is not exactly what I would have done had I wanted one, but now that I see it, I think I like this better than what I would have made before.
I recently got cable internet (*squeal of delite*) so I can easily make a little guide-ish/rant/random thing for you to open and close/build log/bad joke dumpster.
There were some main things the client wanted.
- A GBA style layout.
- Player 2 port
- Misc other things such as AV out, shiny black paint job, stuff like that. I'll list it all later.
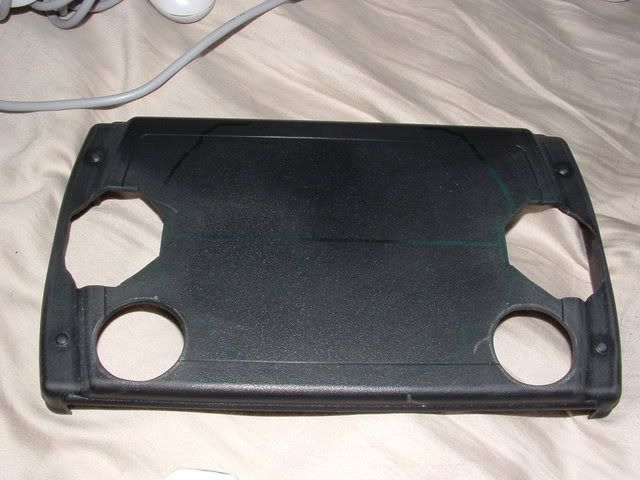
By sheer accident, this case was found.
http://www.polycase.com/item/zn-40.html
In the email, I forgot to include the rest of the link, and the client found this by looking around the site. I wouldnt have thought this a good case at first, but now I think there couldn't have been one much better.
So I ordered a sample, got the wrong one, and had a blast trying to sort all that out. Ended up taking a while to get the right case (the Flush/Textured top), so in the meantime I designed a bit.
(note that in som of the pics, the correct lid is used)
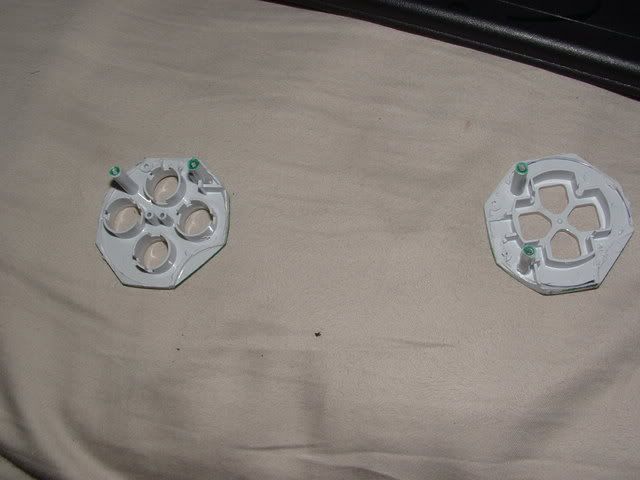
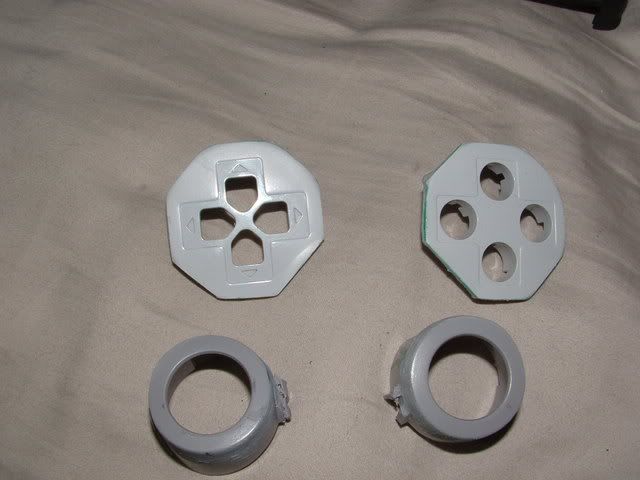
First I cut out all the controller plastic I would need. The dremel is your friend! I kinda mangled the analog holes, so I cut those from an old gray scrap controller I had.

Then I saw that the stock PSone speakers were too big to fit anywhere. They were 8K speakers, the same as hip gear speakers. So I switched 'em! And they worked just fine, go figger. Bigger isn't always better.
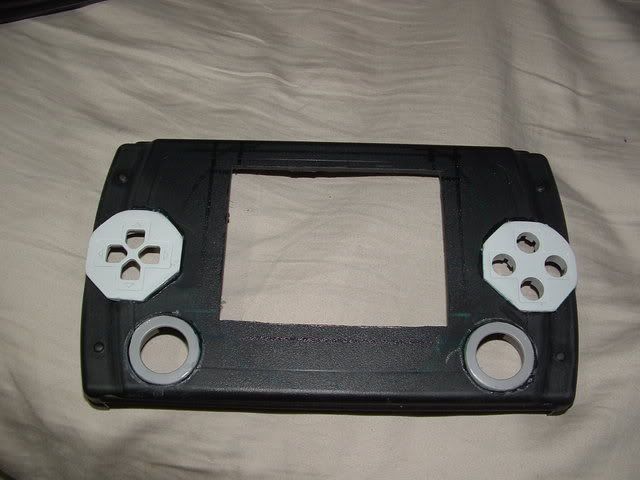
So I laid it all out...

The analog sticks had to go lower than normal, because the screen got in the way of them in the normal -45 degree angle.
They couldnt go above the D-pad, that would be terrible to play when you think about it. Your thumbs can't stretch up like that and still have your fingers hit the R1,R2, L1,L2 buttons that are way lower. It's just common sense.
You might notice that the top of the screen sticks over the edge of the case, kinda like a fat guys belly sticks over his pants. So that had to be rewired. More on that later.
I also went about the button assortment. I felt so design-er-ish!
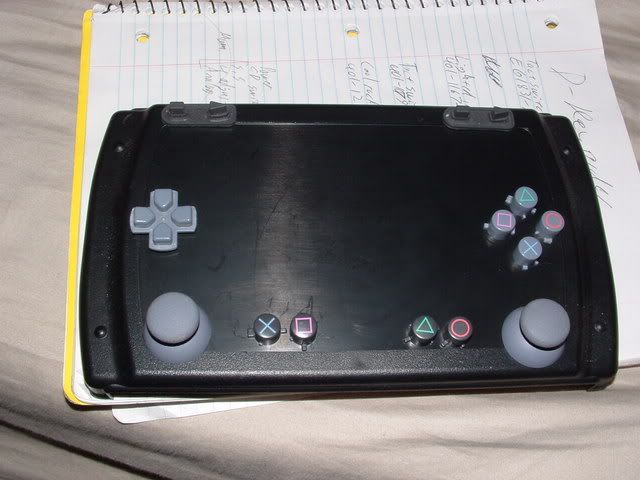
I decided that some old-style gray buttons would look awesome as the volume and brightness adjust buttons. The select, start, and analog would be from those old-style-analog-stickless d-padonly controllers.
Onto the back... There had to be a 6 AA battery pack there, and the laser unit had to stick out too because of the analog sticks depth forcing the Psone mobo lower down, so the laser unit was forced out of the case.
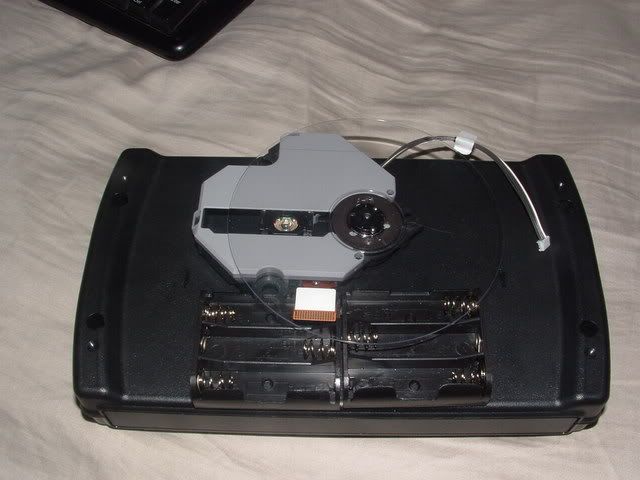
(note the clear CD, cool!)
I plan to have the CD spin just mm's above the batterys. Tricky it shall be.
So the right case arrived (Polycase was very great to work with, btw. many thanks to them for the free case!) Then Mr. Dremel came out and attcked the case with great ferocity unlike the world has ever seen! Cutting the best controller holes that shall, and ever will be!!!
After that excitement, I superglued the controller pieces in. I also rough-cut the screen hole with a dremel, and then I used a sanding block to get it flat.
THE BEST PART! Bondo time! I used a whole stick of Bondo marine putty on this ($3 worth!) to fill in the gap on the sides. That was then rough sanded with a sanding block.
Find this great stuff at wal-Mart kiddies. You won't regret it. It's like that clay you mess with in art class, only it dries to rock hardness in just an hour. And pretty easy to sand too.
The analog, start, select buttons were cut out, sanded, you know, same old same old. 2 old-style controllers were used for this.
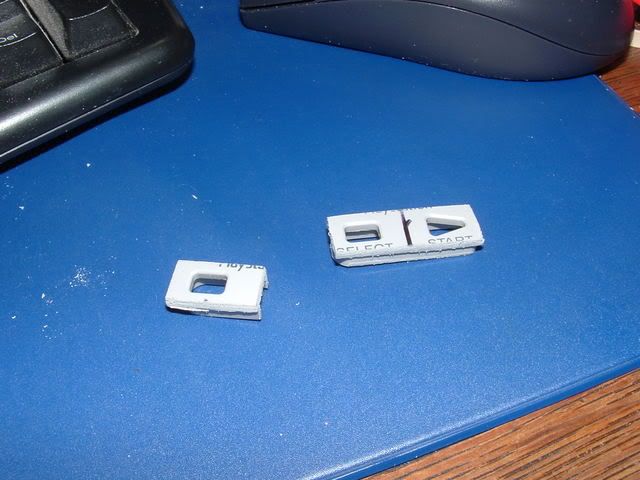
Then Iroughly dremeled a small hole for each. Then used a knife to get the right fit.

Then I superlglued the button plastic in. No pic needed really.
Speakers need HOLES?! Crap! Thats a bit of work! well, not with this method. Just get some scrap PCB, trace the speaker around it, then select the right holes you want. Clamp it onto the case, drill through selected holes. Done. That easy!
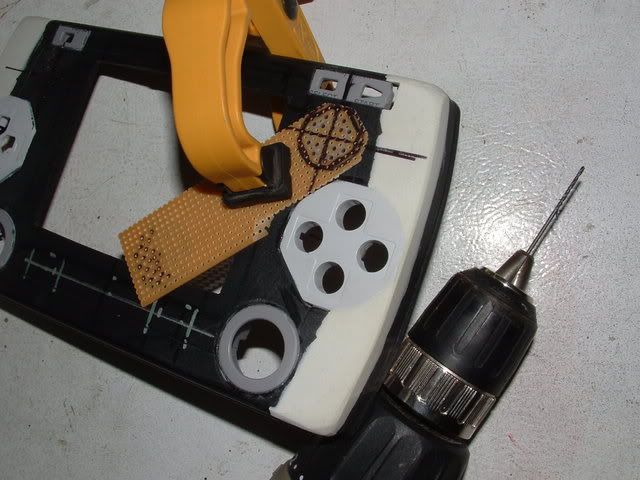
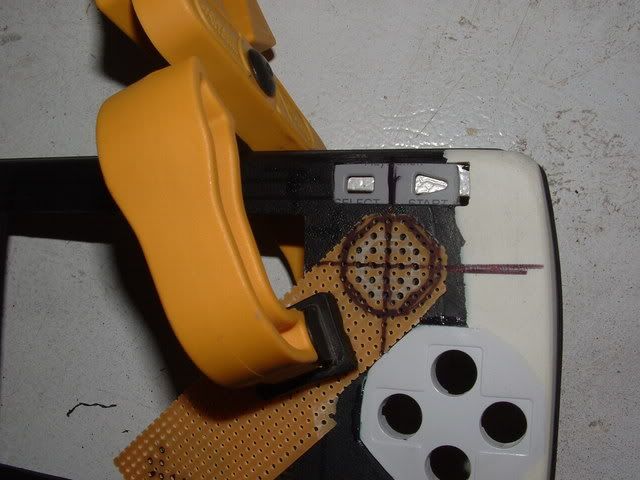
Just don't let the clamp slip and keep on drilling, that would be bad I found out previously. But I've done this before, so it worked great this time, heh. Experience: there is no substitute for it.
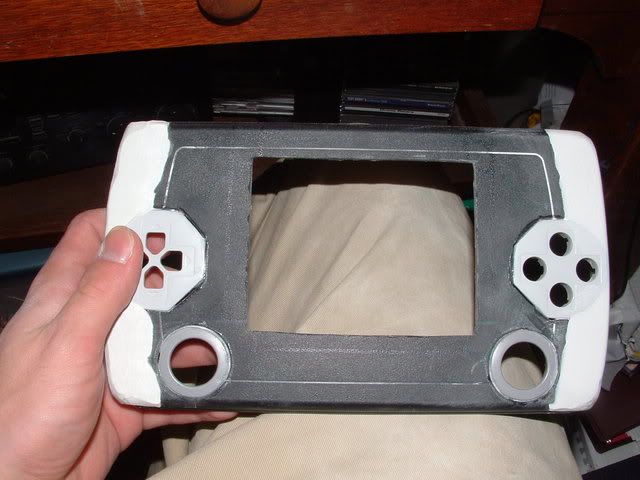
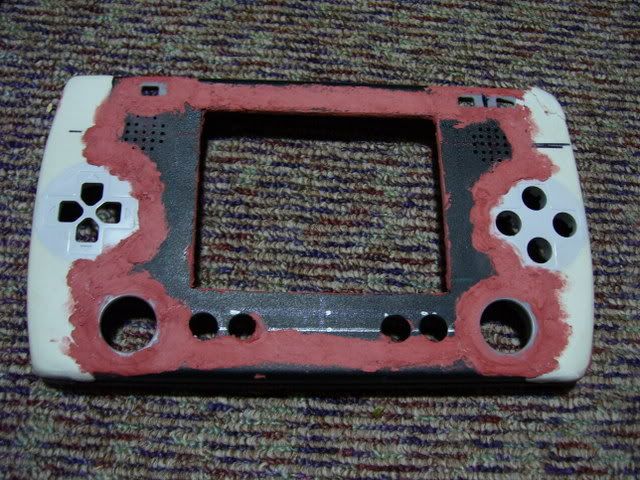
With all that done, the front case was looking pretty decent.
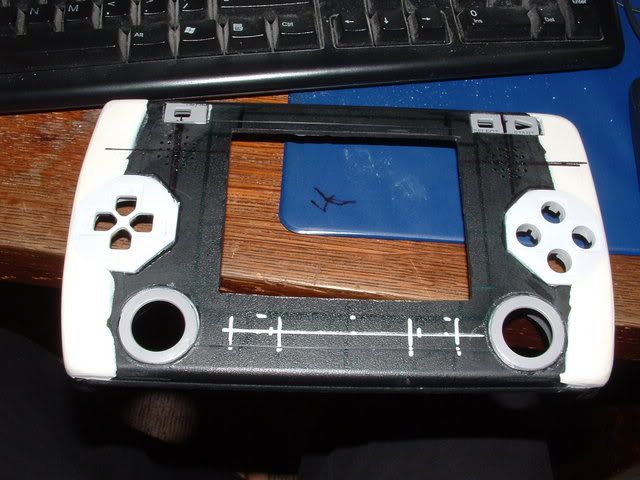
I went ahead and drilled the brightness/volume adjust button holes. When you drill plastic, work up slowly in drill sizes. Don't just go for the bigest one first or you will mangle your case badly!
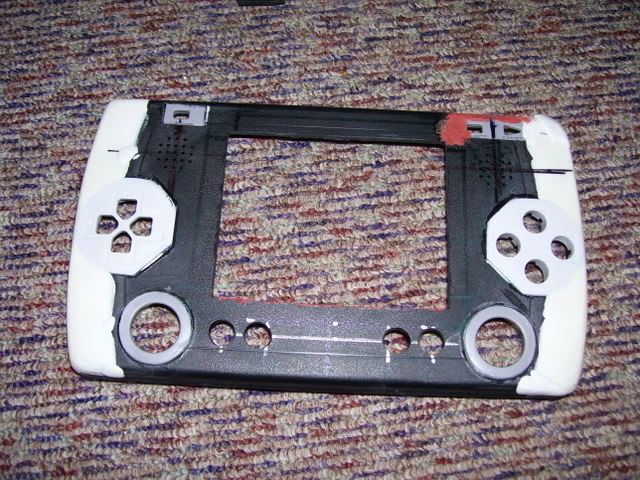
I applyed a layer of Bondo Spot Putty around the cracks where stuff was glued. This stuff is not strong, but it works great for cracks. Unfortunatly, it will not help at all to with your slightly overweight, loose pants, plumber crack
And thats it folks! Thats where I'm at, at this very moment.
Coming soon:
- The back will get finished.
- More bondo.
- Paint!
- Wiring...
- Playing!
-Shipping to customer