This first post is going to be the longest no doubt because of I've included all the relevant updates I've made elsewhere into the first post. This will get you up to speed and be fun to look at all the pretty pictures!
So anyway, these are in order as the were written. Hope you enjoy!
First Post
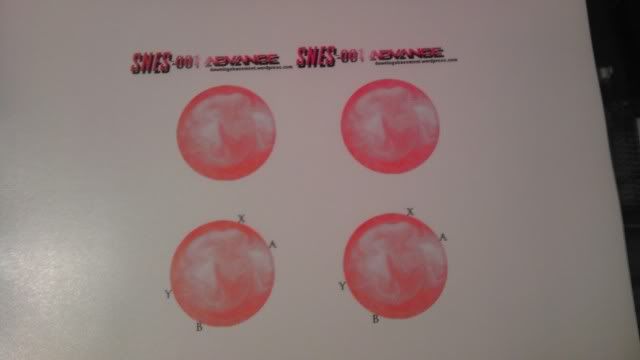
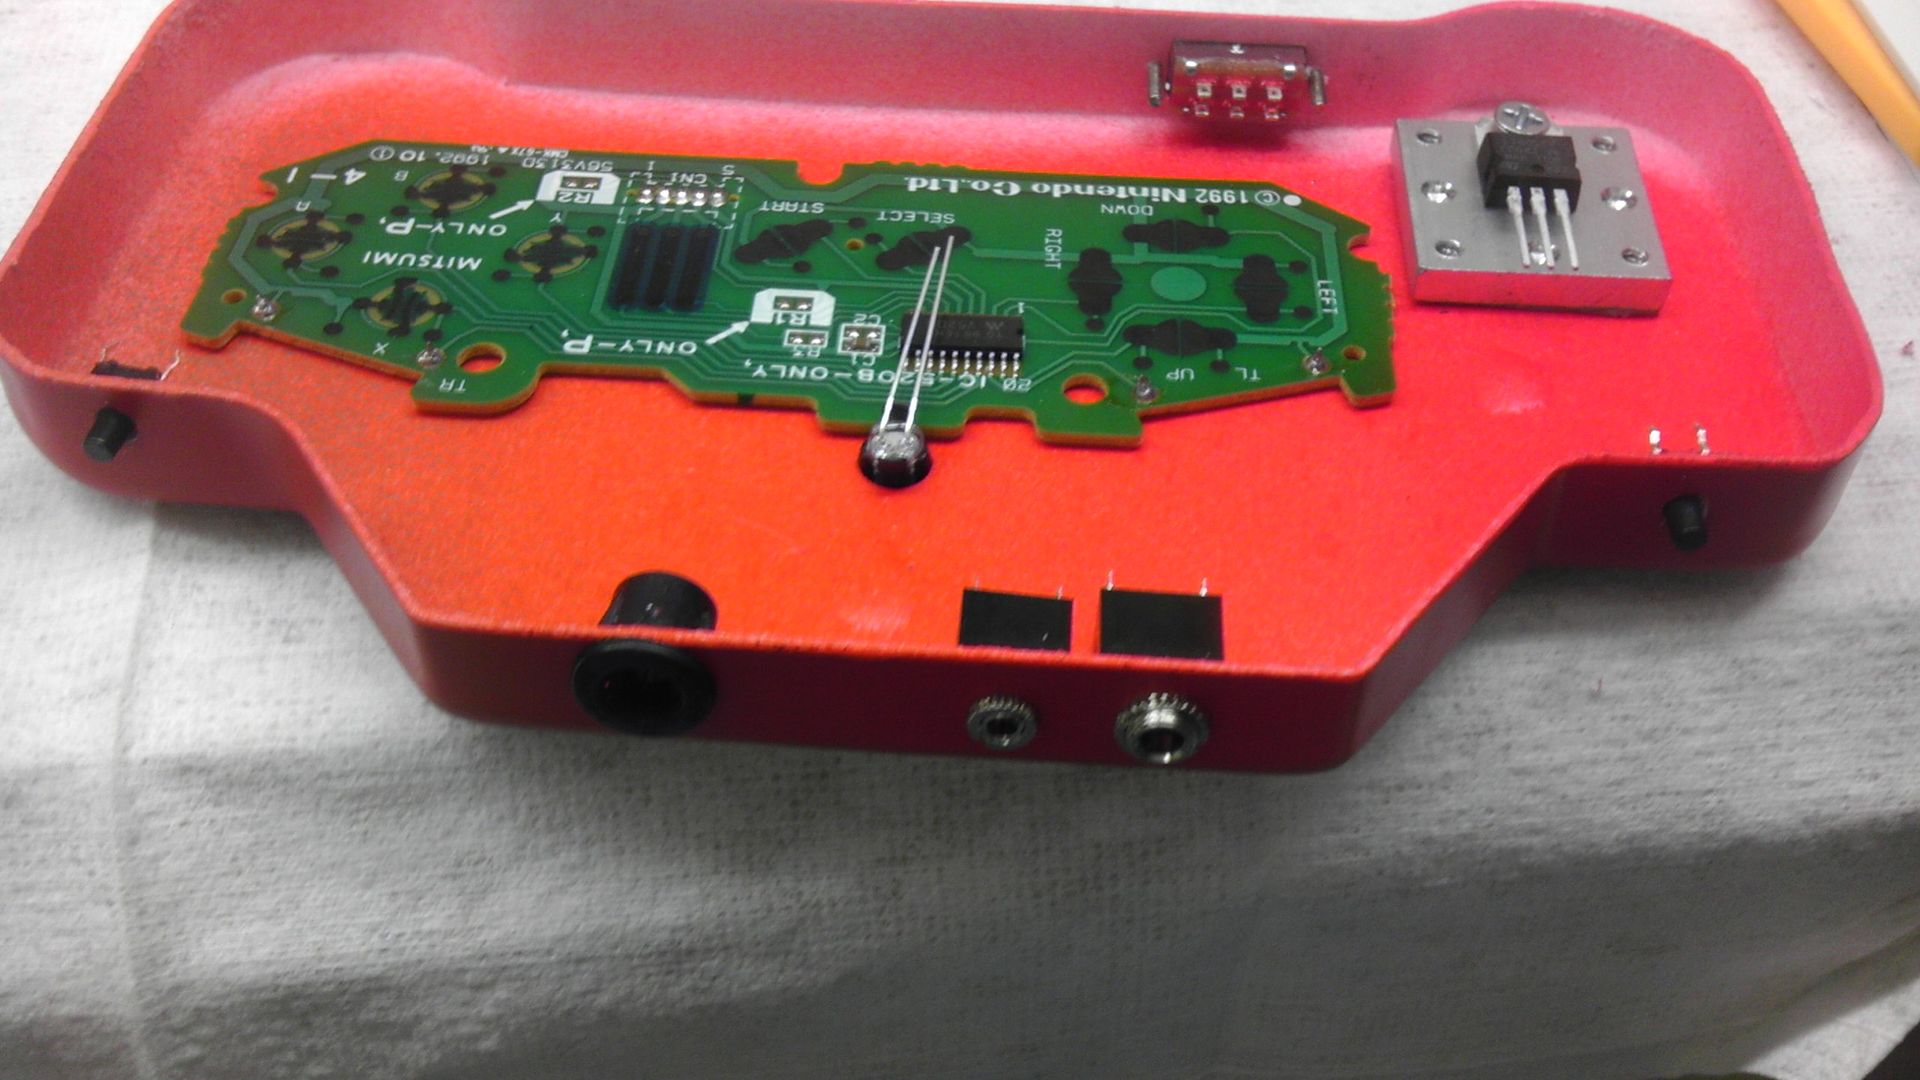
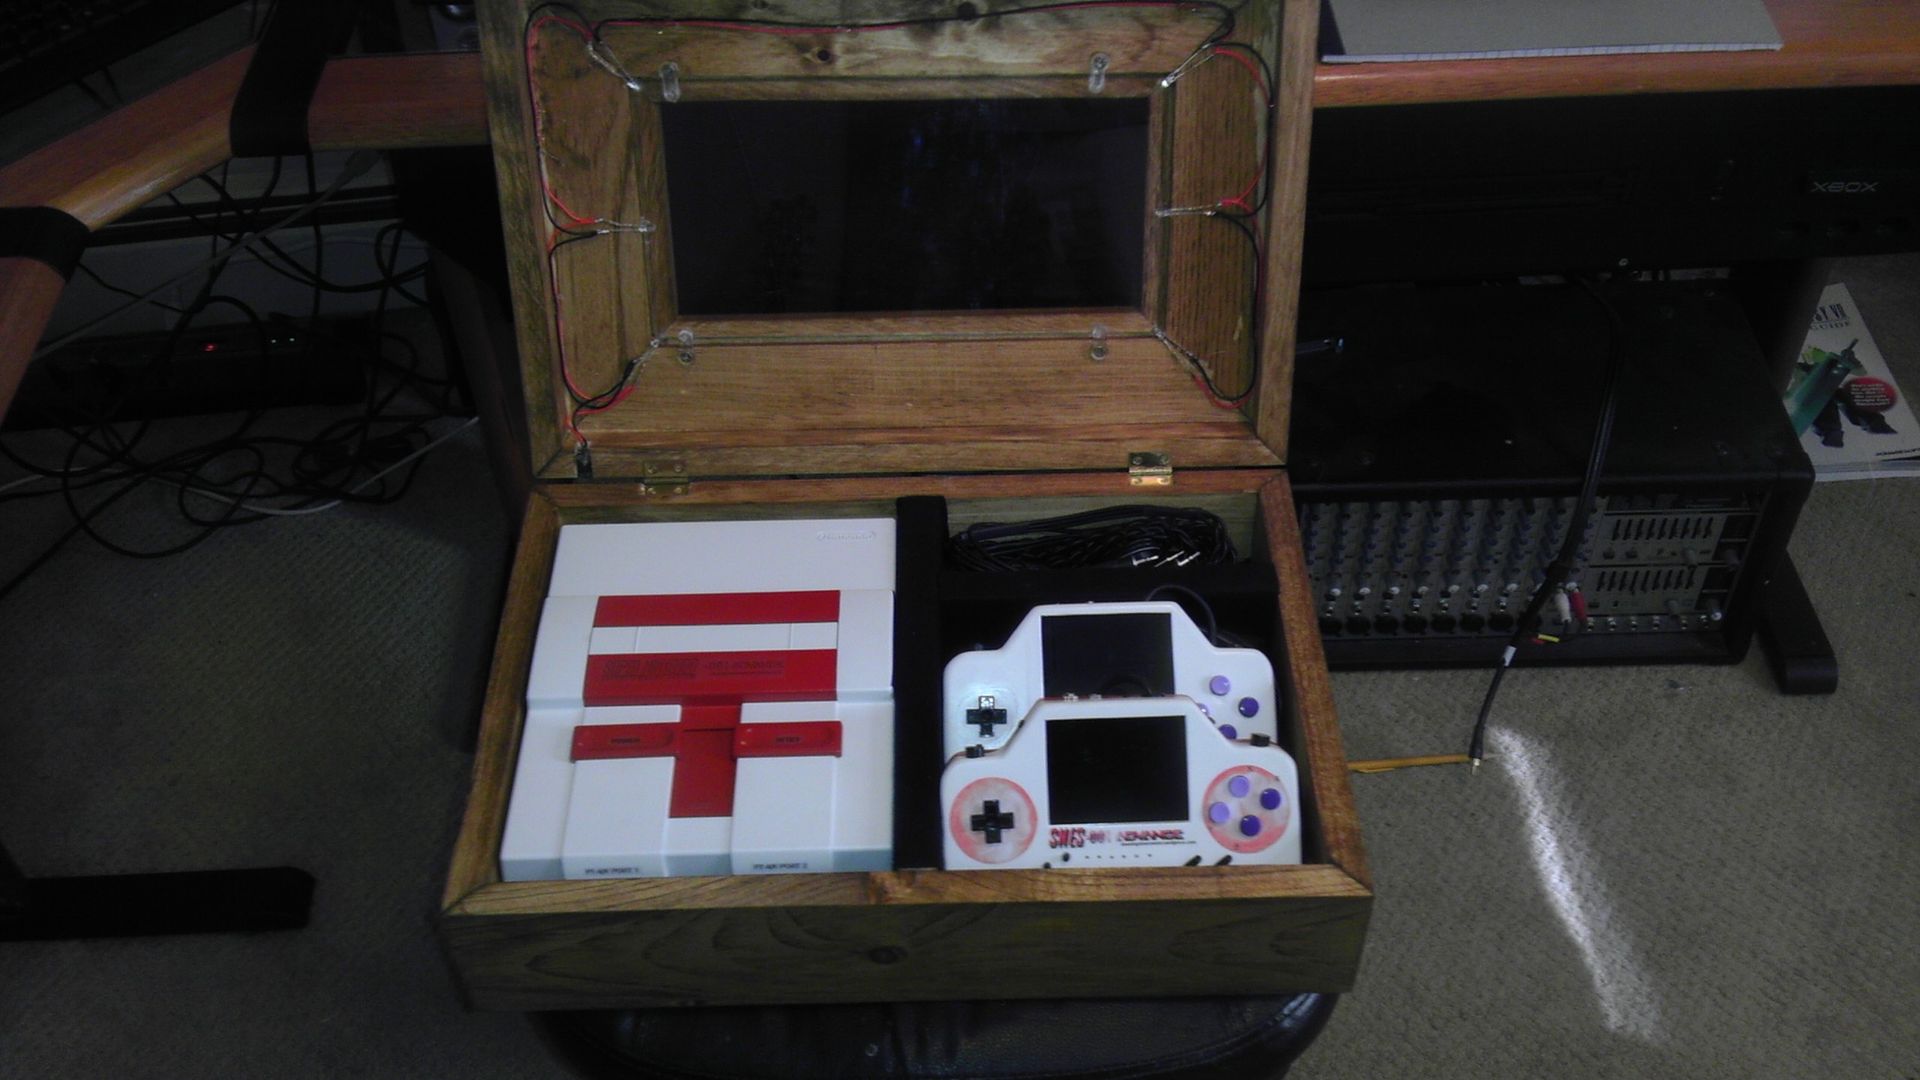
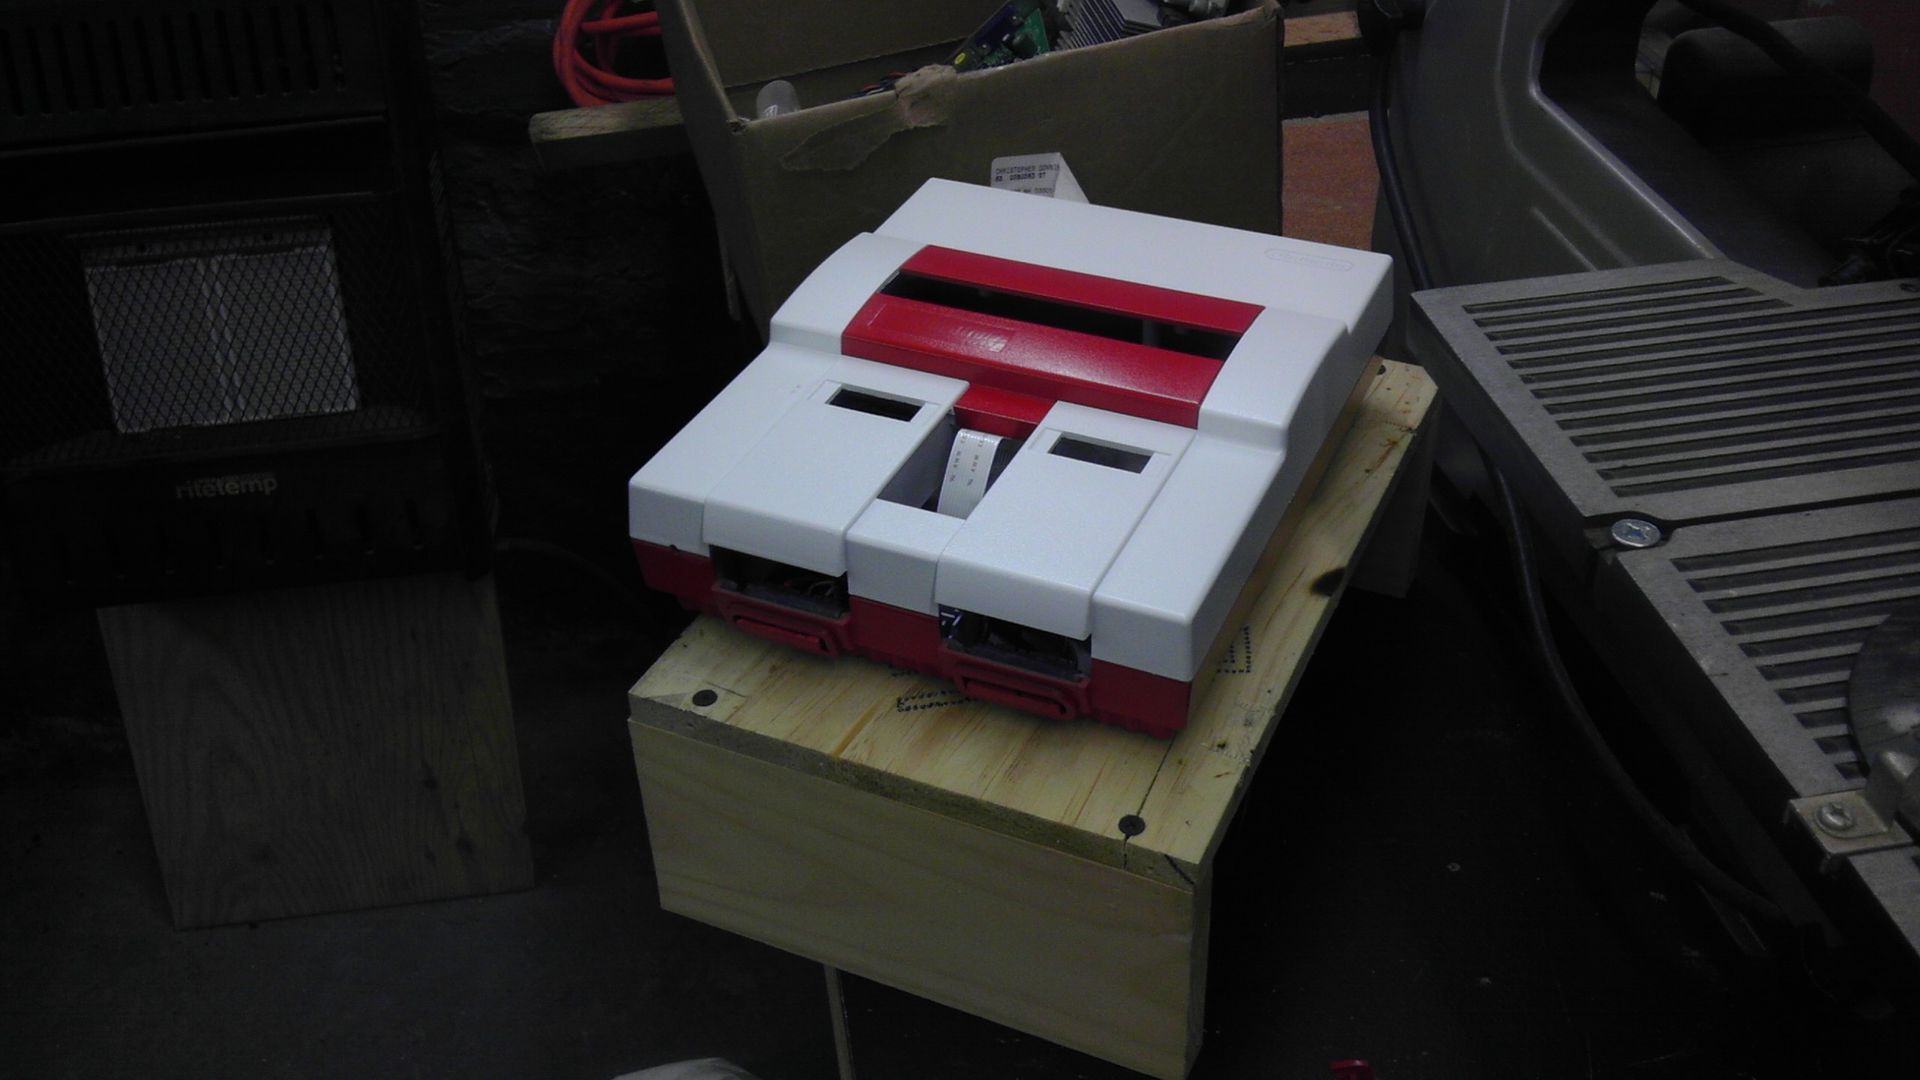
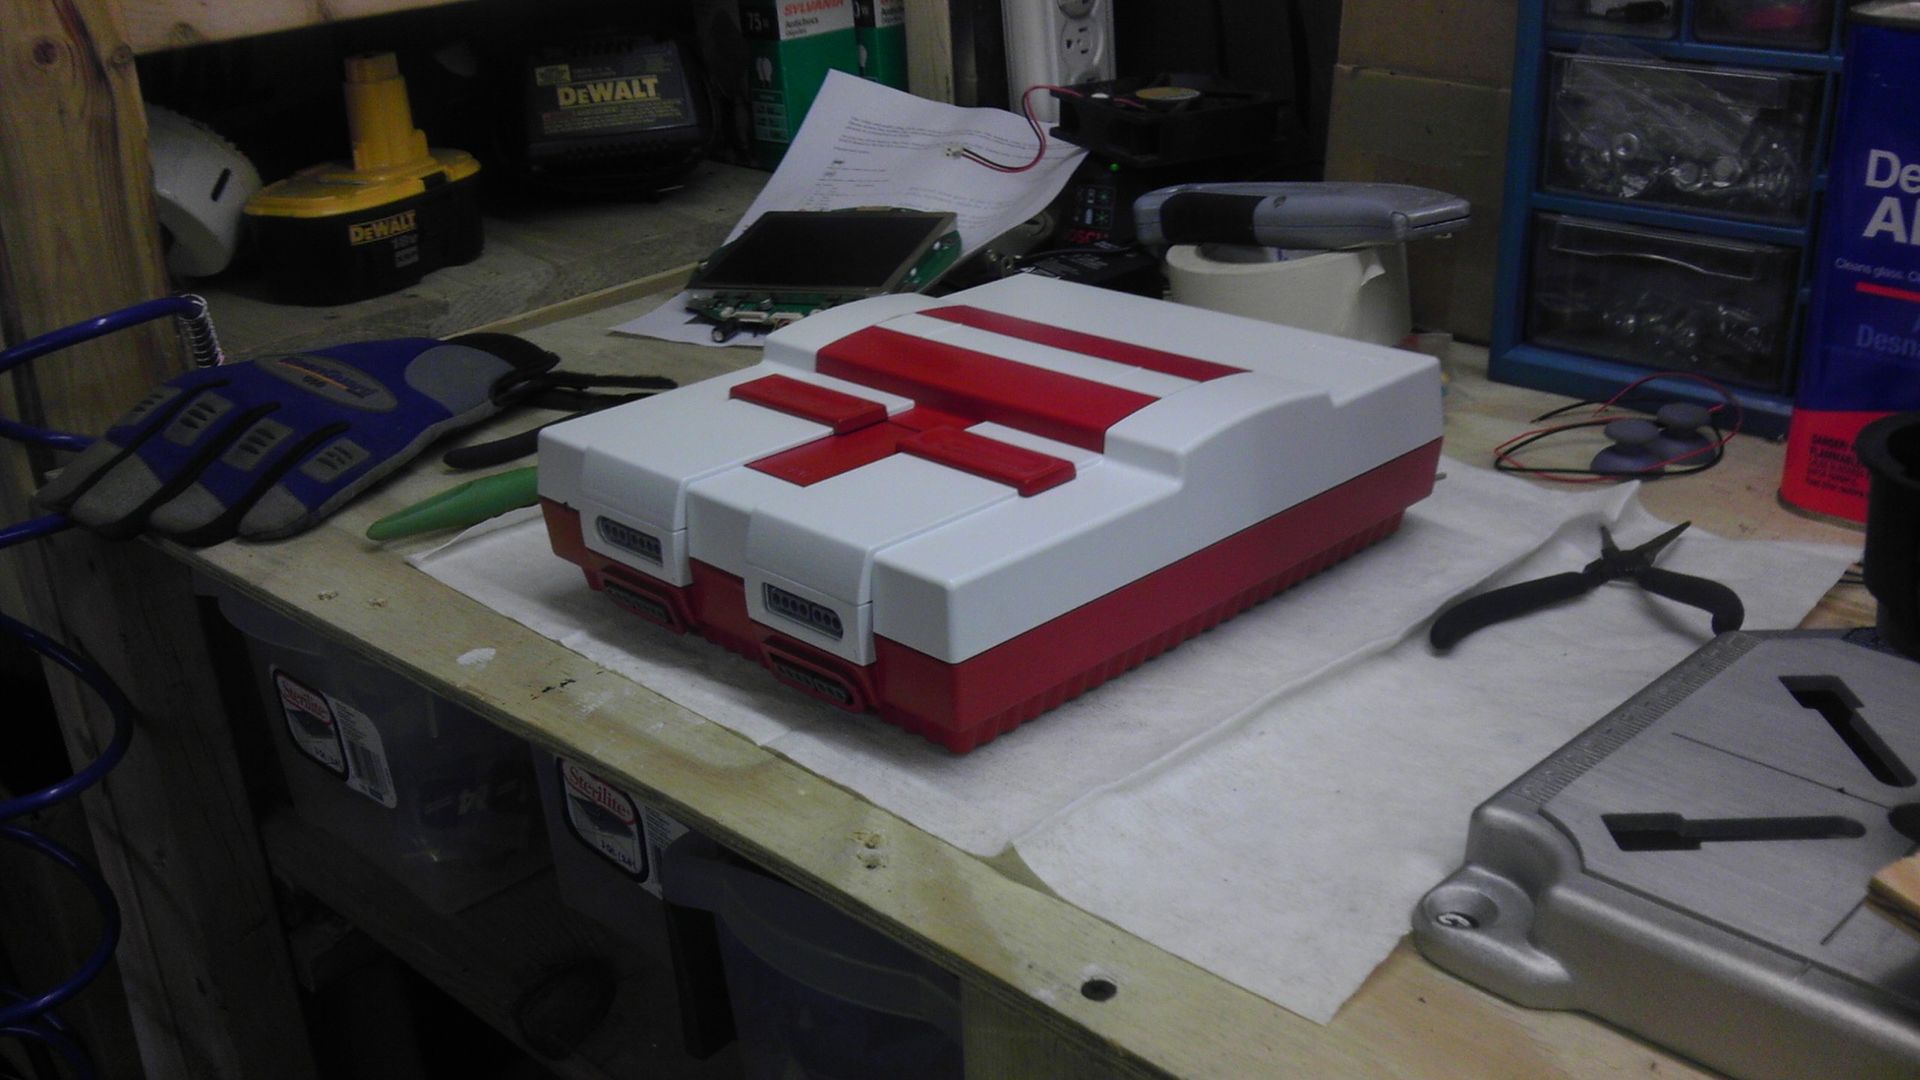
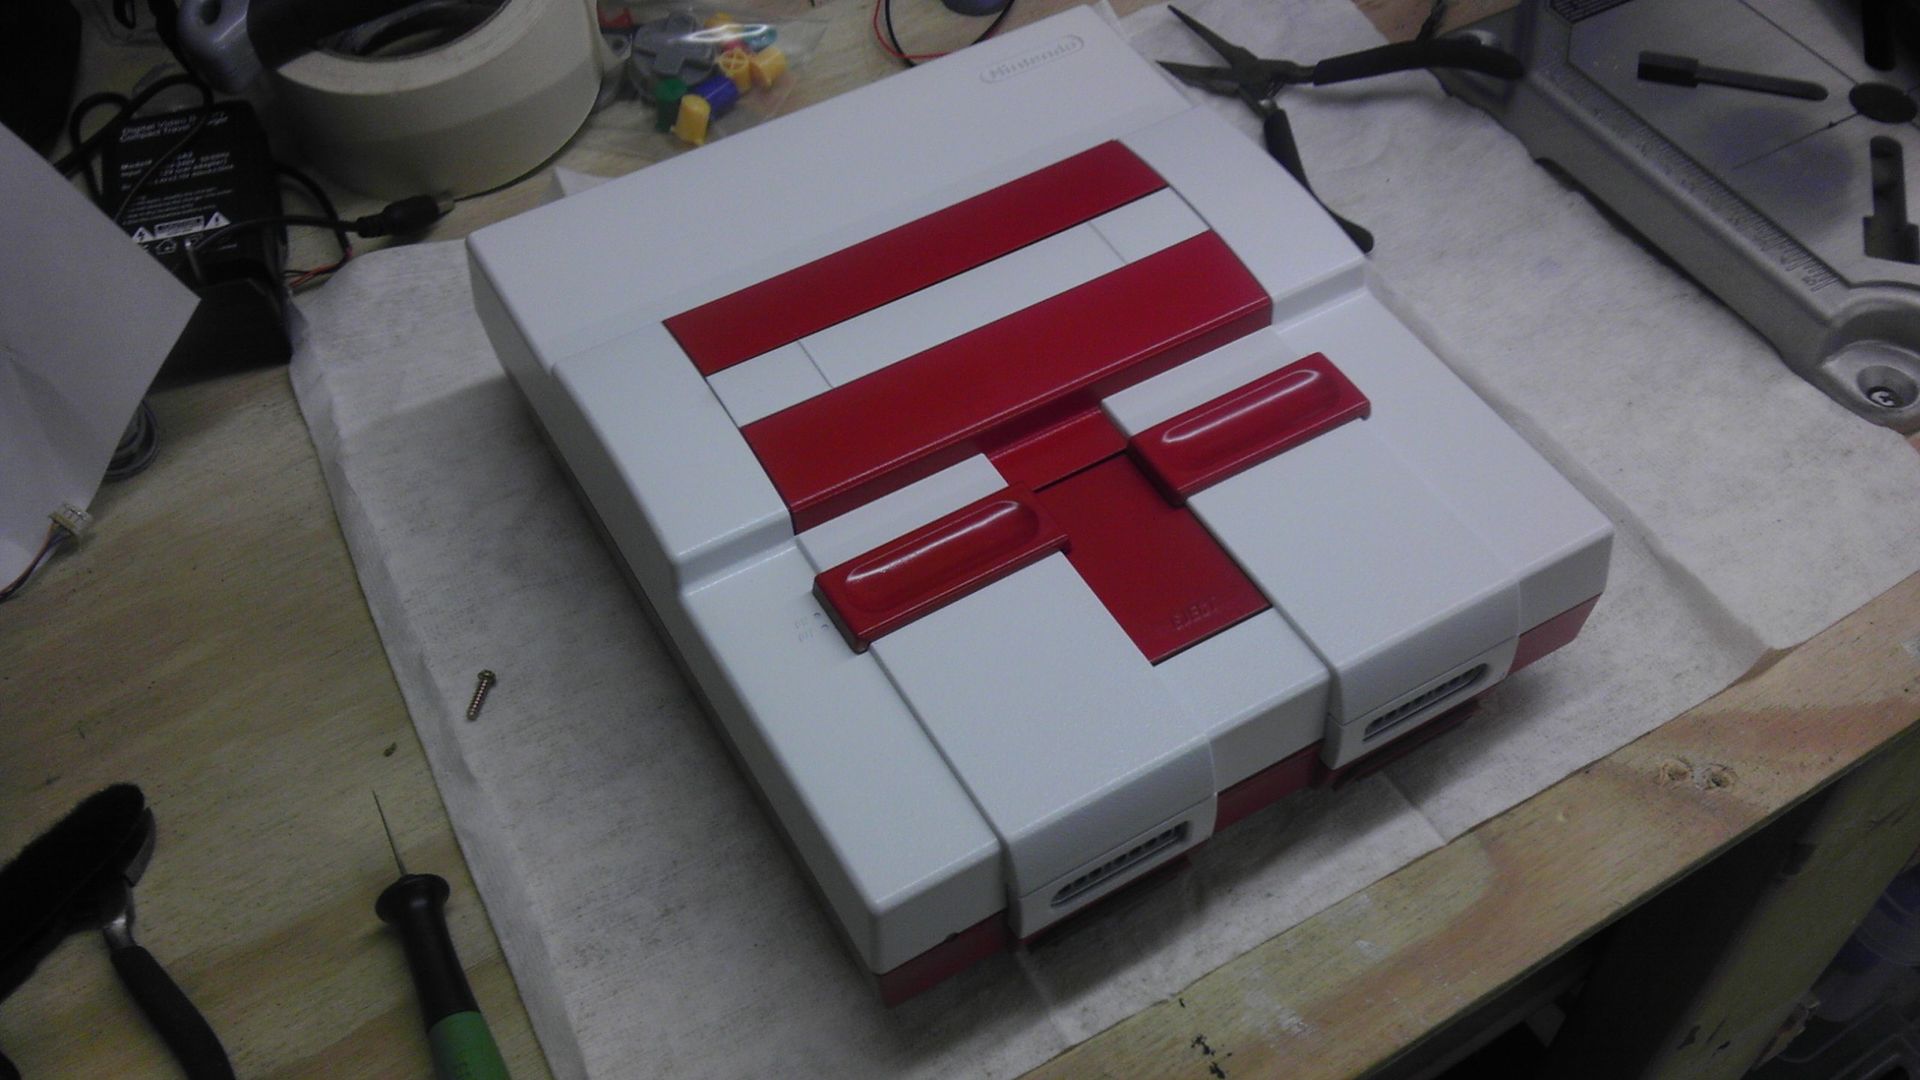
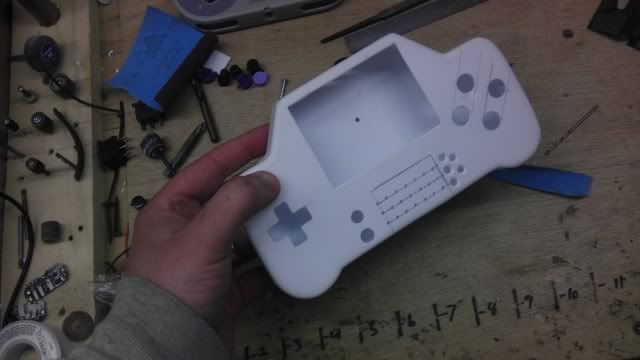
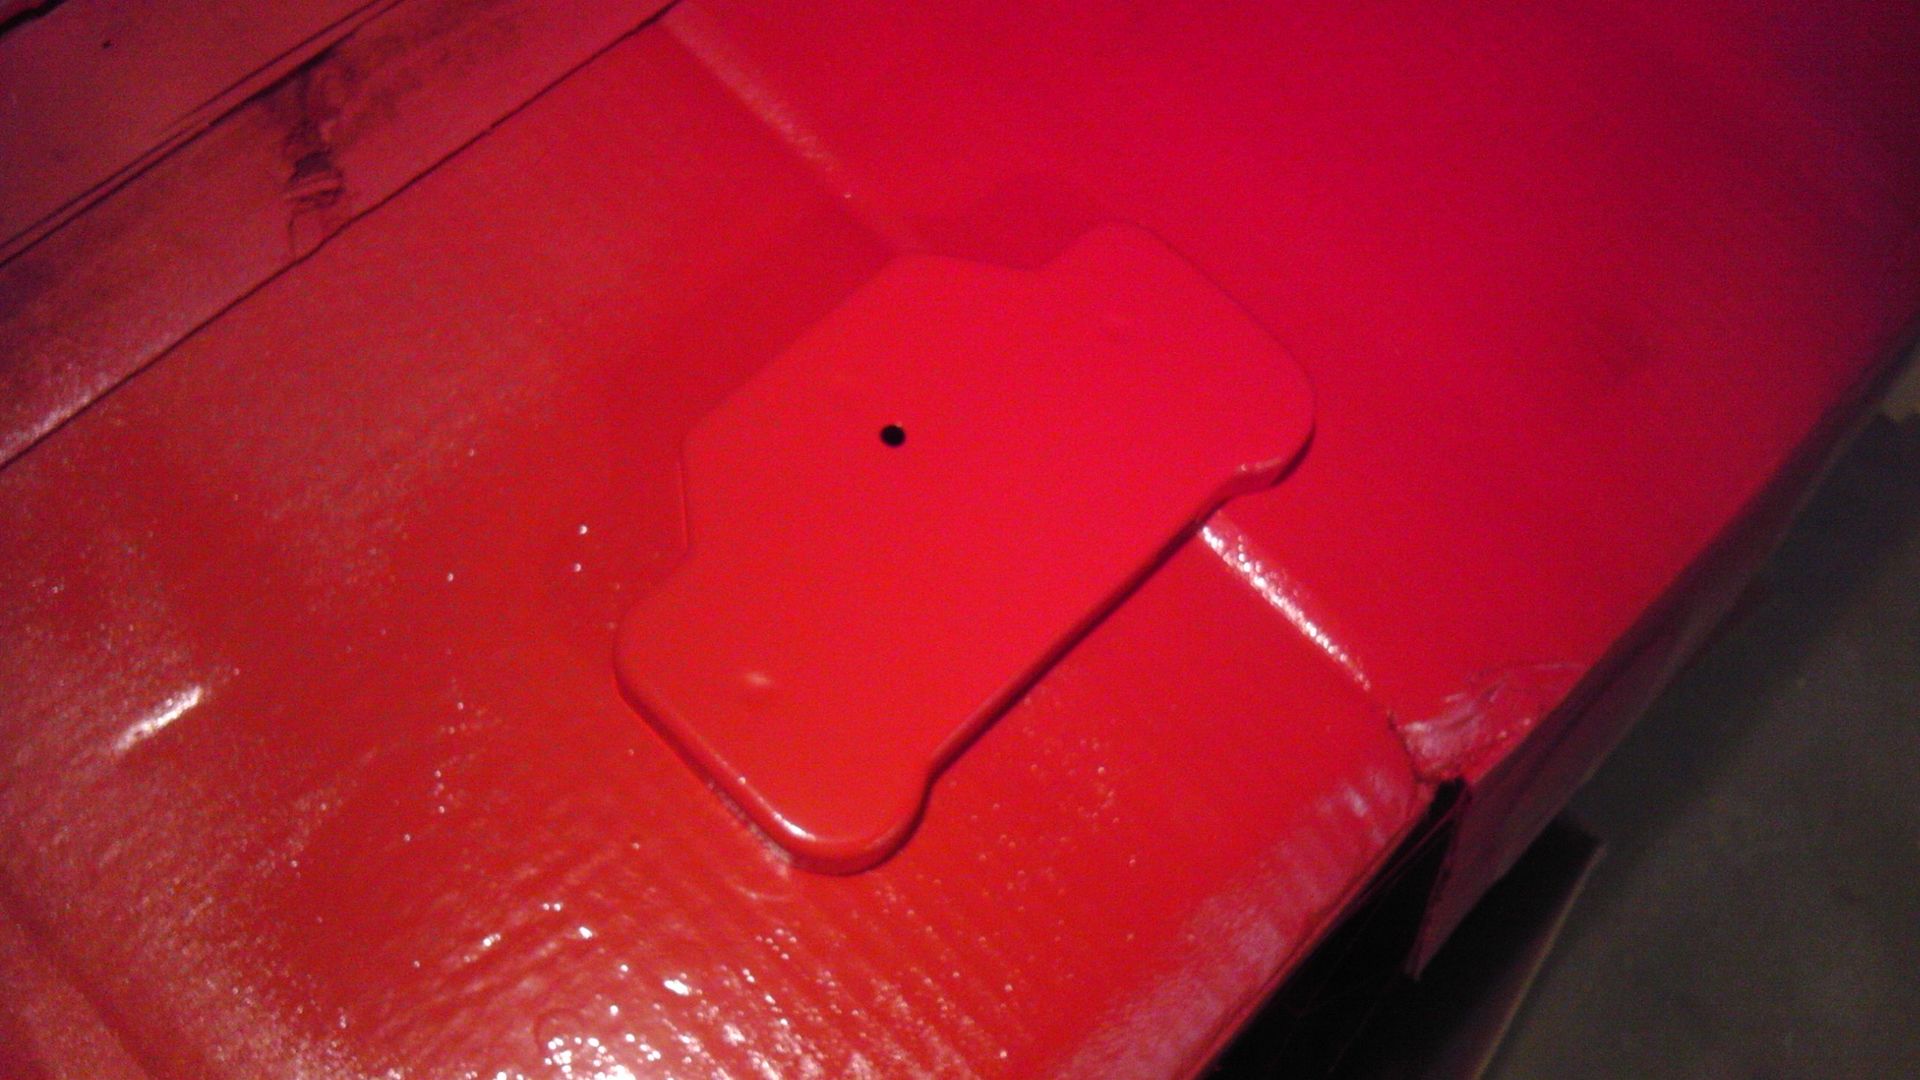
Started a new project today and actually completed phase 1 of a 3 part build. Though I don't want to get too far ahead of myself, I did get the SNES modded for what I have in mind and got the unit painted which I think came out pretty nice for me!
Like I said, not gonna get too much into it because I'm not sure yet if my idea will work, though I don't see why it won't. Here are some pics. Have fun!
I'm going to assume you know what I'm doing now! haha.

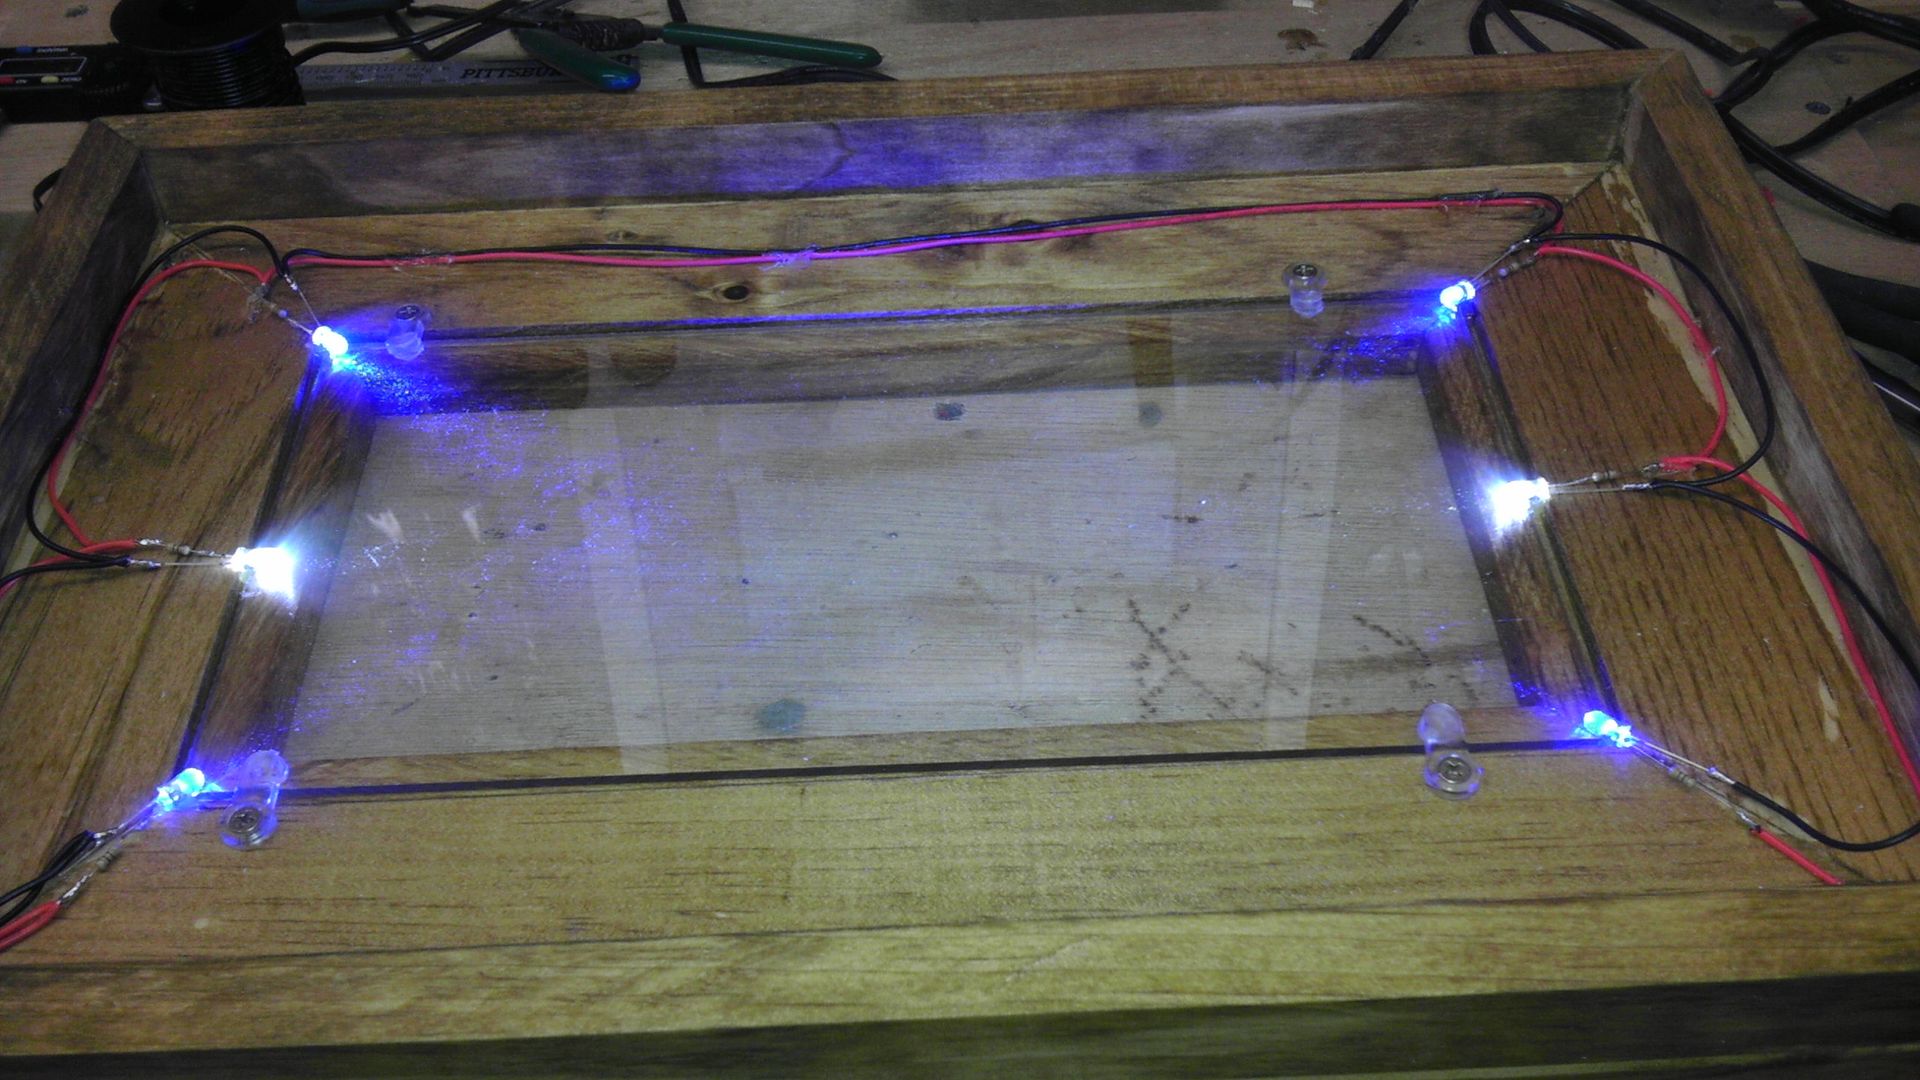
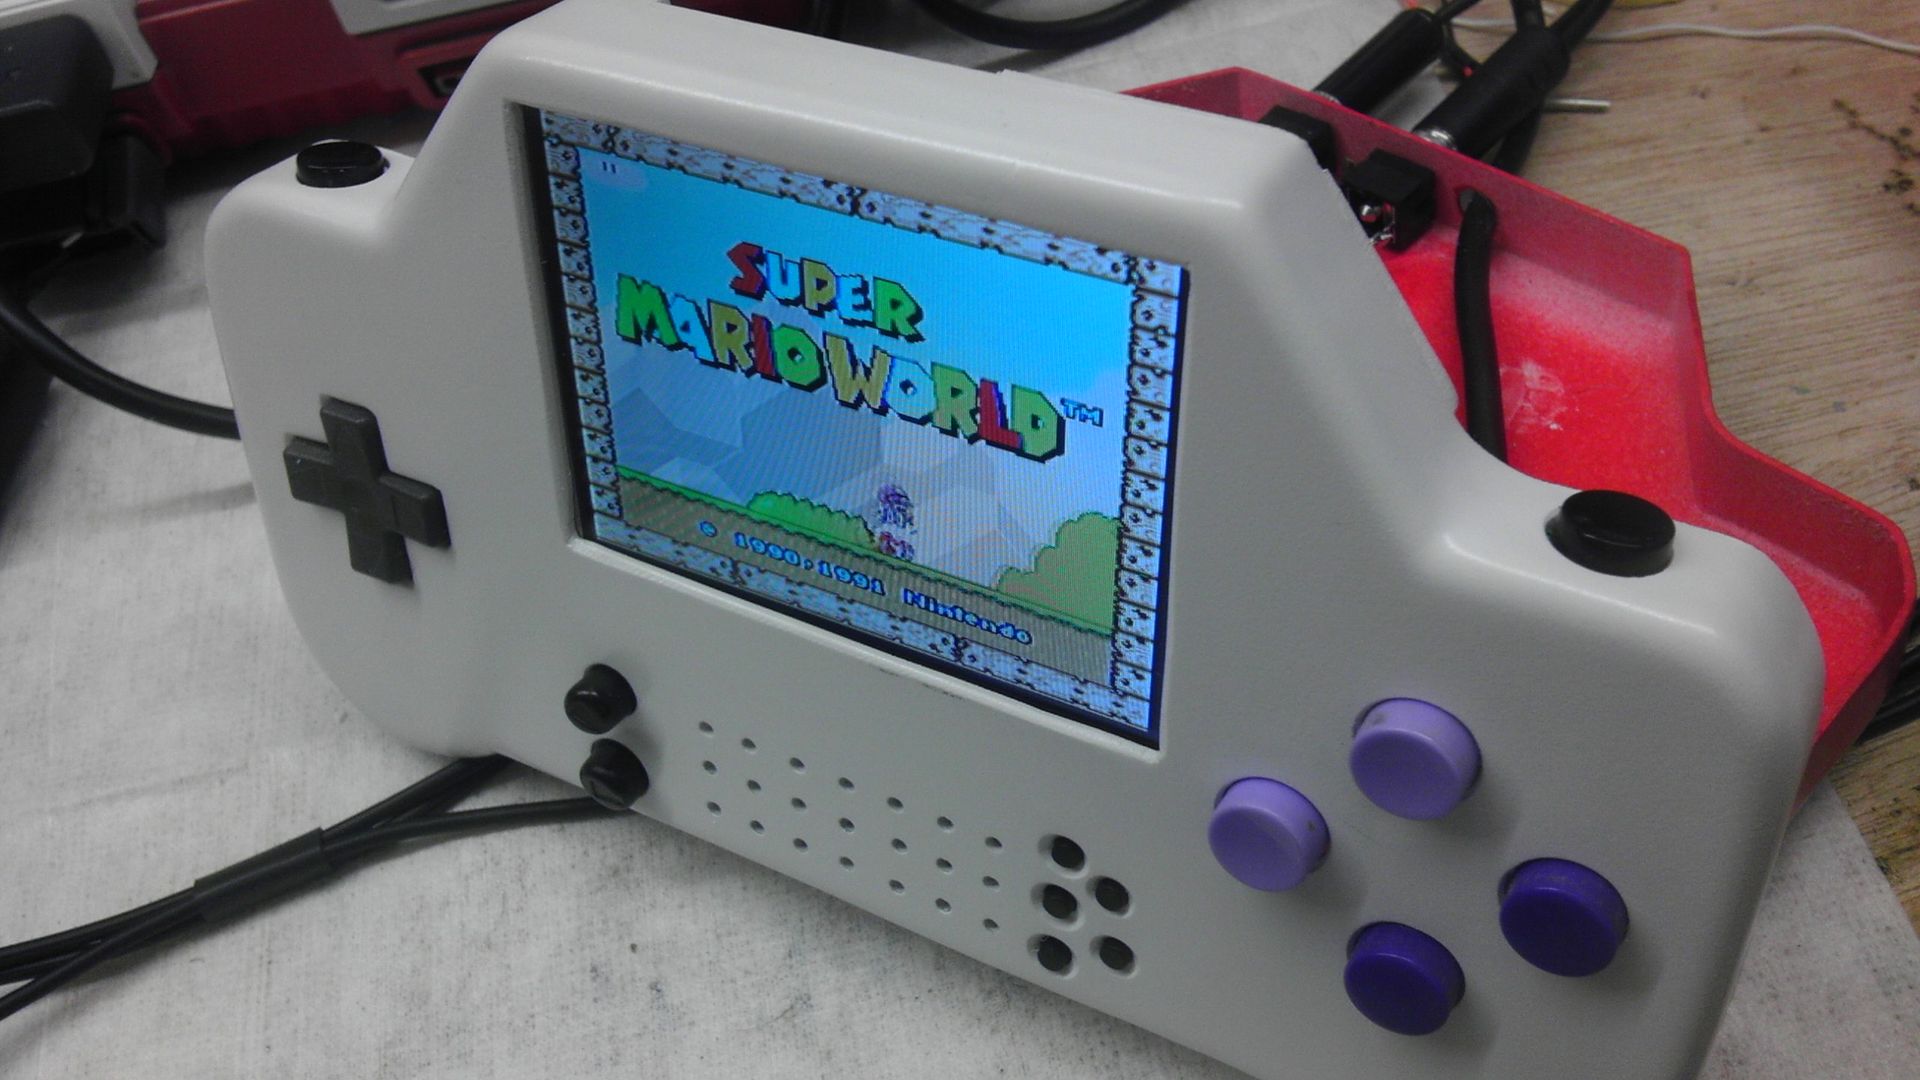
My proof of concept test worked! :party: I managed to get the screen video signal and 12V power to the control ports, through the connector, through 6 feet of shielded Play Station cable to the 3.5" screen! This proves that my theory and wiring thus far is correct and now I can actually start to build the controller! I'm pretty excited about this and there is little to no interference in the screen, though I'm not a happy about the quality of this one as I was with the one I used in The GeneBoy. But, this one has modes and adjustments which the other one didn't so I guess it's an even trade.
Anyway, here are some pics! I have tomorrow off so I plan to use that time for some catch-up modding time as I've had very little these past couple of weeks! Enjoy!
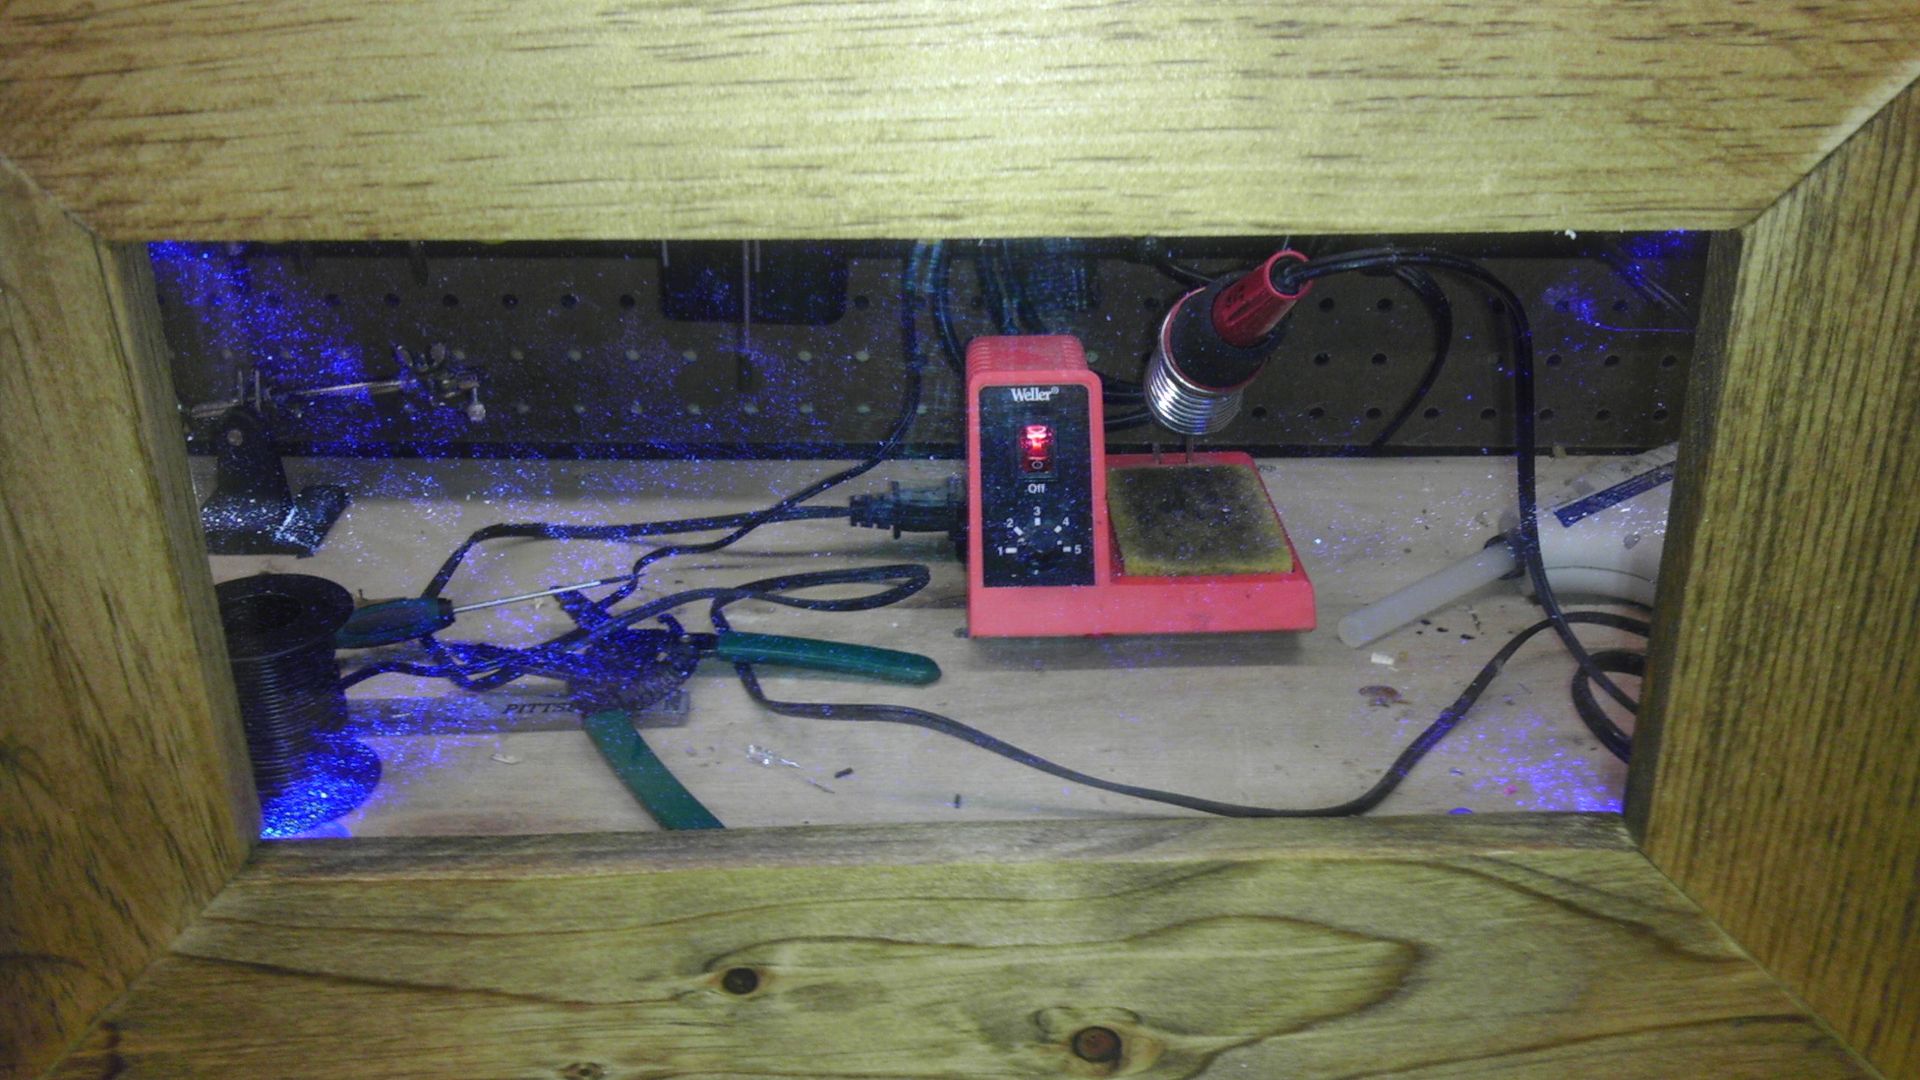
The feet upon feet of wiring these video signals are going through.
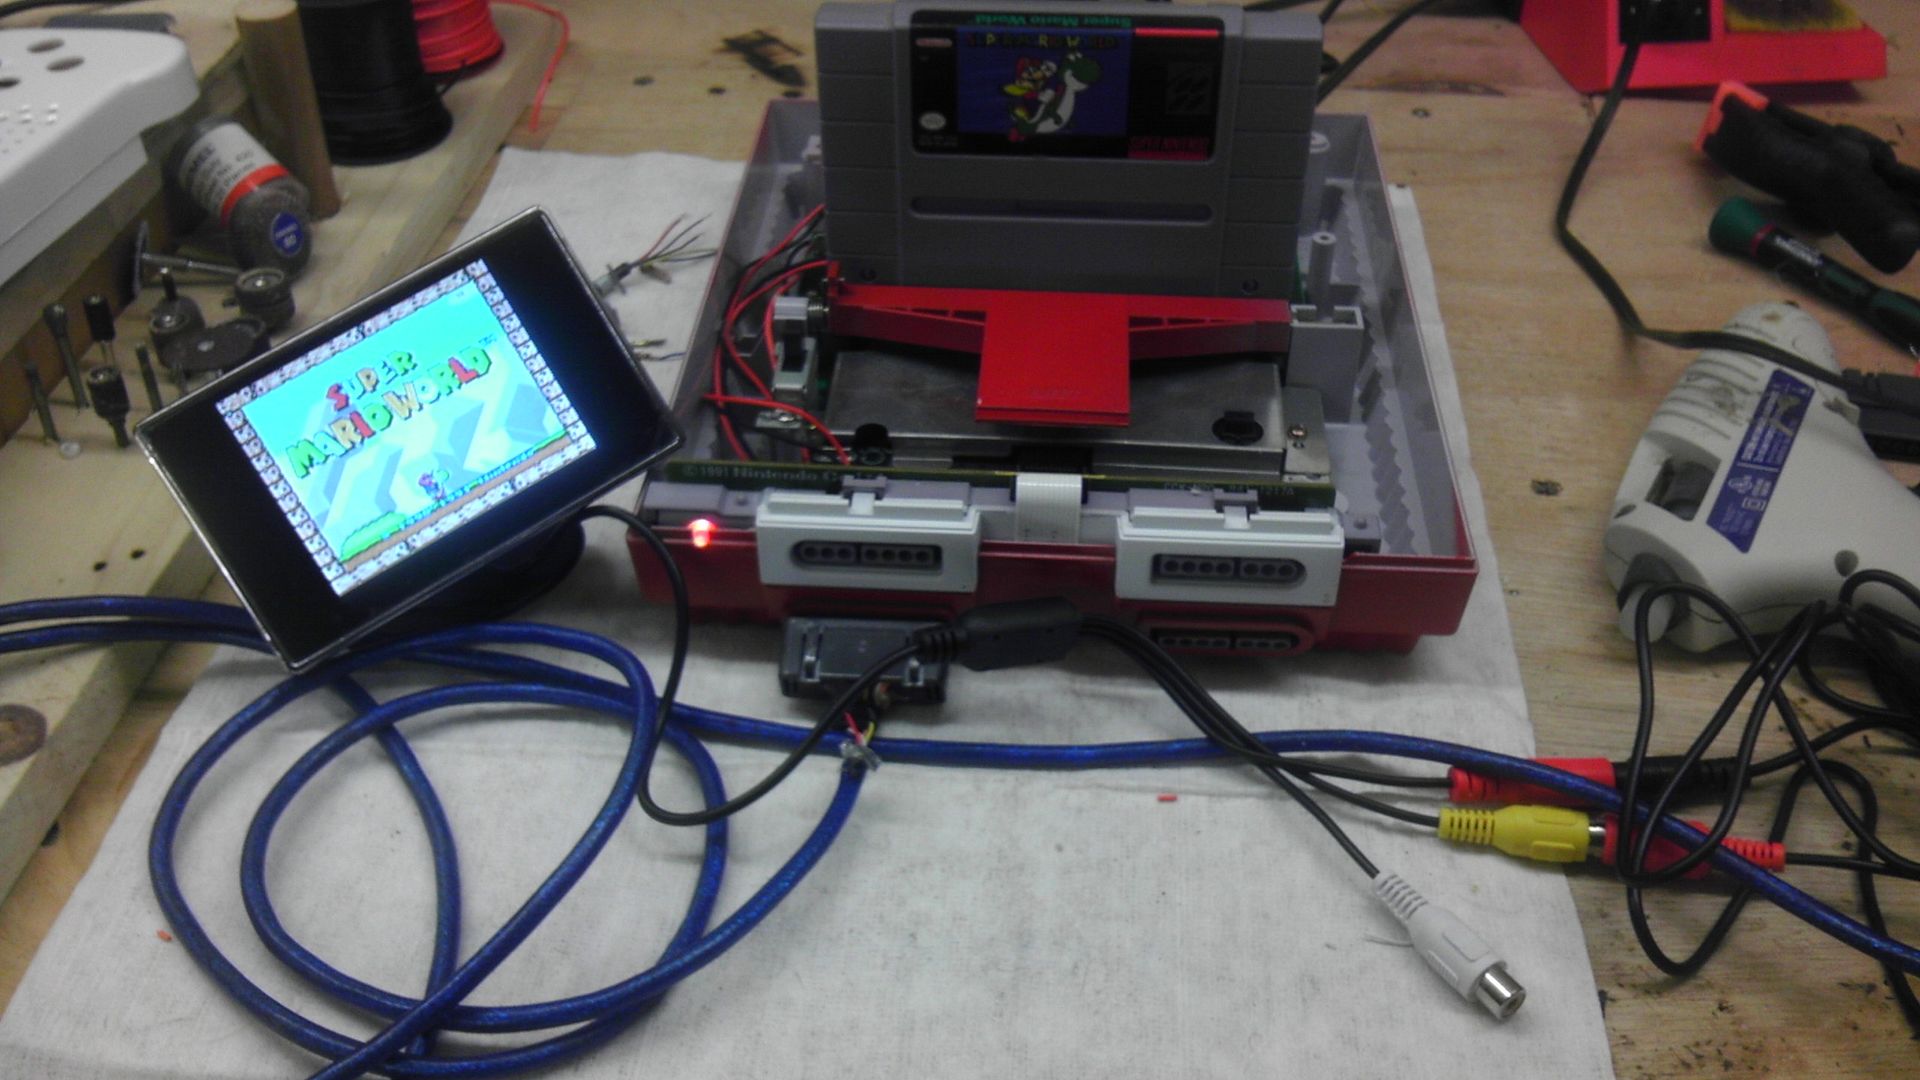
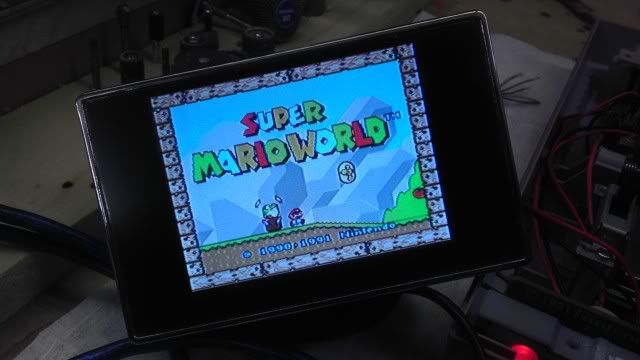
Dark pic, but just proves that Super Mario does show up!
Next up is the Audio, but I'll have to do that after I get the wires mounted in the controller because I'll be using a different 7805 for the audio amp from the 12v line as I didn't have enough pins (that I wanted to use anyway) from the good SNES controllers to make it work. But that's fine, less to run over a long distance so I think that's a better idea anyway. Thanks Mootoo!
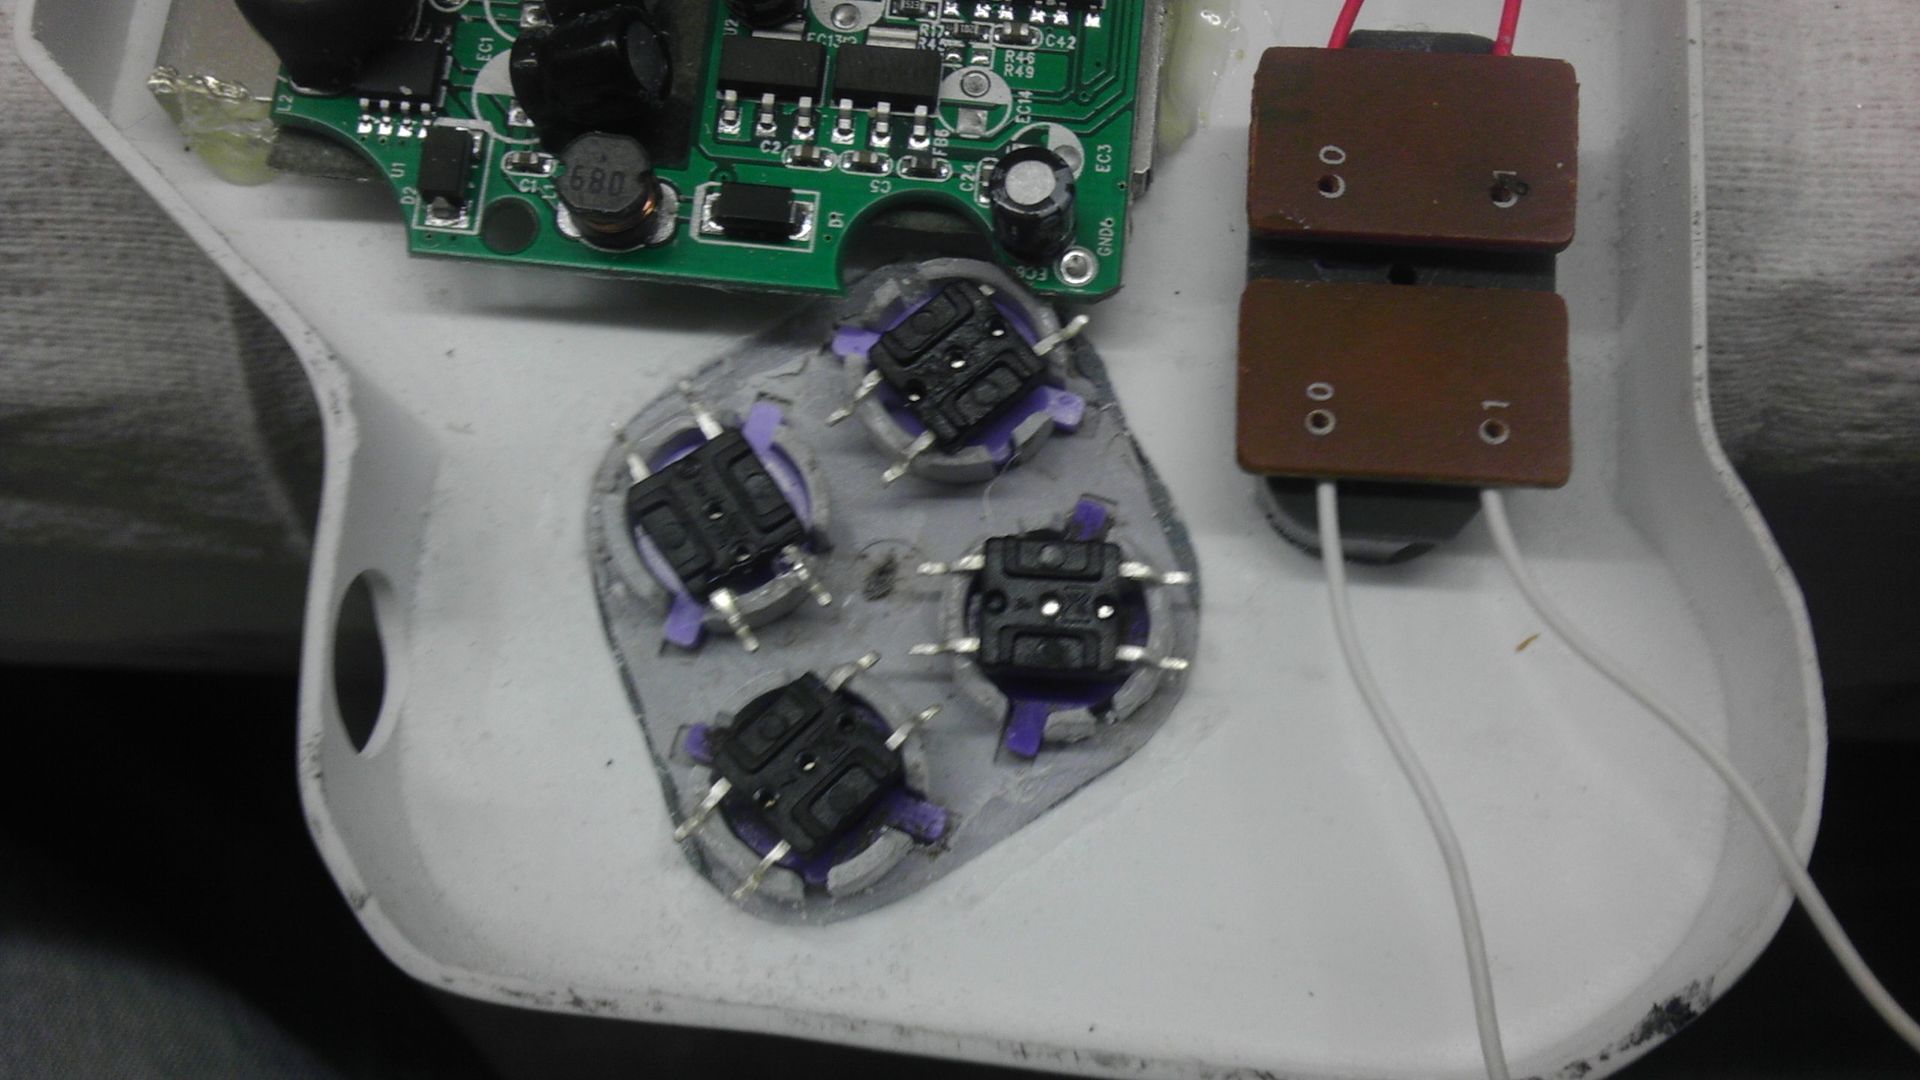
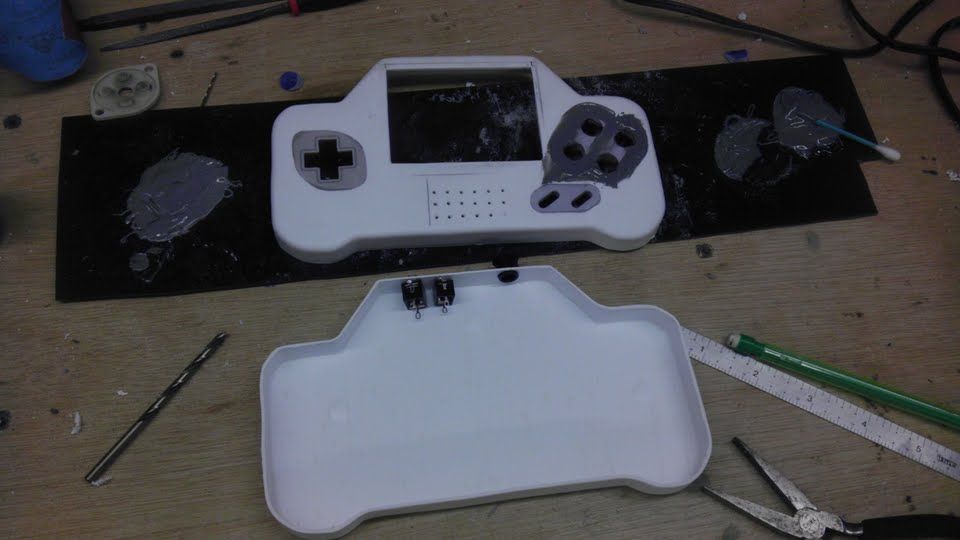
Alright, progress is coming along nicely! Though I wasted a lot of time today screwing around with the D-pad, I just couldn't get it to work like the GeneBoy because the tilting point of the SNES d-pad is much more balanced than the PS1 controllers, which in this case wasn't good because it didn't allow enough clearance to push one tact switch at a time. In other words, before one switch was pressed, another was on the verge of being presses as well and that simply would not do.
So because I had this one already cut out and filed, I kept with the SNES d-pad and managed to get the PCB wired so that I could use that as it was actually intended. But I think for the next controller I'm going to use the NES controller D-pad that Bac showed. Seems to make sense and though you have to do a bit of Frankencasing to make it work, that still would have been less time that what I spent Fing around with this today.
So anyway, here are some pics of the progress. All the buttons and screen, tacts, speaker and controller are mounted. Next I just have to mount the audio amp, 7805 and wire those up to the switch, then wire the tacts to the controller and I should be just about done with the first controller! Then we'll just have to see if I can get the thing to work!

A quick teaser video for you!
http://www.youtube.com/watch?v=i5g3Niv1n80" onclick="window.open(this.href);return false; (not sure how the yt code works, feel free to change if a mod sees this)
Audio and Video work! So far I haven't had any issues, with the exception of a bit of noise from the screen which I suspect is from the switch. So if that be the case, I will just switch the video signal lines with the power lines and run the video/audio direct to the wires coming from the system.
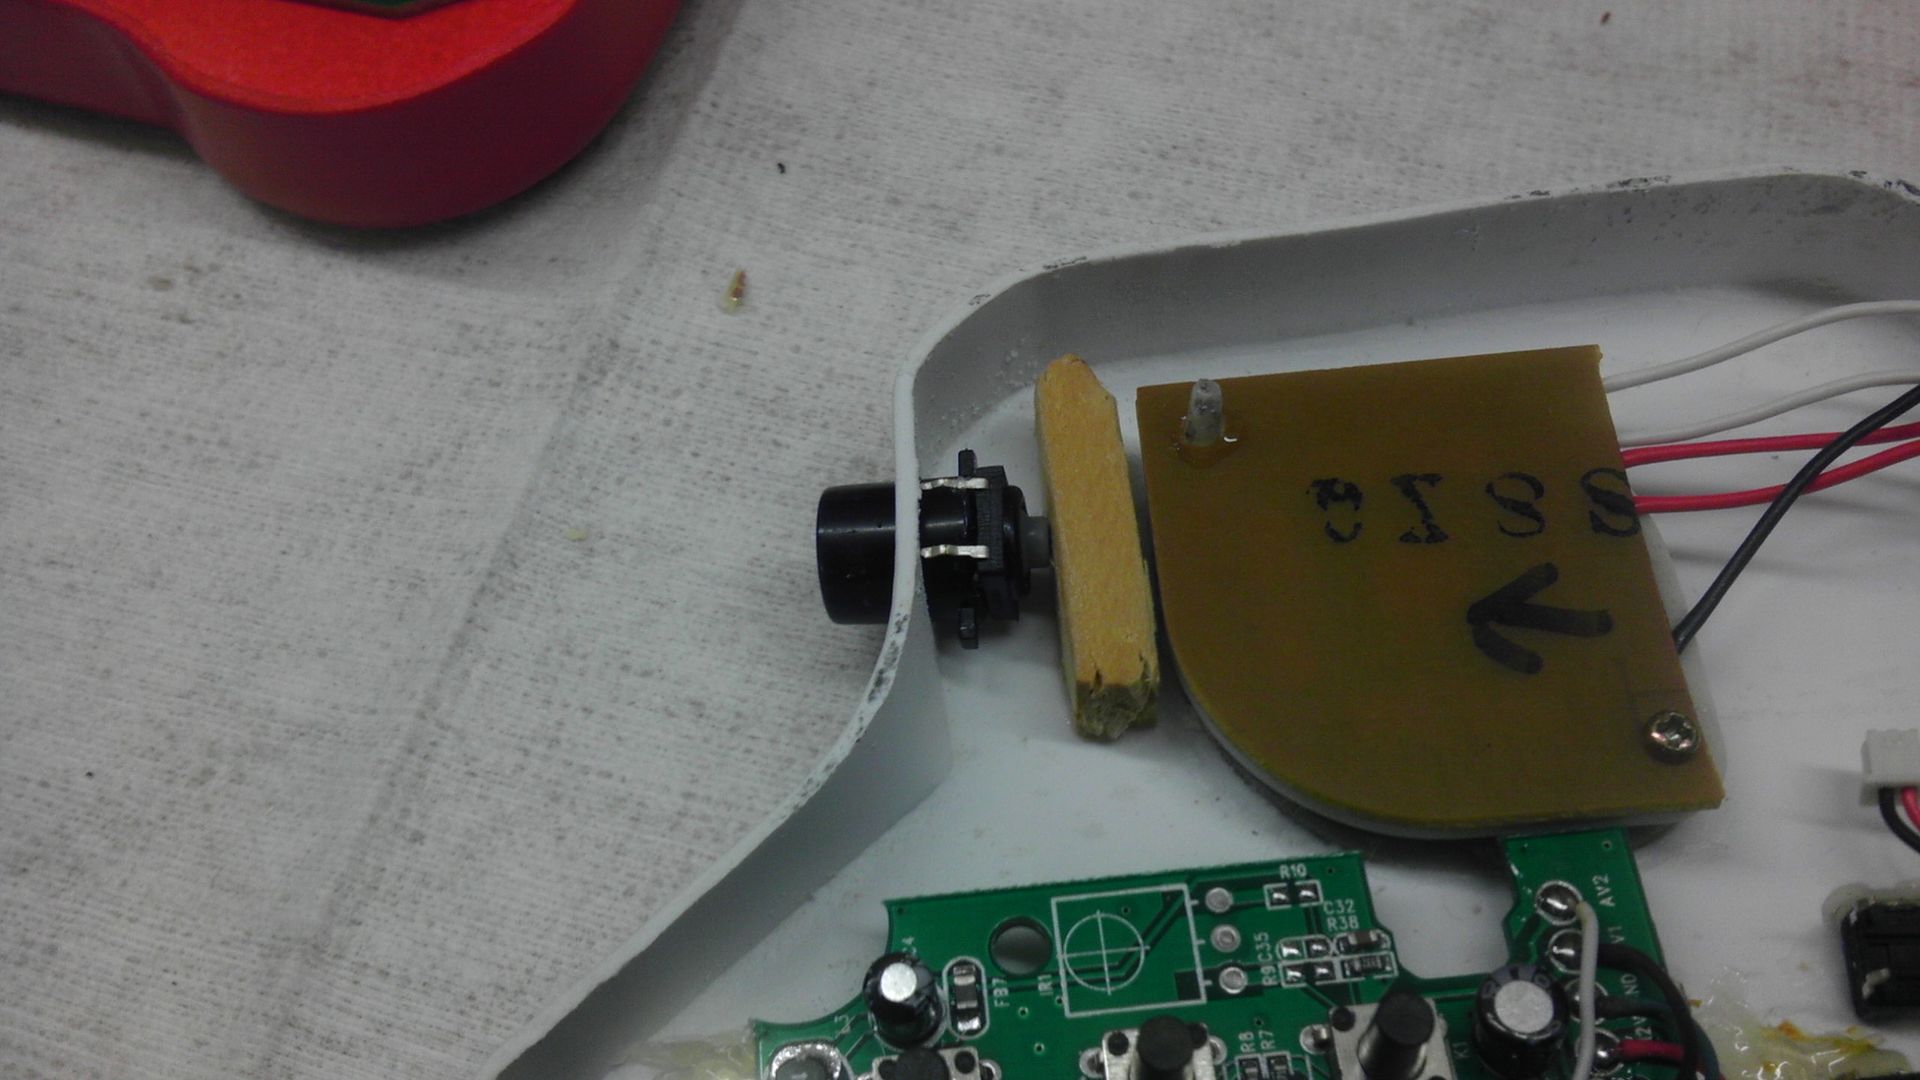
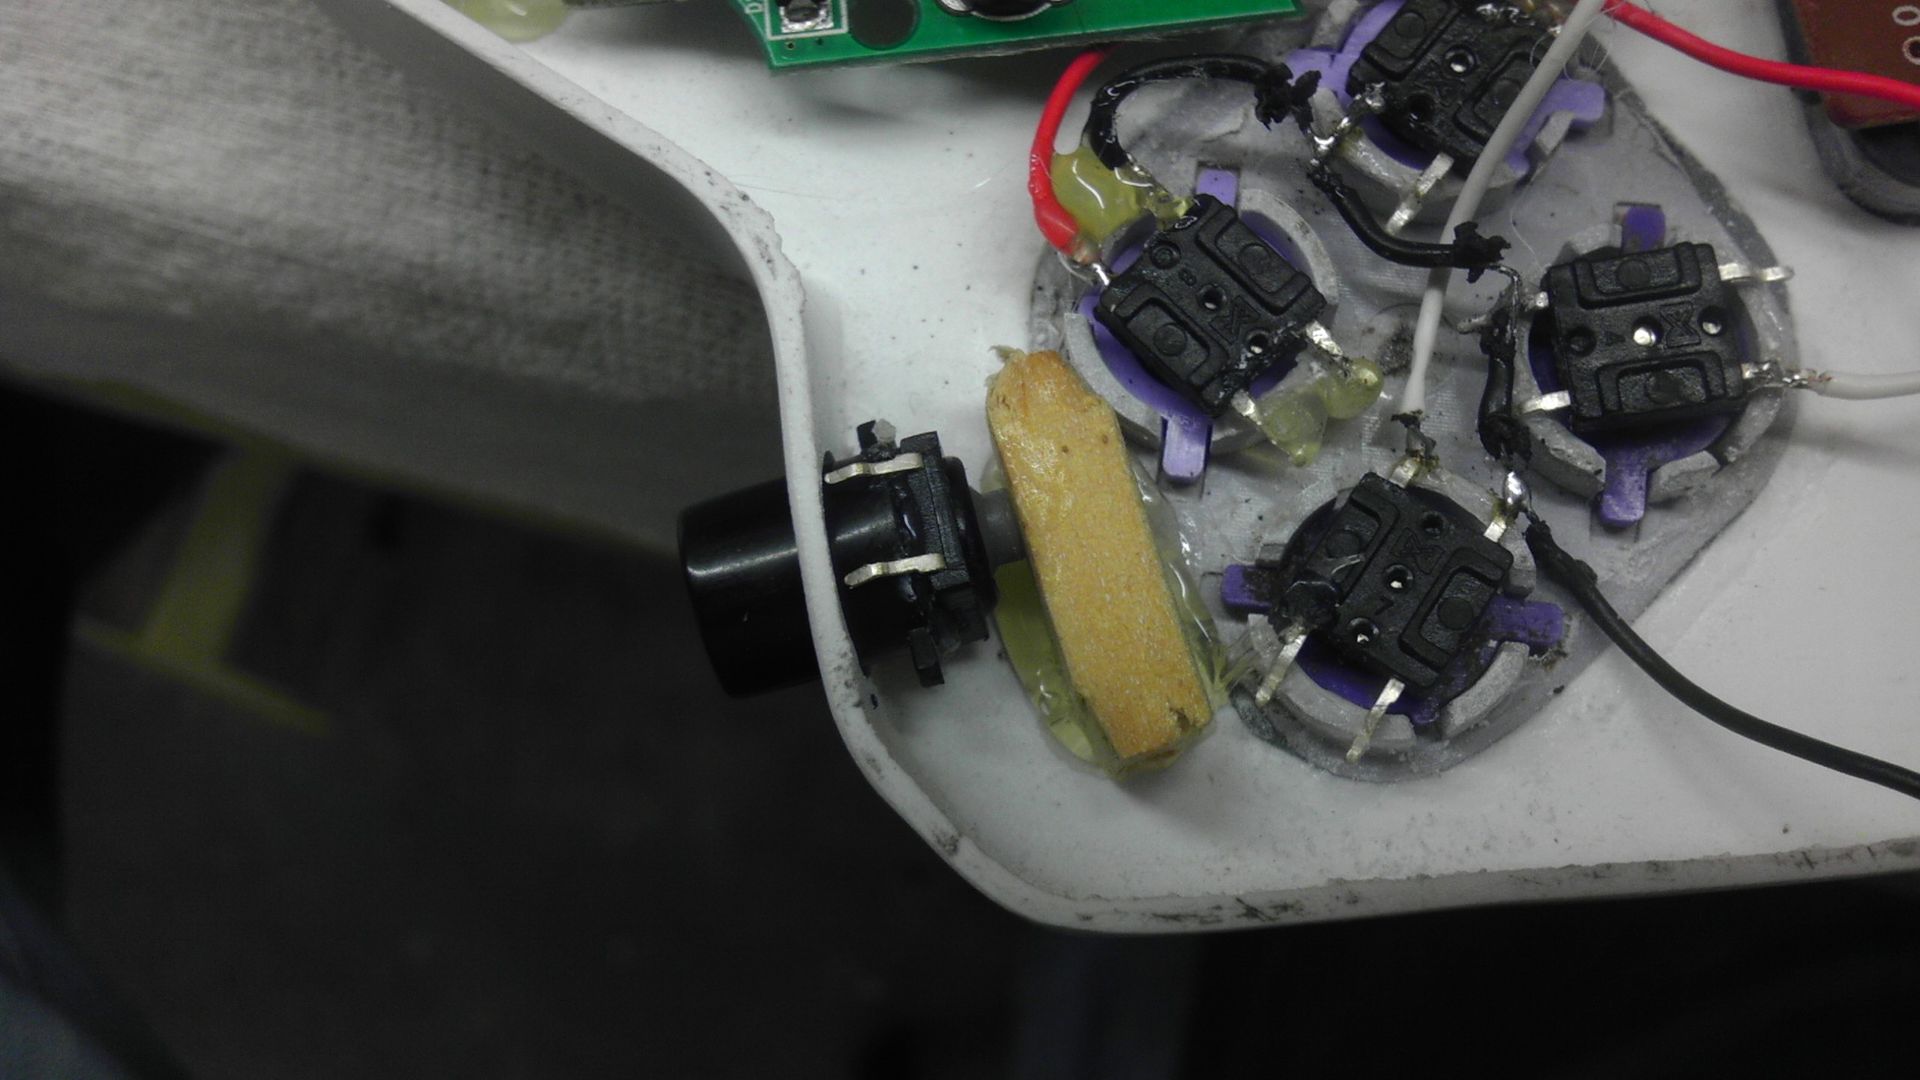
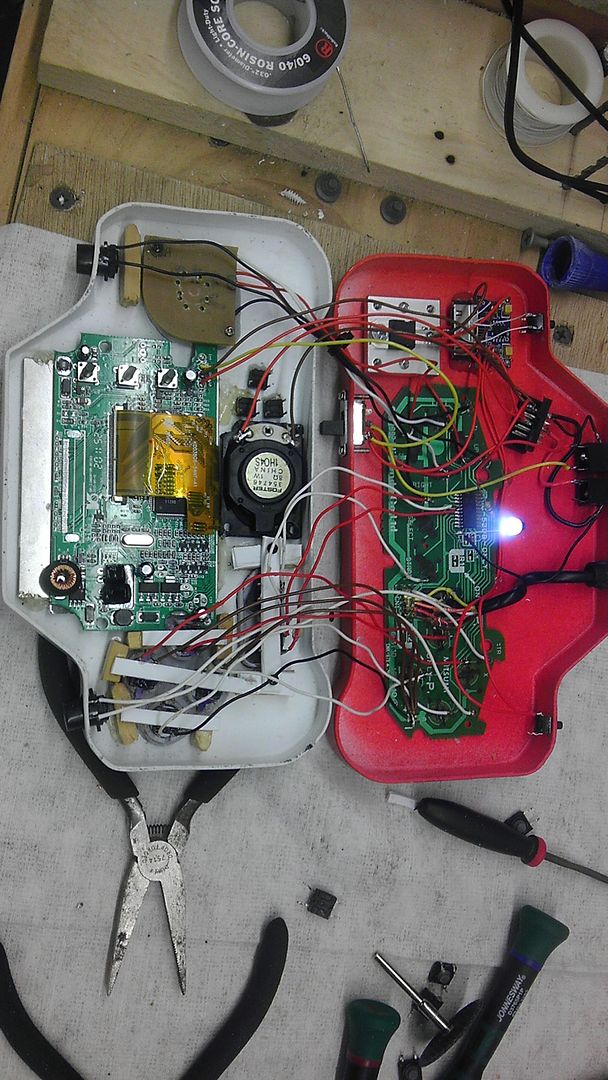
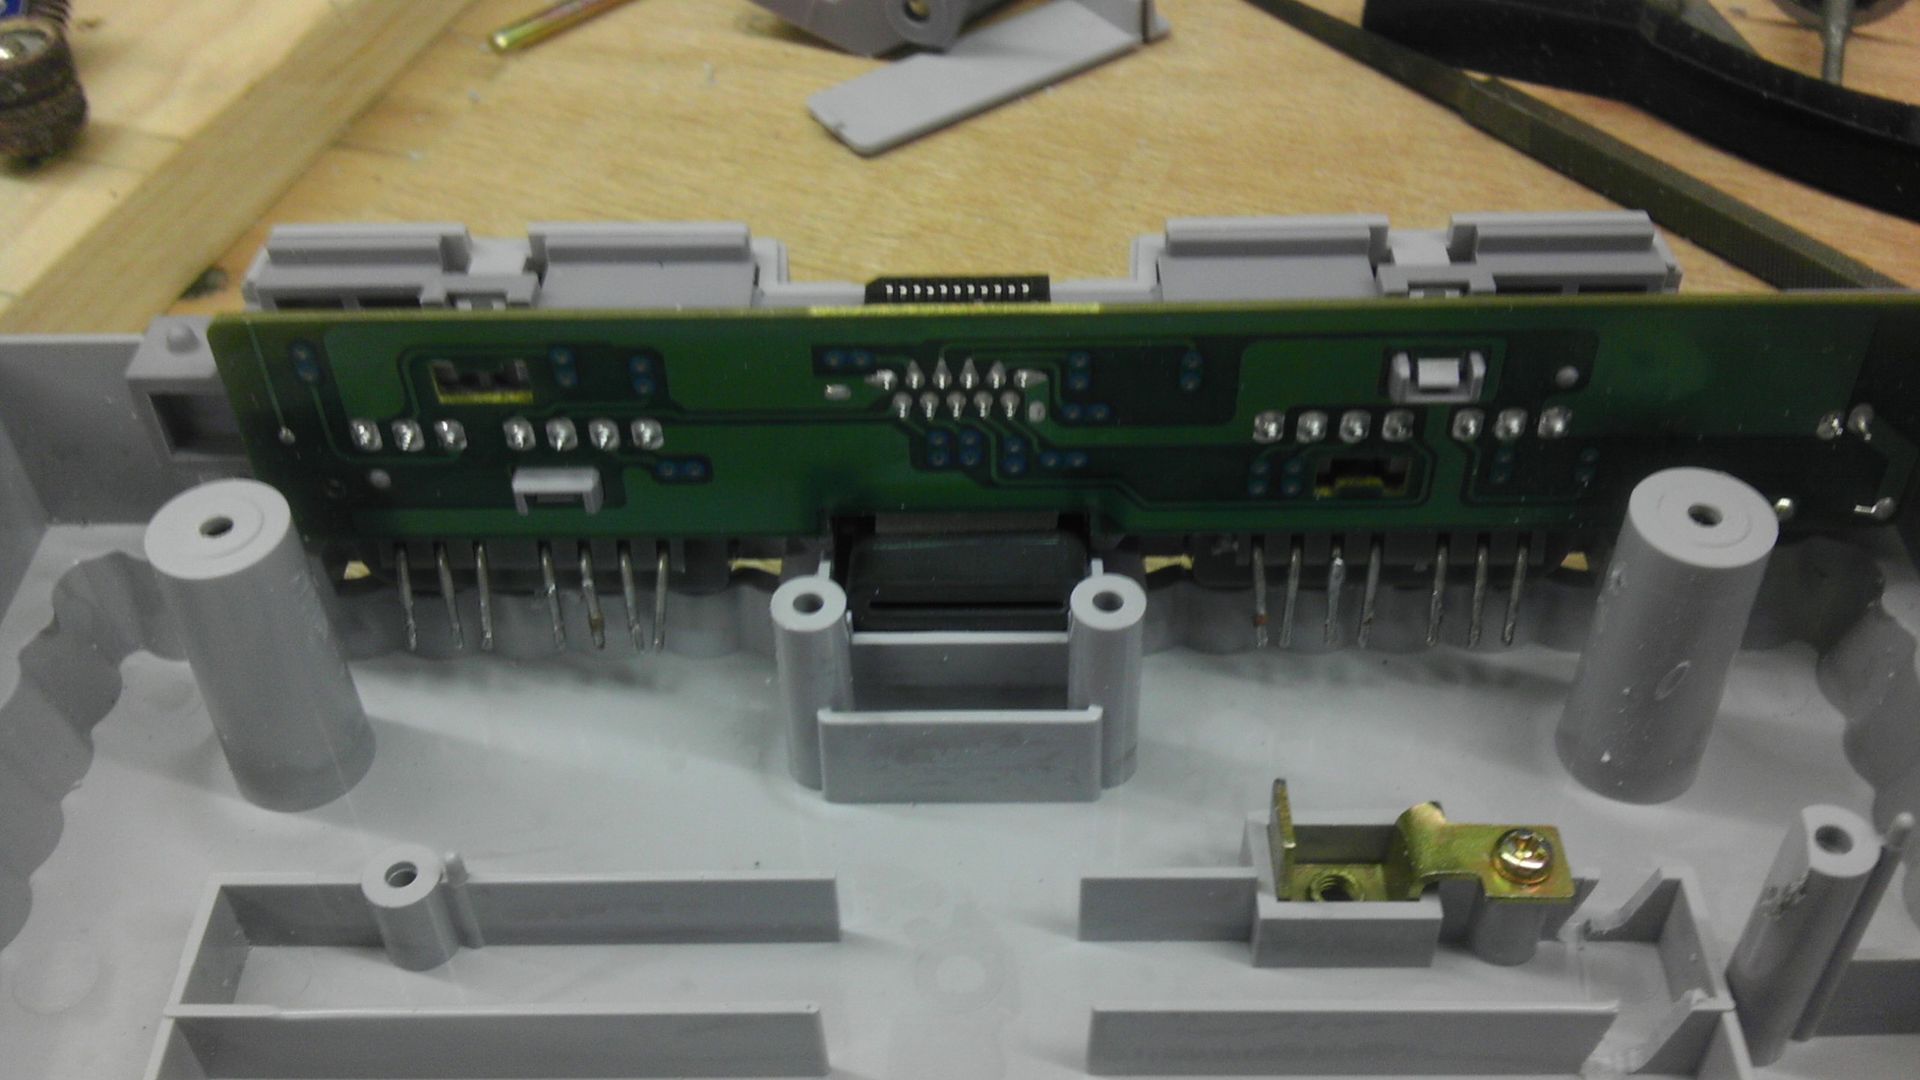
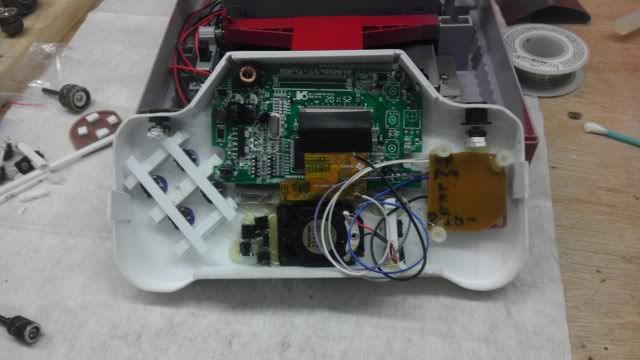
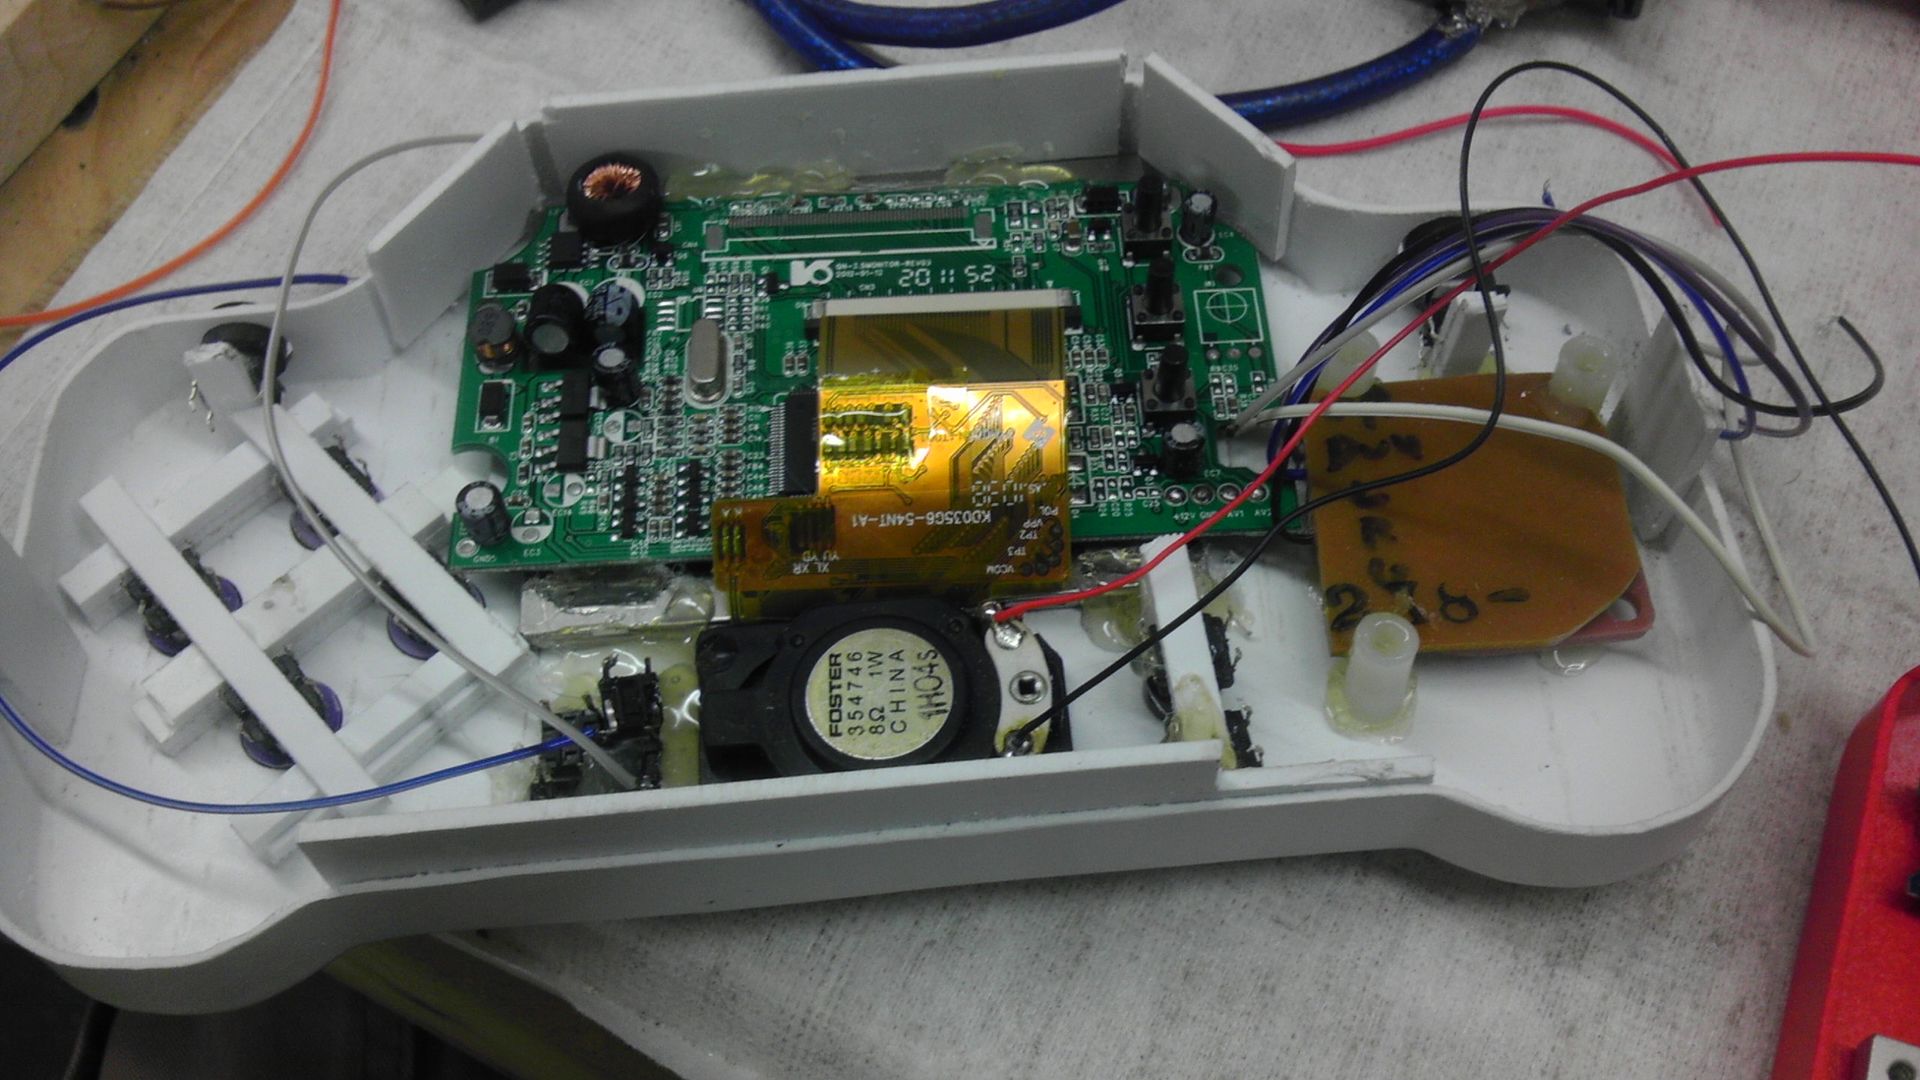
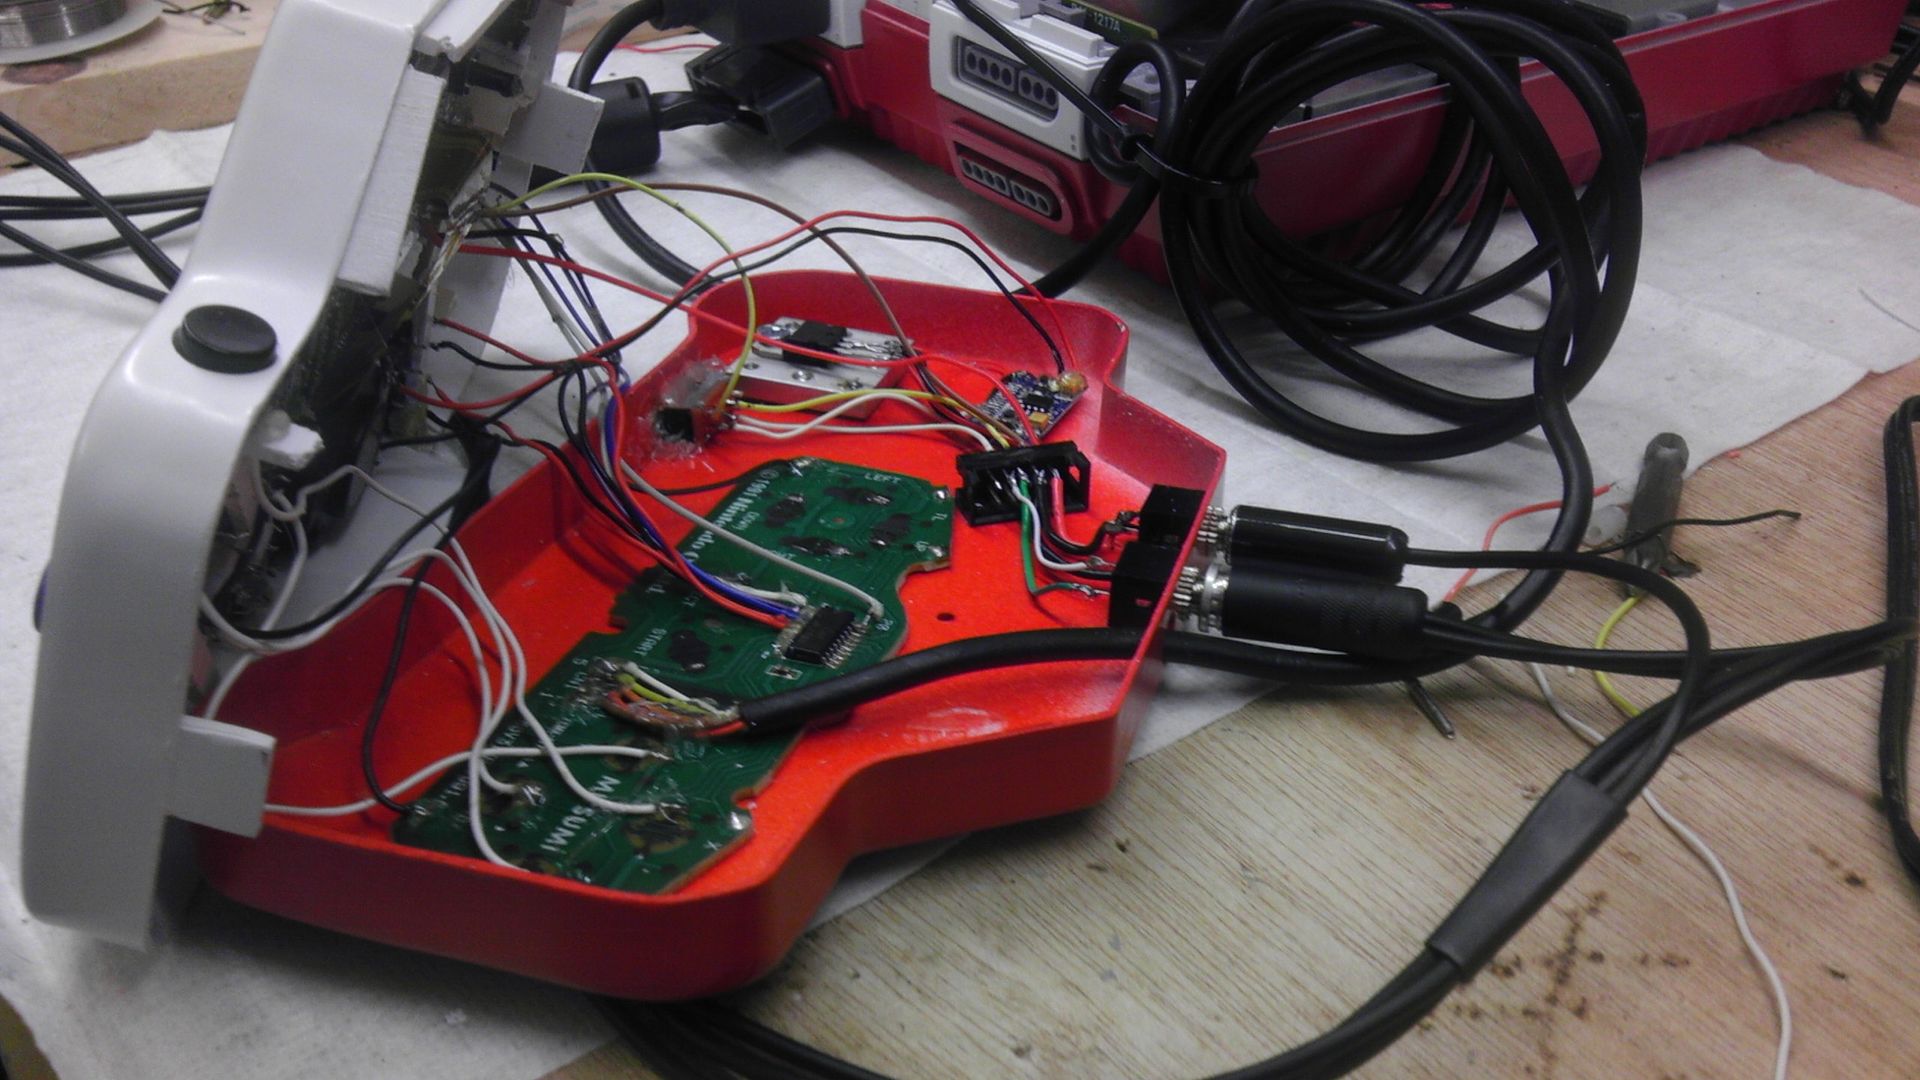
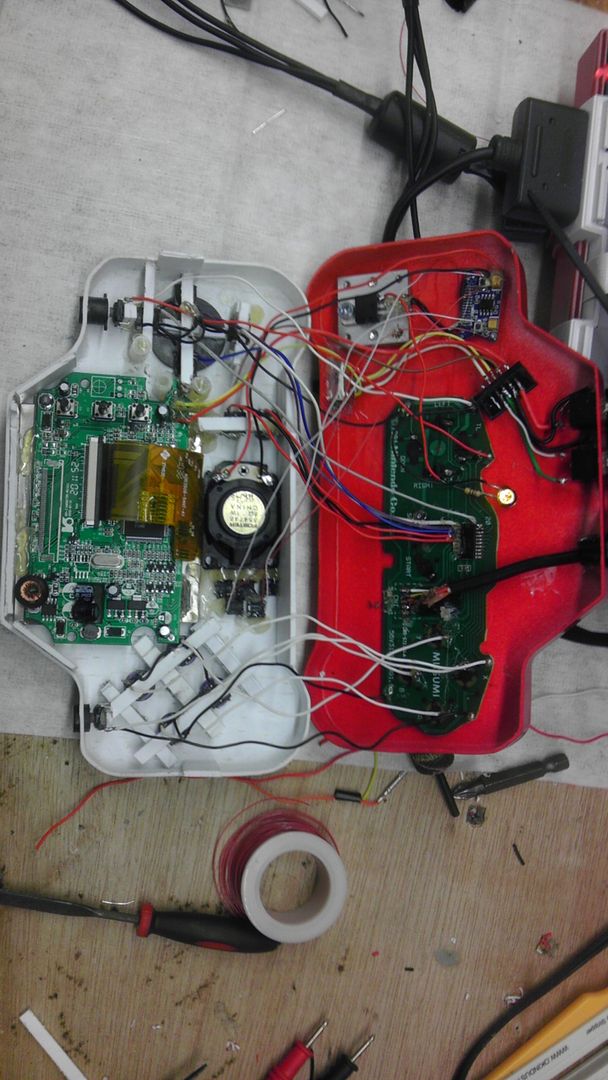
As you can see as a "strain relief" for the components on the inside of the controller, I used a 10-pin header which is super glued to the deck. This allows for any tension that gets put on the wires from the outside that get past the other strain reliefs I've yet to install, the components won't be at risk of breaking their solder joints. I used a 7805 screwed to an N64 heat sink that is also super glued to the deck to power the audio amp which is hot-glued to the deck. I used a DPDT switch so I could turn the audio and video on & off at will, though I did just think of a way I could have used a SPST switch to get the same effect, but whatever, this works for now. Like I said, if I can't get the interference to go away, I might just use that idea and see if just combining the grounding lines to the switch if I'll get the same effect
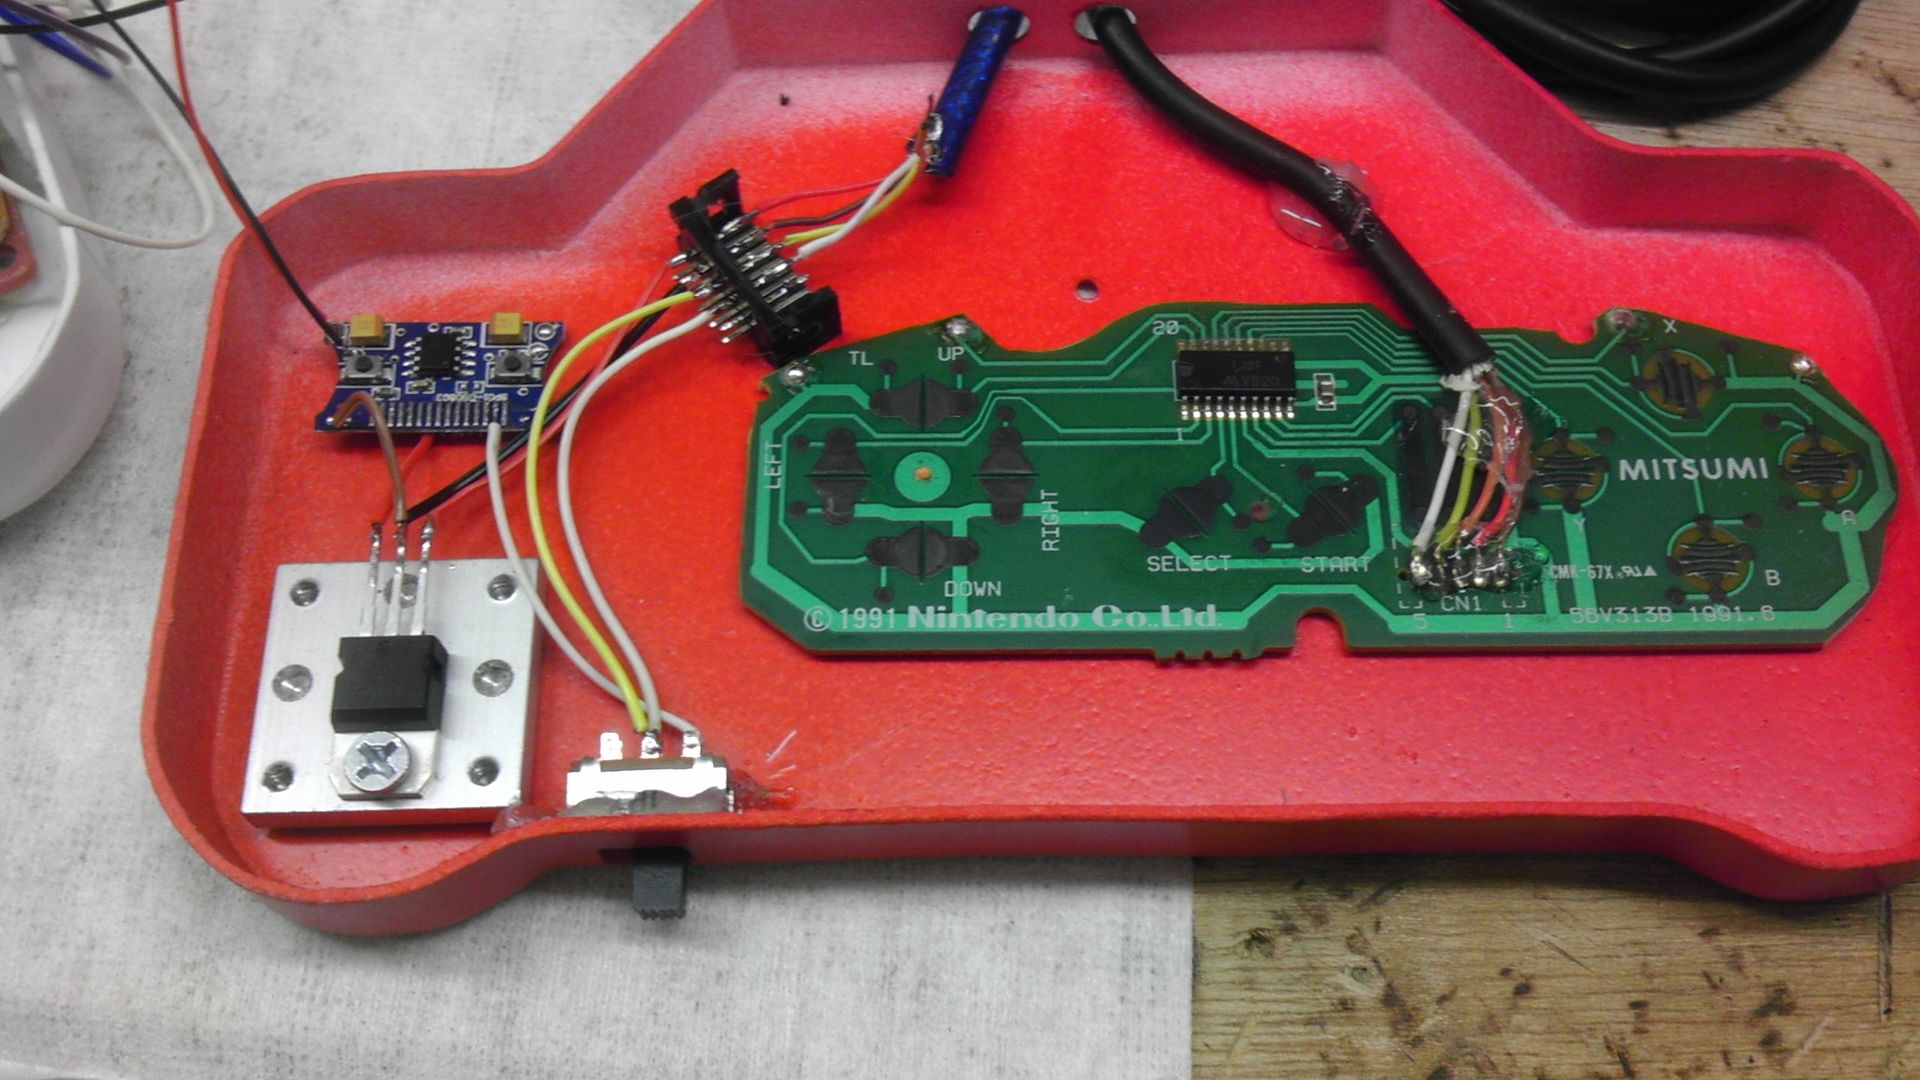
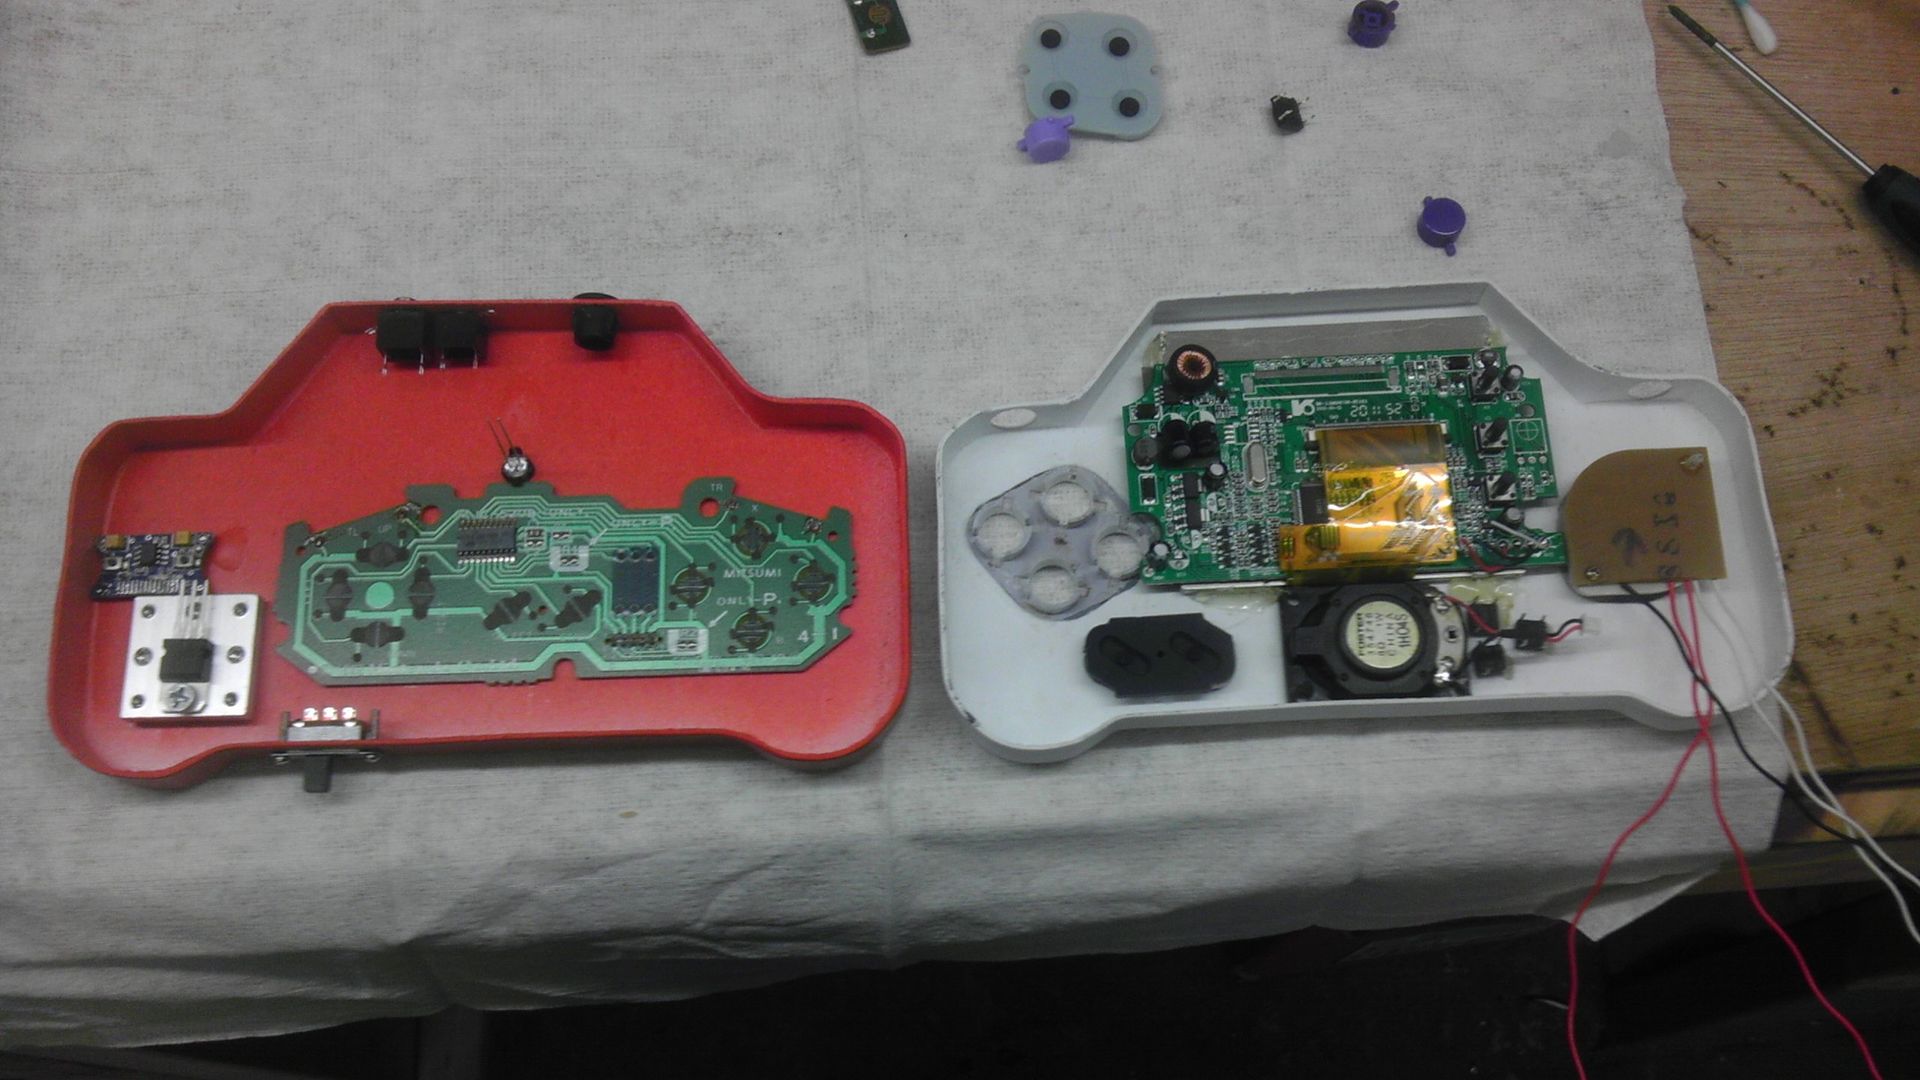
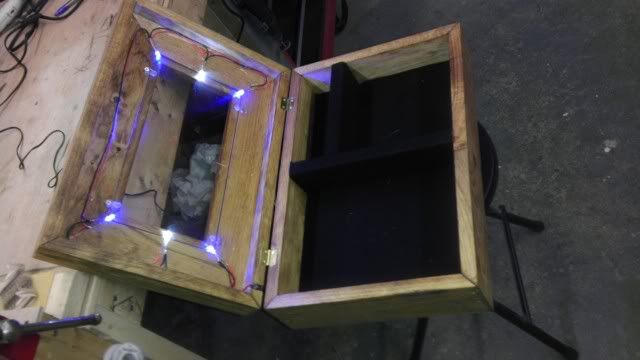
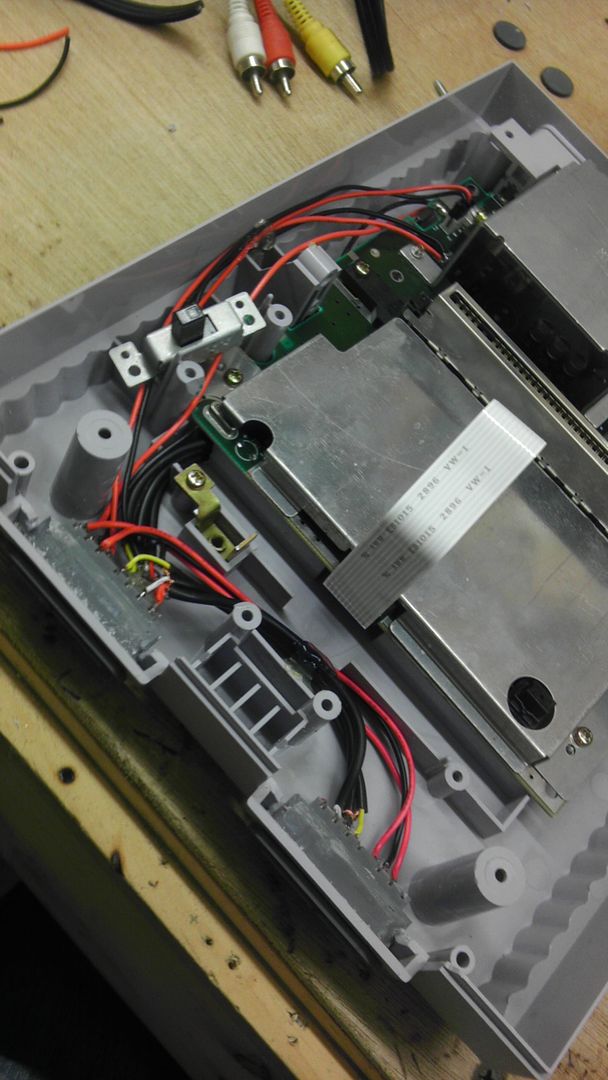
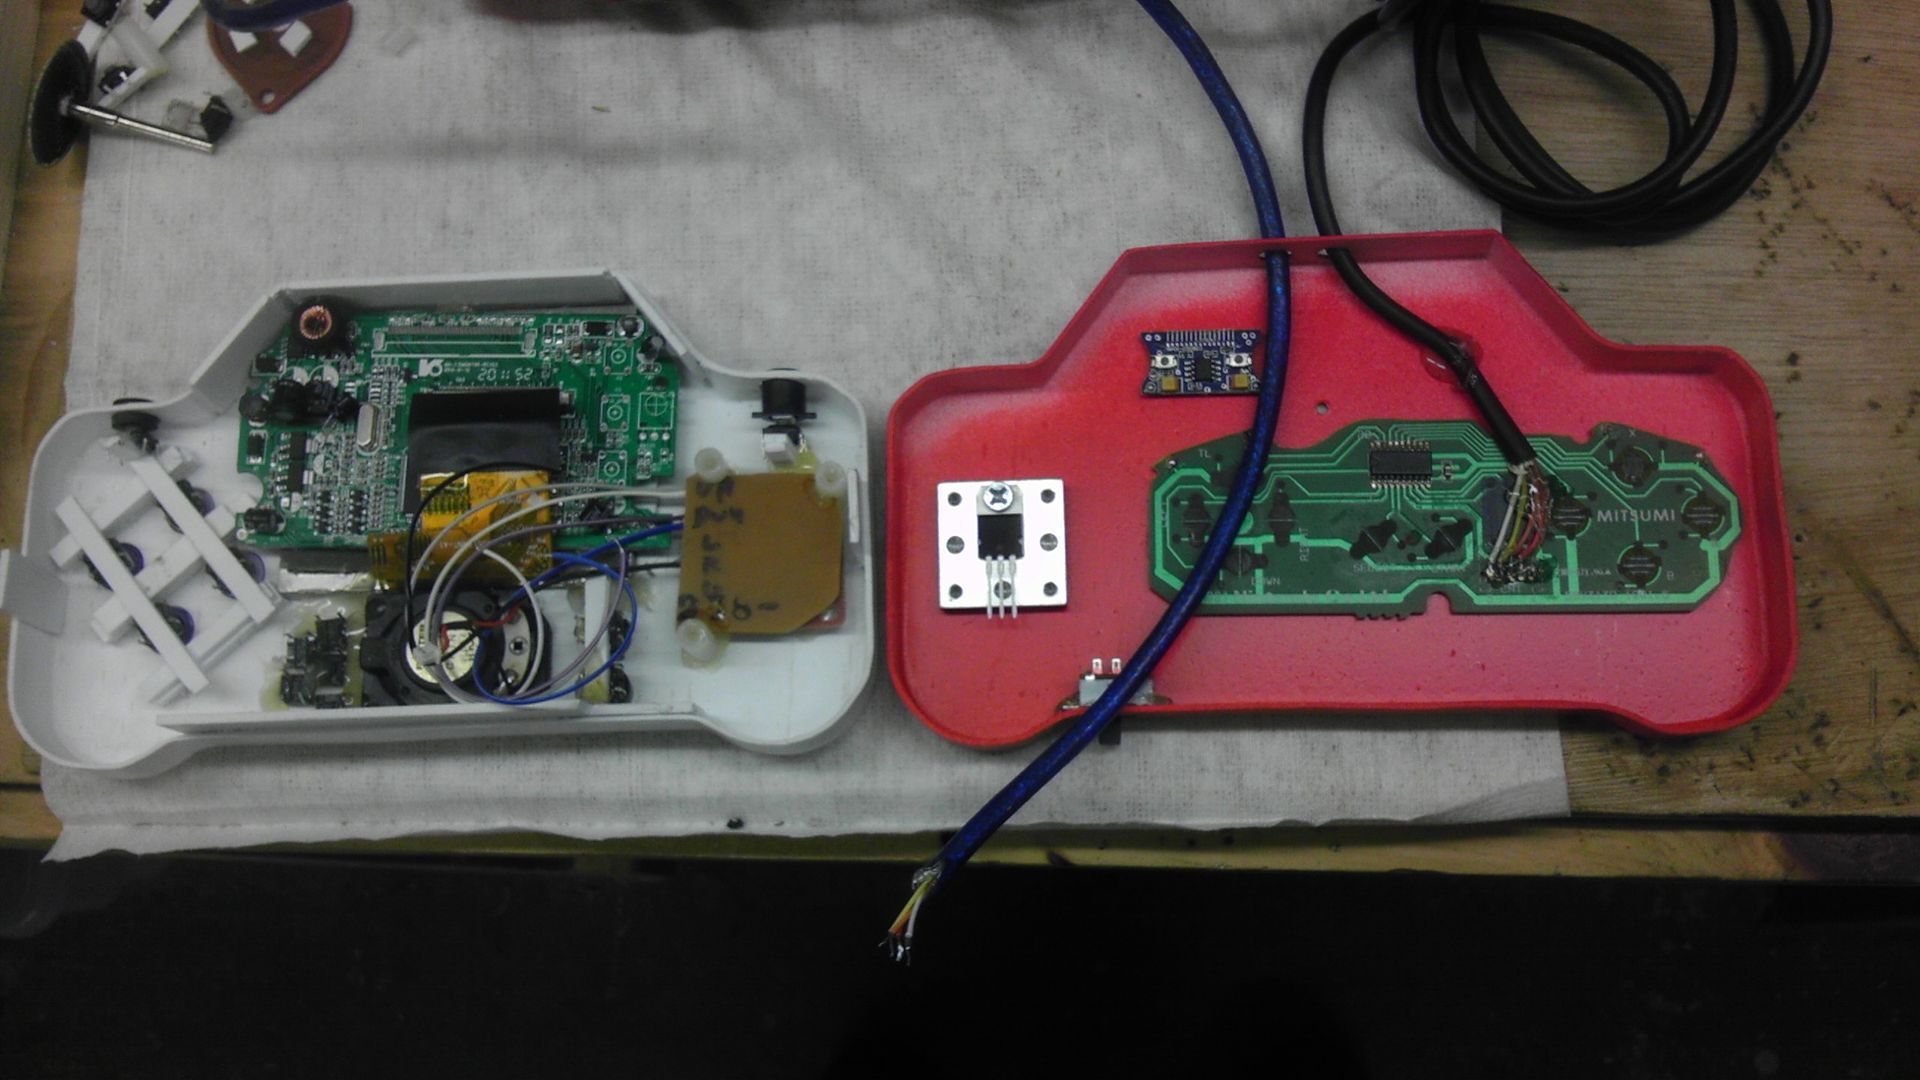
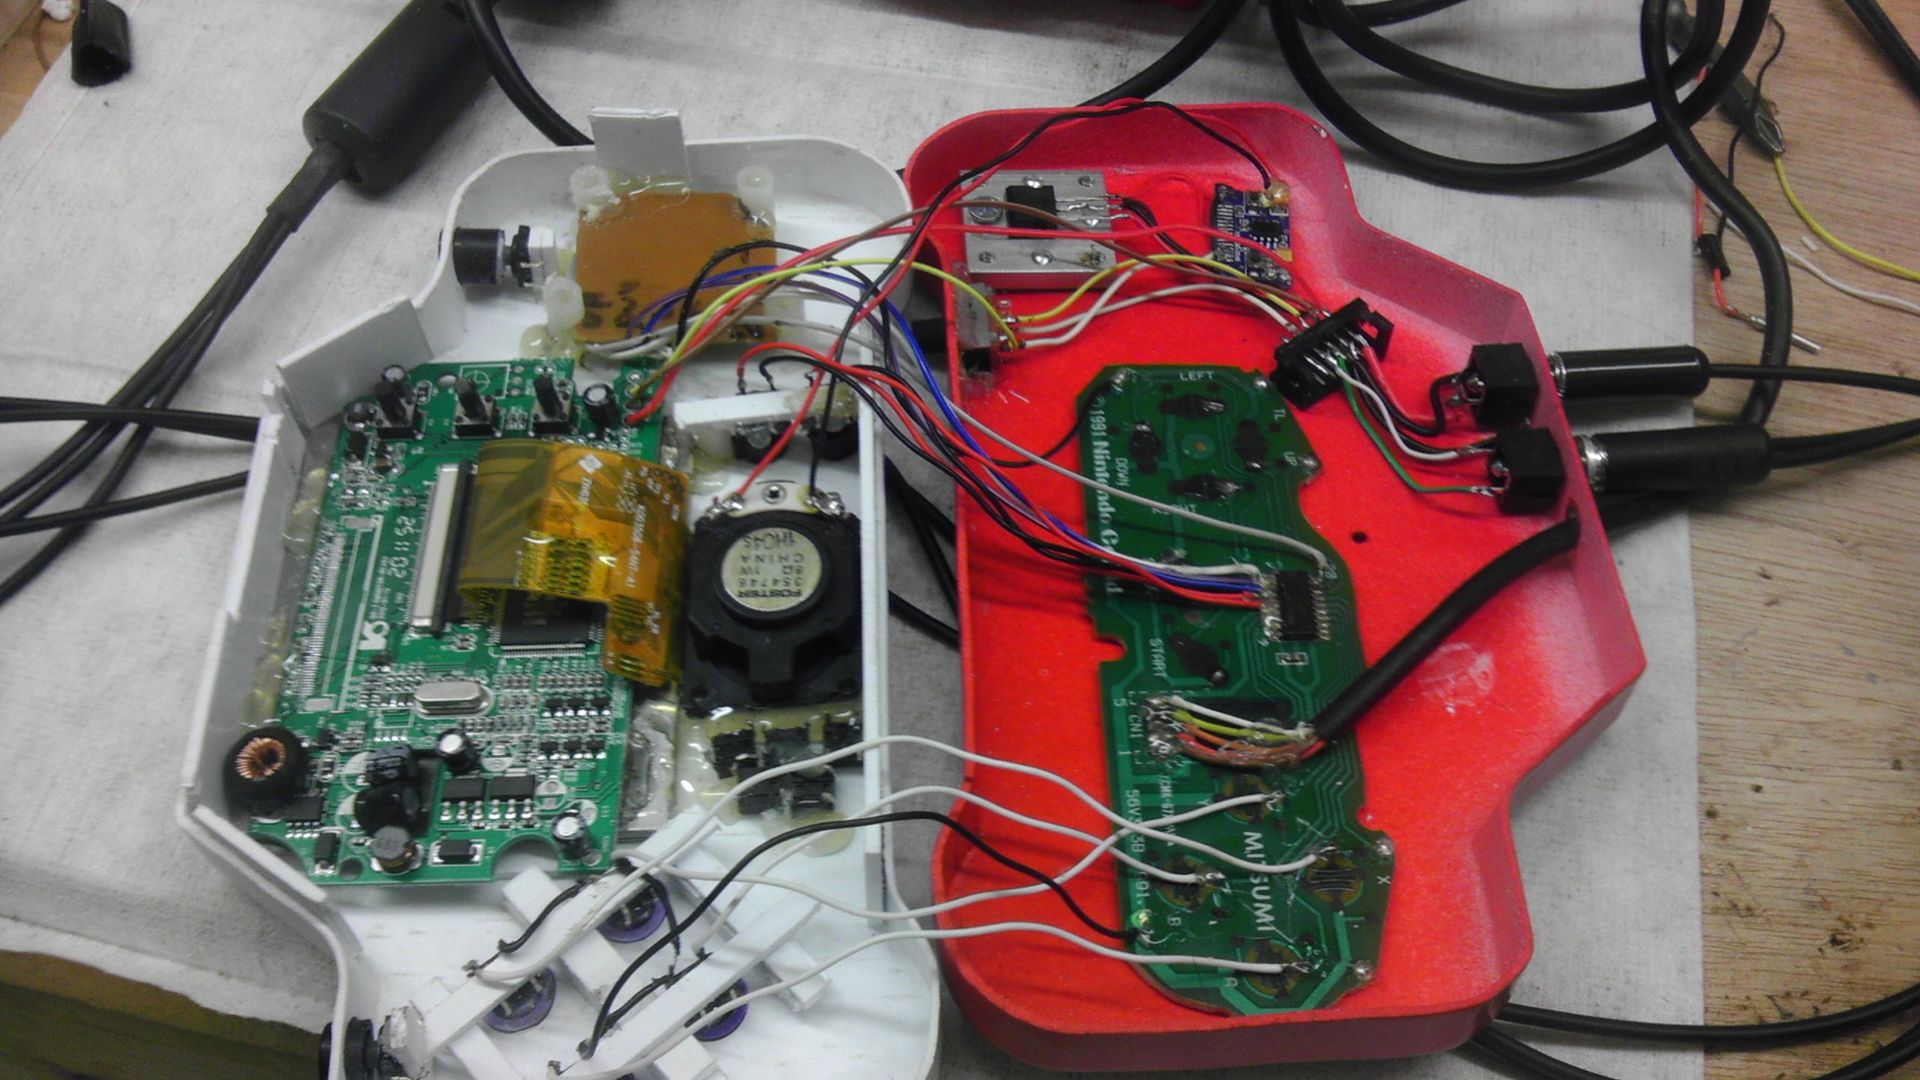
This is just a shot of the other half of the case where all the controls are mounted, but not hooked up yet. That will be a project for tomorrow.
Progress!
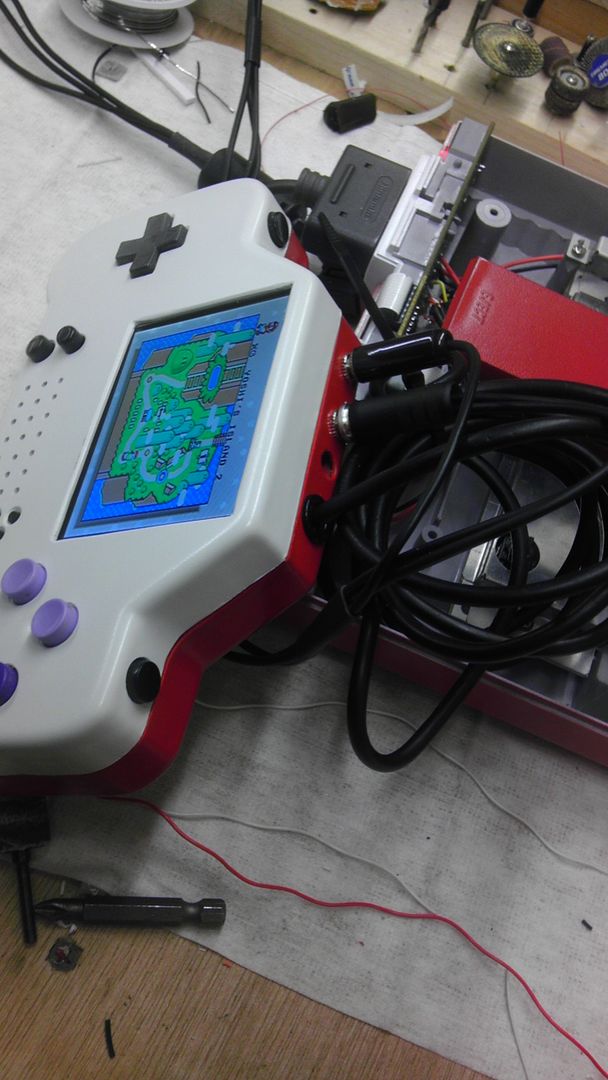
So as mentioned before, the audio interference was taken care of and I like the new lay out better because now if one just wants to use the controller, they have the option to remove the A/V cable all together.
Here is a quick view of both ends of the cable.
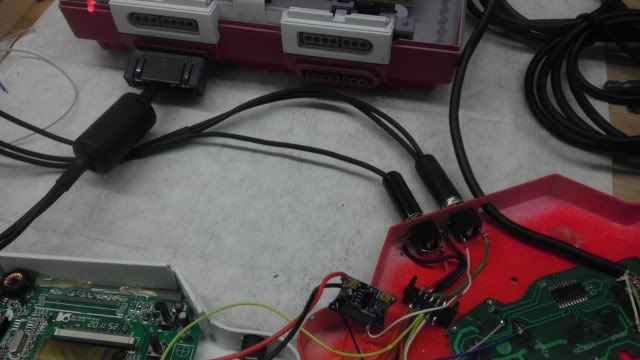
I still need to put a covering around the A/V Controller plug to make it look a bit nicer, but as for the unit itself, it's functional and sturdy. The covering over the wires acts as both a junction box for the spliced wires and a strain relief. These A/V cables are all held together using 3/8" heat shrink tube.

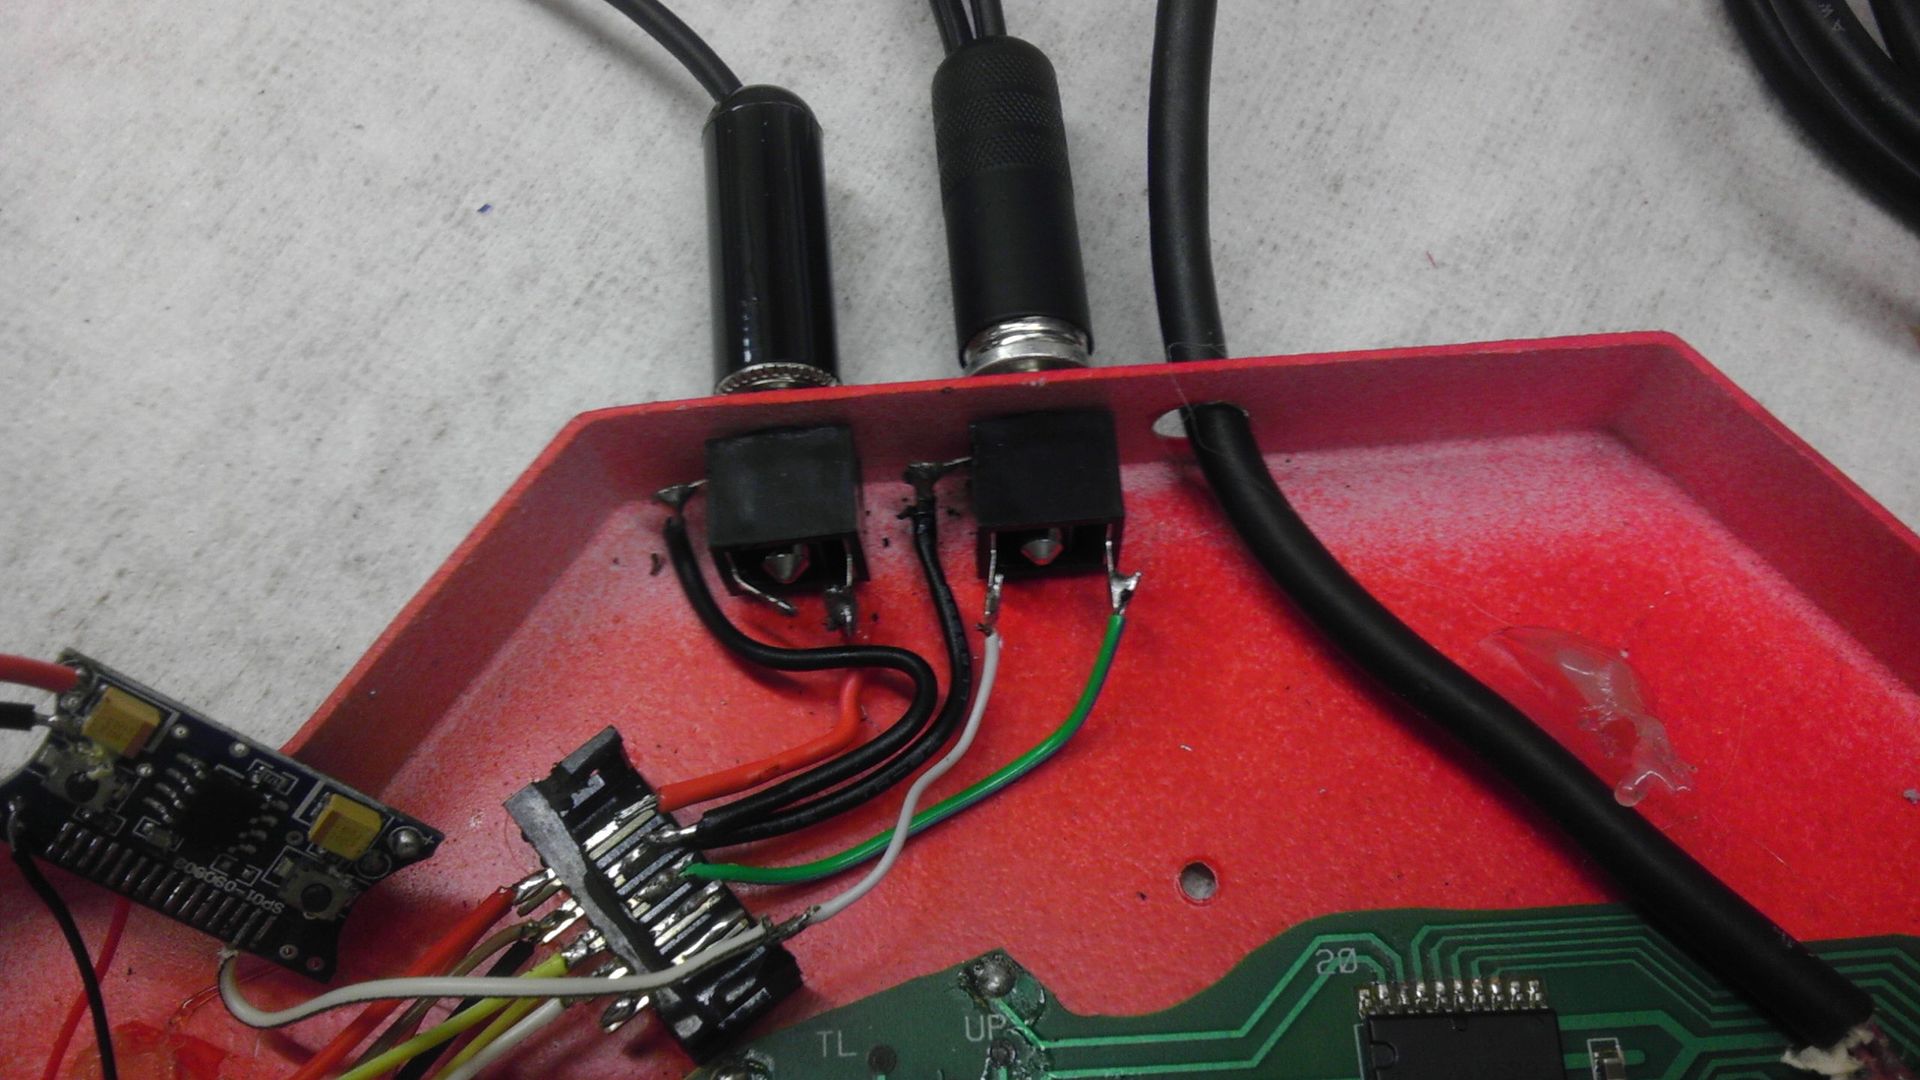
In this pic, the plug/jack on the left is the 12V power supply in and the jack on the right is the A/V. Again, only Mono sound, but that's actually fine for what it is. The shrouded 10 pin header is actually no longer needed as with the previous design it acted as a strain relief for the cable. But since it was super glued in there and wasn't in the way of anything, I just kept it. It won't be there for controller number 2. Having all the strain in detachable cords is the best way to go because if it pulls too hard, it will just pop out of the jack, no resoldering or ripped traces. Looking at it now, I should probably use the header for the controller as a strain relief. Something to think about.
I should mention too I was having a problem earlier today when I was trying to get the A/V to work. Once I had everything connected, I was getting power and video but no sound. I ended up taking everything apart, testing my amp, continuity of the wires and everything, but I couldn't figure out what was wrong because everything was checking out. I then tested the A/V jack in the controller and found the both the Ground and the Audio line had continuity with the grounds in the system. Turns out that after I soldered the plug up and closed it up, I bent the pin that the audio was soldered to and it was touching the ground line so I was shorting out my audio. Bent it back and it worked perfectly!
I also got all the controls wired with the exception of the R & L buttons, volume controls and the screen controls. They won't take long though. The issue now those is the responsiveness of the D-pad. It's all in the way I have it mounted, I know for a fact as when it was lose and I was pushing the buttons directly, it was smooth and easy to do. I do like using the original PCB over the tact switches, but getting it perfectly alined is just as difficult when you don't use the mounting from the original controller. Next one I'm going to frakencase in the D-pad from an original NES controller like Bac did. This will ensure that everything will line up correctly and will look better.
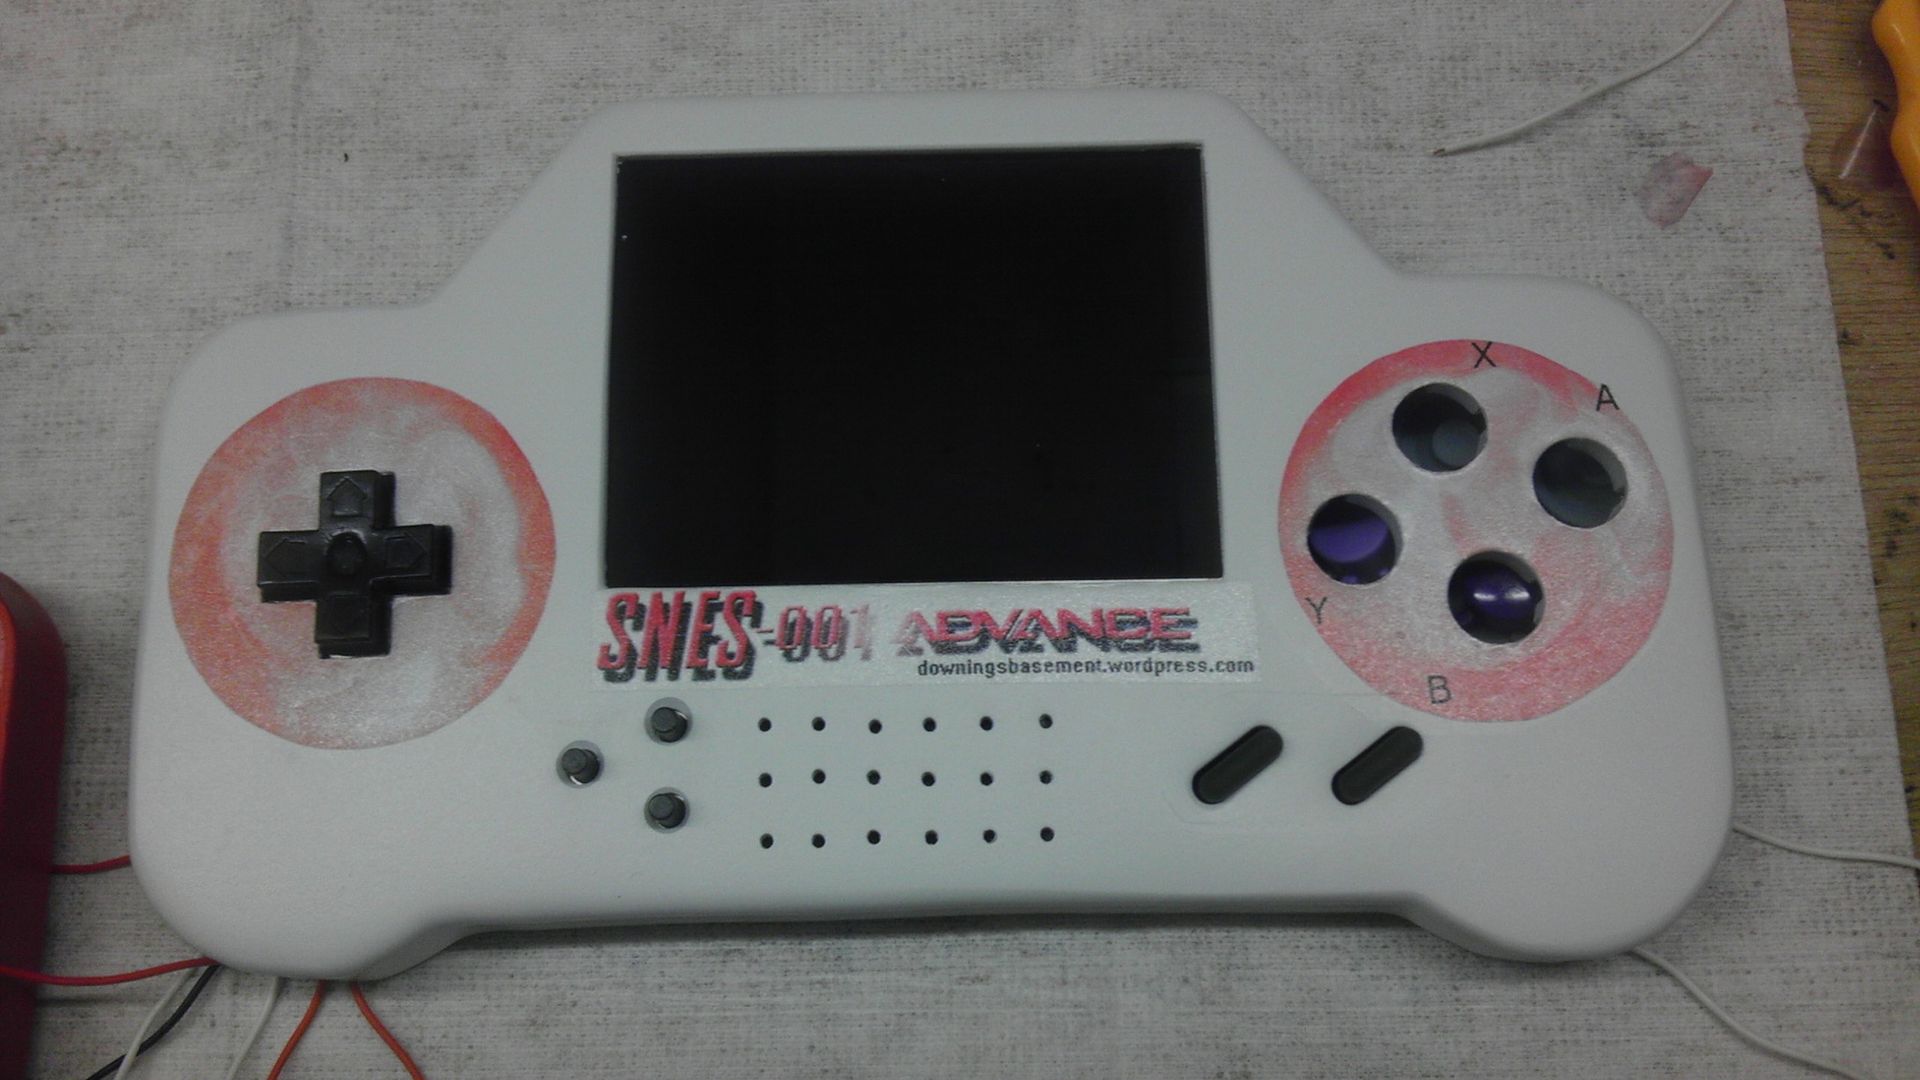
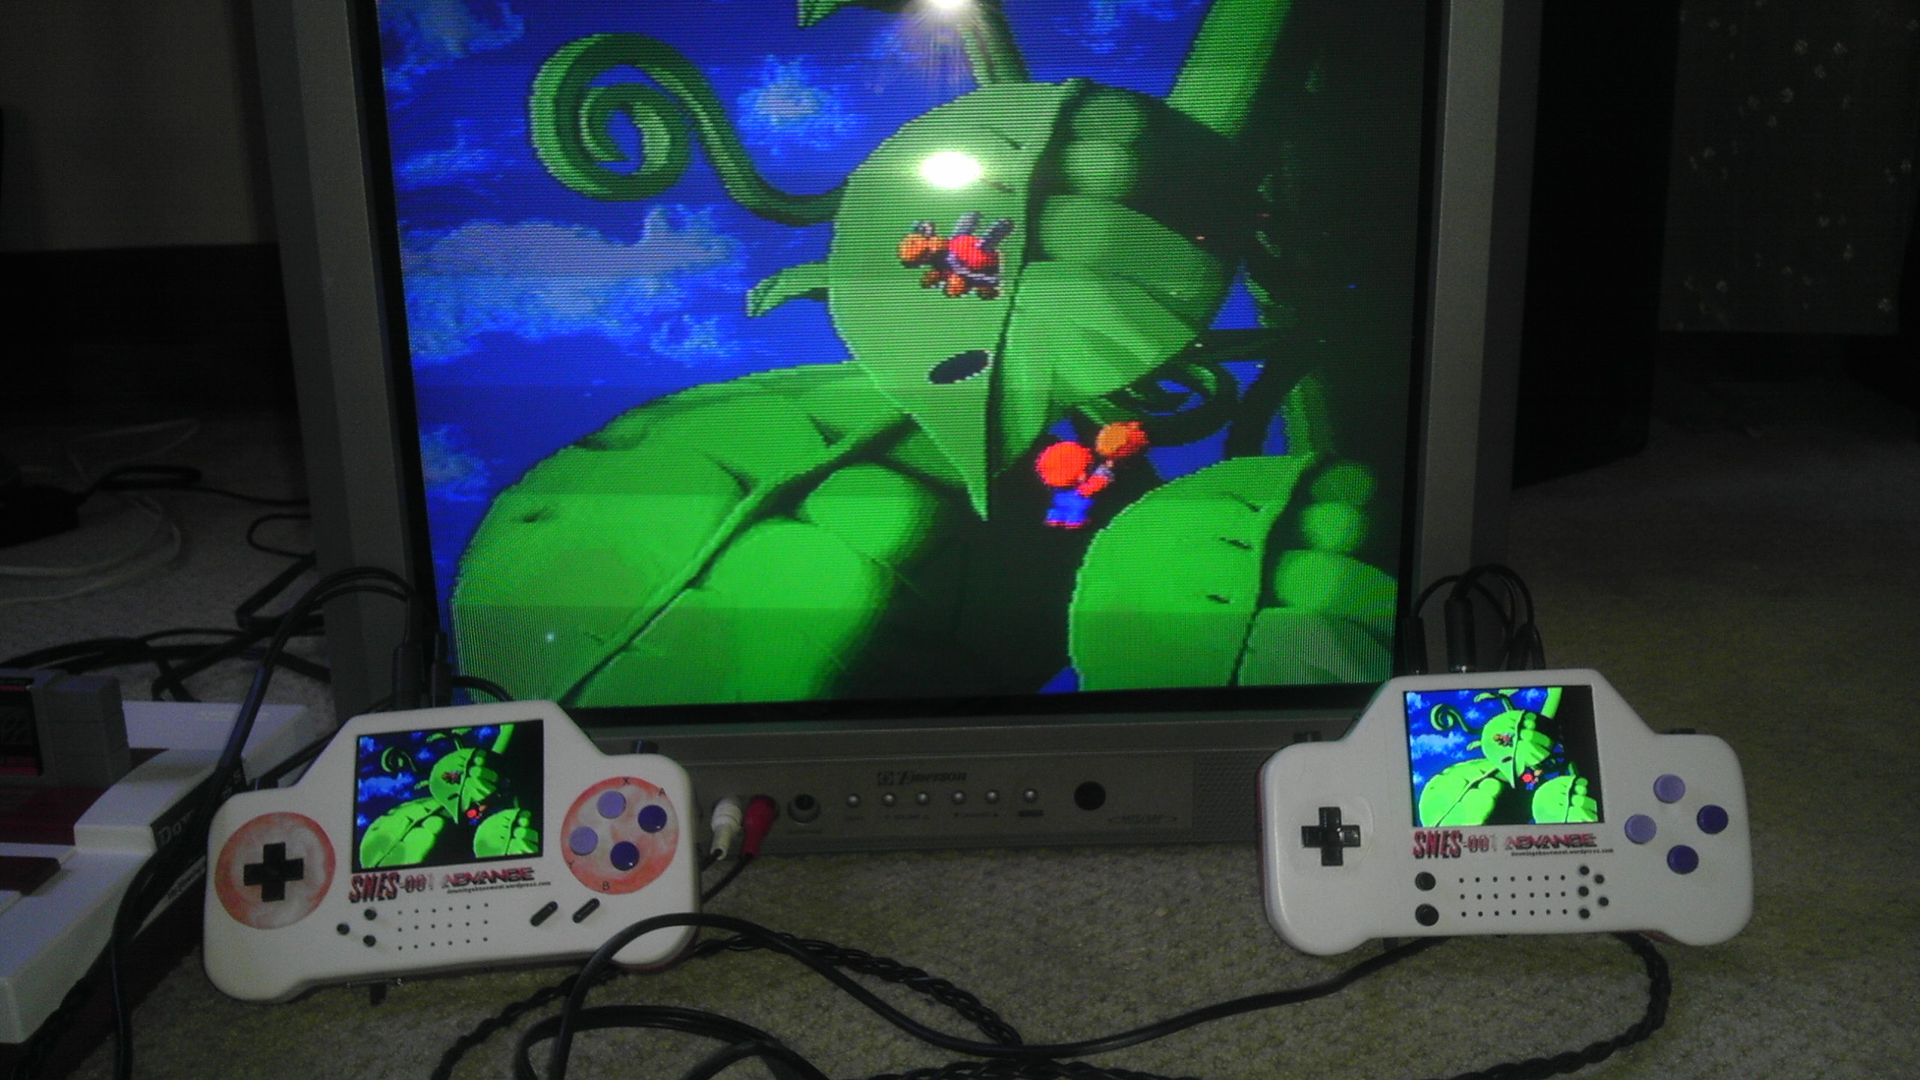
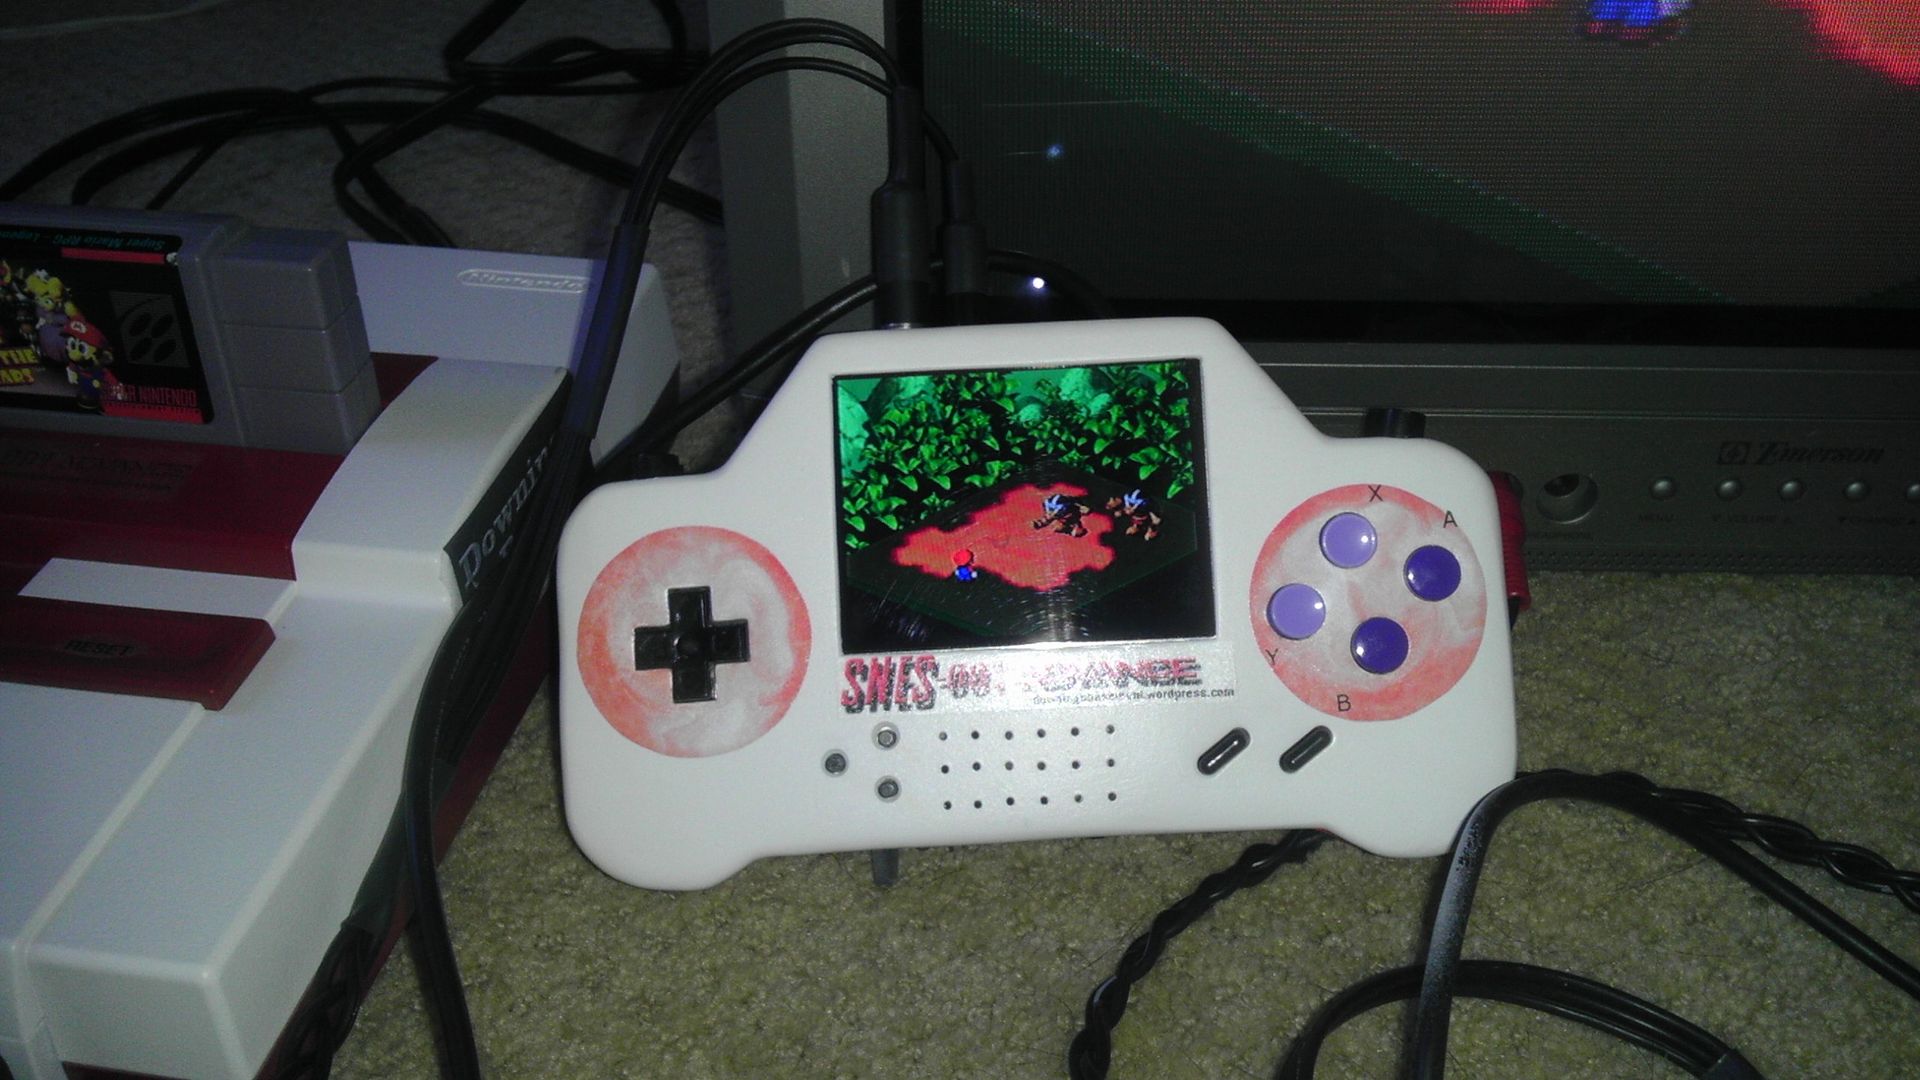
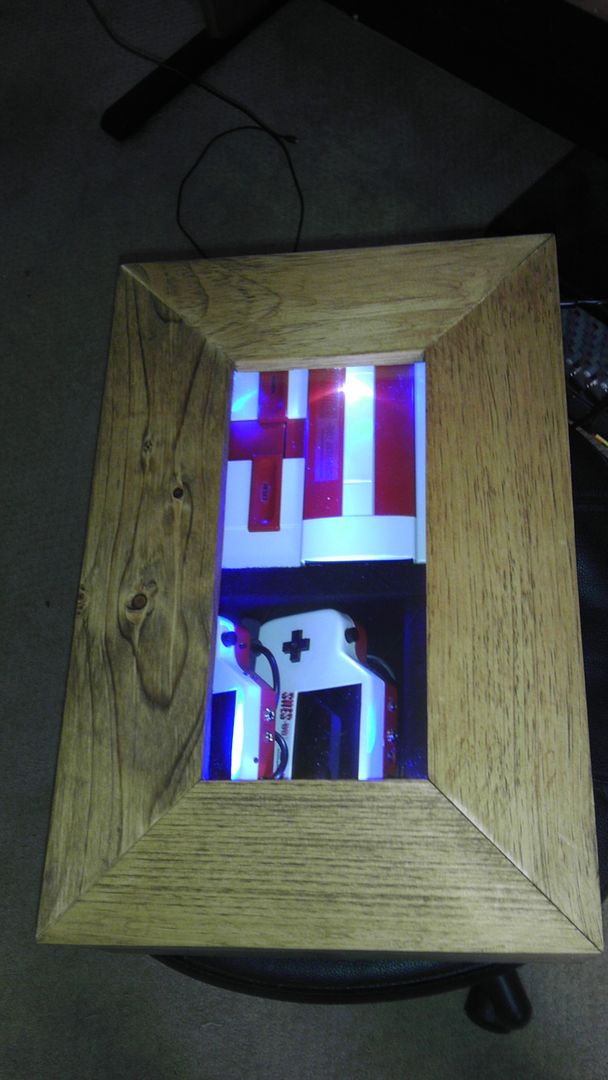
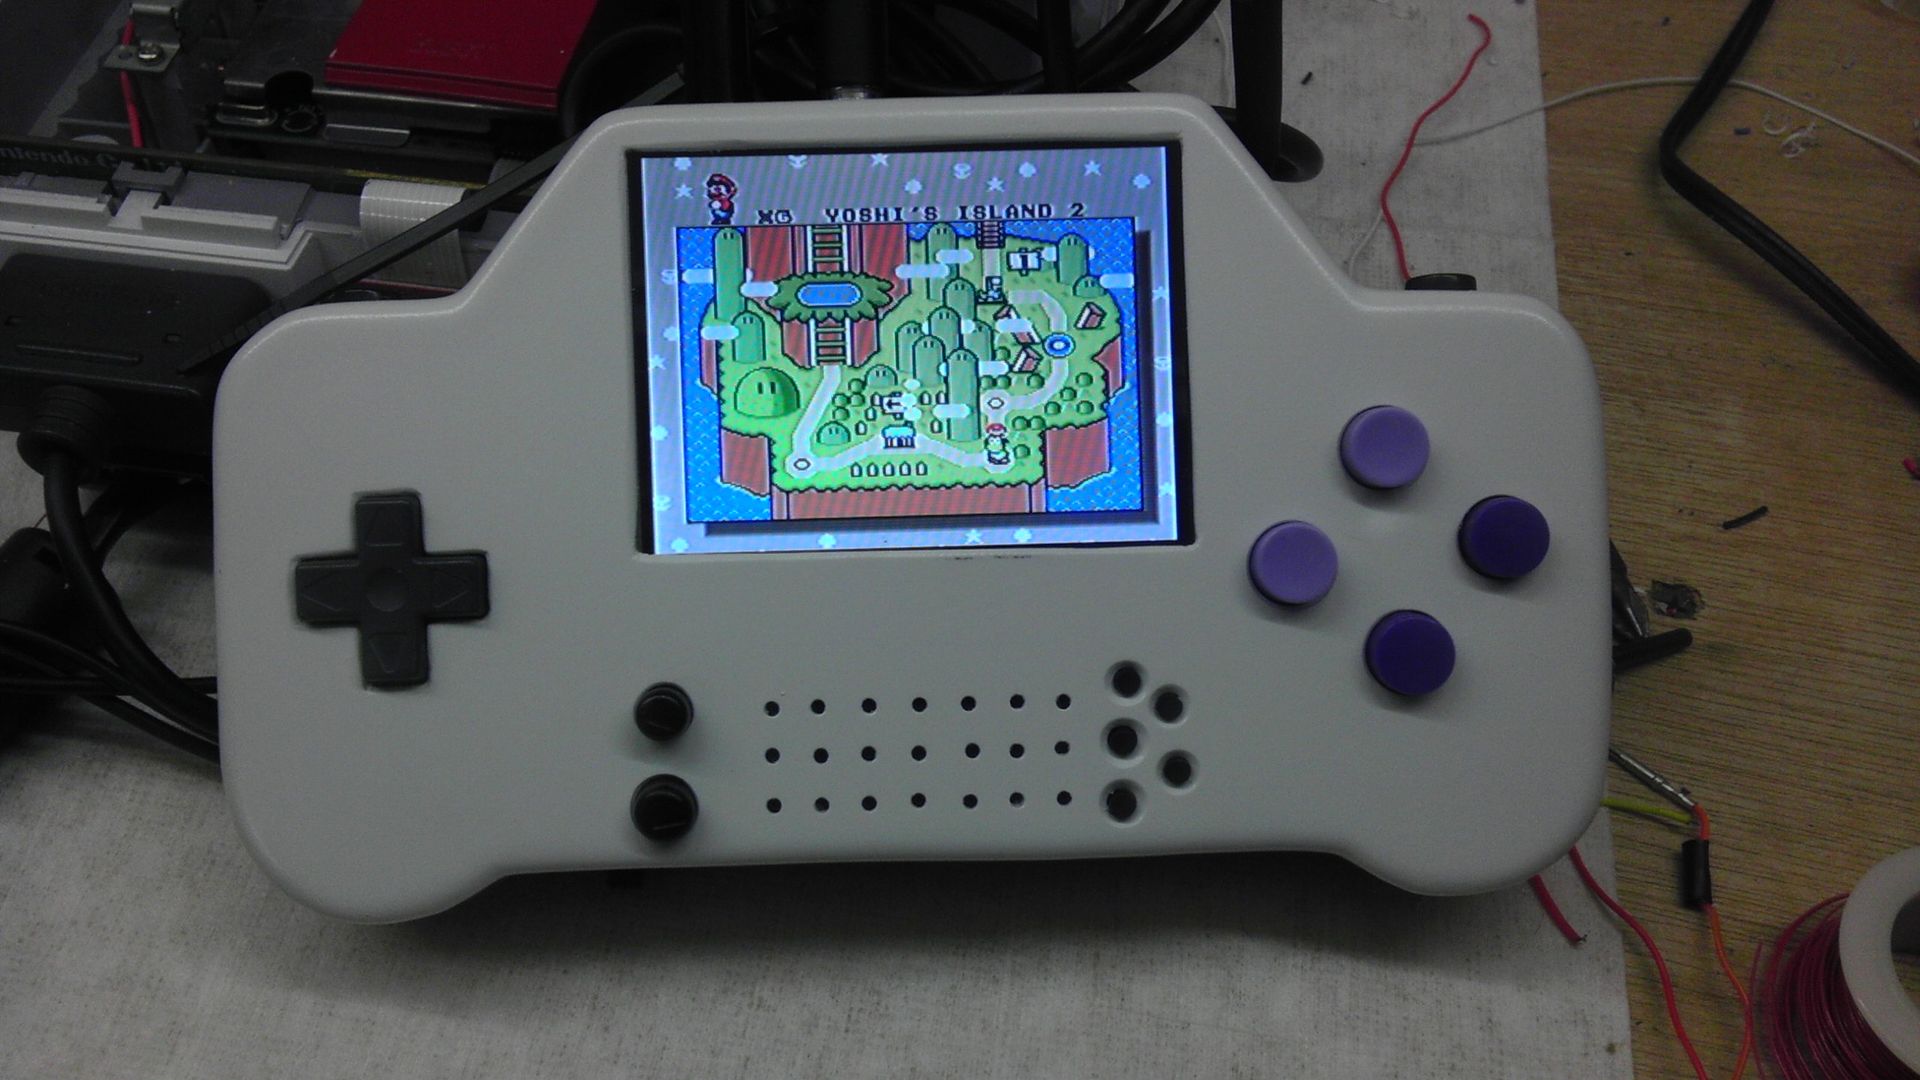
Here are just a few more pics of it in it's "ON" state. Couple more weeks and this should be complete and ready for the auction house! Since I am planning on selling this, I am spending much more time on the quality side of things, not letting anything go that I normally would.
But yeah, let me know what you think. I'll be posting how I make out with this D-Pad issue.
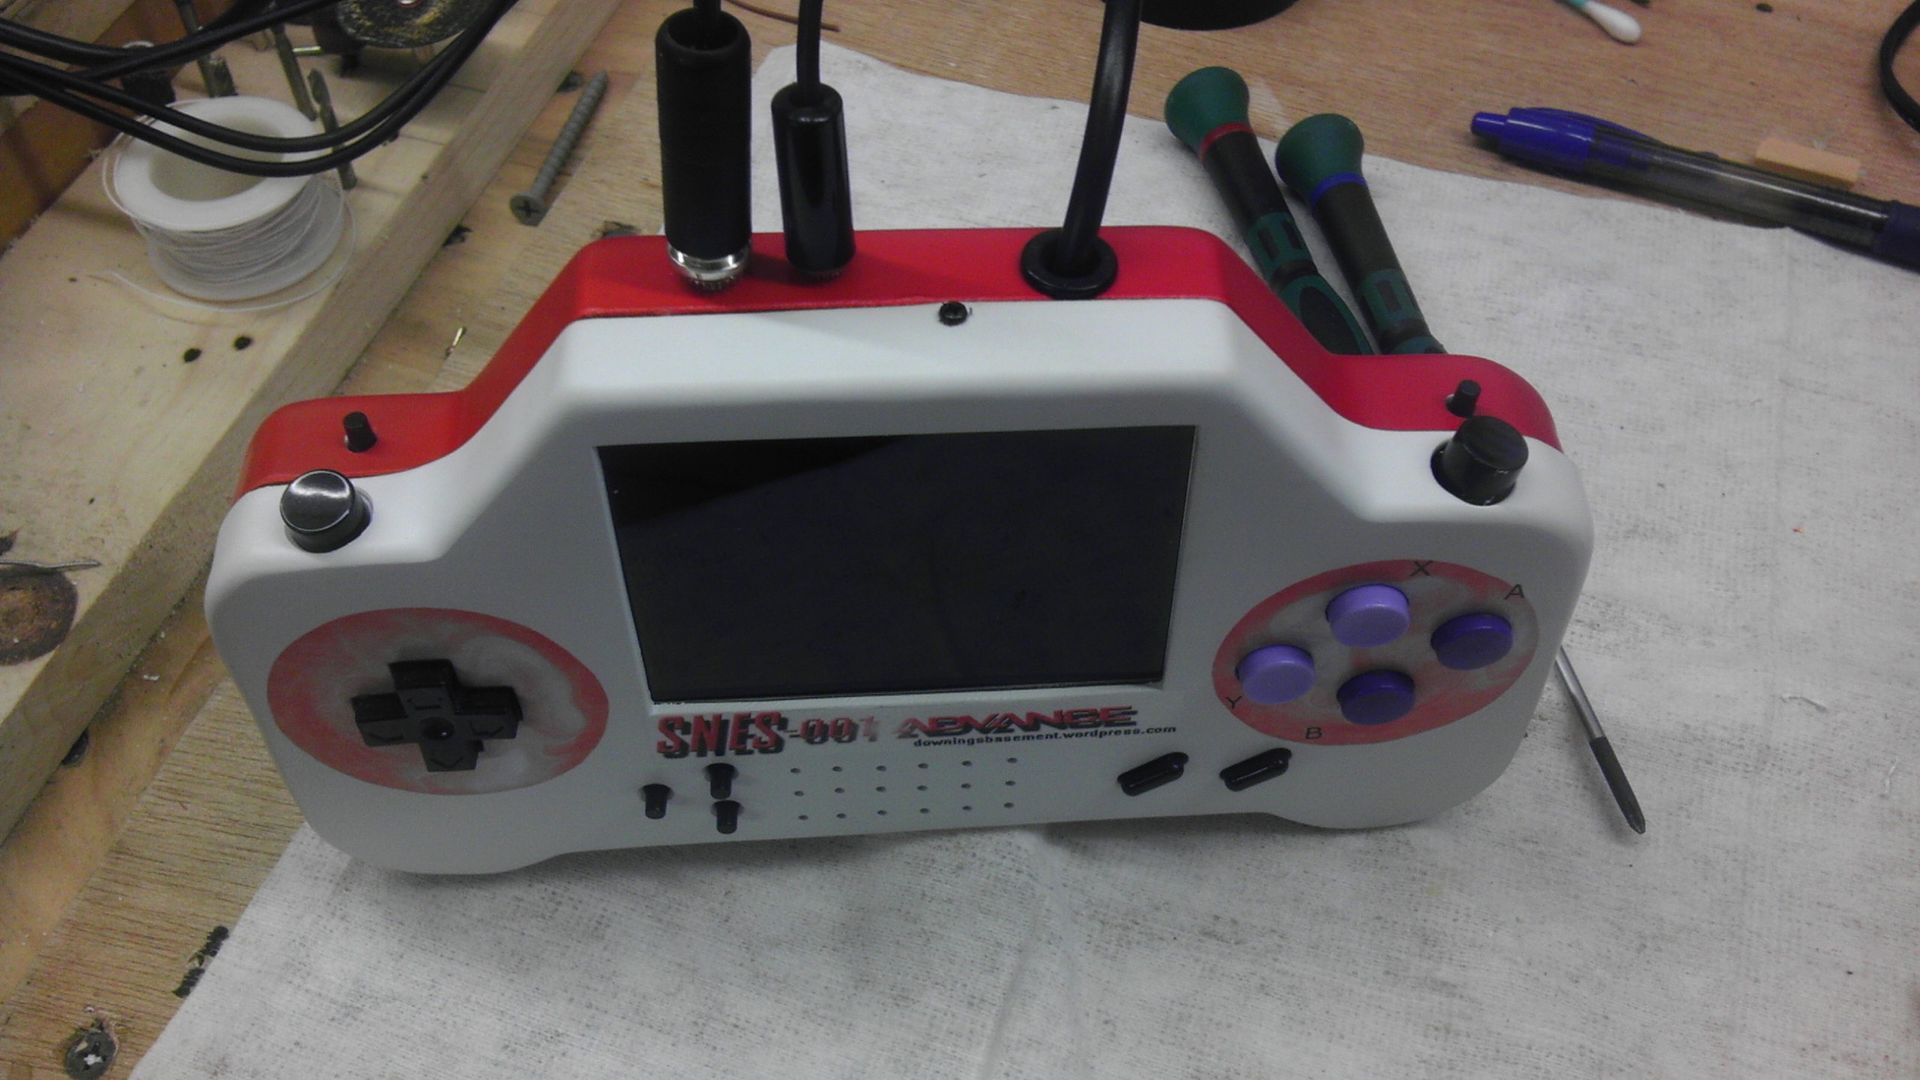
Ok, so with the exception of the Screen tacts, everything is wired up and working including a couple add-on's and changes I wasn't planning on to begin with.
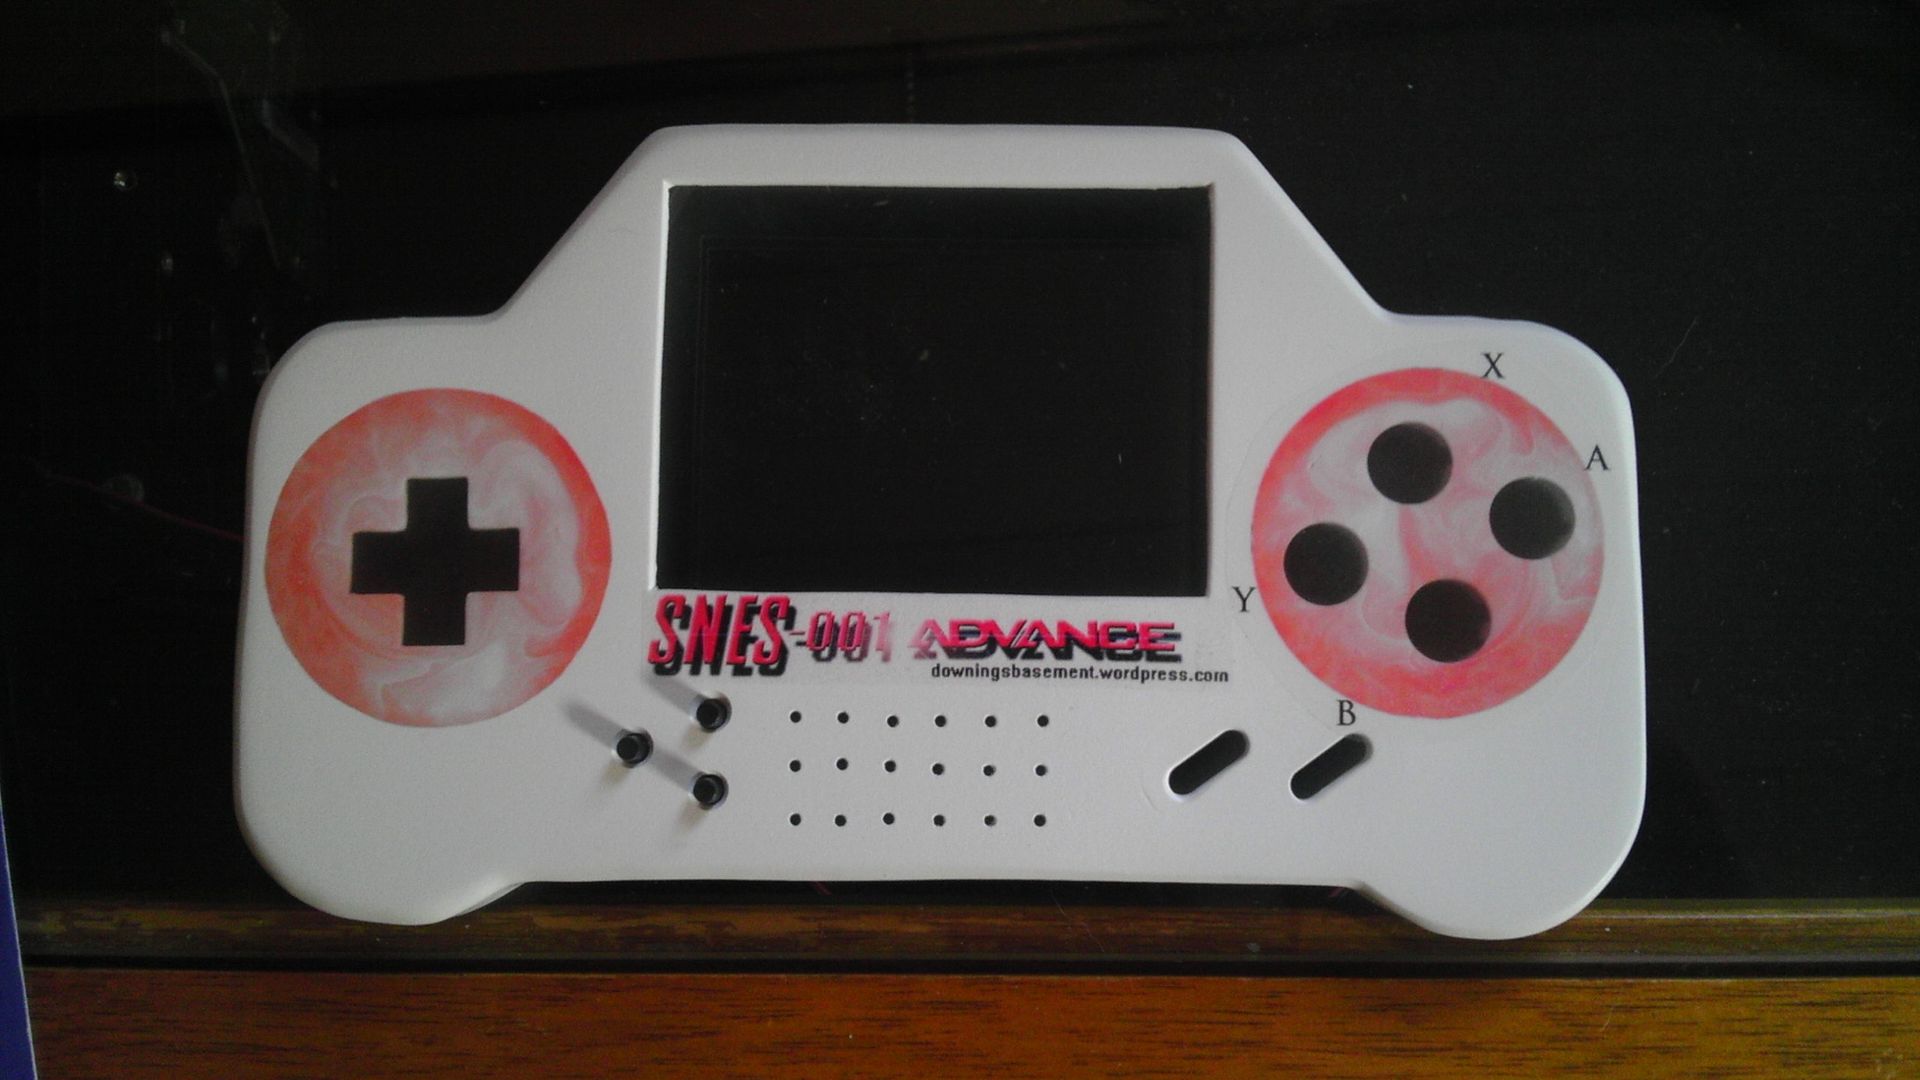
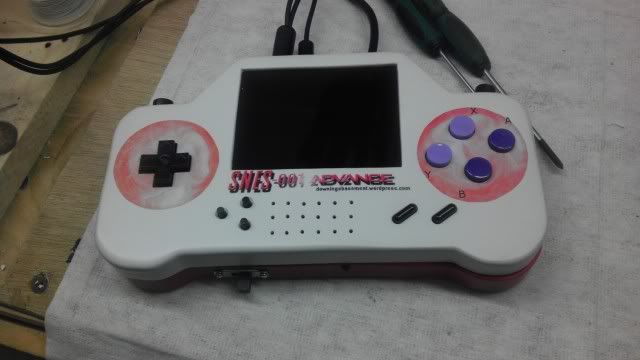
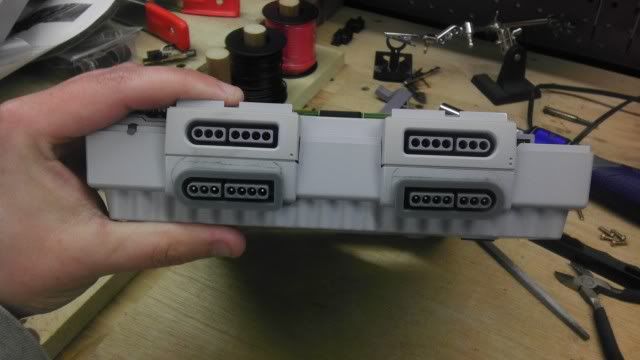
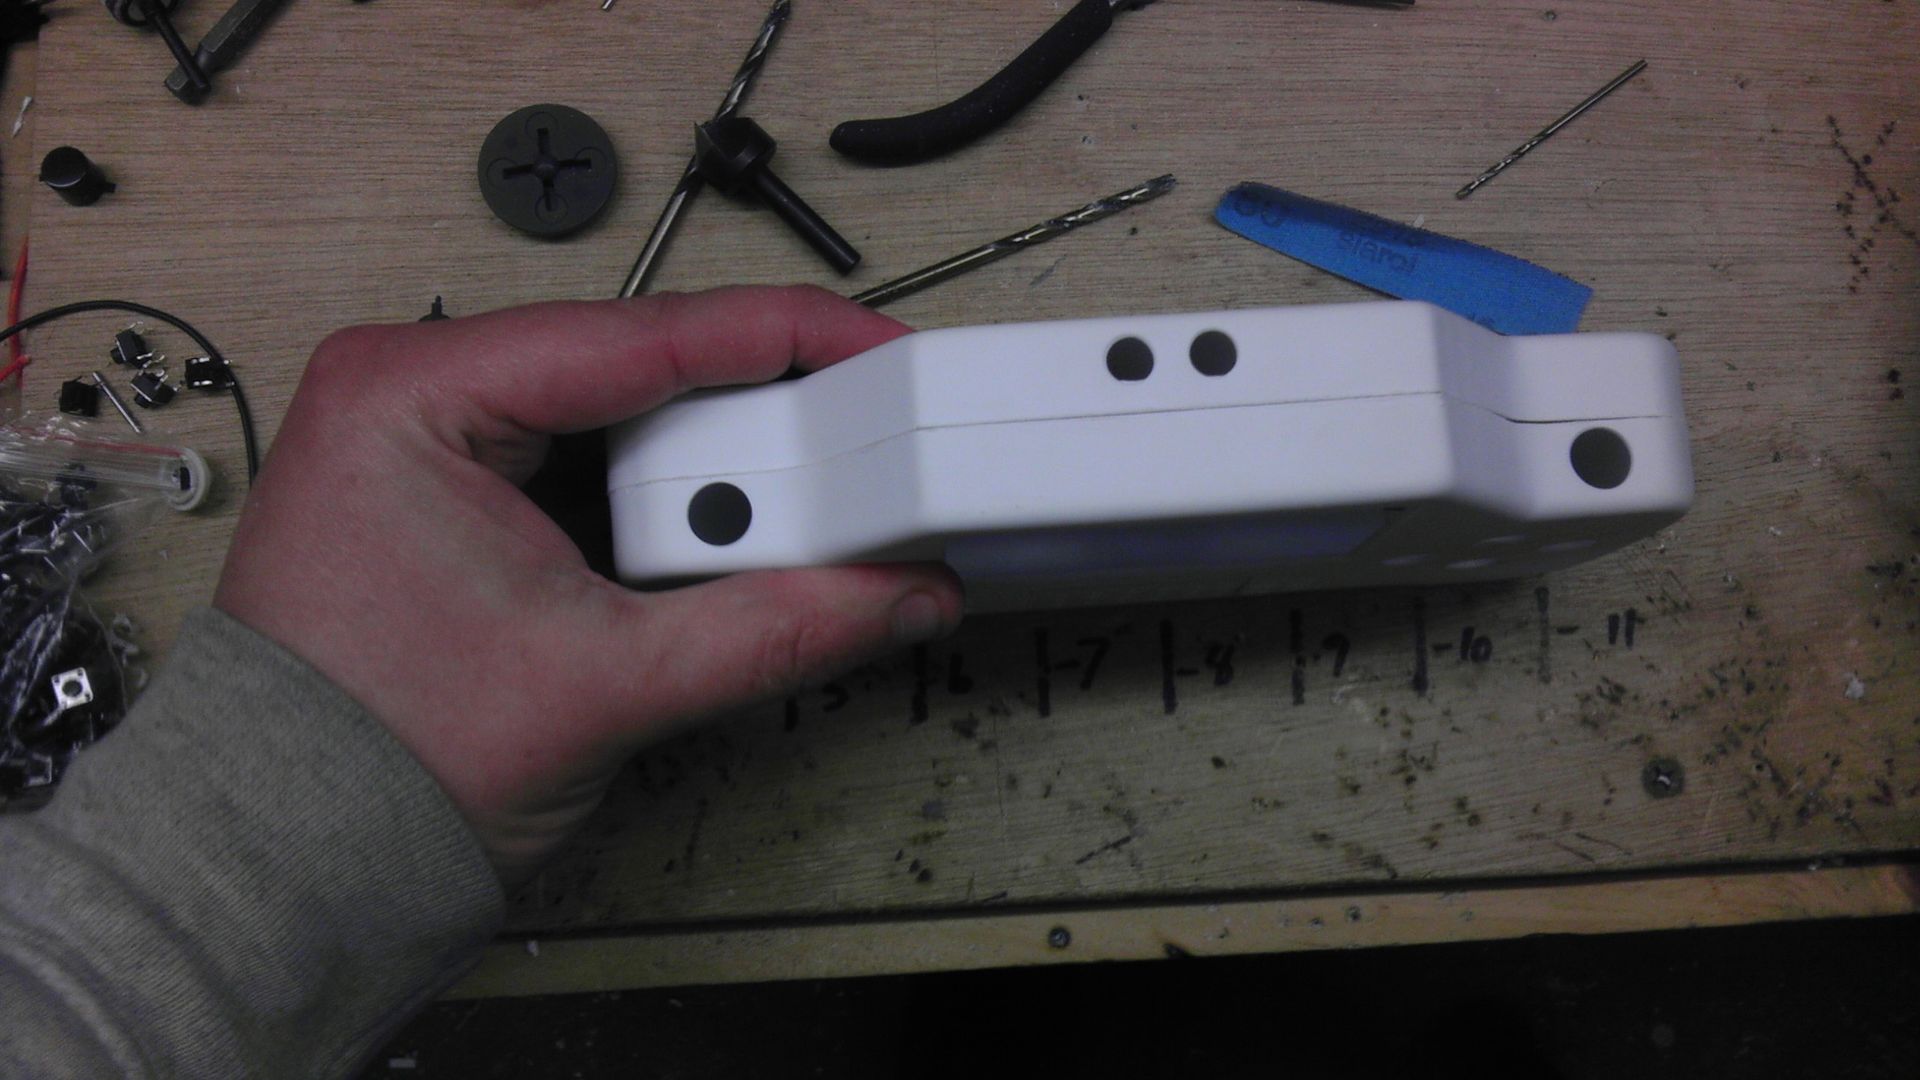
First off, a quick frontal view of everything on the face of the controller. Sound and Video working quite nicely!
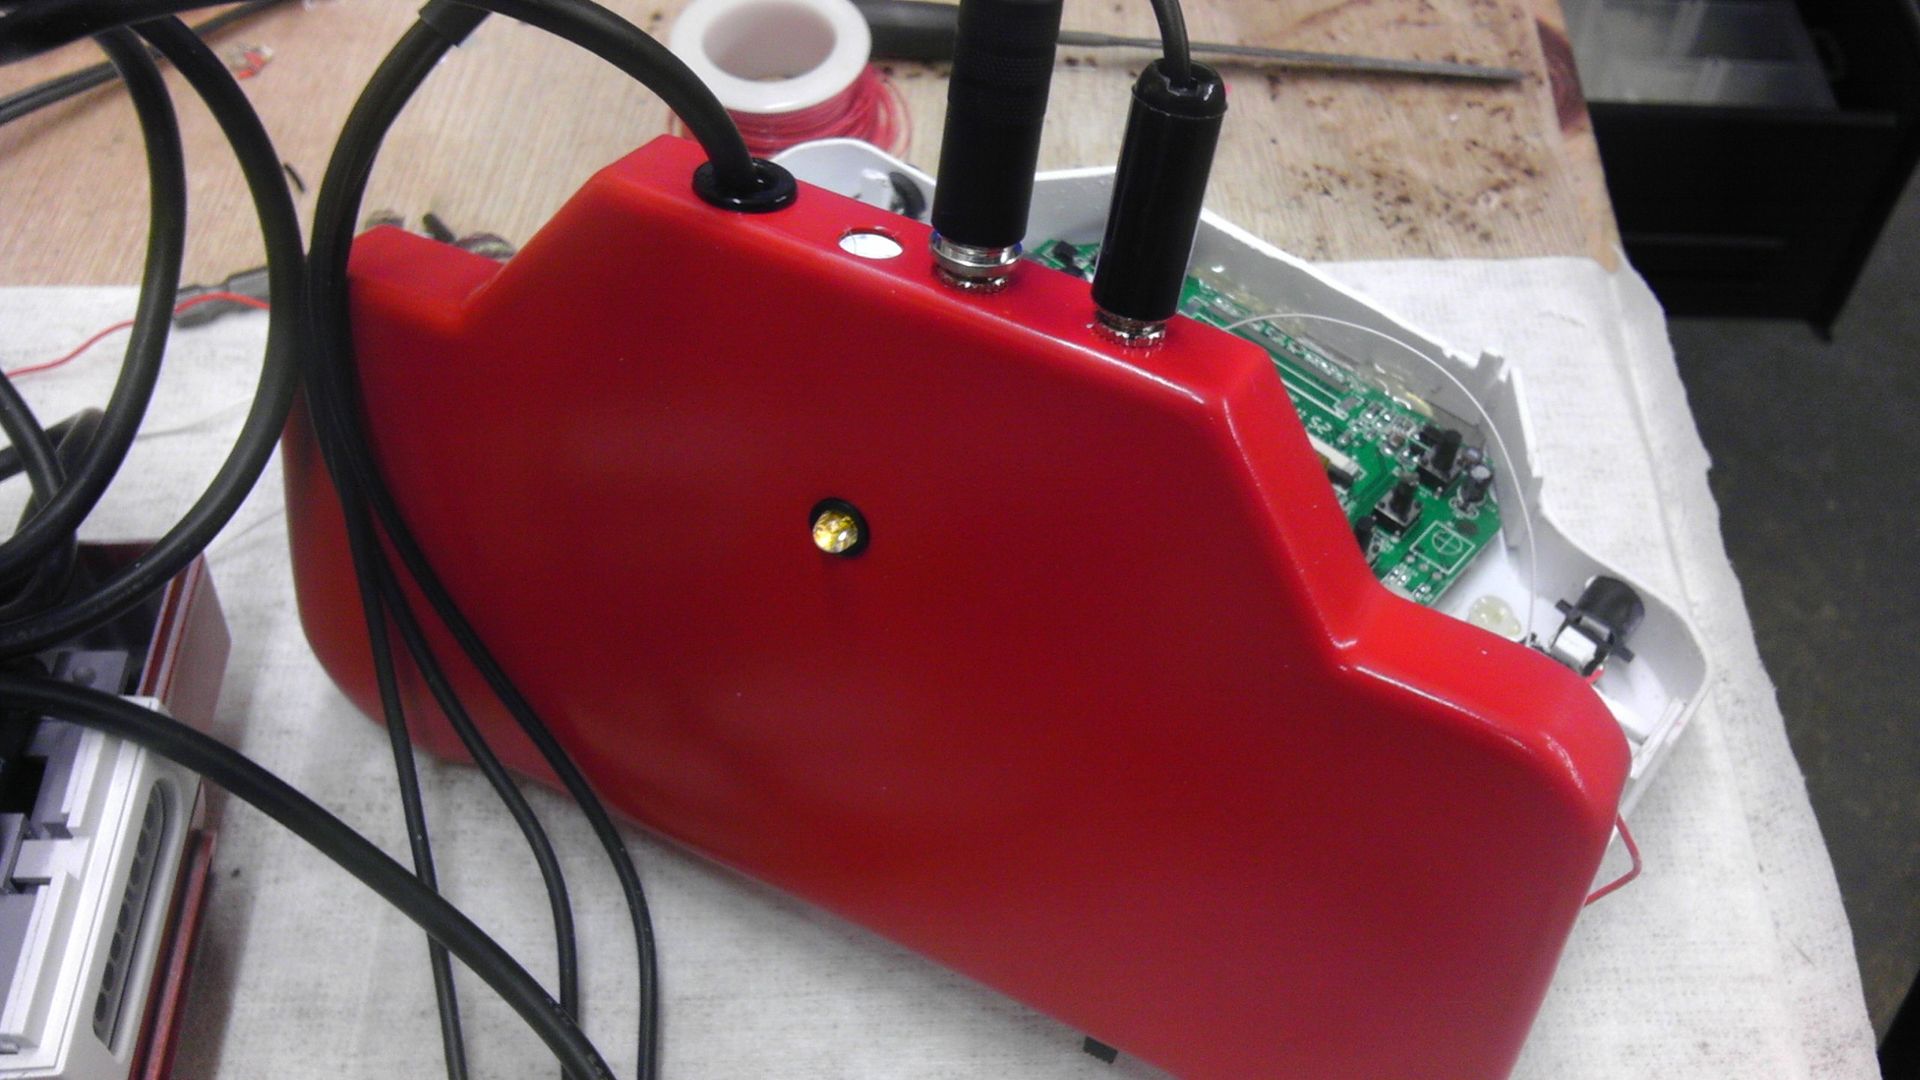
Second, here is the top of the controller with the audio jacks in place as well as the controller line. I decided to move it over a bit more to the right as well as adding an electrical finishing bushing, which basically just trims out a hole, but also will allow me to glue the wire to it as a strain relief as well as make it look pretty.
Third, everything all wired up with the exception of the screen tacts. It got a bit messy in there, but I'm going to clean it up before I close it up just to make sure everything is as secure as it can be.
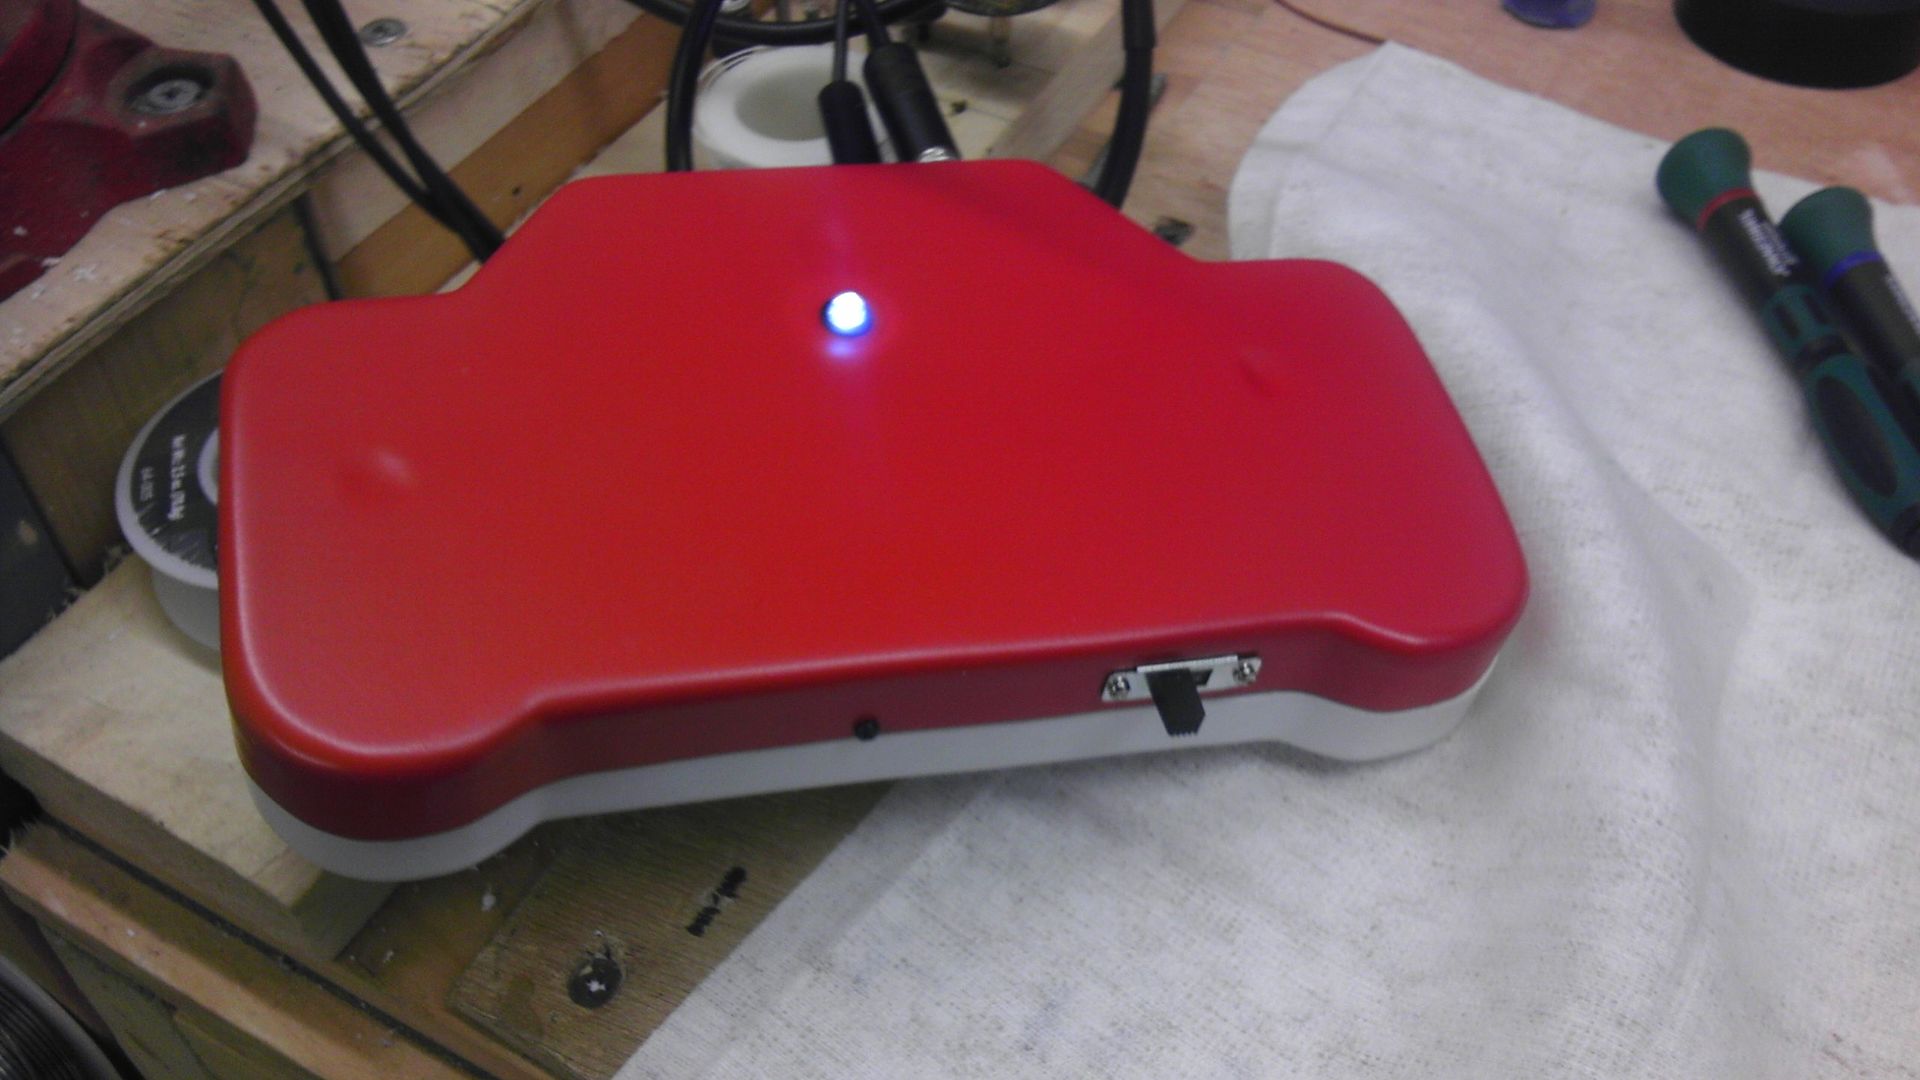
And finally, the back view displaying the new LED I put in there as well as the finish bushing I put for the control wire.
I should definitely have this controller finished off by the weekend and get a good start on the second one, knowing now exactly what I have to do. Should go much faster than this one. Still not 100% satisfied with the D-pad, but it's workable, responsive and once you get used to it, it works quite well. Will work on beefing it up a bit so it doesn't come apart, but all in all I'm liking where this is going.
Not a huge update, but an update regardless.
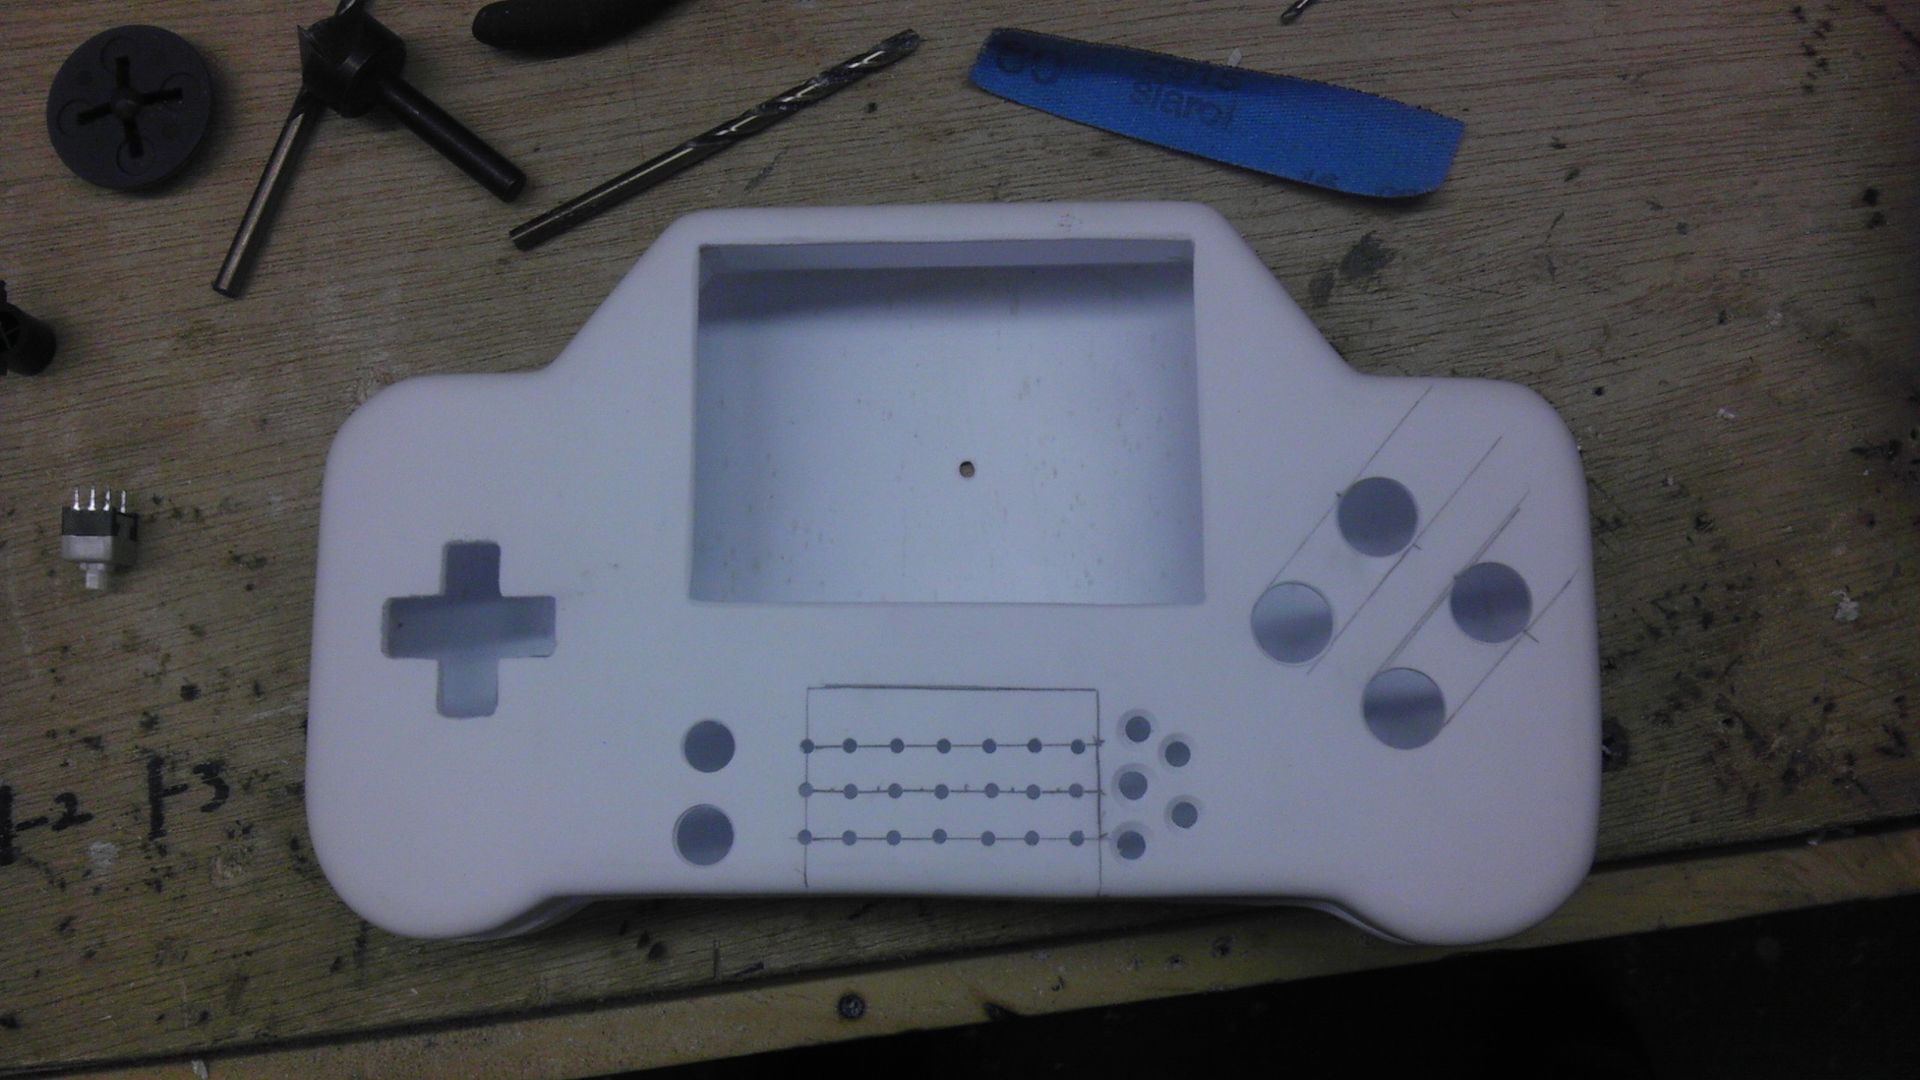
I put the last of the filler in on the button side of the controller and now just have to sand the whole thing down and make it took pretty. I drilled the holes for the controller wire and the Power/AV connections.
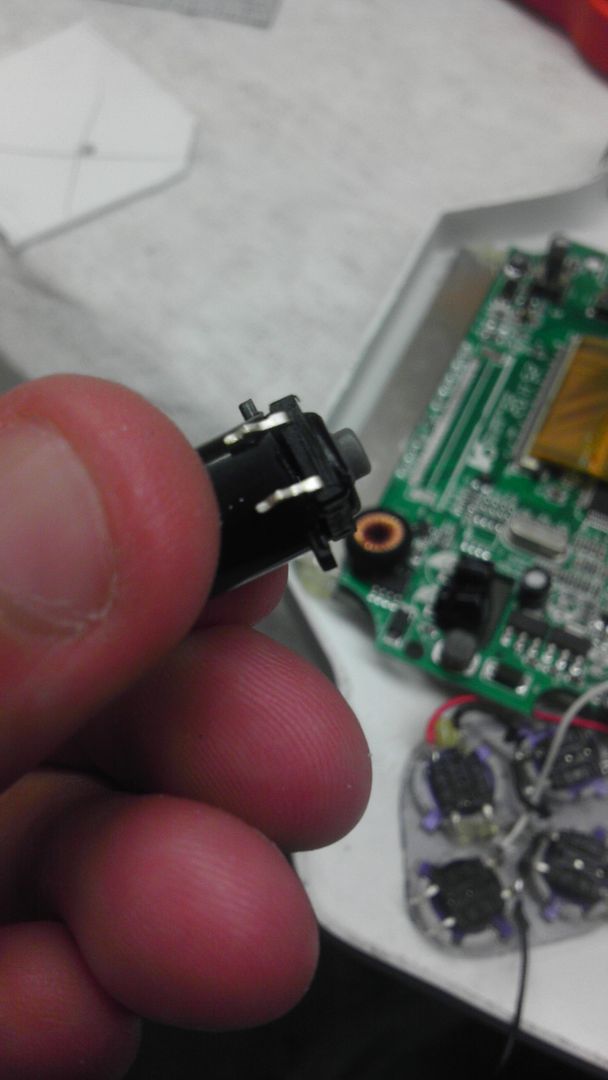
I decided to put two different size audio ports to distinguish between AV and power as I noticed that trying to remember which on went where wasn't that easy after the system had been put down for a few days.
So the pic below shows the Stereo and Mono jacks in place as well as the cable support gromet. The Stereo jack is 3.5mm and the power is 3/32. This makes it easy because only one plug will fit correctly in the jack.
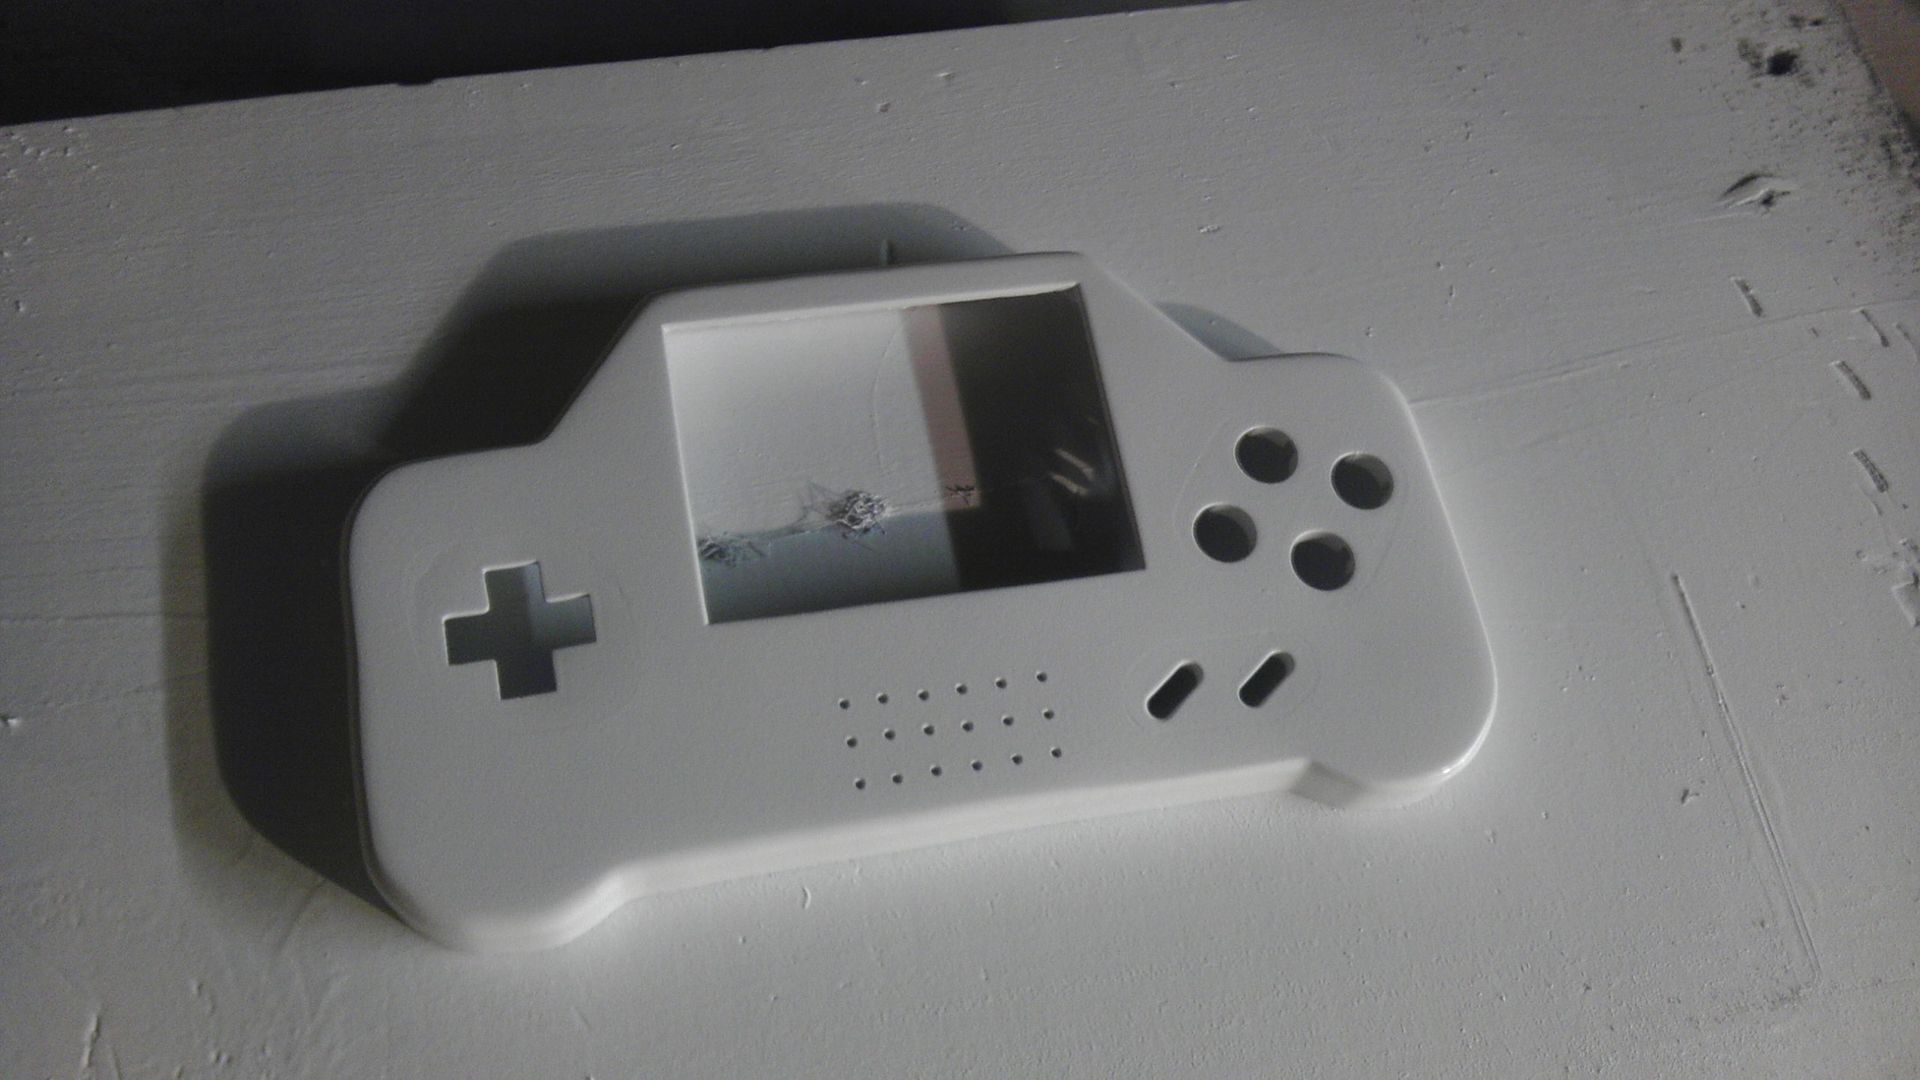
Ok, so I got the front face of the controller sanded an painted tonight. I also added the LED hole and the A/V on-off switch on the back part of the controller. I decided to put the switch on the outside and mount it like it was supposed to be because on the last controller I kinda screwed up using hot glue and pretty much glued the switch shut. Took a lot of Denatured alcohol and time to get it fixed.
You will notice that again, the franken casing isn't perfect. This is of no consequence though as I'll be adding decals around the entire frankencased areas which should cover it nicely.
Trying to get back into this as much as possible, I just wanna get this done and on the auction block, but I can't rush it for that very reason! So it's getting there! I'm still waiting on some high-top tact switches for the screen controls as the regular ones don't sit high enough to push comfortably. I also ordered some very small, very low profile tact switches as well as a trial, so I'll let you know how those work out once they get here.
Now we should all be up to speed. Love to hear what you all think and as always, please check out my site in my sig for more info and more of my projects! Thanks!
Downing