PlayMad finished! (page 7)

Includes but not limited to: SNES, Genesis, Sega CD, PlayStation 1, Nintendo 64, Dreamcast, Game Gear and I guess the Virtual Boy.

Moderator:Moderators

Post Reply
User avatar
G-force
Moderator
Posts:3609
Joined:Mon Apr 19, 2004 1:43 pm
Location:Sweet home Indiana
Contact:

Post by G-force » Fri Dec 15, 2006 3:20 pm

Working on the back of the case this time.

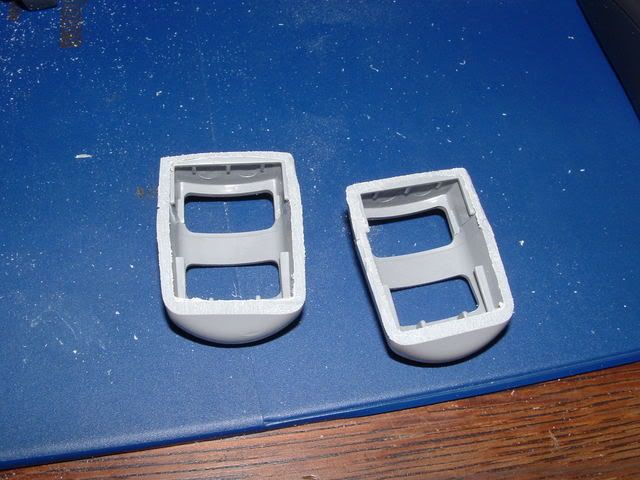
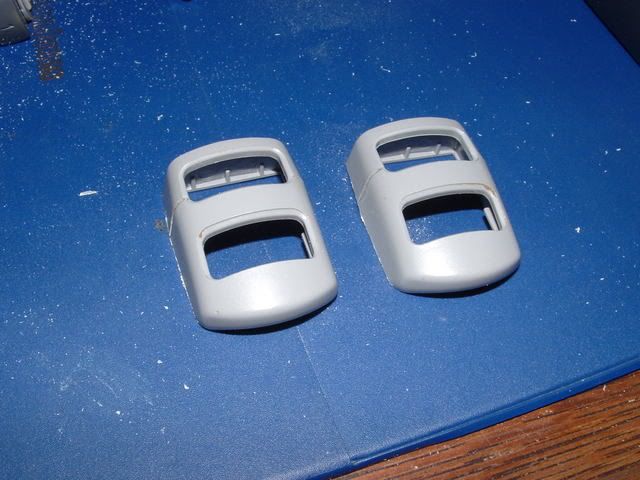
I don't know if you ever noticed, but the newer playstation controllers have large R2 and L2 buttons. Nice for a controller, but not so much for a portable where handgrip space is limited. The old ones, the kind with no analog sticks, have smaller R2 and L2 buttons. So I bought one of those from a pawn shop, the guy charged me way too much ($5) but oh well.

Dremeled the plastic off the controller, then sanded them flat.
Image
Image

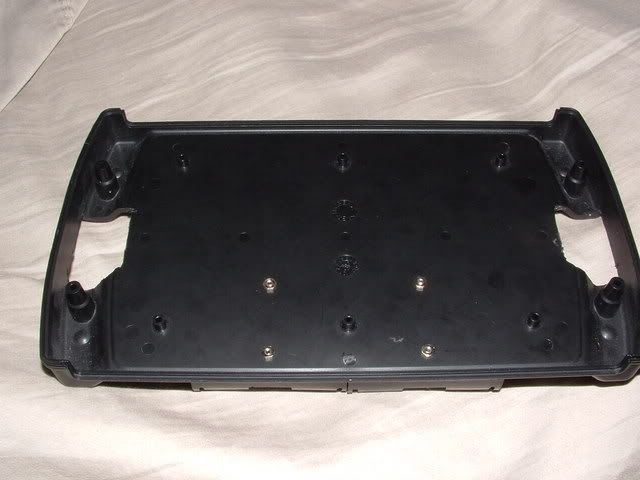
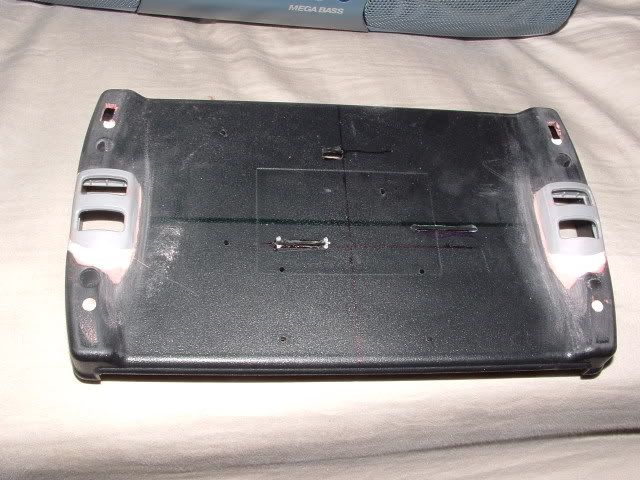
Then I cut holes in back case for them. The first time, I cut the holes too high, and it wasn't as comfy as I thought it would be. :( luckily I had another back-half for the case due to the case screw-up, and I got it right the second time! No pic, but you can see the cutouts in the lower pics.

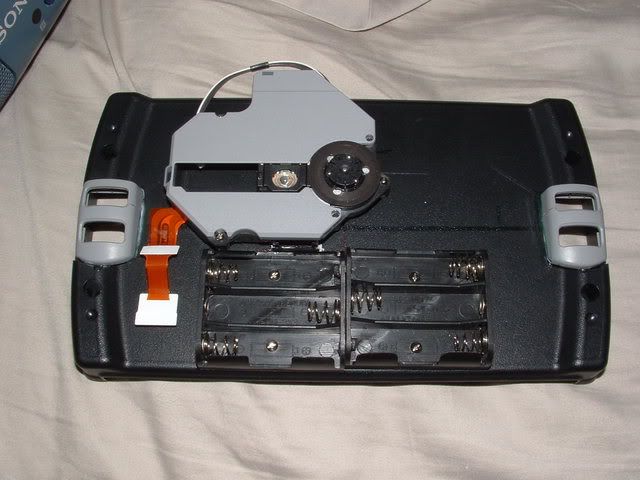
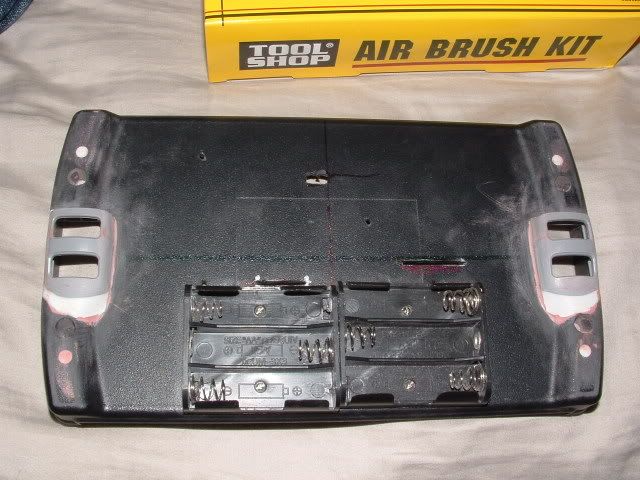
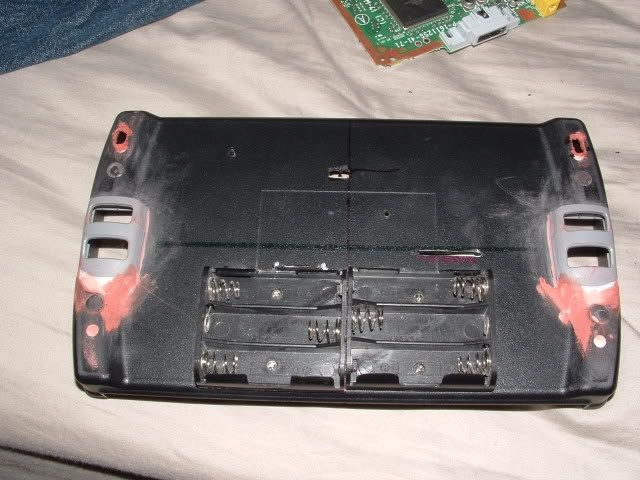
I wanted to see the battery pack on it. The holder is made of two 3AA holder's, which I will wire in series later. They had two holes on each holder for putting screws through, so I put them on the case, then marked through the holes, drilled though the marks, then screwed them onto the case.
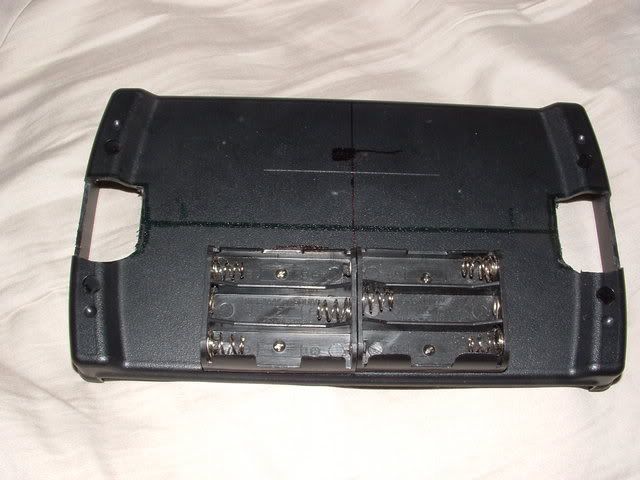
Image
Image
Nice. That'll work.

These steps are kinda unorganizd, but this is how I did it :P Anyways, I glued the R1,2,L1,2 button plastic on the back.
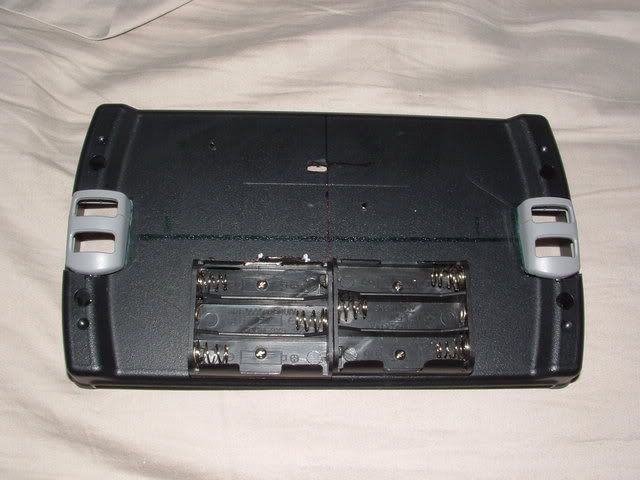
Image

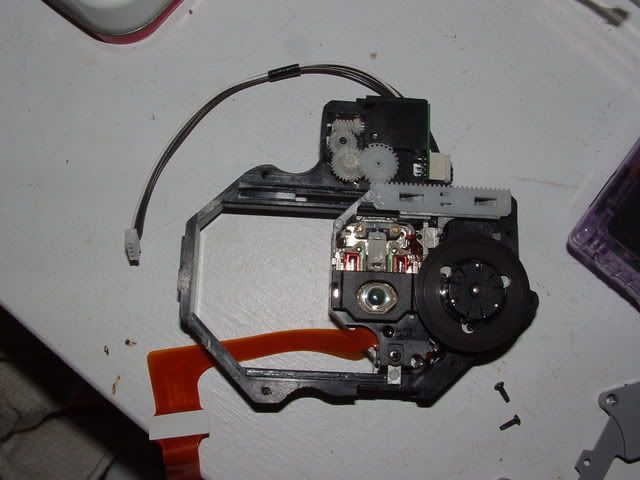
So I needed to mount that laser drive! It took me a while to figure out how to do it nicely. First I needed to get rid of the excess plastic on the drive.
So I took the grey plastic cover off:
Image

Then dremeled.

Before:
Image
After:
Image

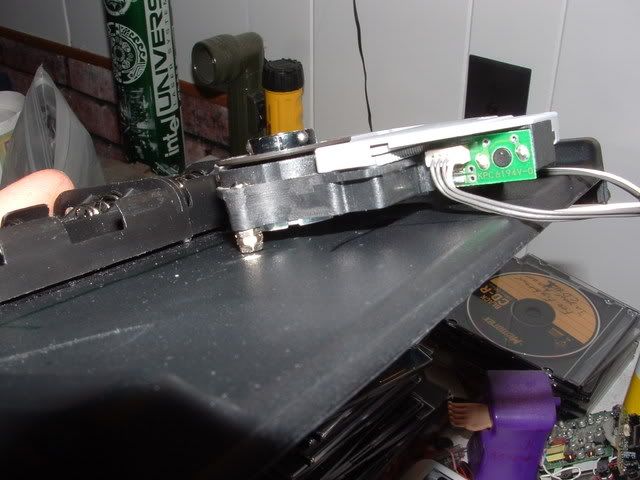
There were these little screw post looking things, three of them, so I drilled through them and stuck a screw through. I also cut places for the laser cables to go through.
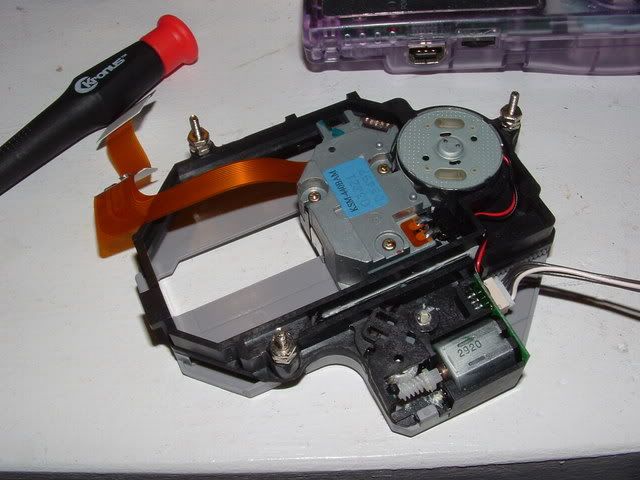
Image

Then I drilled holes in the case to match the screws. I used extra nuts to add more height to it.
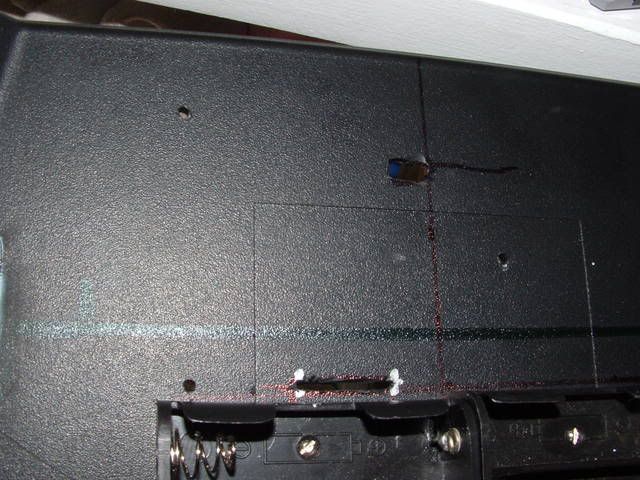
Image

The CD will spin slightly above the battery holder.
Image

Image
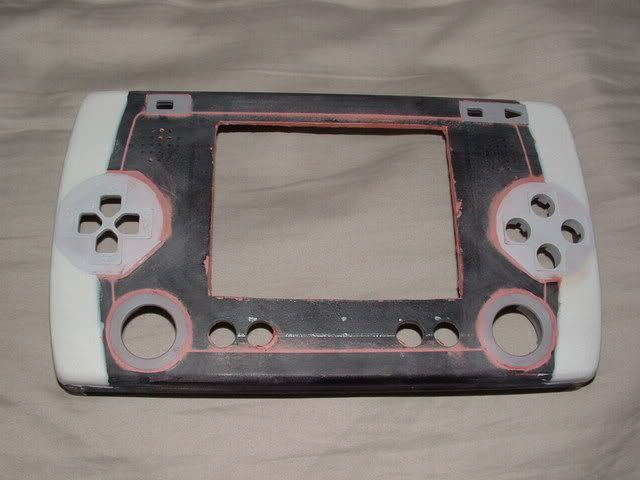
Thats where I'm at right now. Still more to do, but thats a lot of it. I plan to put the memory card holder in the empty space next to the CD laser.

The power and CD lid switches will be put above the R1,2,L1,2 buttons.

Oh yeah, I sanded the spot putty. Needs another layer still.
Image

More to come! :D

Rellizate
Posts:732
Joined:Sat Nov 04, 2006 11:00 am

Post by Rellizate » Fri Dec 15, 2006 3:42 pm

Looking even better. I want to talk to you about this.

Contact me:

AIM: Rellizate
MSN: meltdown10@hotmail.co.uk

User avatar
hailrazer
Portablizer Extraordinaire
Posts:2764
Joined:Mon Jul 10, 2006 8:57 pm
Location:Georgia Sweet Georgia

Post by hailrazer » Fri Dec 15, 2006 6:52 pm

Nice case.

I ordered one Tuesday and it came in today.

It's going to make a nice Snes/Nes Fami Twin portable methinks. :lol:

Thanks for the find :)

And I like your work so far. Very professional.

User avatar
shmagoogin77
Portablizer
Posts:1469
Joined:Sun Apr 17, 2005 6:10 pm
Location:My desk
Contact:

Post by shmagoogin77 » Sat Dec 16, 2006 9:49 am

what color is this baby gonna be painted?

User avatar
dudex77
Posts:1499
Joined:Thu Nov 16, 2006 10:43 am
Location:Spain
Contact:

Post by dudex77 » Sun Dec 17, 2006 8:35 am

how much are you selling this thing for?

User avatar
G-force
Moderator
Posts:3609
Joined:Mon Apr 19, 2004 1:43 pm
Location:Sweet home Indiana
Contact:

Post by G-force » Mon Dec 18, 2006 11:10 pm

@ hailraizer: It's a nice case. A little tricky, since it's not a simple shape, but it's decent. Good luck on the portable! looking forward to it.


@shmagoogin77: Gloss black. It may or may not resemble a PSP when it's finished.

@dudex77: The client payed for the parts ($90), and is then paying me for the work ($130-ish).
I end up getting payed about minimum wage when it comes down to it, but it's fun, so it's worth it.
Also, this thing has been majorly delayed due to life in general, and the client has been very good about the delay. I had warned about how school would slow this down, but it was worse than I had thought. I'm hoping to get it done very soon here.

pfan
Posts:11
Joined:Tue Jan 17, 2006 11:00 am

Post by pfan » Mon Dec 25, 2006 8:32 pm

any new updates?? =)
98% of the teenage population does or has tried smoking pot. If you're one of the 2% who hasn't, copy & paste this into your signature.

User avatar
G-force
Moderator
Posts:3609
Joined:Mon Apr 19, 2004 1:43 pm
Location:Sweet home Indiana
Contact:

Post by G-force » Wed Dec 27, 2006 2:31 am

Yep! :)

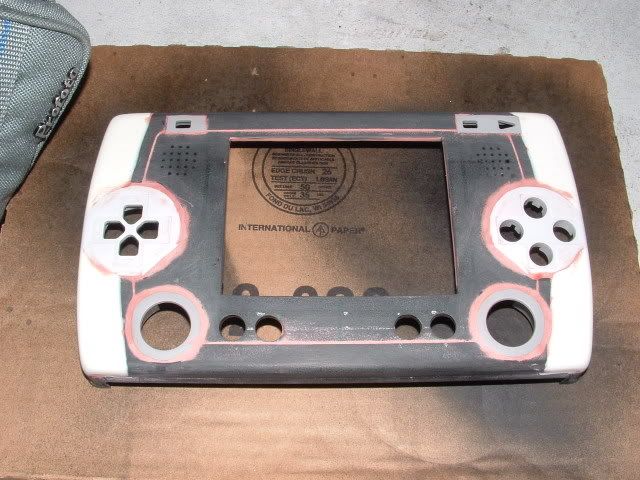
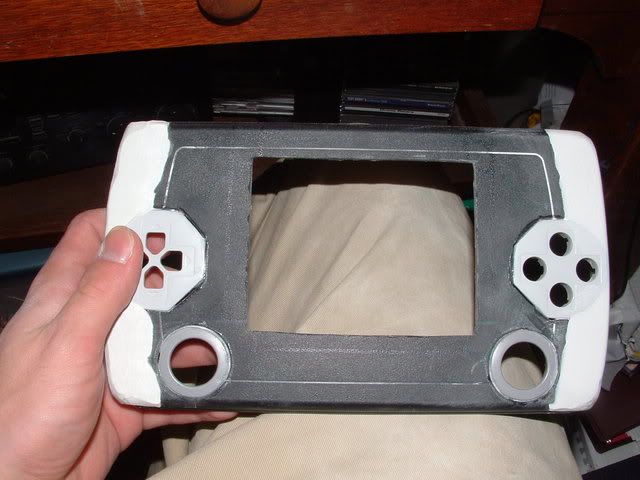
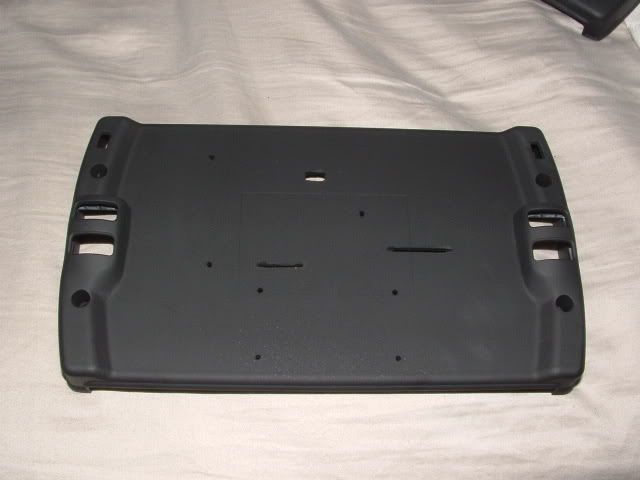
After adding another layer of spot putty and then sanding it down, the rest of the case was sanded with 320 grit sandpaper.
Image

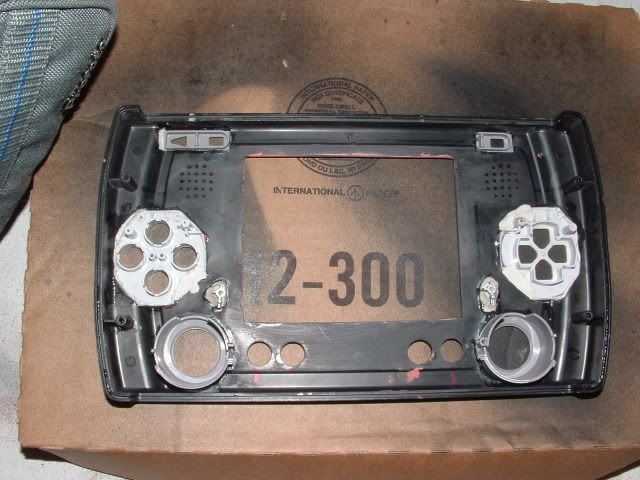
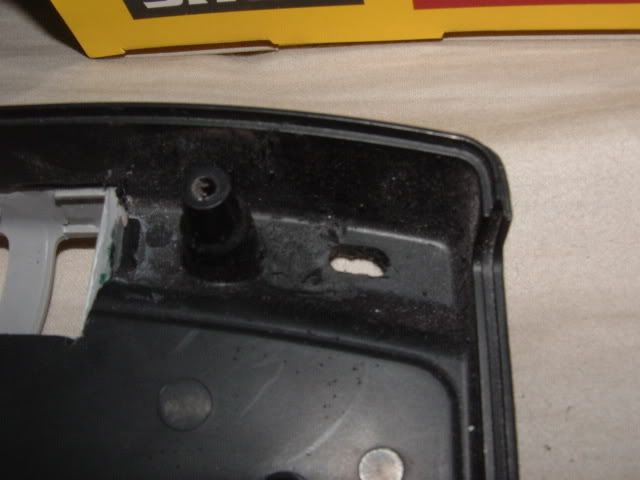
I also glued/bondoed the bottom screw posts from the Ps1 LCD screen casing onto the case for added screen support. Just in case hot glue doesnt work to well.
Image

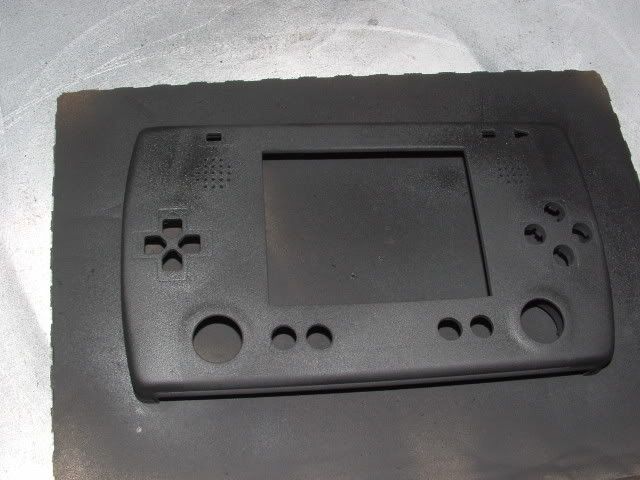
The case was then washed with water and dried. Meanwhile I shook up the can of automotive primer/filler (made by dupli-color). The stuff is nice. It goes on thick so it will fill all those hairline scratches, and then you can just sand it down.

First primer coat:
Image
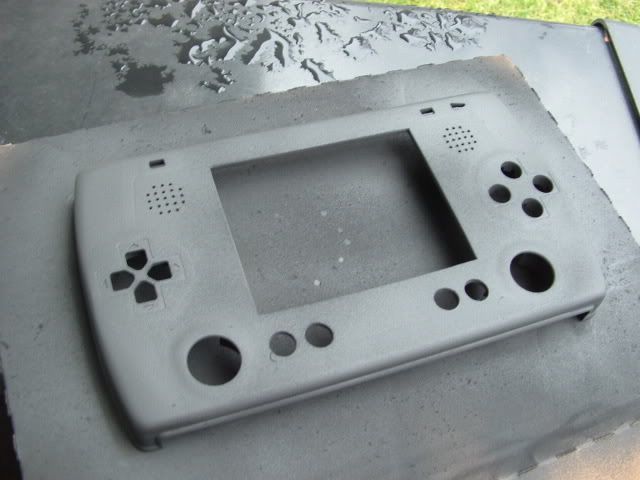
Another pic in the sunlight. (this makes the primer look grey, when it is in fact black. Go figure, it looked better under fake light :| )
Image

The back half of the case is going to get some attention from the can of primer as soon as the bondo dries and is sanded.

User avatar
dudex77
Posts:1499
Joined:Thu Nov 16, 2006 10:43 am
Location:Spain
Contact:

Post by dudex77 » Wed Dec 27, 2006 4:24 am

wow what a beast next time you post pics have one with you holding it so i can see the relative size of it and where are the memory cards going?

User avatar
joevennix
Portablizer
Posts:999
Joined:Sat Jan 14, 2006 9:34 am
Location:On permanent vacation from reality.
Contact:

Post by joevennix » Wed Dec 27, 2006 4:31 pm

How did I miss this?! Freakin amazing work man, keep it up I want to see it finished
Image

pfan
Posts:11
Joined:Tue Jan 17, 2006 11:00 am

Post by pfan » Wed Dec 27, 2006 9:19 pm

dudex77 wrote:wow what a beast next time you post pics have one with you holding it so i can see the relative size of it and where are the memory cards going?
Hey, I did some sleuthing through g-force's photobucket pics and came across this:

Image

Hope that's what you were looking for ^_^

EDiT: Would Jones or Ben mid stickying this thread? I think it's definitely sticky-worthy. =)
98% of the teenage population does or has tried smoking pot. If you're one of the 2% who hasn't, copy & paste this into your signature.

User avatar
Krepticor
Senior Member
Posts:1567
Joined:Sun Jan 01, 2006 8:06 pm
Location:Shadow Hearts

Post by Krepticor » Wed Dec 27, 2006 9:59 pm

NICE!

I can't wait to see this one finished!
I refuse to dignify myself with an intelligent and witty signature

User avatar
G-force
Moderator
Posts:3609
Joined:Mon Apr 19, 2004 1:43 pm
Location:Sweet home Indiana
Contact:

Post by G-force » Thu Dec 28, 2006 12:09 am

Thanks guys! Its coming along real nice now, should be finished at the end of the month. 8)

More work on the back this time. I put marine putty on the button casing to help them meld into the case better, and feel smoother. Also put some in the slight hole depressions that were on the case. Then after dremeling most of it off, I sanded it with very course 60 grade sandpaper. Then once it was close I switched to 120 grade sandpaper.
Image

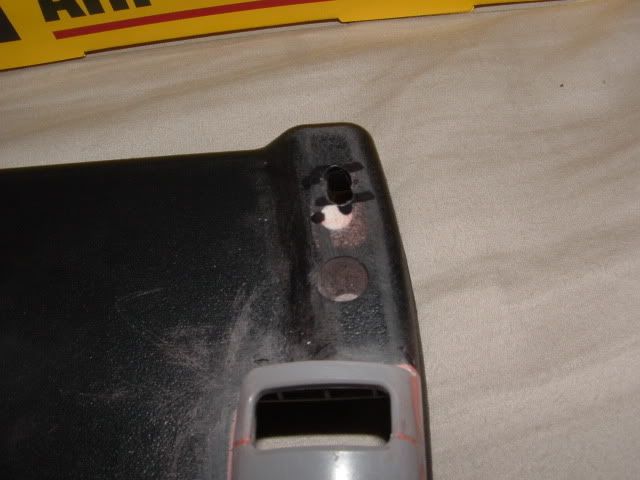
Then I needed to cut out holes for two switches, the ones that would be used for the CD lid and power (Got them from radio shack, two in a pack for a few bucks.) I started by drilling two holes with a dremel, then cutting out the plastic inbetween.
Image
I also had to flatten a slight bump in the case with my mighty dremel. The bump died.
Image

I used a utility knife to get the rectangular shape I needed for the switches. But I kinda overcut in a few places since the plastic is really soft. So I used spot putty to fill in the tiny bits.
Image

I waited for it to dry over night, then cut/sanded the excess putty off. I also sanded the rest of the putty on the button casing.
Image

Then it was all sanded with smooth 320 grit sandpaper. After washing and drying, a coat of primer was put on.
Image

I'm too tired to think of what I have to do next. Most likely it involves a lot of sanding, painting, soldering, hotglueing, etc. More to come tomorrow!

Rellizate
Posts:732
Joined:Sat Nov 04, 2006 11:00 am

Post by Rellizate » Thu Dec 28, 2006 5:15 am

Wow, that's amazing.
!

User avatar
vskid
Senior Member
Posts:6314
Joined:Fri Mar 25, 2005 8:25 am
Steam ID:vskid3
Contact:

Post by vskid » Thu Dec 28, 2006 8:57 am

Rellizate wrote:Wow, that's amazing.
!
What he said. The paint looks cool, and you can't even tell it was bondo'd.
Image

Post Reply