List of implementations that will be done in this n64p
1. Original black n64
2. PS1 screen (led modded)
3. Expansion Pak
4. Rumble Pak
5. Memory Pak
6. You have a lot of paks pak
The console will also double as a home console, it's going to have av output and external controller plugs, a switch will be put on the first player controller data line so the data won't be screwed up between the external and integrated controller.
Controller is a yobo so it will have a gamecube joystick
I'm not going to change the c buttons to a c stick
The case is going to be vacuum formed.
Today's Progress:
--------------------------------------------------------------------------------------------------------------------------------------------------------
02/22/09
Today I relocated the cart slot on my new n64 (fried the old one) and took off the reset switch and the screw posts. Yesterday I wired the gamecube joystick to the n64 controller and setup a few of the buttons on the n64 controller. A few weeks ago I actually wired all of the controller ports to a usb cable and cat5e cable. Player 1 uses the usb, and players 2,3, and 4 use the cat5e. I did this on purpose so I could keep player one separate.
I still have to decide on a name for the portable though, maybe you guys can help me with that. Here's some pics of the progress.
http://i73.photobucket.com/albums/i208/ ... C00220.jpg
http://i73.photobucket.com/albums/i208/ ... C00221.jpg
---------------------------------------------------------------------------------------------------------------------------------------------------------
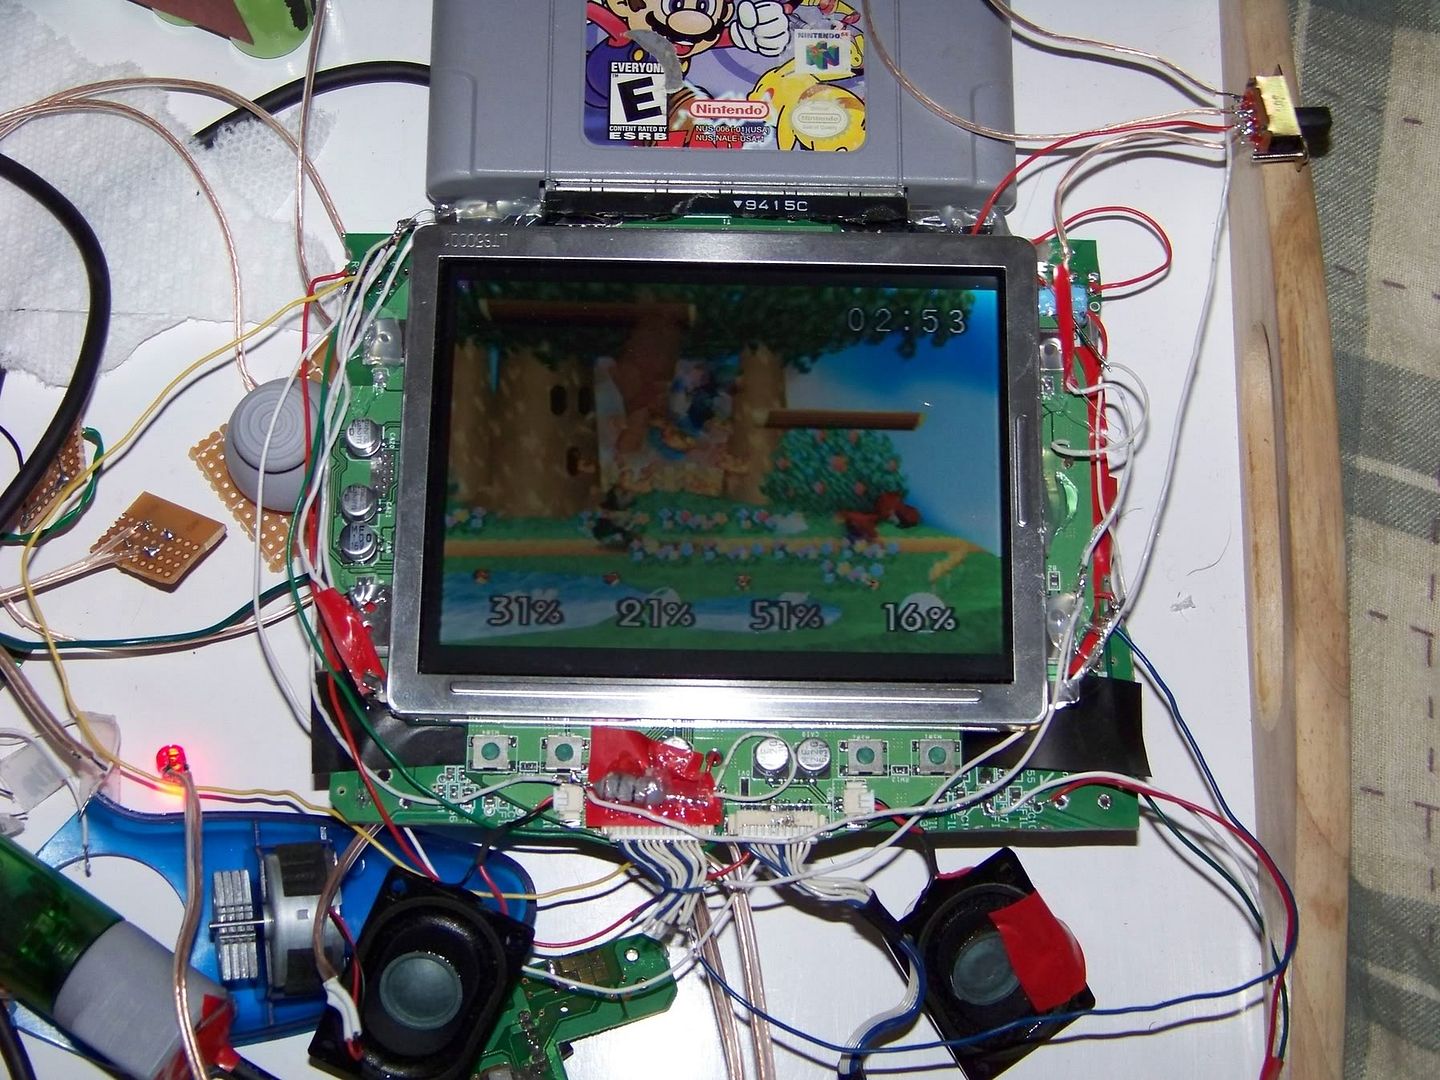
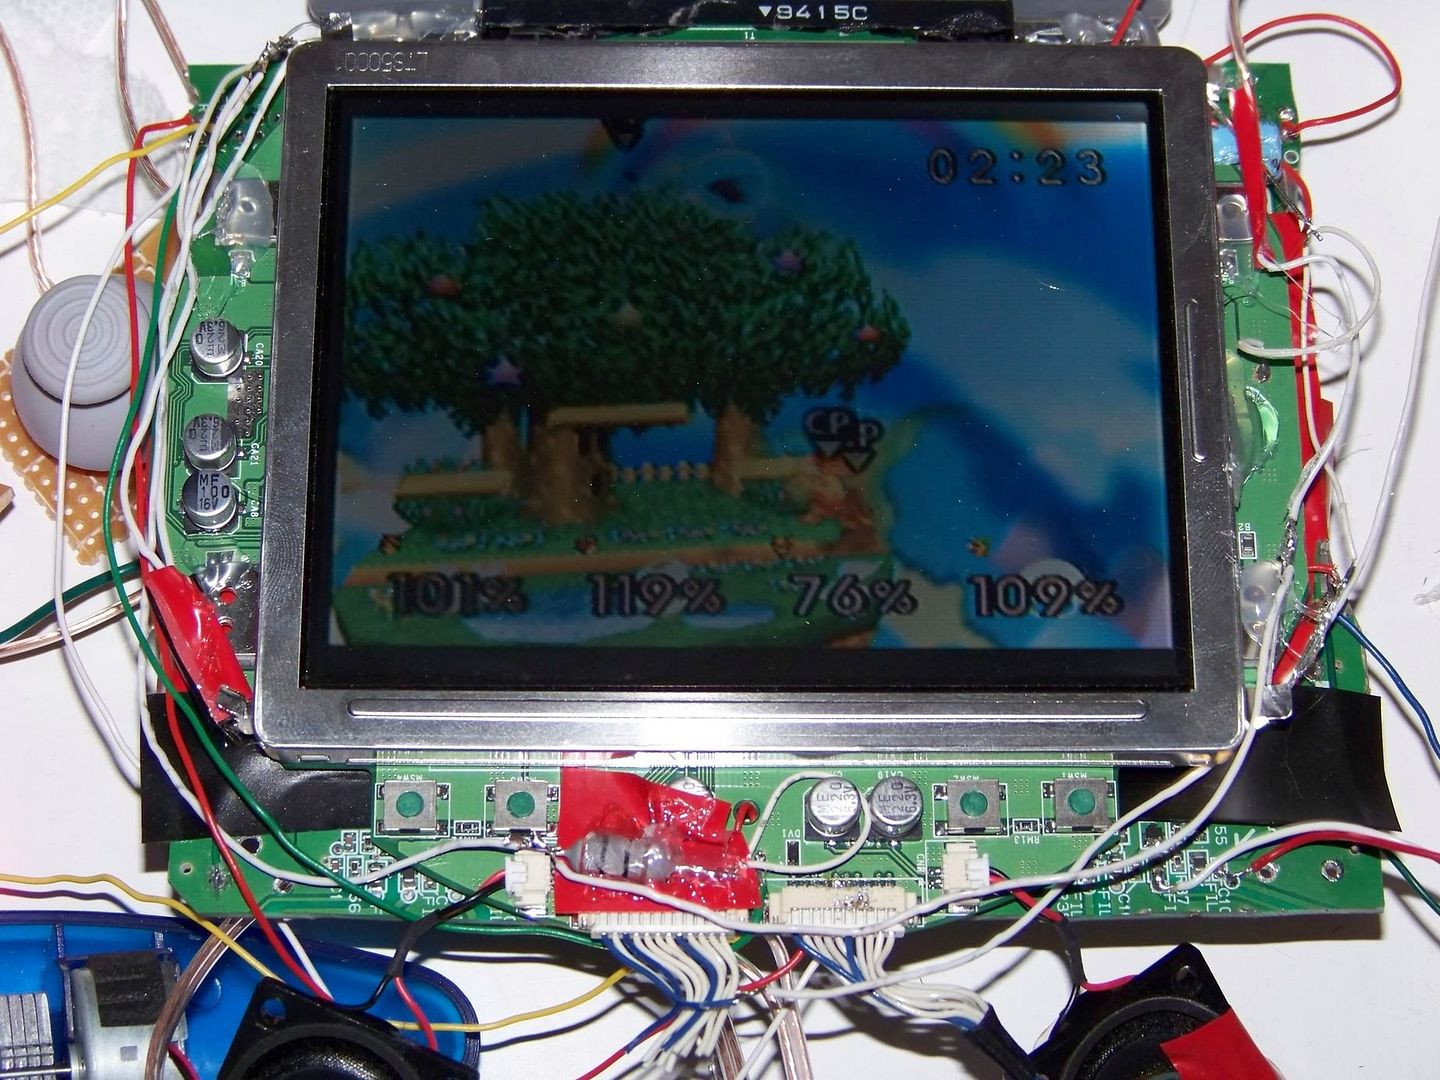
02/24/09
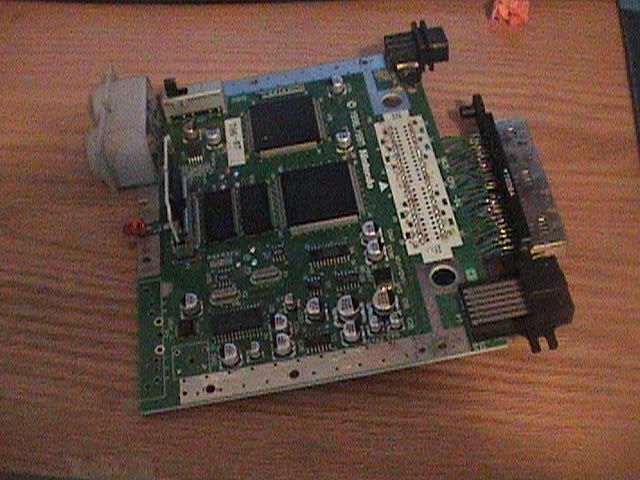
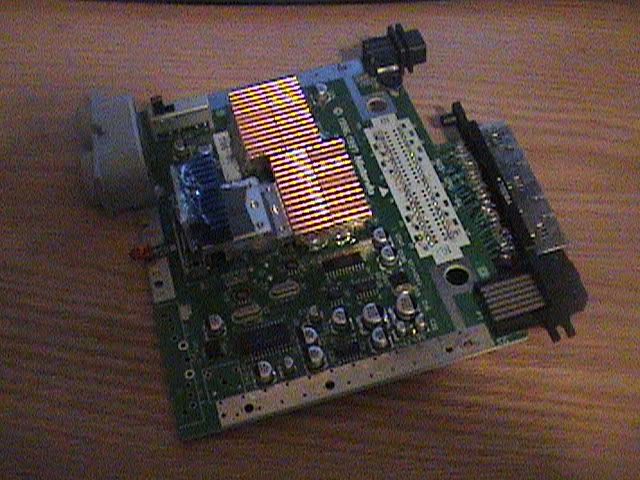
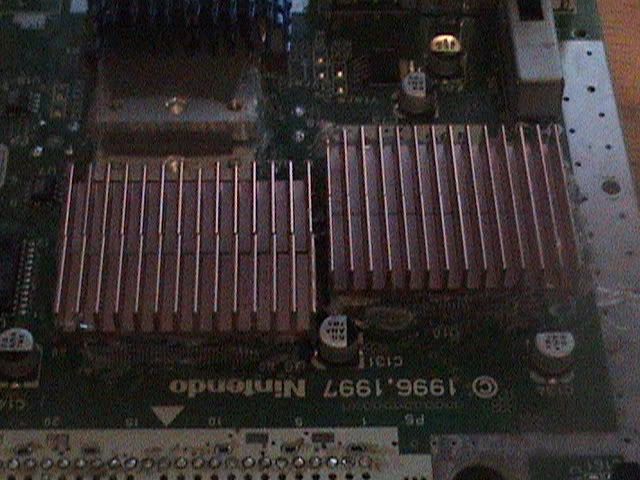
Update guys, I got the heatsinks all attached and everything runs smoothly, I've also trimmed down the expansion pak. All the heatsinks use the original thermal sticky pads that the n64 use to use. I decided to use thermal pads because they are more reliable and make sure there's contact between the heatsinks and chips, plus, no messy thermal grease
Despite their small size they run really well. I've run the 99 stock level 9 test on smash bros and everything is going great. If the hotglue softens up I'll add some more.
Here's the board:
http://i73.photobucket.com/albums/i208/ ... C00222.jpg
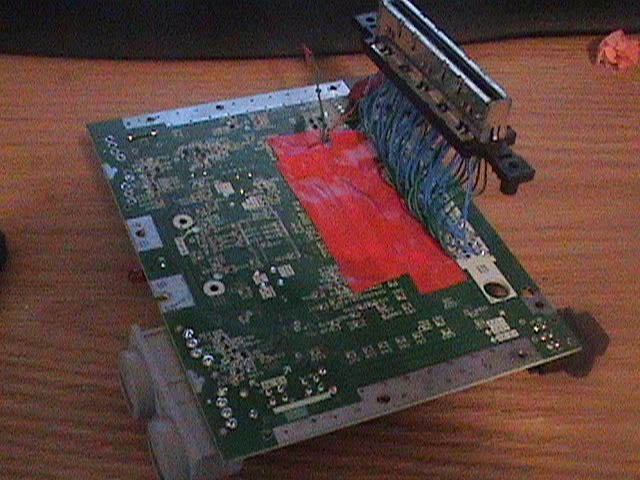
The expansion pak:
http://i73.photobucket.com/albums/i208/ ... C00223.jpg
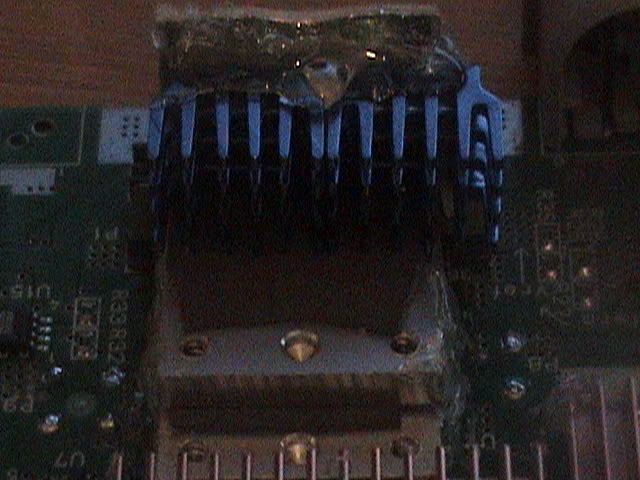
And here's a close up of the small but tough heatsinks:
http://i73.photobucket.com/albums/i208/ ... C00224.jpg
I pulled the heatsinks off of an old graphics card I had, and yes I used 2 of the old n64 heatsinks and another thermal pad attached to the ram and a thermal pad on top to make contact with the expansion pak. Now it can disperse more heat.
By the way, my cat apparently loves to watch pikachu fight.
--------------------------------------------------------------------------------------------------------------------------------------------------------
02/26/09
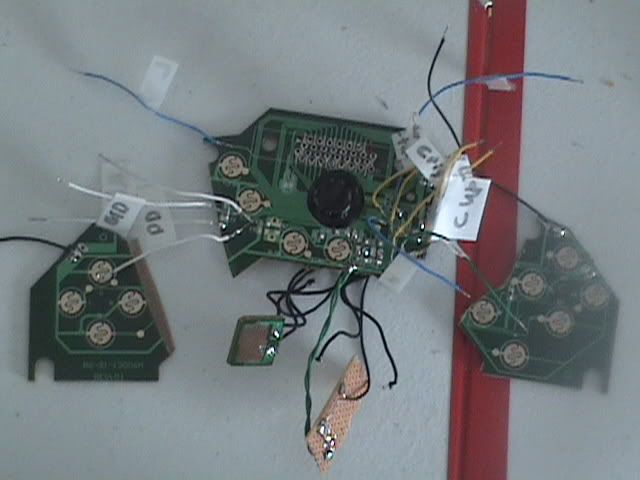
Another quick update. I got the controller wired up, I'm going to split the board and use the wings instead up wiring tact switches on pcb.
I forgot the start button.
http://i73.photobucket.com/albums/i208/ ... C00227.jpg
That pcb at the bottom is ground. All of the controller grounds will be attached to that.
--------------------------------------------------------------------------------------------------------------------------------------------------------
03/26/09
Ironically it's been exactly one month since my last update, but enough of coincidence.
I have LED modded the screen and it works. Except the contrast buttons don't seem to work.
That's either you can't adjust the brightness on leds (pretty sure it's that one) Or I can't tell when I'm not playing a game.
Anyway, I have to get a new controller now too. When I was wiring up the rumble and memory pak it didn't work and I broke some of the traces. I'm pretty sure though that the controller still works on its own.
I'm also measuring out the wood for the vacuum forming table, and I also got the battery. 7400 mAH BABY!!!!
So everything looks great so far, except the controller, but that easily be fixed.
--------------------------------------------------------------------------------------------------------------------------------------------------------
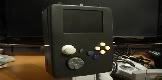
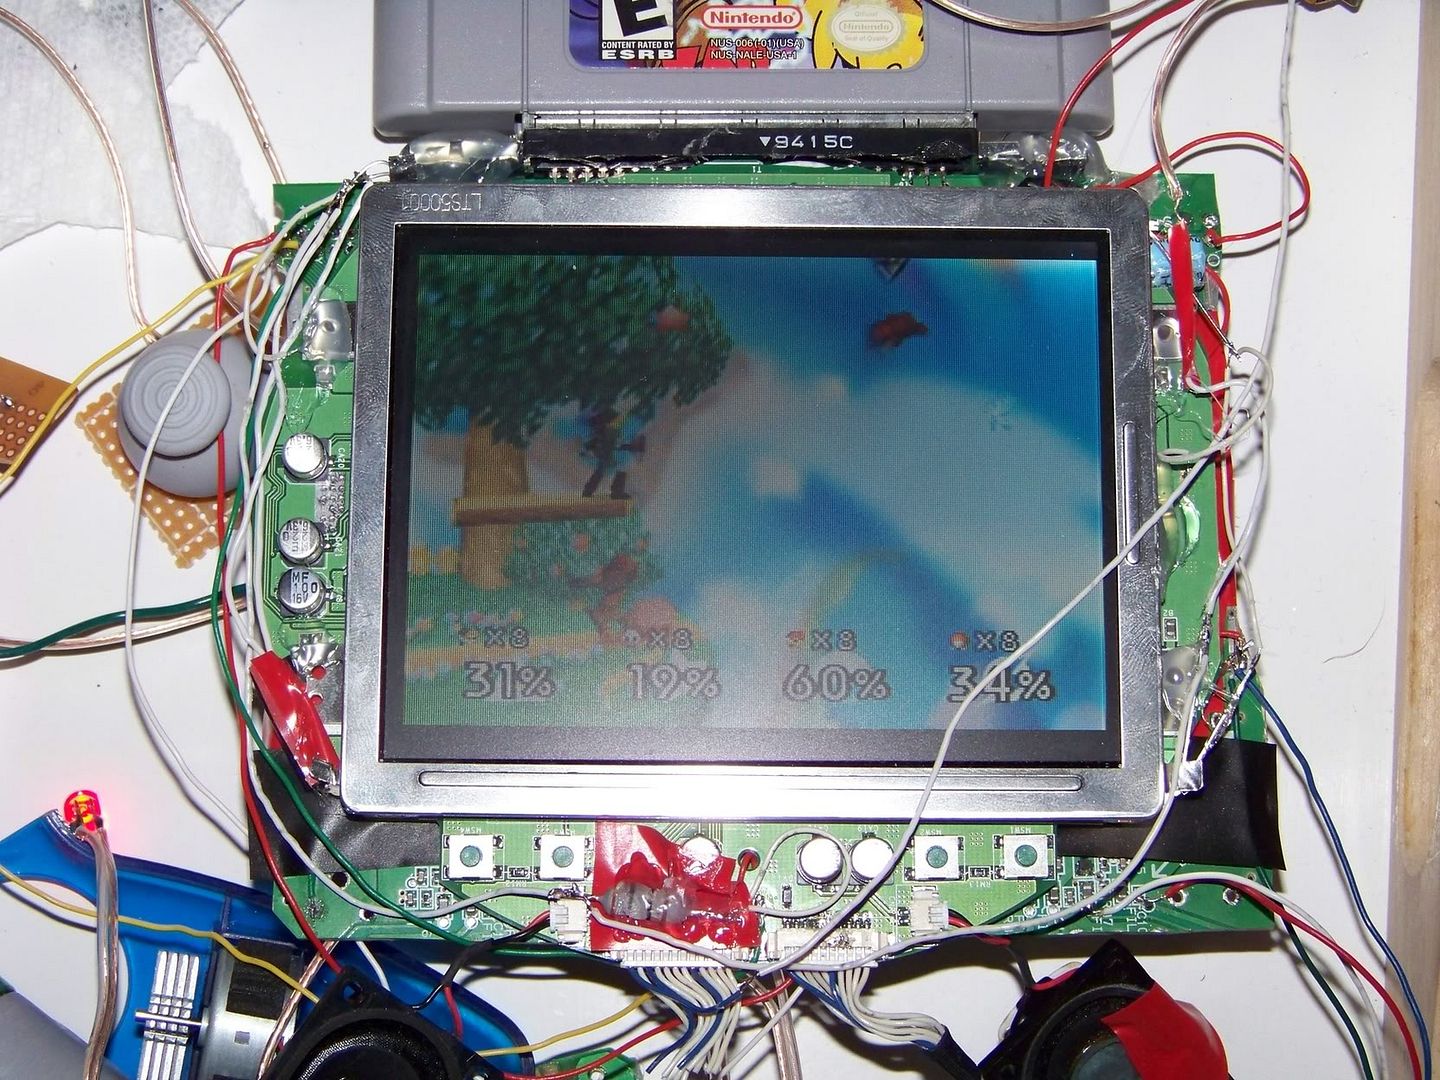
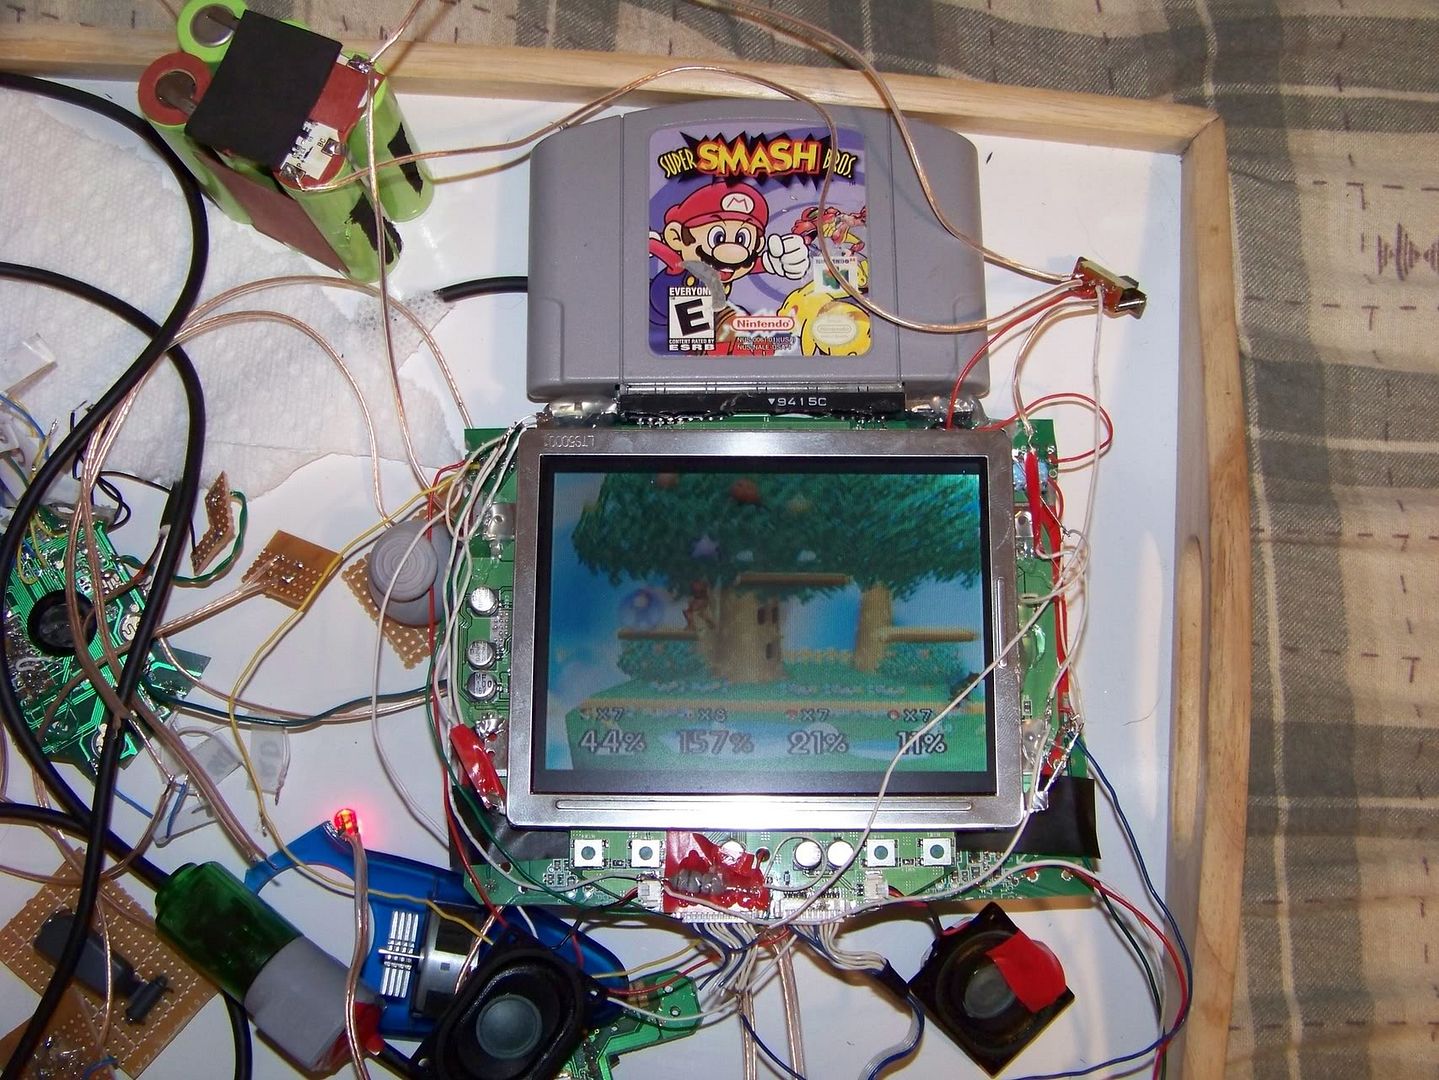
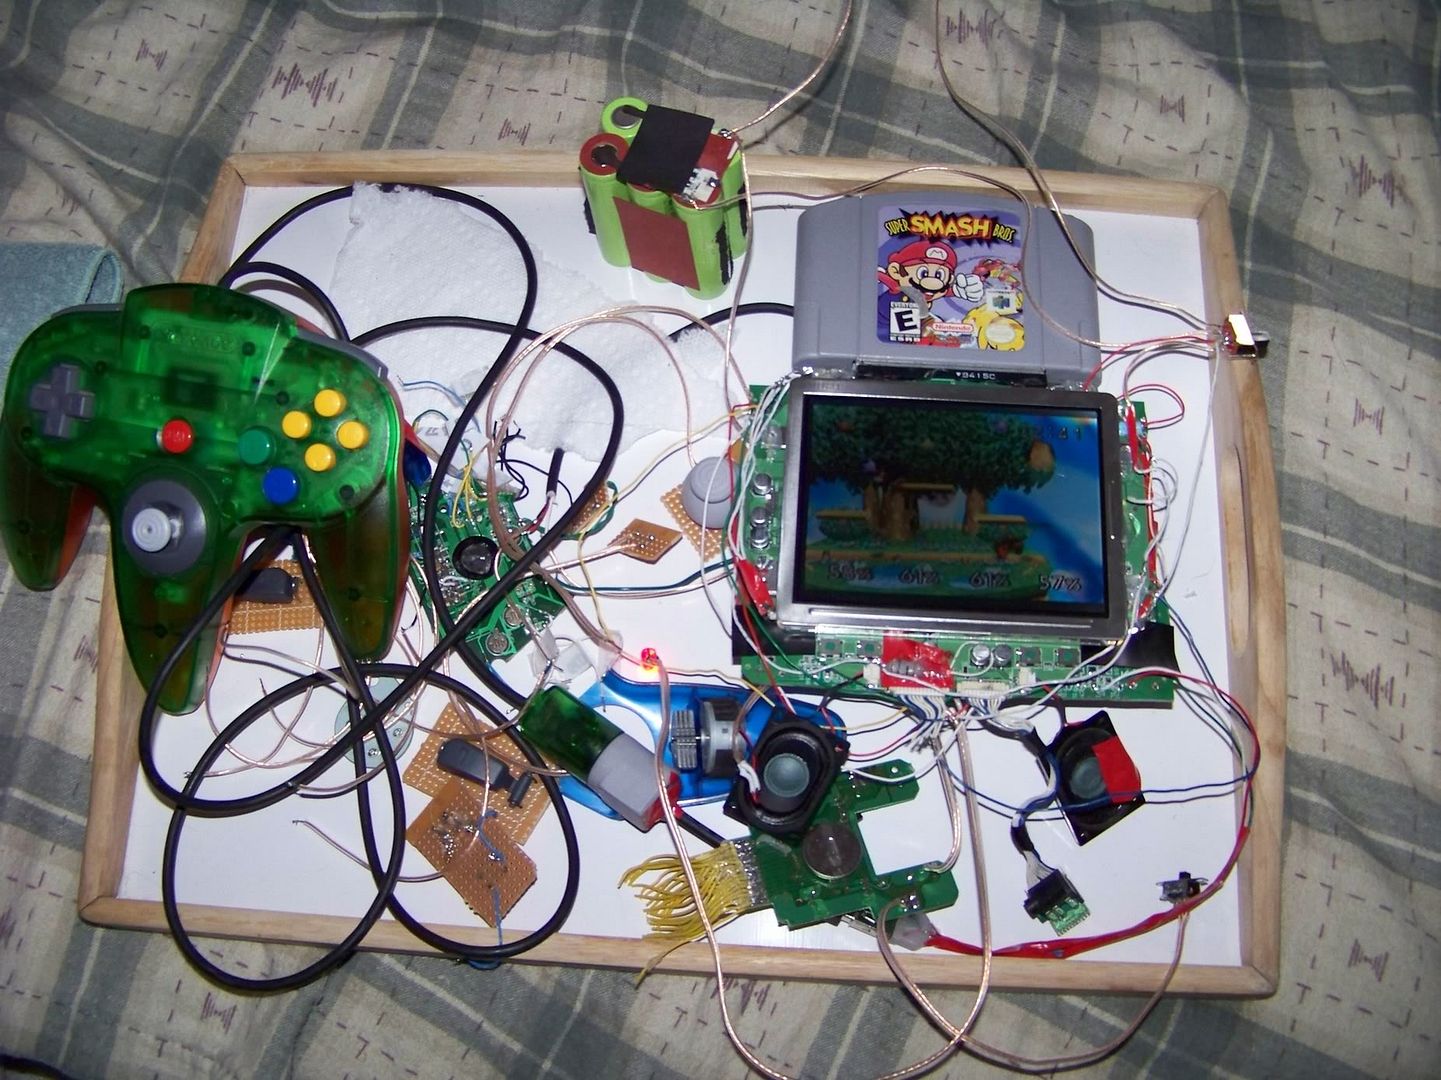
3/30/09
Just a quick picture update. Note not everything in the picture is part of the n64, just some extra components.
http://i73.photobucket.com/albums/i208/ ... 2_0387.jpg
http://i73.photobucket.com/albums/i208/ ... 2_0394.jpg
http://i73.photobucket.com/albums/i208/ ... 2_0399.jpg
http://i73.photobucket.com/albums/i208/ ... 2_0400.jpg
http://i73.photobucket.com/albums/i208/ ... 2_0401.jpg
56k BEWARE OOOOOoooOOooooooOOOo *scary tones* etc etc *more scary tones*
Only thing left to buy is paint.
--------------------------------------------------------------------------------------------------------------------------------------------------------
4/25/09
It's been a while, but I didn't stop working on it. Nearly all of the wiring is done except the stuff that's going to be done in the final build.
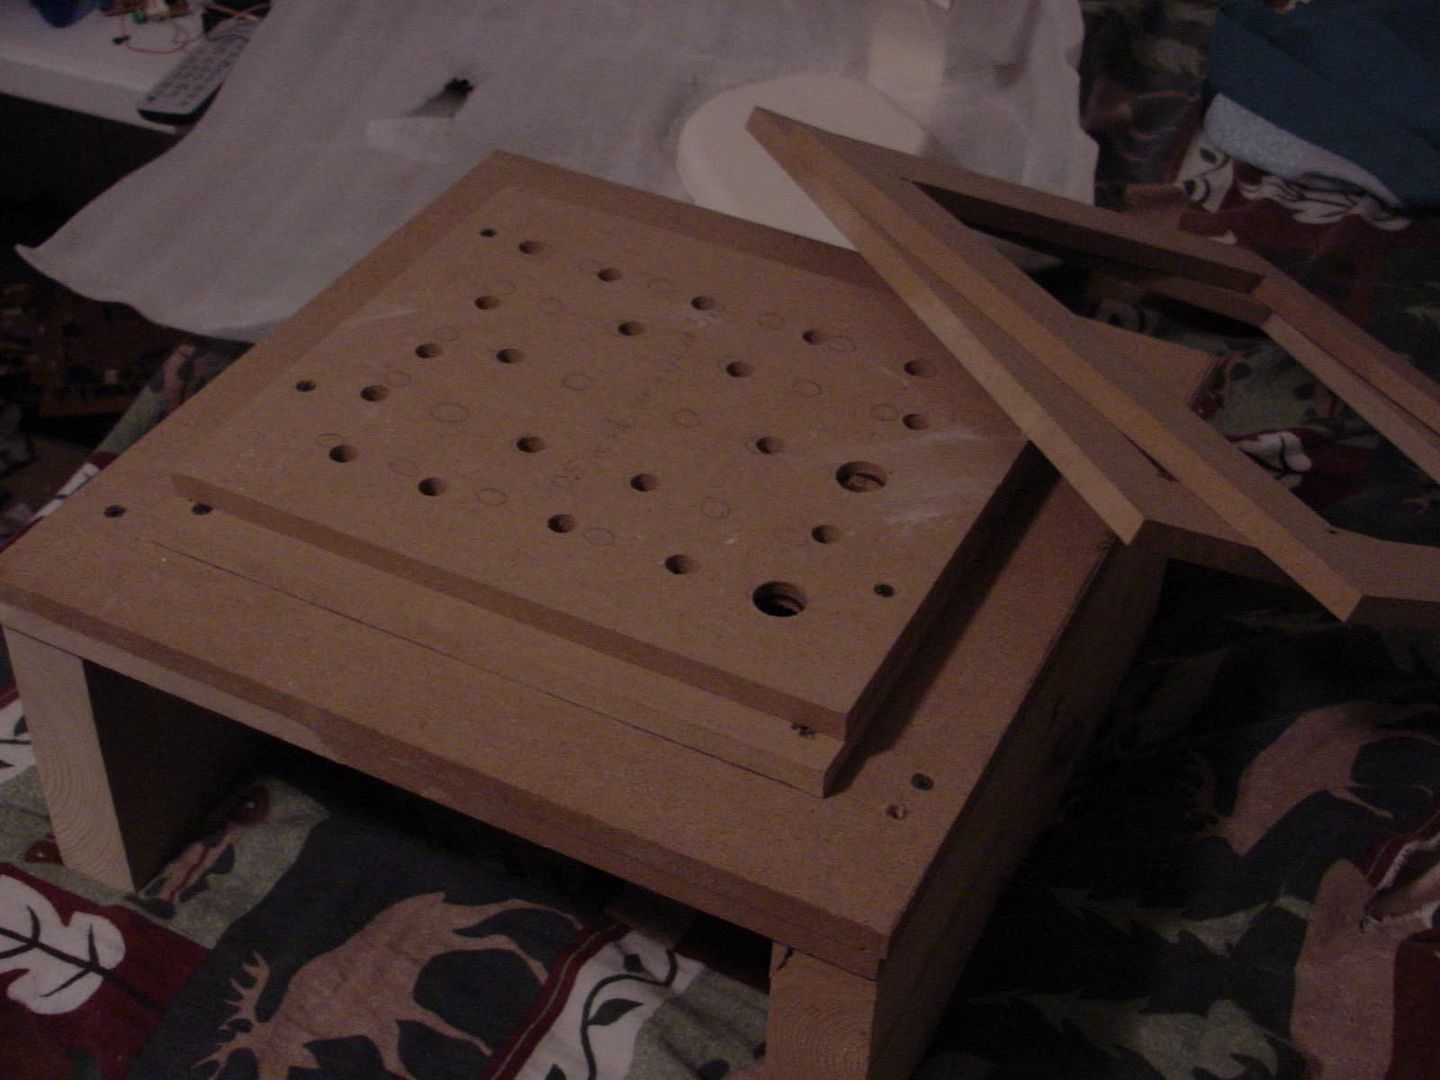
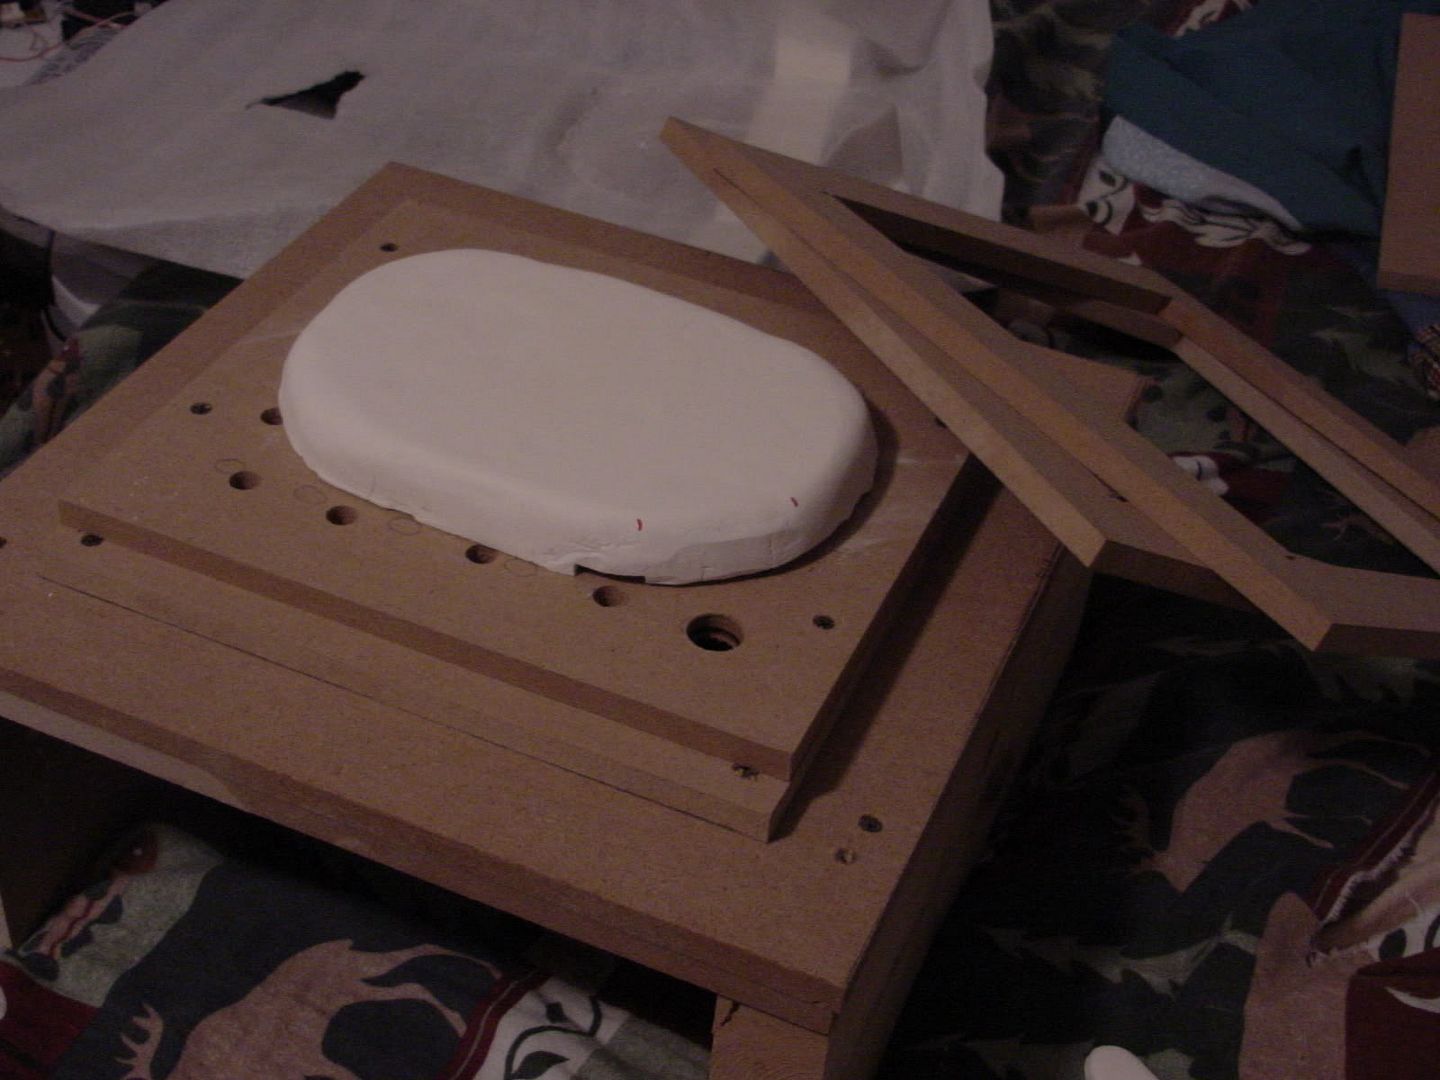
What I have been working on though is the table and case, I made the mold out of real clay, it was much easier to work with.
I made it at a local place called glazed and amused. Normally people come in to paint stuff on clay. But you can also make clay things.
http://i73.photobucket.com/albums/i208/ ... C00004.jpg
The table, the holes are a little messed up yeah, but they should work fine.
http://i73.photobucket.com/albums/i208/ ... C00003.jpg
The mold it self, it does look a little funky, but I'm not done sanding it yet.
I may be able to get the forming done tomorrow if I can get the clamps to hold the frame shut.
By the way, thanks for the help bacteria!
--------------------------------------------------------------------------------------------------------------------------------------------------------
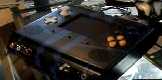
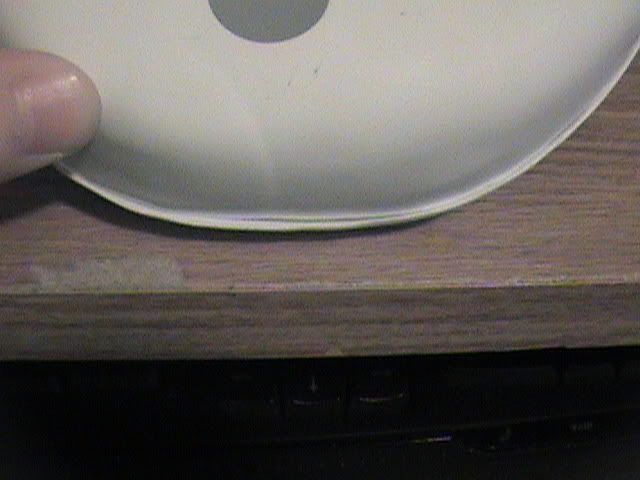
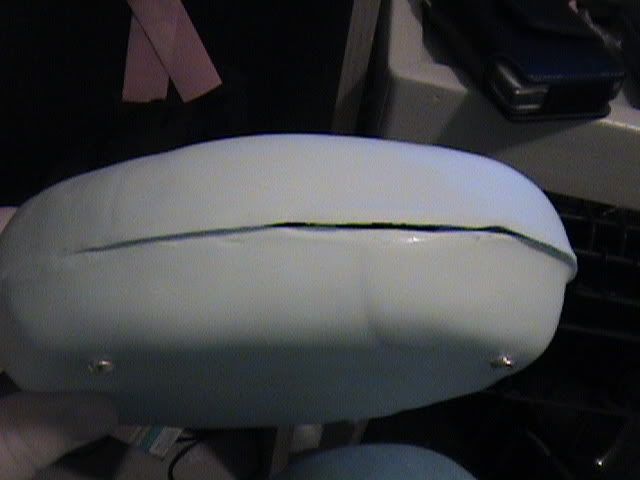
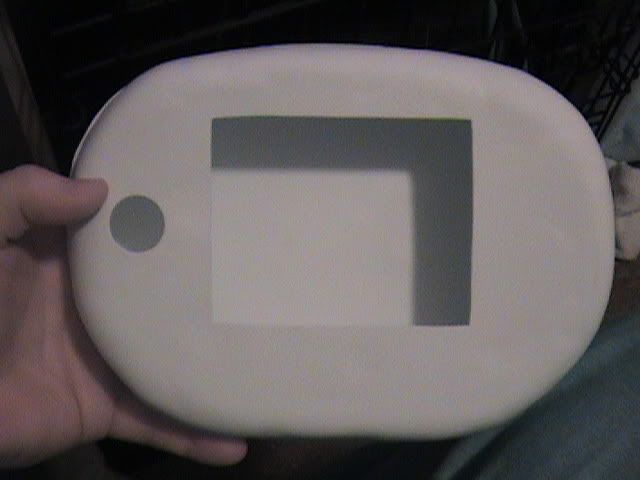
5/02/09
Today I just need help from you guys with the seam, it's really frustrating.
http://i73.photobucket.com/albums/i208/ ... C00321.jpg
http://i73.photobucket.com/albums/i208/ ... C00322.jpg
http://i73.photobucket.com/albums/i208/ ... C00323.jpg
http://i73.photobucket.com/albums/i208/ ... C00324.jpg
http://i73.photobucket.com/albums/i208/ ... C00325.jpg
And the camera actually makes it look better, I suppose this is what I get for thinking I could make one mold trying to fit it self, I suppose I could live with it though. Maybe I'll do what bacteria did and put a black band around it.
Although, other than the seam, it's looking really good. The joystick looks a bit low, but it's very comfortable there.
I'm only really updating because I want to know any advice to make it look good.
---------------------------------------------------------------------------------------------------------------------------------------------------------
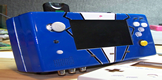
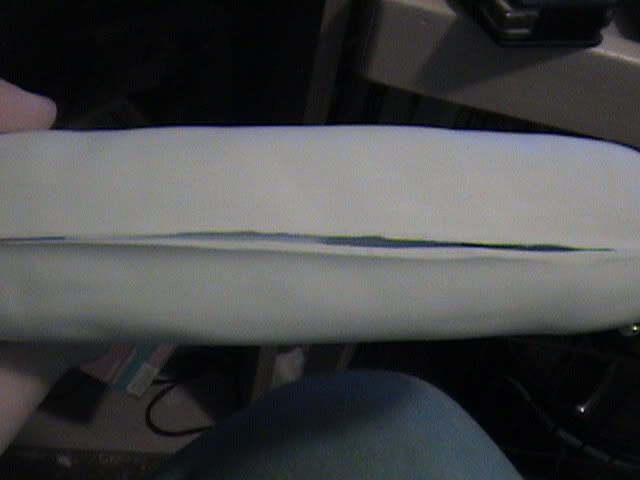
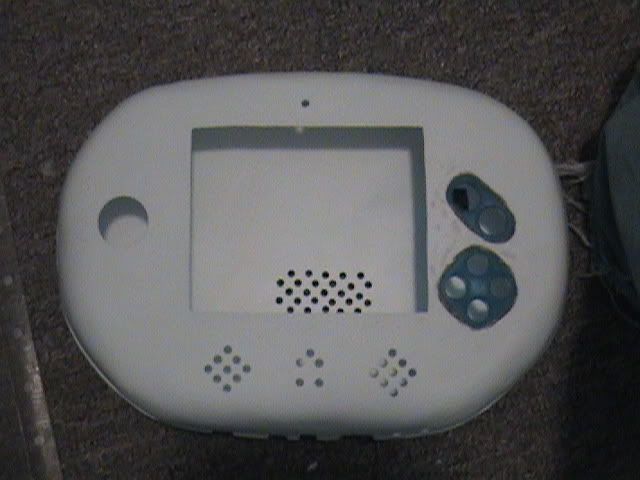
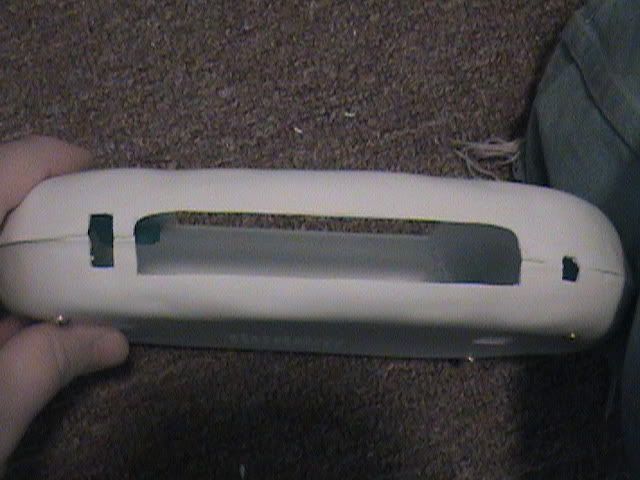
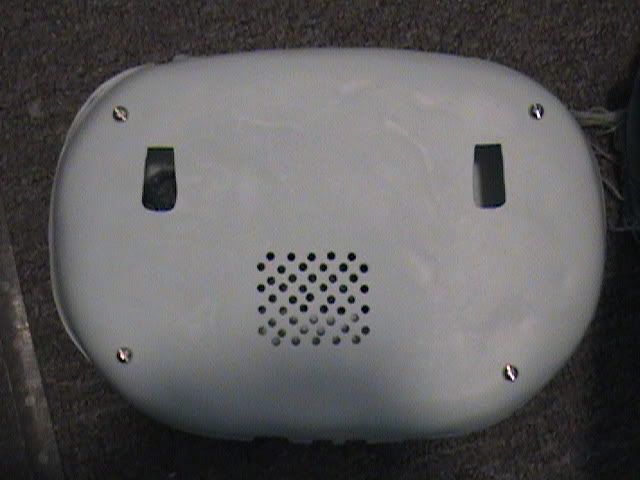
5/03/09
My quest is nearly completed, all I have to do is paint the beast and cram everything inside.
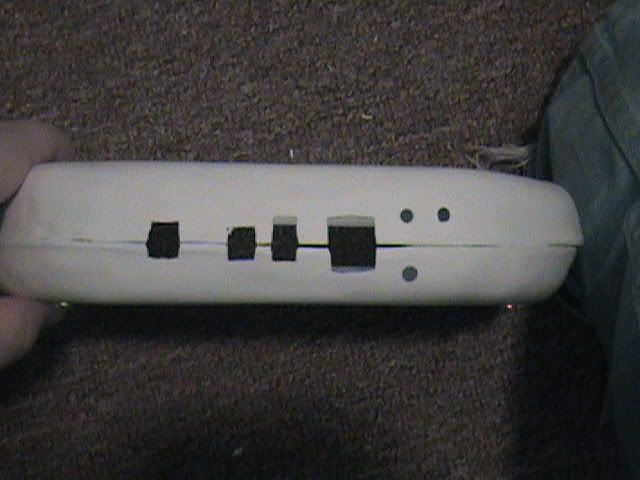
Most of the holes are obvious what they are for, but I don't feel like explaining all of them, it's been a long morning.
http://i73.photobucket.com/albums/i208/ ... C00326.jpg
http://i73.photobucket.com/albums/i208/ ... C00329.jpg
http://i73.photobucket.com/albums/i208/ ... C00328.jpg
http://i73.photobucket.com/albums/i208/ ... C00327.jpg
---------------------------------------------------------------------------------------------------------------------------------------------------------
Time for a real update, a video one. Nice......
http://www.youtube.com/watch?v=s4Dx_cXwGdY
The hardware problems aren't so nice though.
---------------------------------------------------------------------------------------------------------------------------------------------------------
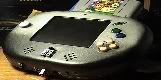
05/24/09
Officially finished!
http://forums.benheck.com/viewtopic.php ... 11#p365611
---------------------------------------------------------------------------------------------------------------------------------------------------------

