I was browsing Instructables and was inspired by Mario's clear NES portable guide. I've always wanted to make a clear portable and have always liked clear electronics in general, so why not? I'm following the Stupendo's design, based heavily off of Ben's NESp design from his book. This portable uses 1/16" PETG plastic I originally bought to experiment vacuum forming clear cases with. Turns out it's great for regular-type plastic use as well. It's better for this application than acrylic/plexiglass because it's not brittle (doesn't crack as easily when drilling) and has a bit of give to it so it can flex. It's easy to cut and sand, as well. The only downside is that over time it does react with UV light and yellows a bit, but I'm just going to stick my fingers in my ears and ignore that fact and just not leave it in the sun too much
I really like this plastic. I think I'm going to try my hand at vacuum forming a clear case for my N64 portable project some time this summer. For an amazingly awesome guide on vacuum forming this type of plastic and why it rocks, check out this guy's site.
Note: I started this project about a week before ShockSlayer posted his clear N64 portable, so sorry SS but Mario gets all the credit for inspiring me on this one
On to the pictures!
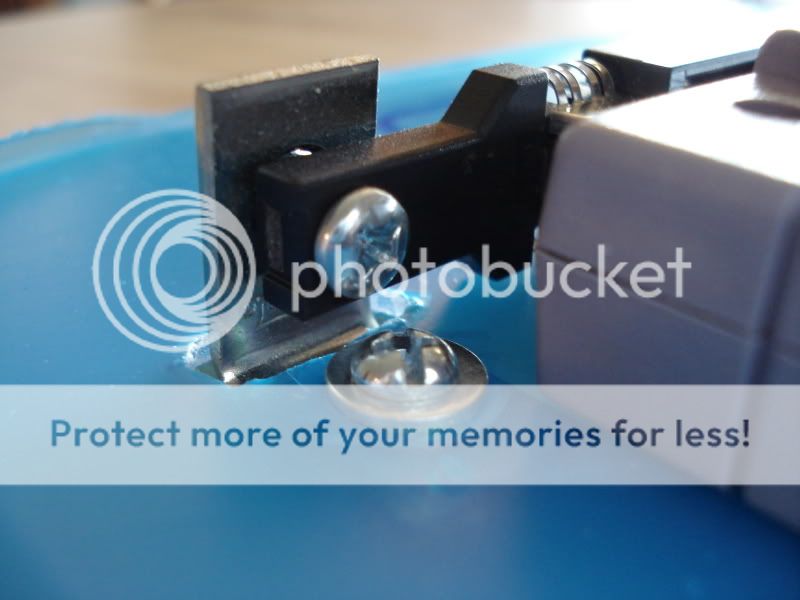
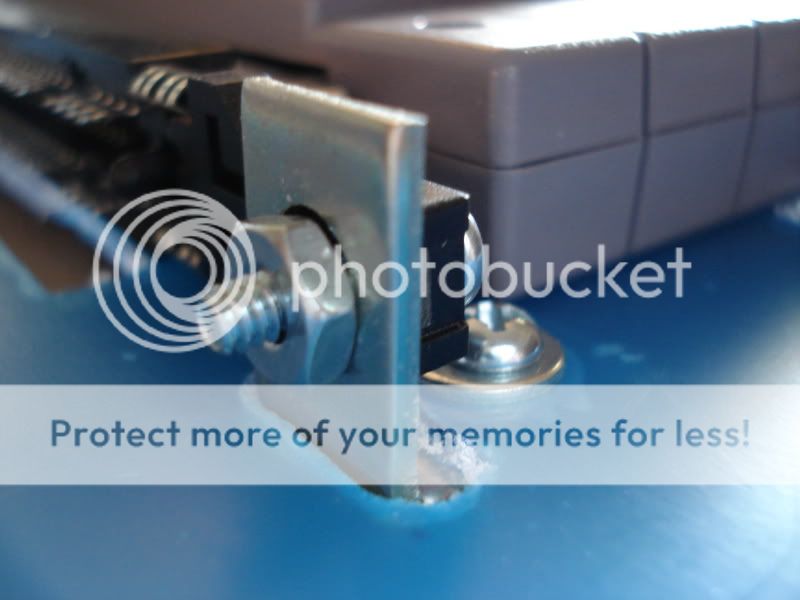
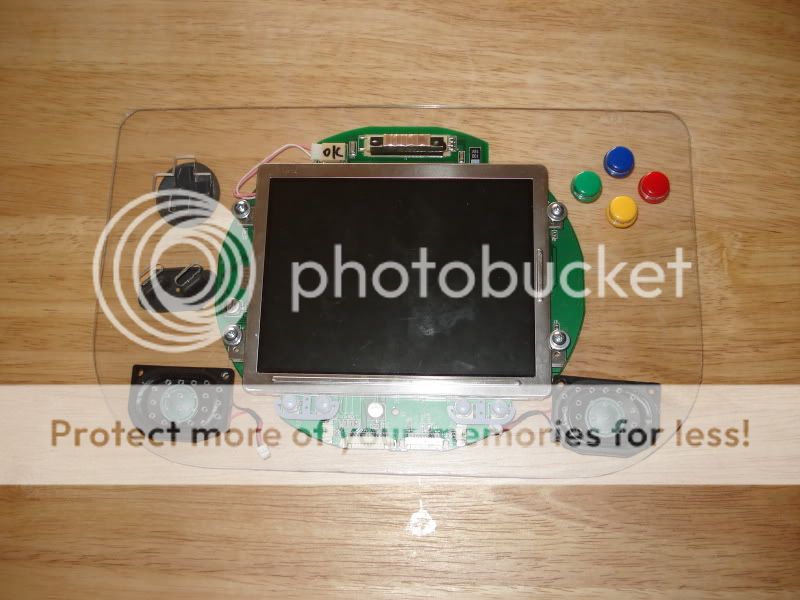
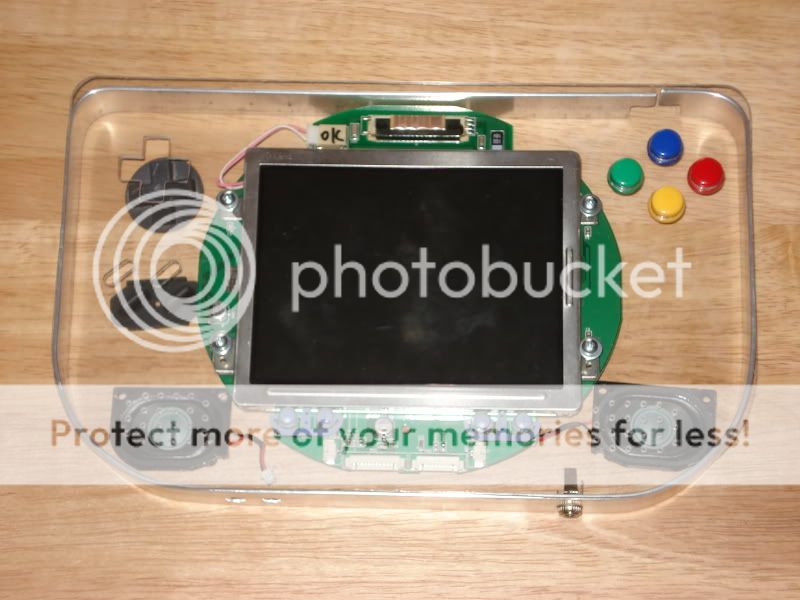
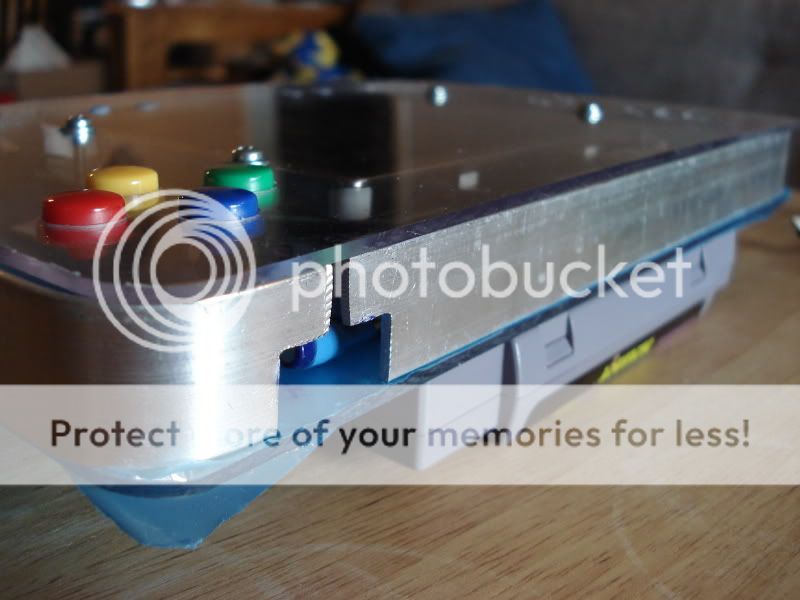
Metal frame and cartridge holding bracket:
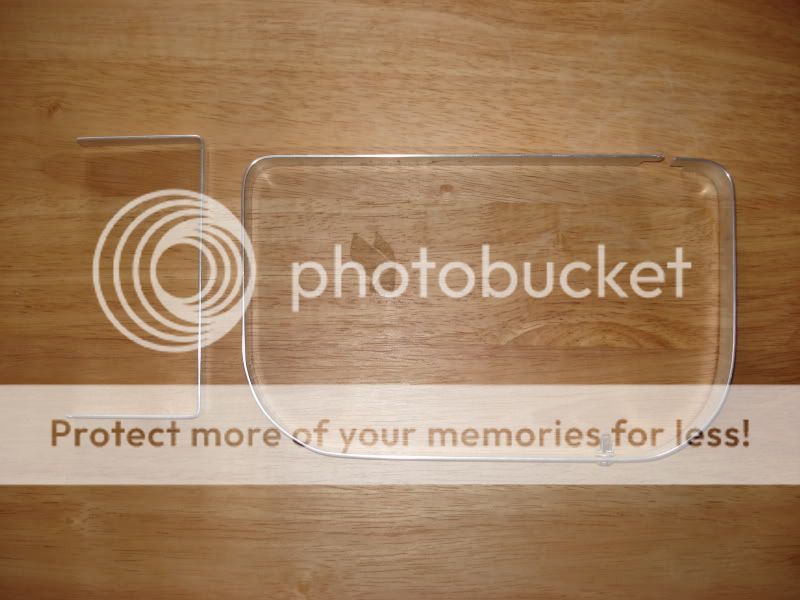
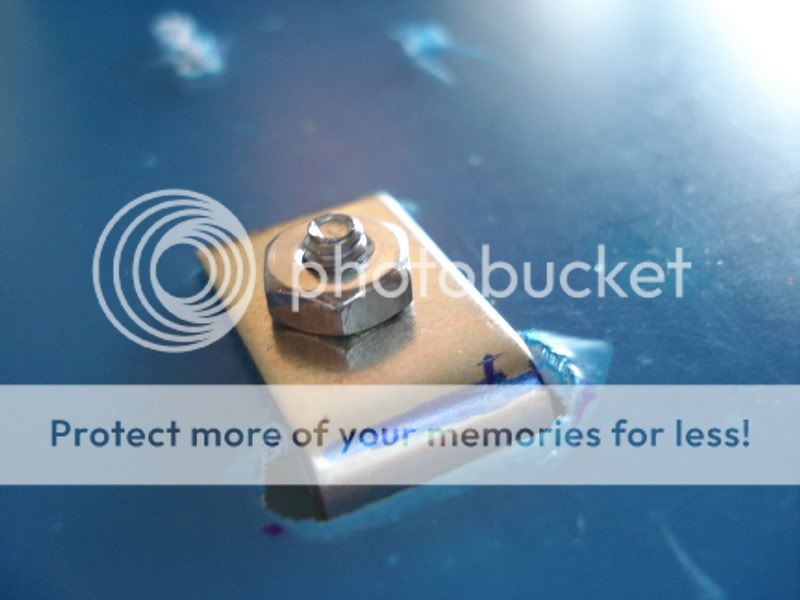
I wanted a neat industrial all-metal-and-clear-plastic look for this portable. I therefore am relying heavily on screws, nuts, and washers to hold this whole thing together. Note that the backing still has its protective blue plastic on it, and will be removed when the case-building is finished.
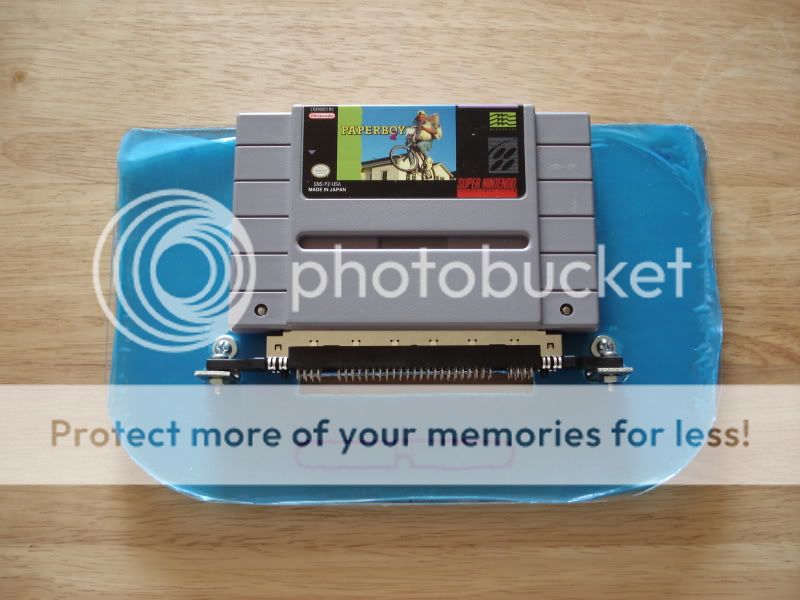
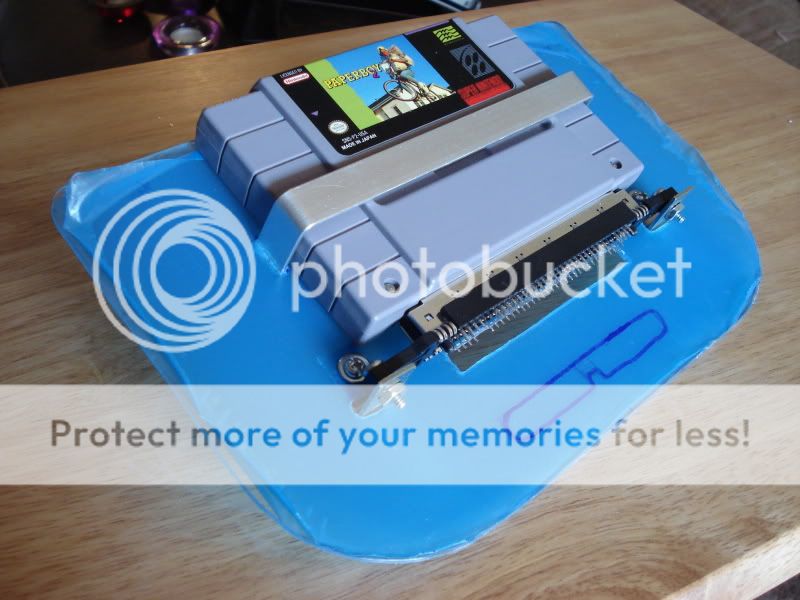
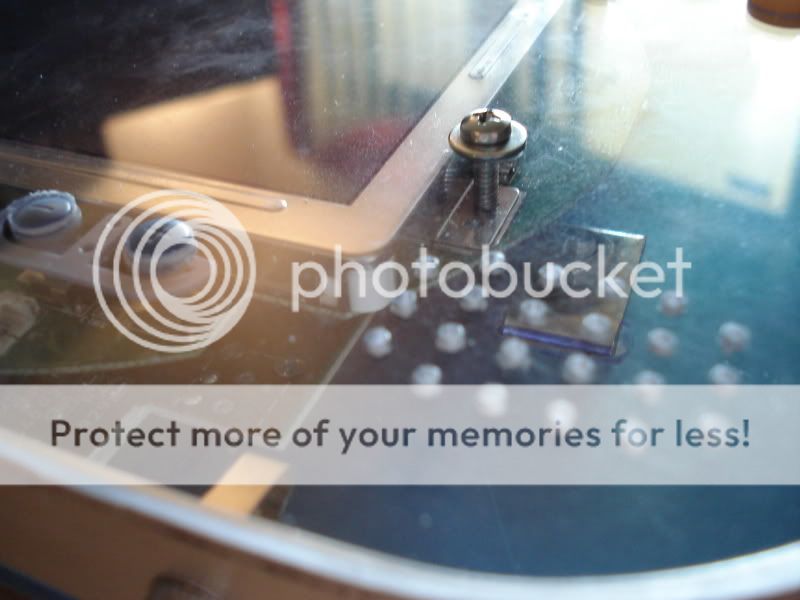
I used an angled bracket thing to mount the cartridge connector. It was a bit too tall, so I cut a hole and slipped one end of it under the plastic. Now when the cartridge is inserted, the back of it lies flat on the plastic. Snug!
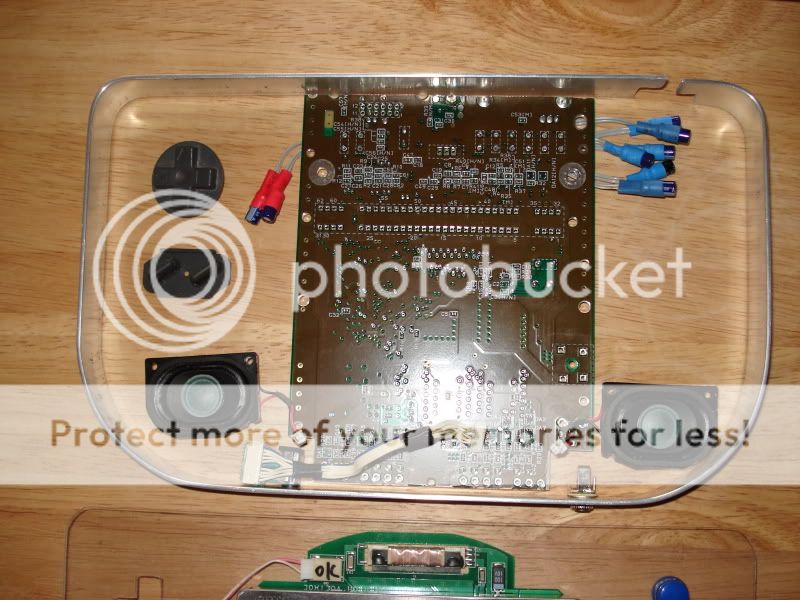
Underside shot:
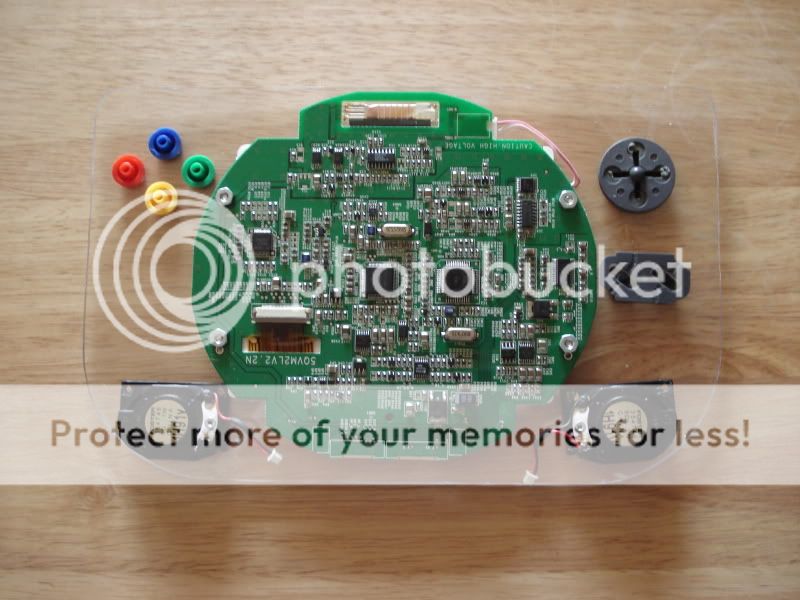
What the...!? European/Japanese buttons!? I bought a third-party controller at MGC just for these buttons, and I think they give the portable a much-needed splash of color that two shades of purple just couldn't achieve.
Notice the spot in the top right corner for the power switch. I cut all the metal with my trusty aviation snips.
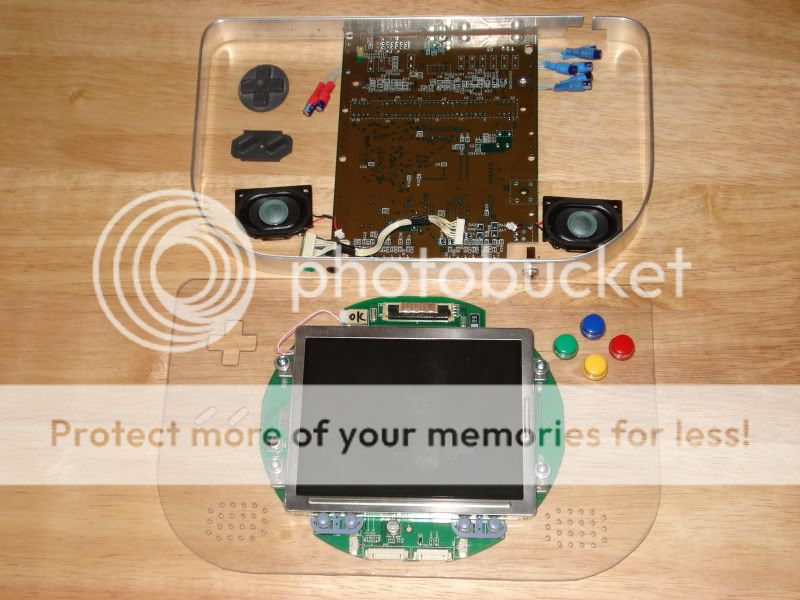
I trimmed the SNES mini's board a bit and am installing it in this orientation to leave space for li-poly batteries later. I don't have the money to buy batteries right now so to begin with this portable will just have to use a power adapter.
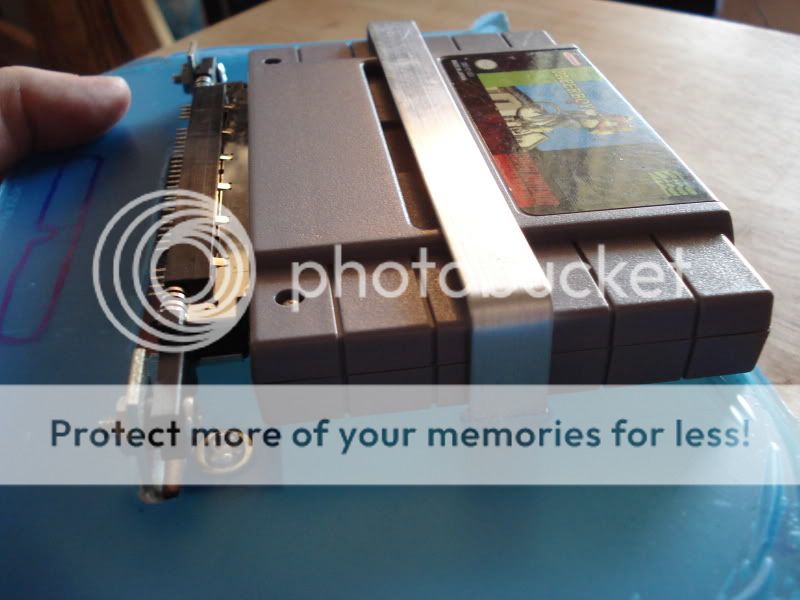
Overall it's pretty thin. The metal is only 3/4" wide, which is good because that's the part you actually hold. Add on the thickness of the cartridge (about 3/4" as well) and you have a total thickness of around 1.5 inches. Not bad.
Mostly using size 4 and 6 screws with corresponding washers and nuts to mount everything. I hand-drilled the speaker holes using some perf board as a guide.
I managed to get a ton done this week, at the expense of neglecting homework. Final papers for senior-level chemistry classes - ugh! Hopefully I'll work on it more next week and finish it up before long, but school has top priority next week.

